
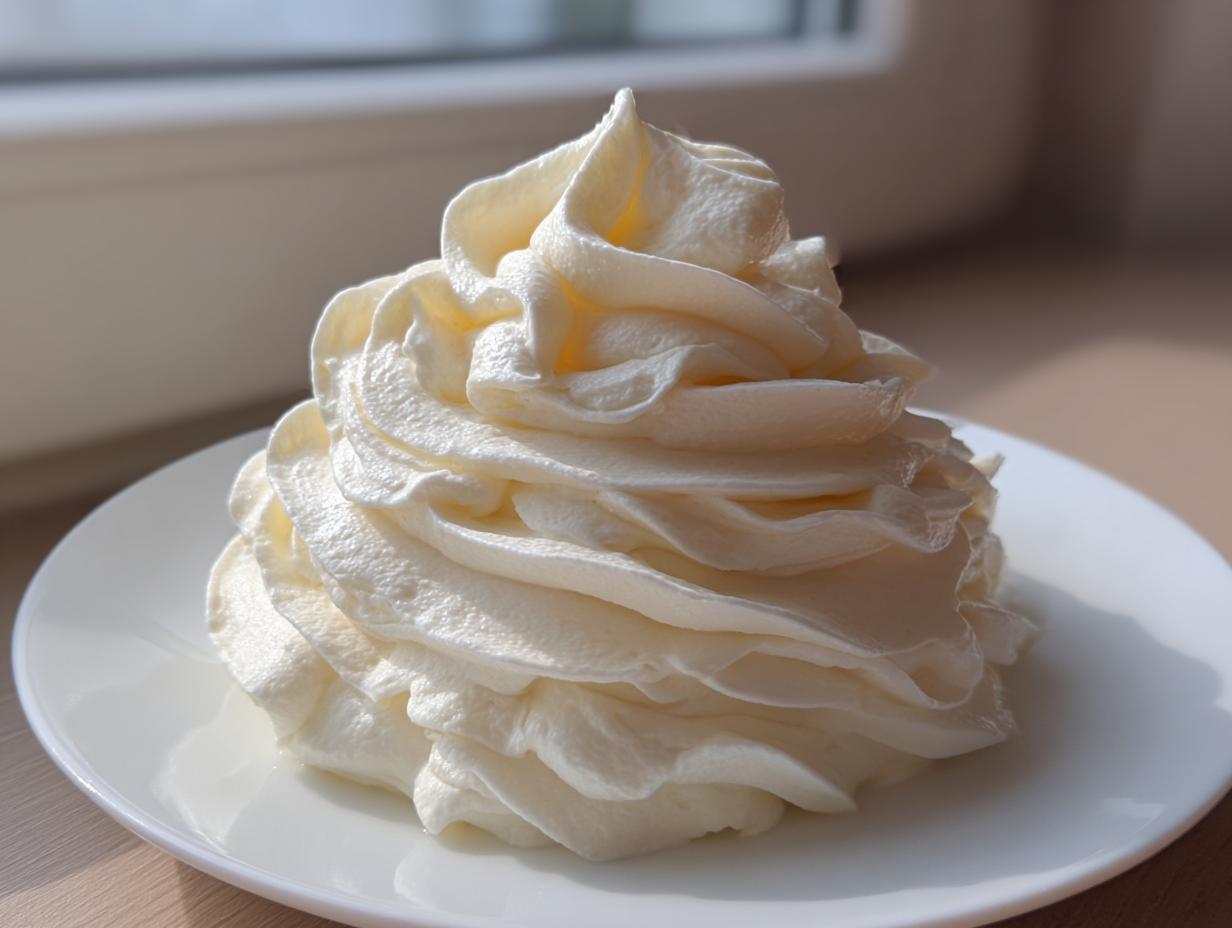
Let’s be real: a homemade cake or a batch of cupcakes is only halfway done once it comes out of the oven. The real magic, the part that makes people absolutely rave, is the topping! I’m Jax Riley, and if there’s one thing I learned bouncing around the country watching local legends cook, it’s that great flavor doesn’t need a complicated pedigree. That’s why I perfected this **vanilla buttercream** recipe. Trust me when I say this is the ultimate fluffy and stable American buttercream you’ll ever try. It’s rich, it’s dreamy, and it’s ready to swirl onto your treats in about 10 minutes. No stress, just pure, accessible flavor, just like we do here at YumDrizzle. If you’re looking for the blueprint on how to bake something totally different but just as satisfying, check out this easy French bread recipe, but for now, let’s focus on frosting!
- Why This is Your Go-To Vanilla Buttercream Recipe
- Ingredients for the Creamy Vanilla Icing
- Step-by-Step American Buttercream Tutorial
- Tips for Perfect Smooth Vanilla Buttercream Every Time
- Variations on Your Classic Buttercream Recipe
- Serving Suggestions for Your Simple Dessert Topping
- Storage and Reheating Instructions for Homemade Vanilla Frosting
- Frequently Asked Questions About Vanilla Buttercream
- What to Bake Next with Your Frosting
Why This is Your Go-To Vanilla Buttercream Recipe
Look, I know you’ve made frosting before that turned out grainy or soupy, right? That’s why I want you to ditch those sad attempts. This **vanilla buttercream** is different. It’s built to be a genuinely **quick buttercream frosting**, often ready in under 10 minutes, but it delivers something superior. We’re aiming for the kind of texture that professional bakers chase, but we’re using the simplest ingredients you already have.
This recipe solves two huge problems: it’s unbelievably rich but light, and it stands up like a champion. That means you get that perfect, **fluffy frosting for cakes** without any fuss. If you need a reliable topping for your raspberry cheesecake cookies, this is it.
Achieving Peak Fluffiness and Smooth Texture
The secret sauce for smoothness isn’t weird ingredients; it’s patience in the machine! You must give your butter a few solid minutes until it’s totally soft and pale. Then, the magic happens when you whip it on high speed after the sugar goes in. That extended whipping time—seriously, 3 to 5 minutes—is what incorporates all that lovely air, turning it from dense sugar paste to something truly fluffy.
Stability for Piping and Decorating Frosting Recipe
Because this is a classic American buttercream, it’s naturally sturdier than European styles. We use a higher ratio of powdered sugar to liquid, which is exactly what you need if you plan on using your piping bags. This means those beautiful rosettes and borders you pipe onto your cupcakes will hold their shape, even if the room gets a little warm. It’s a dependable **decorating frosting recipe**!
Ingredients for the Creamy Vanilla Icing
You know me—I believe in good ingredients that you can find at any reliable supermarket. There’s nothing fancy or hard-to-find here, but precision matters when you’re aiming for that **creamy vanilla icing** texture. Get these things ready before you even turn on the mixer, because once you start whipping, things move fast!
This list will give you a yield of about 3 cups of frosting, which is perfect for covering a standard two-layer 8-inch cake or dressing up at least a dozen cupcakes.
- 1 cup (227g) unsalted butter, softened to room temperature. And I mean *softened*—give it time!
- 4 cups (480g) powdered sugar, sifted. Don’t skip the sifting, please!
- 1 tablespoon pure vanilla extract. Use the real stuff, the clear stuff dulls the flavor.
- 3 to 4 tablespoons heavy cream or milk. Cream gives you a richer texture, but milk works in a pinch for an **easy buttercream frosting**.
- Pinch of salt. This small bit cuts the overwhelming sweetness, making the vanilla flavor really pop.
If you’re looking for something zesty to go alongside this frosting, you should absolutely try making a batch of my lemon blueberry scones next time!
Step-by-Step American Buttercream Tutorial
Alright, time to get mixing! If you’re organized, honestly, this whole process flies by—we’re talking 10 minutes until you have gorgeous, ready-to-use frosting. Following these steps carefully is how we guarantee that smooth, professional finish without any grainy texture sneaking in.
Creaming the Butter for the Vanilla Buttercream Recipe
First up, the foundation. You need that unsalted butter completely softened, or it just won’t blend right. Pop it into your stand mixer bowl—paddle attachment, please, not the whisk for this part. Beat that butter on medium speed until it looks almost whipped and beautifully creamy, which should take about three minutes. Stop the mixer and scrape down the sides really well. We want zero hard chunks hiding down there; everything needs to be uniform before the sugar even thinks about entering the chat!
Incorporating Sugar and Building the Fluffy Frosting for Cakes
This next part is where you need discipline! Add that sifted powdered sugar one cup at a time. Keep the mixer on low speed—seriously, low! If you put it on high right away, you’ll end up with a sugar cloud that coats your entire kitchen. Just mix until the sugar is basically absorbed after each addition, then scrape the bowl again. Once all the sugar is in, toss in your vanilla extract and that tiny pinch of salt. Mix it on low just to bring those flavors together.
Whipping to Achieve Perfect Piping Buttercream Consistency
Now, we build the fluff! Turn the speed up to medium-high. Start pouring in the heavy cream—use 3 tablespoons to begin with. Let this mixer run for a full 3 to 5 minutes. This *whipping* time is non-negotiable; it’s what incorporates tons of air, making this **fluffy frosting for cakes** light instead of heavy. You’ll see the color lighten significantly, and the volume increase right before your eyes. If, after that time, it seems too stiff for spreading easily, sneak in that last tablespoon of cream, a teaspoon at a time, until it behaves exactly how you want it to for spreading or piping. If you happen to over-thin it, don’t panic—just add another tablespoon of sifted sugar to bring it back together. Once you’re done, you’re ready to use it immediately, perhaps on some fun no-bake avalanche cookies!
Tips for Perfect Smooth Vanilla Buttercream Every Time
Frosting seems so simple, but getting that bakery-level texture—that super **smooth vanilla buttercream**—is all about respecting temperature and prep. Seriously, if you take away one thing from my on-the-road lessons, it’s this: don’t rush the soft butter stage. I learned this the hard way once trying to finish up some frosting before a gig in Denver. I rushed the butter, and my mixer ending up just smearing chunks of cold butter through the sugar. It looked terrible!
You absolutely must make sure that butter is room temperature—soft enough that your finger leaves a light dent, but not shiny or melted. Also, I can’t stress this enough: sift your powdered sugar. If you throw gritty sugar into soft butter, you end up fighting lumps the whole time. A few extra seconds of sifting saves you five minutes of frustration later trying to make it creamy. Once you master these basics, this **classic buttercream recipe** is truly foolproof. Speaking of masters, try chilling out the process the next time you make my brown butter chocolate chip cookies!
Variations on Your Classic Buttercream Recipe
One of the best things about having a perfect base **vanilla buttercream recipe** is how easy it is to riff off of it. This isn’t some rigid, untouchable family secret; this is accessible baking! Once you have that fluffy machine-whipped stuff ready, you can take it in so many delicious directions without needing fancy equipment.
We’re keeping this simple, because mixing in one extra thing is easy while the mixer is still going. If you’re already making a big batch of this **creamy vanilla icing**, why not make a little bit of it spicy or chocolatey? This keeps things fun and matches whatever dessert you’re topping. If you like to experiment with your flavors, these coffee cake cookies are a must-try!
Here are a few ways I shake things up:
- Chocolate Lover’s Dream: When you add the cream in the final whipping stage, mix in 1/4 to 1/3 cup of sifted unsweetened cocoa powder. Add an extra splash of milk if it gets too stiff!
- Almond or Lemon Zing: Trade out half of the pure vanilla extract (say, 1/2 tablespoon) for almond extract or the zest of one lemon. Lemon is fantastic if you’re piping it onto something fruit-based.
- Brown Butter Base: Before you start step one, brown your butter! Cook it until the milk solids toast and smell nutty, then chill it slightly until it just firms up again. It adds incredible depth for a next-level flavor experience.
- Spiced Topping: For cookies or holiday cakes, sometimes I skip the vanilla entirely and add 1/2 teaspoon of cinnamon and a tiny pinch of nutmeg right along with the salt. That’s a quick way to turn this into an amazing **simple dessert topping**.
Serving Suggestions for Your Simple Dessert Topping
Now that you’ve got this beautifully light and stable **vanilla buttercream** hanging out in your mixer bowl, the real fun starts! This is where you prove that this recipe is truly the foundation for everything sweet. Don’t let it just sit there; this **simple dessert topping** is meant to be used immediately to dress up whatever you’ve baked.
I think this is hands-down the **best buttercream for cupcakes**. Those firm peaks hold up so well when you’re using a big star tip, giving you that gorgeous, bakery-style dome that looks like it took you hours. But don’t stop there; this creamy icing is flexible!
- Layer Cakes: Use it to sandwich and frost a full layer cake. Since it’s stable, it doesn’t easily slide around, which is a huge win if you’re traveling with the dessert.
- Cupcake Glory: Obviously, this is what cupcakes dream about. Pipe big swirls, keep it simple with a quick swipe, or use it to fill a little hole in the center before topping with a cherry—it’s perfect for my banana pudding cupcakes!
- Cookie Filling: Make little sandwich cookies! Use this frosting as the creamy, sweet center for any sturdy cookie—shortbread, sugar cookies, or even those spiced ones you made last week.
- Fruit Dip Substitute: Okay, don’t slather it on your salad, but if you have some fresh strawberries or apple slices around, a little dollop of this sweet vanilla frosting is an amazing, decadent dip. It’s way better than anything store-bought, trust me.
Storage and Reheating Instructions for Homemade Vanilla Frosting
I totally get it—sometimes you make an amazing batch of **vanilla buttercream** and you can’t possibly eat it all in one day! Good news: this American buttercream is a champ at hanging out for later. If you’re just keeping it on the counter for a day or two, keep it in an airtight container. Because it’s mostly fat and sugar, it holds up surprisingly well at room temperature, which is great because you want it soft when you use it next.
If you need to keep it longer, seal it up tight and pop it in the fridge. It should last a good week, maybe even ten days, in there. However, here is the critical step you cannot skip, otherwise, you’re just spreading cold, hard butter on your dessert!
When you pull that **homemade vanilla frosting** out of the fridge, it will look stiff and sad. Don’t try to spread it! Let it sit on the counter for at least an hour, maybe two, until it’s back to that room-temperature softness where it just yields to your touch. Then, you must put it back into your mixer. Give it a good 3 to 5 minutes on medium-high speed. That re-whipping stage is essential; it breaks up the chilled fat molecules and whips the air back in, restoring that fluffy, light texture. It will look brand new, ready for those moist carrot cake muffins!

Frequently Asked Questions About Vanilla Buttercream
These are the questions I hear all the time when I’m talking shop with folks about frosting. Since this **vanilla buttercream** is so central to so many desserts, it’s worth ironed out any little confusion points so you can bake with total confidence. I want you to feel like you know the tricks just as well as I do!
Can I make this Easy Buttercream Frosting ahead of time?
Absolutely! That’s one of the fantastic things about this simple setup. You can definitely make the batch ahead of time. Keep it sealed airtight, and it’s good on the counter for a day or two, or refrigerated for up to a week. Just remember that recovery step we talked about—it needs a good, long whip-down in the mixer when it comes back to room temperature to make it fluffy again. Don’t skip that whip!
How do I make my Vanilla Buttercream Recipe whiter?
That slight yellow tint is normal because, well, we use real butter! If you’re making something that absolutely *must* be stark white—like for a classic white wedding cake finish—you have two choices. My favorite trick is using clear vanilla extract instead of the regular brown stuff. That removes a lot of the discoloration right there. If you still need more pop, add the tiniest drop of violet or purple food coloring. It sounds wild, but that purple cancels out the yellow and makes the white appear brighter. Use way less than you think you need!
What is the difference between this and Swiss Meringue Buttercream?
That’s a great question, and it gets to the heart of why this recipe is the ultimate for quick baking! What we have here is a classic American buttercream. It’s made almost entirely from butter and sugar, which is why it’s fast—about 10 minutes to mix and ready to go. Swiss Meringue is totally different; it involves cooking egg whites and sugar over heat first to create a meringue, *then* whipping in the butter. It’s silkier, for sure, but it takes way more time and precision. If you need a reliable, **creamy vanilla icing** fast for cupcakes, stick with this American style—it’s just easier and just as delicious!
If you’re feeling inspired and want to try baking something amazing using this frosting, check out my recipe for easy creamy vegan pumpkin curry—you’ll be surprised how much flavor you can pack into simple meals!
What to Bake Next with Your Frosting
You’ve got the best **vanilla buttercream** ready to go—don’t let it sit around! Seriously, the moment you finish whipping that fluffy goodness, you should be decorating something amazing. This frosting is begging to top my rich German chocolate cheesecake, or maybe you need a perfect swirl for some soft, chewy cranberry orange cookies. Or, if you’re feeling bold, this creamy icing is the perfect finishing touch for sweet red velvet cake pops!
PrintThe Ultimate Fluffy & Stable American Vanilla Buttercream Frosting (Perfect for Piping)
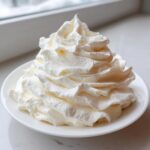
You can make this classic American vanilla buttercream frosting that is rich, fluffy, and creamy using simple ingredients. This recipe guarantees a smooth texture ideal for frosting cakes, topping cupcakes, or piping decorations.
- Prep Time: 10 min
- Cook Time: 0 min
- Total Time: 10 min
- Yield: About 3 cups 1x
- Category: Dessert Topping
- Method: Mixing
- Cuisine: American
- Diet: Vegetarian
Ingredients
- 1 cup (227g) unsalted butter, softened to room temperature
- 4 cups (480g) powdered sugar, sifted
- 1 tablespoon pure vanilla extract
- 3 to 4 tablespoons heavy cream or milk
- Pinch of salt
Instructions
- Place the softened butter in the bowl of a stand mixer fitted with the paddle attachment. Beat the butter on medium speed until it is completely smooth and creamy, about 3 minutes. Scrape down the sides of the bowl.
- Gradually add the sifted powdered sugar, one cup at a time, mixing on low speed until just combined after each addition. Scrape down the sides as needed.
- Add the vanilla extract and the pinch of salt. Mix on low speed until incorporated.
- Increase the mixer speed to medium-high. Add 3 tablespoons of heavy cream or milk. Beat the frosting for 3 to 5 minutes until it becomes light, fluffy, and smooth. This whipping time builds the volume.
- If the frosting seems too stiff for spreading, add the remaining tablespoon of cream, one teaspoon at a time, until you reach your desired consistency. If it is too soft, add a little more sifted powdered sugar.
- Use immediately for frosting cakes, cupcakes, or cookies.
Notes
- For the best texture, ensure your butter is truly softened but not melted. It should yield slightly when pressed.
- Sifting the powdered sugar prevents lumps and helps you achieve a smooth vanilla buttercream texture faster.
- If you need a stiffer frosting for intricate piping designs, reduce the liquid slightly or add a small amount of extra sifted powdered sugar.
- This frosting holds up well at room temperature for serving but store leftovers in an airtight container in the refrigerator. Let it come to room temperature and re-whip before using again.
Nutrition
- Serving Size: 1/4 cup
- Calories: 350
- Sugar: 45g
- Sodium: 55mg
- Fat: 18g
- Saturated Fat: 11g
- Unsaturated Fat: 7g
- Trans Fat: 0g
- Carbohydrates: 48g
- Fiber: 0g
- Protein: 1g
- Cholesterol: 45mg