
You know, when I spent those years living out of a van, driving from city to city, I was always chasing the flavor—the real, honest soul of a place. And you know what? Even the best diners couldn’t beat the taste of a truly perfect chocolate chip cookie. But we’re not just making cookies here; we’re making something better. We’re taking the classic and dunking it in nutty bliss. Trust me, mastering these brown butter chocolate chip cookies is how you turn a simple dessert into the kind of memory people talk about later. If you want to see my go-to for when I need something reliably soft and chewy, check out my basic recipe for the best soft chewy chocolate chip cookies.
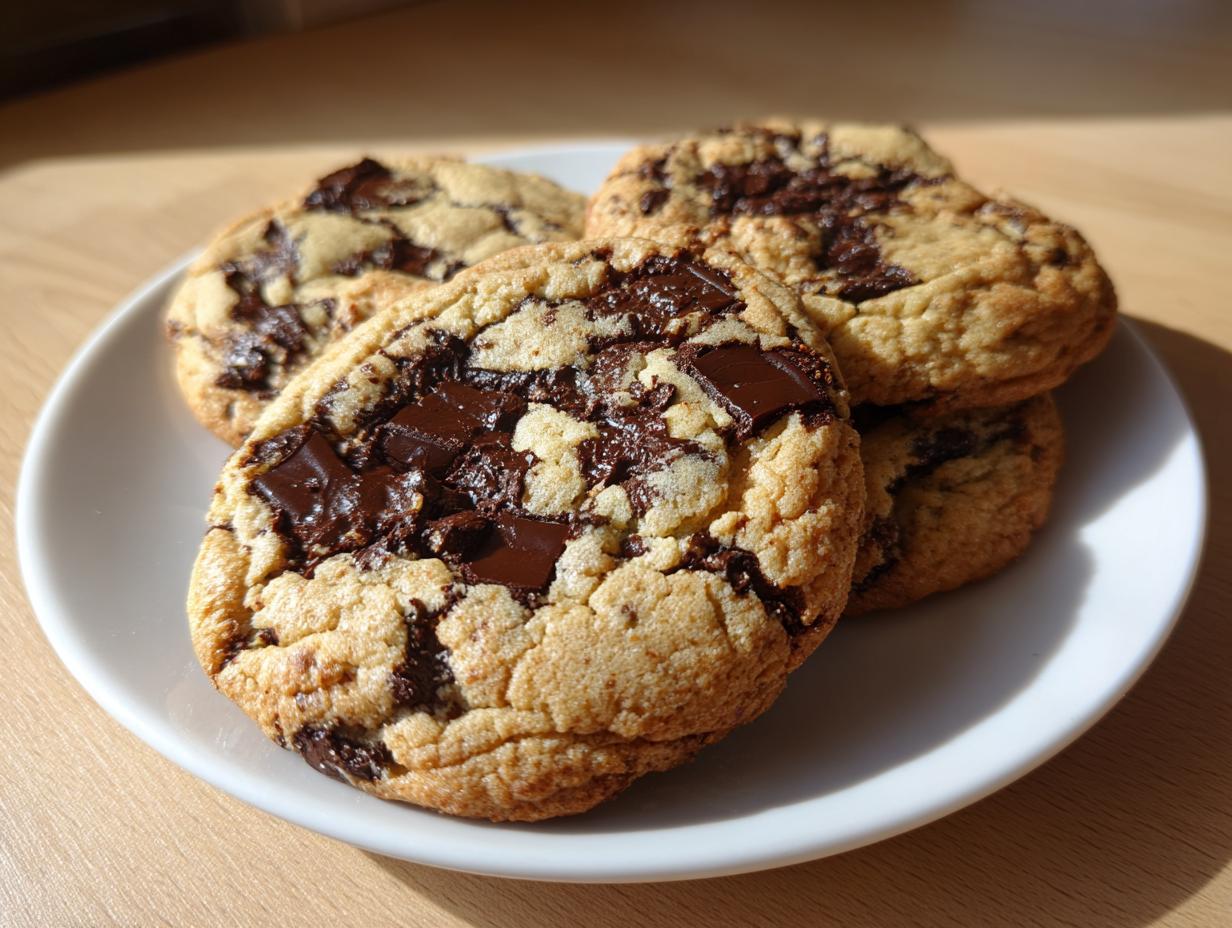
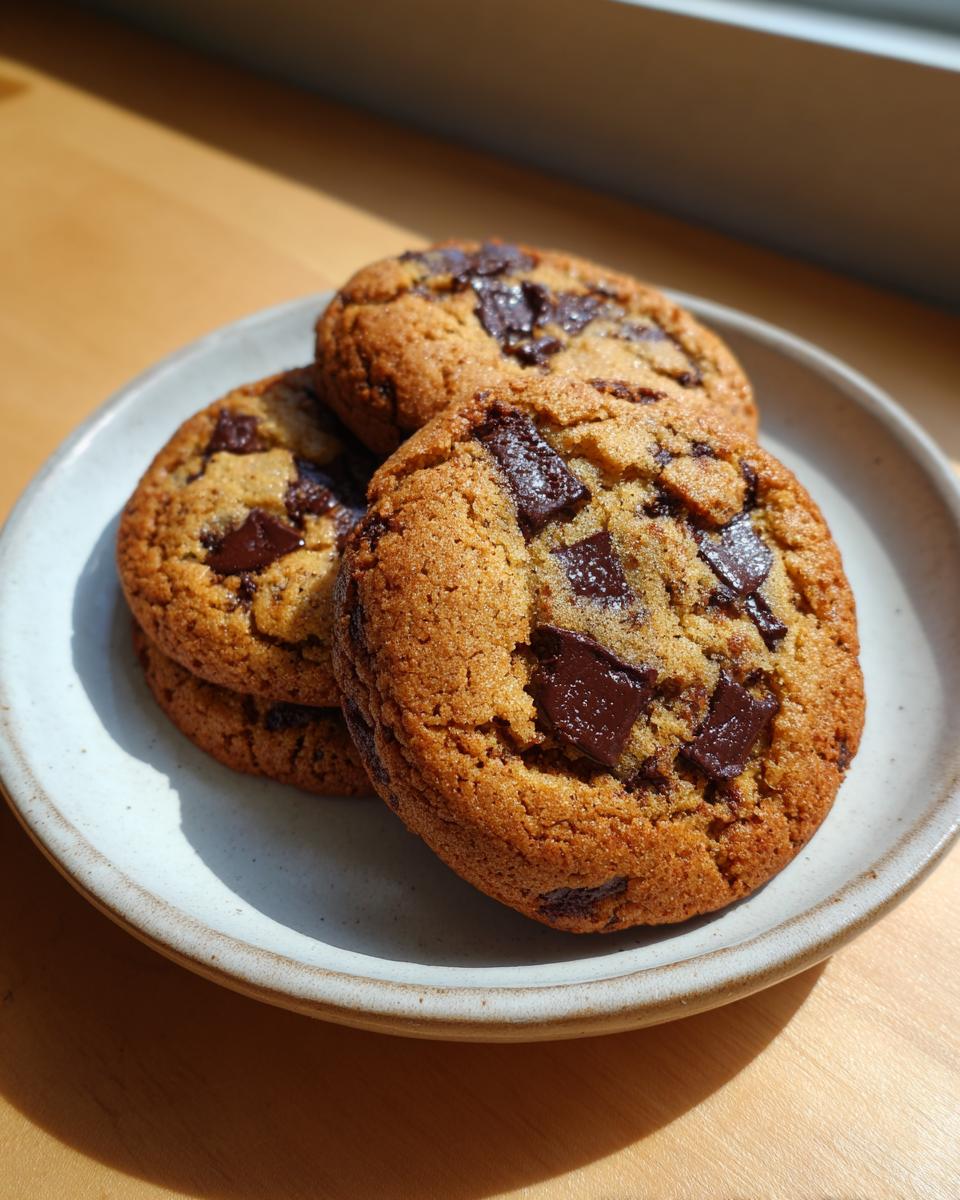
Forget those flat, sad cookies you find everywhere else. This recipe is tailored exactly for that bakery-style experience—you get those beautiful, crispy edges that shatter just right, giving way to a center that is pure, gooey heaven. It’s about making gourmet accessible, using one simple trick to unlock incredible, deep, caramelized flavor across the entire batch. Get ready to bake the best homemade cookies you’ve ever shared!
- Why This is the Ultimate Brown Butter Chocolate Chip Cookies Recipe
- Ingredients for Perfect Brown Butter Chocolate Chip Cookies
- Mastering How to Brown Butter for Cookies
- Step-by-Step Instructions for Brown Butter Chocolate Chip Cookies
- Tips for Making Bakery Style Cookies
- Troubleshooting Common Brown Butter Chocolate Chip Cookies Issues
- Storage and Reheating Instructions for Browned Butter Cookies
- Frequently Asked Questions About This Elevated Chocolate Chip Recipe
- Nutritional Estimate for These Sweet Buttery Treats
Why This is the Ultimate Brown Butter Chocolate Chip Cookies Recipe
I’m telling you, the browned butter isn’t just a fancy ingredient swap; it’s the entire foundation of why these are the best homemade cookies. They hit every single mark you’re looking for when you crave that perfect treat. This isn’t just another recipe card; it’s built on the techniques I picked up trying to make something truly incredible taste easy.
- It delivers that deep, caramelized flavor that plain melted butter just can’t touch.
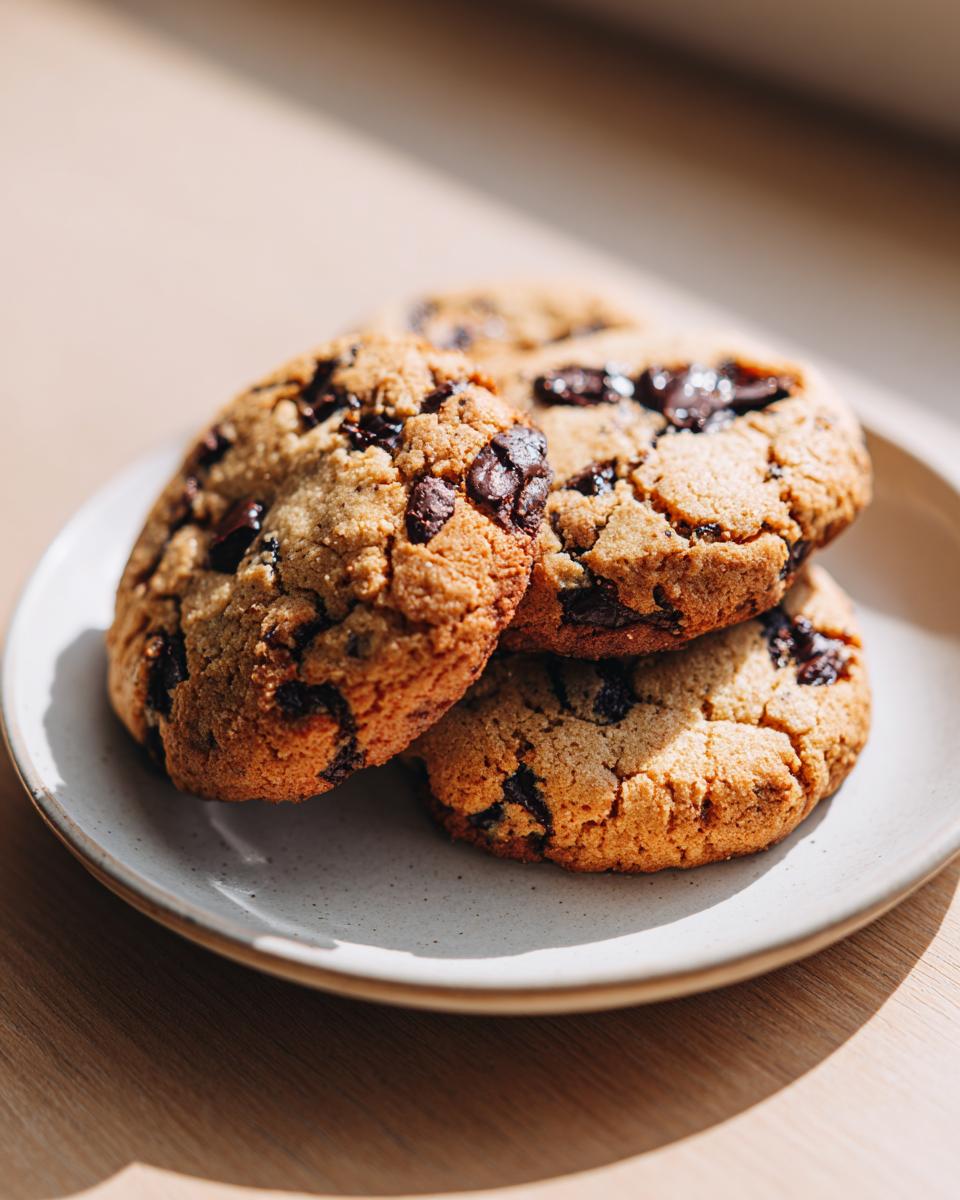
- We are guaranteed that bakery-style quality—thick, impressive, and totally satisfying.
- It ensures the perfect balance between that irresistible crispness on the outside and that soft, gooey middle.
If you’re looking for something celebratory, maybe even for your next party, this rivals anything you’d make in a cookie cake recipe, honestly.
Achieving Deep Caramelized Flavor Cookies
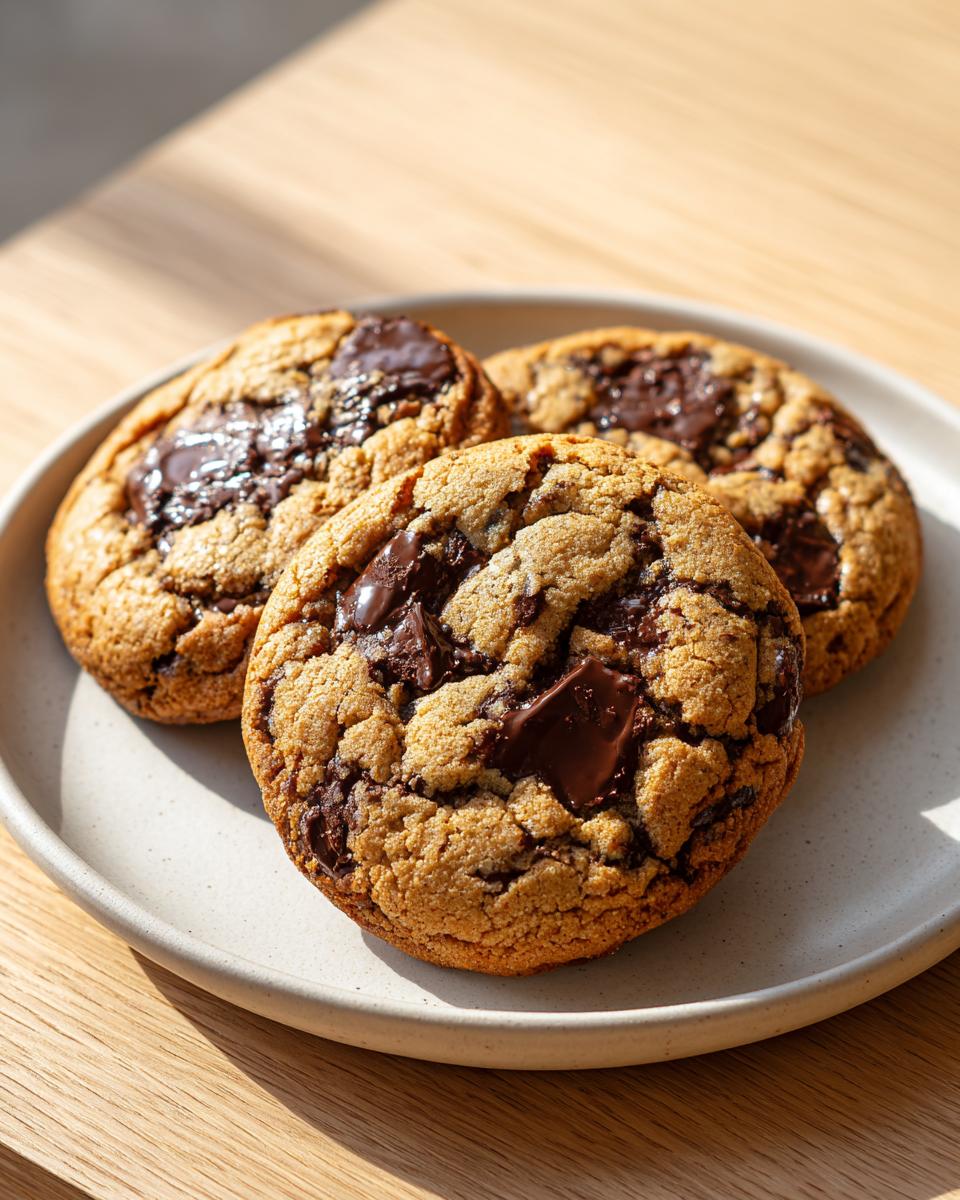
When you heat that butter until those little milk solids turn deep brown, you’re essentially toasting the natural sugars and proteins in the dairy. That’s where the magic happens! It gives these brown butter chocolate chip cookies that incredible nutty, toffee-like depth. It’s richer, warmer, and just tastes expensive, even though it’s totally easy to do right at home.
Texture Perfection: Crispy Edge Soft Center Cookies
This texture is key for me. We want the edges to set up golden brown and just slightly crisp when they come out. But the center? That needs to stay soft and wonderfully chewy. We lock that texture in place by making sure we chill the dough properly afterward. That chilling time forces the fat to firm up again, which means less spreading and more height, setting us up as the best guide for chewy chocolate chip cookies.
Ingredients for Perfect Brown Butter Chocolate Chip Cookies
You can’t get that elevated flavor if you skimp on the basics. When I started using these ingredients, fresh off the road and low on cash, I realized quality doesn’t have to mean expensive—it just means paying attention! Here’s exactly what you need for your **brown butter chocolate chip cookies** to shine. Using good vanilla and proper salt really makes a difference for that amazing, irresistible taste.
- 3/4 cup (168 g) unsalted butter (this is the star, so use good stuff!)
- 1 cup (200 g) light brown sugar, packed
- 1/4 cup (50 g) granulated sugar
- 1 large egg, plus 1 large egg yolk (the extra yolk helps with chew!)
- 1 tablespoon pure vanilla extract
- 1 3/4 cup (220 g) all-purpose flour
- 3/4 teaspoon baking soda
- 3/4 teaspoon kosher salt
- 1 1/2 cups semi-sweet chocolate chips or chopped chocolate
- Flaky sea salt for sprinkling (don’t skip this finish!)
If you want to check out another easy pantry win, I love how simple this easy homemade garlic herb rice pilaf is after you’ve mastered baking!
Mastering How to Brown Butter for Cookies
Okay, this is where we separate the good cookies from the truly legendary ones. Browning butter—that’s how to brown butter for cookies, the secret sauce! I learned this trick shuffling equipment across the country; you can smell when it goes from melted butter to *nutty caramel dream* just by leaning over the pan. You gotta use a light-colored pan so you can actually see what’s happening with those milk solids, trust me on that one.
Put that butter on medium heat. Watch it melt, then it’s going to foam up like crazy. Don’t panic! You just keep swirling it gently. After the foam dies down, those tiny brown specks start kicking up the most incredible aroma. Pull it off the heat the instant you smell that deep, nutty scent. Then, pour it, solids and all, into a heatproof bowl immediately so it stops cooking.
Identifying the Nutty Chocolate Chip Recipe Base
The timing here is everything for getting that perfect **nutty chocolate chip recipe** depth. You’re looking for the moment those solids sink to the bottom and turn dark amber brown—not black, never black! If you see black, you’ve gone too far and need to start over, but that rich, toasty smell tells you exactly when to stop. This caramelized base is what gives your brown butter chocolate chip cookies that luxurious, expensive taste. If you need extra validation on getting that incredible texture, definitely read up on the process outlined at this resource.
Step-by-Step Instructions for Brown Butter Chocolate Chip Cookies
Now that we have our beautiful, nutty brown butter, it’s time to put the rest of this recipe together. Remember, patience is the key ingredient here, especially when it comes to temperature control. You can’t rush the cooling process, or you’ll end up scrambling that wonderful butter!). Once the butter is cooled slightly, you’ll move everything into the bowl and get ready to mix. This whole process is surprisingly quick once you have your star ingredient ready to go.
Mixing Wet and Dry Components for Browned Butter Cookies
After your butter has cooled for about fifteen minutes, whisk it with both the brown and granulated sugars. You need that creamy stage before you add the egg and that extra yolk—that yolk is important for chewiness, by the way! Then, gently add your dry ingredients (flour, soda, salt). The cardinal rule here for any great cookie, and especially for these browned butter cookies, is: do not overmix! Mix until you see just the last few streaks of flour disappear. Seriously, stop mixing then. Overworking develops gluten, and we want soft, not tough.
Fold in those chocolate chips last. If you want to see another quick winner from my kitchen, I’ve got this amazing easy 4-ingredient cheese crackers recipe that is just as simple!
The Essential Chill Time for Flavor Development
This is the second most important step after browning the butter, so listen up! You absolutely must chill this dough. I tell people to chill the dough for a minimum of two hours, but if you can manage 24 or even 72 hours, you’ll get those deep, profound **caramelized flavor cookies** notes we’re aiming for. Chilling solidifies the fat again, which stops the cookies from spreading into thin puddles in the oven. It also lets those nutty flavors truly marry the sugars. Don’t skip it if you want the very best brown butter chocolate chip cookies!
Tips for Making Bakery Style Cookies
We’ve done the heavy lifting with the brown butter and the chilling, but if you want that real counter-worthy presentation—you know, those **bakery style cookies** that look as good as they taste—you need to nail the finish. I’ve picked up a few tricks over the years that make a huge difference between a good cookie and ‘who made these amazing things?’ batch.
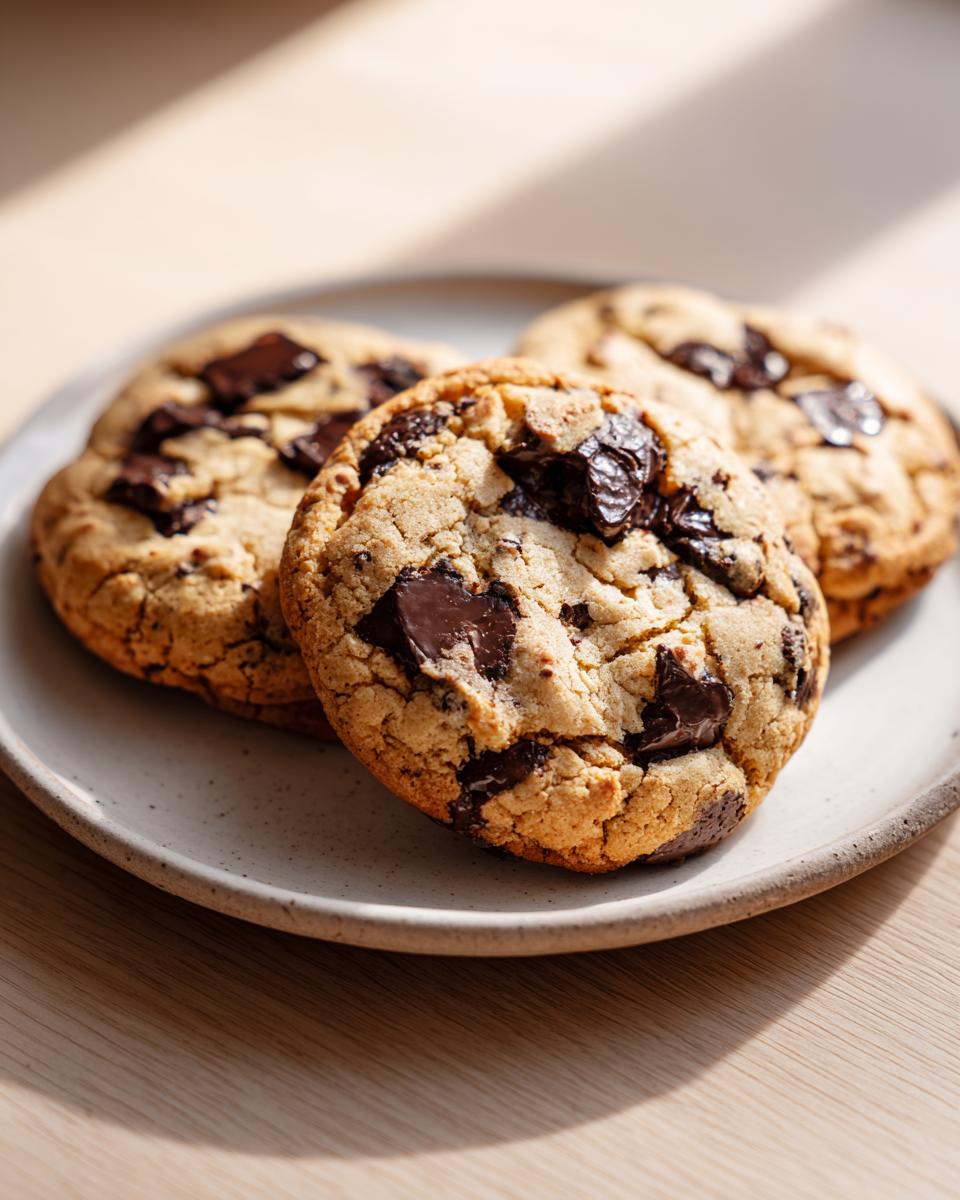
First off, let’s talk chocolate. You can absolutely use chips, and they’ll be delicious, but if you want that gorgeous, melty pool effect that you see in all the best photos, you need to use high-quality chocolate bars and chop them roughly yourself. Chunks melt differently than standardized chips, giving you surprise pockets of pure chocolate goodness throughout your cookie instead of uniform dots. It’s one of my favorite ways to make these feel like **gourmet chocolate chip cookies**.
Second, and this is non-negotiable for me: flaky sea salt on top. Seriously, grab some Maldon or a similar flaky salt. Right after the cookies come out of the oven—when they are still puffy and hot—sprinkle just a tiny pinch over the top of each one. That salt cuts through the richness of the brown butter and the sweetness of the chocolate. That sweet and salty combination is what makes people go back for a second, and then you realize you need to stop by my recipe for chocolate chip pancakes recipe fluffy version next!
Finally, when you pull them out of the oven at 10 to 13 minutes, they should look slightly underdone in the very center. That’s your insurance policy for **thick and chewy cookies**. Don’t be tempted to bake them until they look dry! That 5-minute rest on the hot baking sheet is crucial; it finishes the bake without drying out the middle. If you’re struggling with your butter ratios in general, checking out the technique discussed over at this resource might give you a different perspective on your baking ratios.
Troubleshooting Common Brown Butter Chocolate Chip Cookies Issues
Look, even when you know the steps, sometimes the kitchen fights back, right? I’ve burned more batches of butter than I care to admit when I was first figuring this out on the road. But here’s the deal: baking is forgiving if you know what the problem is. Think of these little mishaps as just opportunities to learn how to make even better brown butter chocolate chip cookies next time. My goal here is for you to nail this *this* time around, so no wasted ingredients!
If you find yourself with flat cookies or a pan that looks like melted butter took over, don’t sweat it. It almost always boils down to temperature. If you use butter that’s too warm, or you skip chilling, you lose that structure we worked so hard to build in the mixer. For tips on dealing with other tough situations, I sometimes look at how others tackle hard recipes, like this easy cranberry chicken recipe, just to keep my mind fresh!
Why Are My Cookies Spreading Too Thin?
This is probably the number one disaster when making gooey chocolate chip cookies, especially when you use melted butter, even if it’s browned! Spreading usually means one of two things went wrong. First, check your butter temperature after browning. If you added your sugar and eggs to butter that was still hot, it melts the sugars almost instantly, and you won’t get that necessary structure when baking.
Second, and this is the big one: Did you chill the dough? If you skip that two-hour minimum chill time, the fat is too soft, and the cookies will definitely spread way too thin before they have a chance to set up. If you are in a hurry, try freezing pre-scooped dough balls for about 30 minutes instead of refrigerating the whole batch—that flash-chill can sometimes save the day, but chilling overnight is always the best bet for those thick, chewy results.
Storage and Reheating Instructions for Browned Butter Cookies
You made a double batch because you knew they wouldn’t last, right? Smart move! Keeping these amazing browned butter cookies tasting fresh is actually pretty simple, but you have to respect that perfect texture we worked so hard to achieve. If you leave them out on the counter uncovered, they’ll go from chewy to crumbly faster than you can say “more chocolate chips required.”
The key here is making sure they are totally cool before you put them away. If you try to seal them up while they’re even slightly warm, you trap steam, and that steam turns our beautifully crisp edges soft and soggy. Not what we want for our **ultimate chocolate chip cookie recipe**!
For short-term storage—say, the next few days—stack them in an airtight container. I usually put a piece of parchment paper between the layers just to make sure they don’t stick together once they settle. They will stay perfectly chewy for about three to four days stored this way at room temperature.
If you happen to have leftovers (I’m skeptical, but stay with me!), these freeze like a dream. Scoop the dough balls *before* baking, flash freeze them on a tray, and then transfer them to a freezer bag. They last for months, ready to go whenever a cookie craving strikes. If you’re looking for ways to use up any extra holiday feast ingredients later, check out my recipe for easy turkey soup recipe leftover turkey!
Reviving the Gooey Chocolate Chip Cookies Texture
What happens when you pull a frozen dough ball or a day-old cookie out, and it’s lost that fresh-from-the-oven softness? No worries, we can bring those **gooey chocolate chip cookies** right back to life! The best way to reheat a fully baked, slightly hardened cookie is in the oven, not the microwave. The microwave heats them unevenly and often makes them tough.
Here’s my trick: Wrap the cookie loosely in a little piece of foil—just enough to protect the edges but let some steam escape. Pop it into a preheated oven at a low temp, say 300°F (150°C), for about 5 to 7 minutes. You just want to warm the chocolate slightly and let the buttery fats soften back up. When you pull it out, give it 30 seconds to cool, and you’ll have that crispy edge but a molten, soft center again. It’s like magic! That’s the true secret to enjoying your **sweet buttery treats** long after the first batch is gone.
Frequently Asked Questions About This Elevated Chocolate Chip Recipe
Even when you follow a recipe perfectly, sometimes you just have questions pop up, especially when you’re trying to elevate a classic! I get it. These are the things I always wondered about when I first started working on making these the absolute best from scratch chocolate chip cookies. If you’re just diving into easy brown butter baking, these answers should set you right! For even more insight into getting this right, check out the tips shared at this other great baking resource.
Can I skip chilling the dough for these brown butter chocolate chip cookies?
Technically, you *can* skip the chill time if you’re in a massive rush, but honestly? Please don’t. If you skip it, you will get flatter, wider cookies because the butter will melt too fast in the oven. More importantly, you skip the flavor development! That time in the fridge lets the nutty, deep flavor of the brown butter actually meld with the sugars and the salt. If you skip chilling, you’re missing out on the richest part of the flavor profile. You might as well just use regular butter at that point!
What is the best sugar combination for the ultimate chocolate chip cookie recipe?
For this ultimate chocolate chip cookie recipe, we need both sugars working together! We use a heavy ratio of light brown sugar because that molasses content is crucial. The molasses adds moisture, richness, and that slight chewiness that keeps the cookie soft. The smaller amount of granulated (white) sugar is there strictly to help those edges crisp up nicely and spread just a bit. If you swap too much brown for white, you end up with a cakey cookie, and if you use only brown, they can get too soft. It’s the perfect push and pull for that crispy edge, soft center we love!
If you want to see some more quick tips on making your baking more streamlined, I always recommend seeing what other people are trying over at my go-to for quick weeknight meals.
Nutritional Estimate for These Sweet Buttery Treats
Now, I know most of us don’t sit around counting calories when we’re talking about chocolate and browned butter—we’re looking for joy, pure and simple! But since we’re aiming for that truly professional, dialed-in recipe, I always like to give you a look at the numbers for transparency. Remember, since this is my recipe using specific ingredient brands and amounts, these are just estimates for one cookie. If you add a giant hunk of chocolate or use extra salt, those numbers shift!
These estimates are based on the serving size listed below, which is perfect for making sure you know what you’re biting into when you indulge in these **sweet buttery treats**. Think of this as just helpful info; the real prize is that deep, nutty, **caramelized flavor cookies** experience!
- Serving Size: 1 cookie
- Calories: 220
- Sugar: 18g
- Sodium: 150mg
- Fat: 13g
- Saturated Fat: 8g
- Unsaturated Fat: 5g
- Trans Fat: 0g
- Carbohydrates: 25g
- Fiber: 1g
- Protein: 3g
- Cholesterol: 40mg
If you’re done with sweets and want to move onto dinner, I’ve got a ridiculously simple stovetop meal you have to try—this easy shrimp boil recipe sheet pan version cuts down on cleanup big time!
PrintUltimate Brown Butter Chocolate Chip Cookies: Chewy and Nutty
Learn how to make the best brown butter chocolate chip cookies. This recipe delivers bakery-style results with crispy edges, a soft, gooey center, and deep, caramelized flavor from the browned butter.
- Prep Time: 20 min
- Cook Time: 15 min
- Total Time: 2 hours 35 min
- Yield: 18 cookies 1x
- Category: Dessert
- Method: Baking
- Cuisine: American
- Diet: Vegetarian
Ingredients
- 3/4 cup (168 g) unsalted butter
- 1 cup (200 g) light brown sugar, packed
- 1/4 cup (50 g) granulated sugar
- 1 large egg
- 1 large egg yolk
- 1 tablespoon pure vanilla extract
- 1 3/4 cup (220 g) all-purpose flour
- 3/4 teaspoon baking soda
- 3/4 teaspoon kosher salt
- 1 1/2 cups semi-sweet chocolate chips or chopped chocolate
- Flaky sea salt for sprinkling
Instructions
- Place the butter in a light-colored saucepan over medium heat. Cook, swirling often, until the butter melts, foams, and then brown bits form at the bottom and the butter smells nutty. This is browning butter. Remove from heat immediately and pour the browned butter, including the browned milk solids, into a heatproof bowl. Let it cool for 15 minutes.
- In a large bowl, whisk together the cooled brown butter, light brown sugar, and granulated sugar until well combined.
- Beat in the egg, egg yolk, and vanilla extract until the mixture is smooth and creamy.
- In a separate bowl, whisk together the flour, baking soda, and kosher salt.
- Gradually add the dry ingredients to the wet ingredients, mixing on low speed until just combined. Do not overmix.
- Fold in the chocolate chips.
- Cover the dough and chill in the refrigerator for at least 2 hours, or up to 72 hours, for the best flavor development.
- Preheat your oven to 375 degrees F (190 degrees C). Line baking sheets with parchment paper.
- Scoop the dough into balls, about 2 tablespoons each, and place them about 2 inches apart on the prepared sheets. Sprinkle the tops lightly with flaky sea salt.
- Bake for 10 to 13 minutes, or until the edges are golden brown and the centers look slightly underbaked.
- Let the cookies cool on the baking sheet for 5 minutes before transferring them to a wire rack to cool completely.
Notes
- Browning butter correctly is key; watch for the nutty aroma and brown specks, then remove from heat fast to stop cooking.
- Chilling the dough develops the nutty, caramelized flavor and prevents the cookies from spreading too much during baking.
- Use high-quality chocolate chunks instead of chips for better melt and texture.
Nutrition
- Serving Size: 1 cookie
- Calories: 220
- Sugar: 18g
- Sodium: 150mg
- Fat: 13g
- Saturated Fat: 8g
- Unsaturated Fat: 5g
- Trans Fat: 0g
- Carbohydrates: 25g
- Fiber: 1g
- Protein: 3g
- Cholesterol: 40mg