
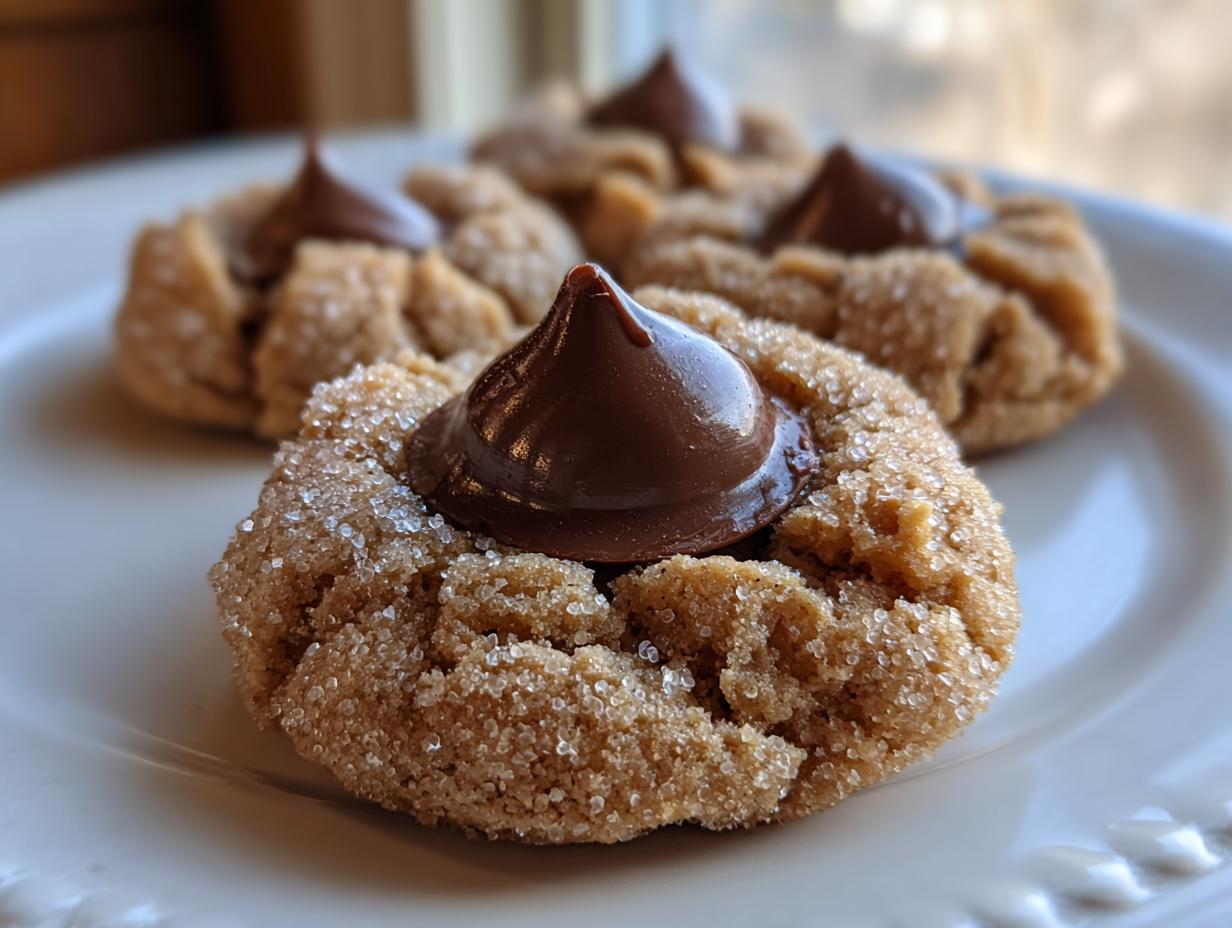
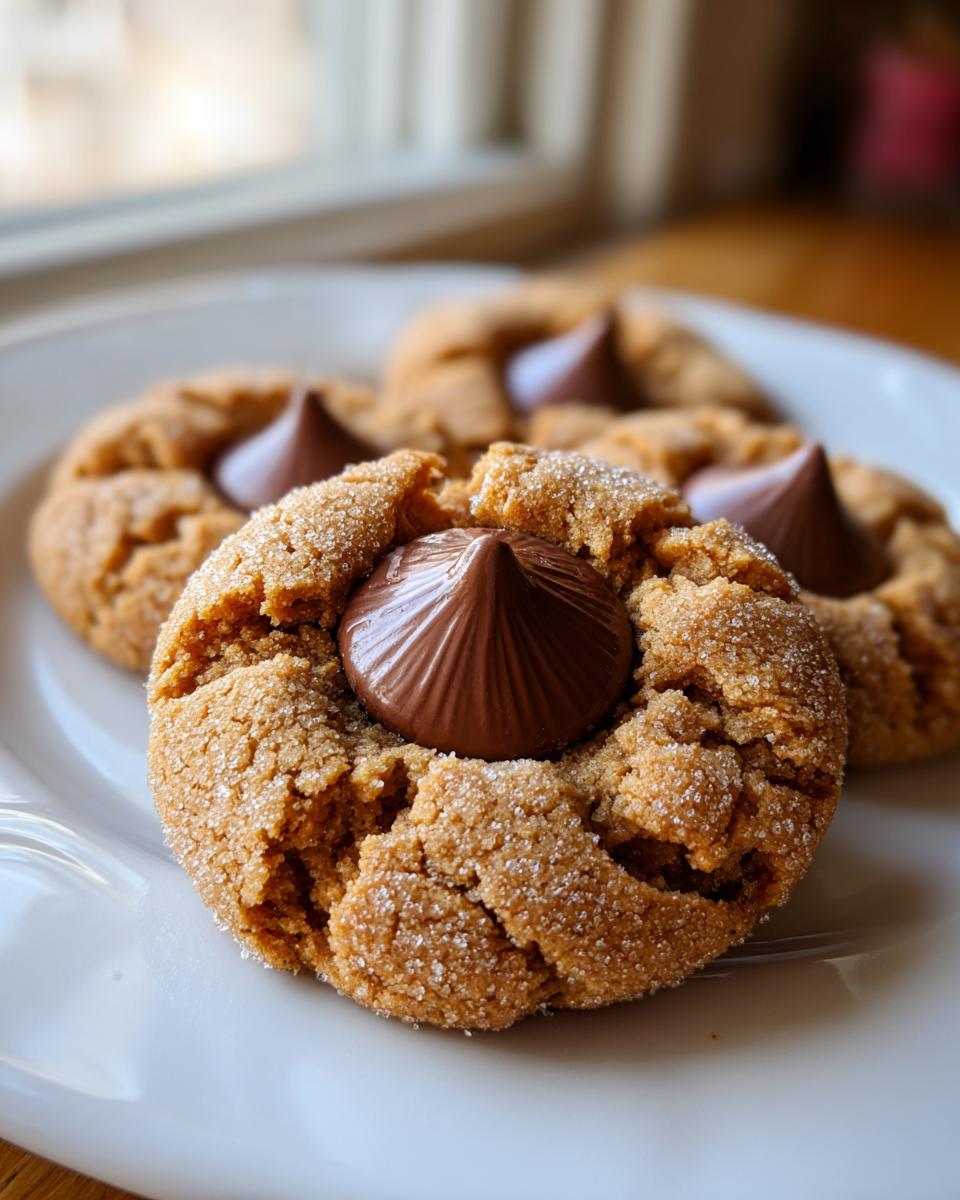
If your house doesn’t smell like cinnamon, melted butter, and that deep, comforting vanilla scent around the holidays, well, something’s missing! For me, that scent is tied directly to memory—the kind of memory that feels like coming home. And honestly, no holiday cookie tray is complete without the one and only classic Peanut Butter Blossoms. These aren’t just cookies; they are the ultimate kiss cookies, bringing together salty, sweet peanut butter with that familiar chocolate cap. I learned to make these because they are proof that truly delicious things don’t need complicated techniques. They are soft, insanely chewy, and truly beginner-friendly. Trust me, if you can roll a ball, you can nail these beauties. Grab your apron and let’s make some magic that feels like it came straight from Grandma’s recipe box. For more sweet inspiration once you’re done, check out my full collection of dessert recipes!
- Why These Peanut Butter Kiss Cookies Define Holiday Baking
- Gathering Ingredients for Classic Kiss Cookies Recipe
- Step-by-Step Instructions for Easy Kiss Cookies
- Ingredient Notes and Substitutions for Your Kiss Cookies
- Variations on Classic Kiss Cookies for Festive Baking
- Making Holiday Kiss Cookies Ahead of Time
- Serving Suggestions for Your Homemade Candy Cookies
- Frequently Asked Questions About Kiss Cookies
- Sharing Your YumDrizzle Kiss Cookies Creations
Why These Peanut Butter Kiss Cookies Define Holiday Baking
Look, there are a million cookie recipes out there, but the Peanut Butter Blossoms nail that perfect balance of simple ingredient respect and maximum comfort. That’s why they are the quintessential kiss cookies for me. They are sturdy enough to ship, but they melt right in your mouth when you bite into them. Here’s why this version truly sings:
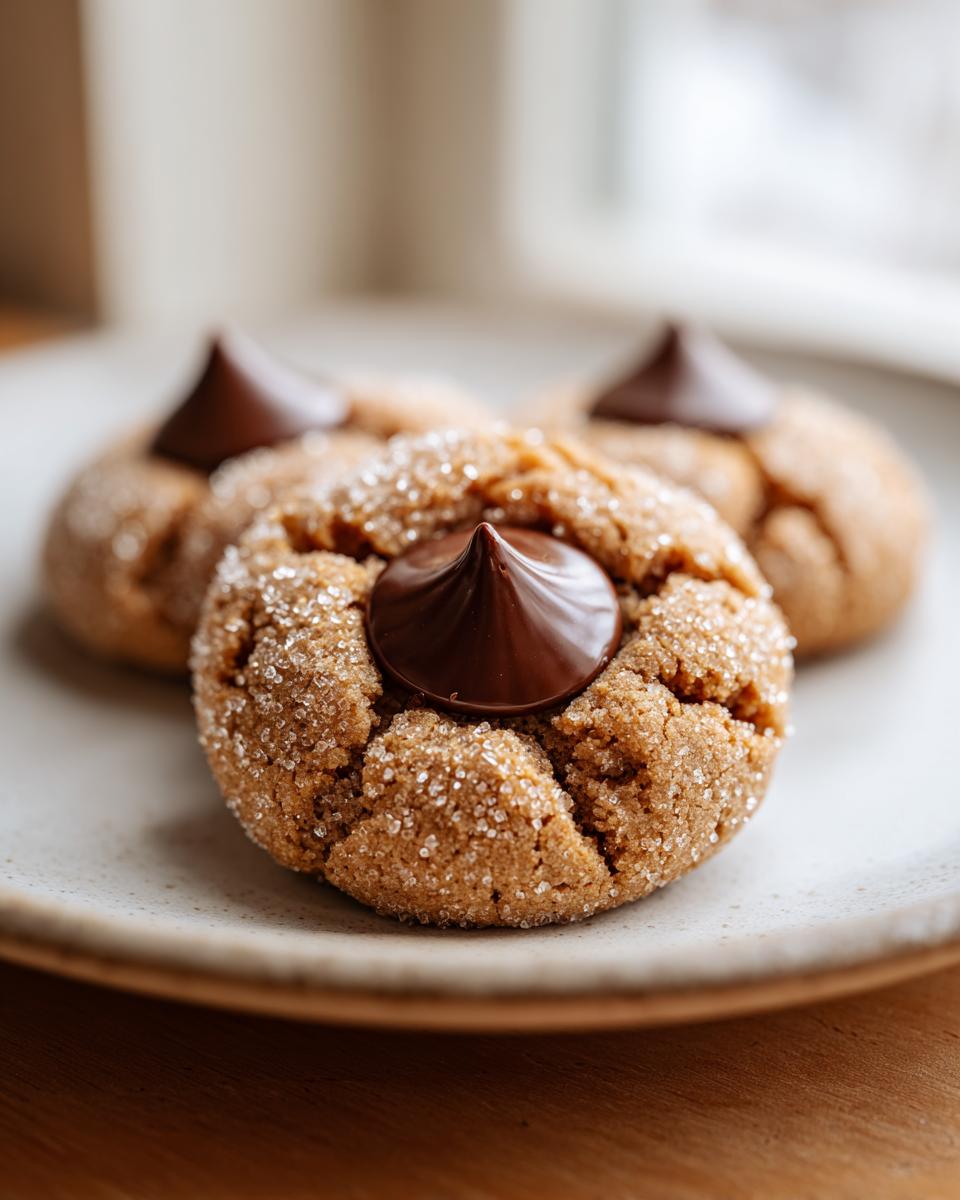
- The texture is exactly what you want—soft, slightly crackled, and impossibly chewy.
- The rich peanut butter flavor stands up perfectly to the sweet, melted milk chocolate top.
- They look like they took all day, but honestly, they come together surprisingly fast.
For more tips on getting that perfect chew in other recipes, you can check out my guide on soft and chewy peanut butter cookies!
Achieving Soft and Chewy Kiss Cookies Texture
The secret sauce here really comes down to the fat and sugar combination, just like in my favorite pound cake recipes. You need that super soft (but not melted!) butter combined with light brown sugar. Brown sugar adds that little bit of molasses that keeps things moist and chewy long after they leave the oven. Listen to me: Don’t walk away when these are baking! Just 8 or 9 minutes is usually all they need. If you bake them until they look brown, they’ll turn into crunchy little hockey pucks, and we definitely don’t want that for our Kiss Cookies.
The Perfect Topping: Pressing in the Hershey Kiss
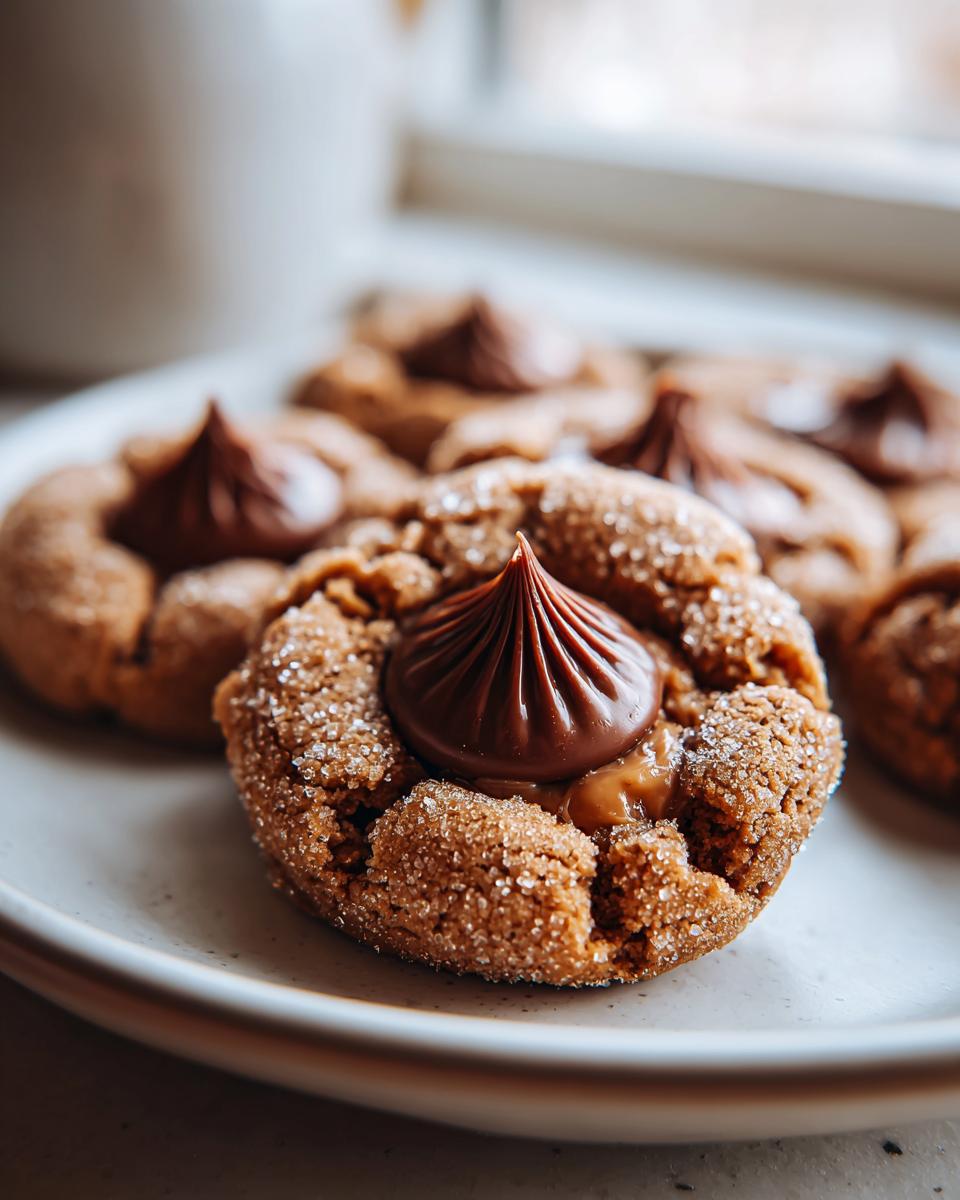
This is the moment that makes the cookie famous, right? You have to work fast here. I always take my Kisses out of the package and stick them right into the freezer about 30 minutes before the cookies even go into the oven. When the cookies come out, they are hot enough to gently soften the chocolate without completely melting it into a puddle. Use the pad of your thumb to gently press the frozen chocolate right into the center of the warm dough. Pressing the frozen Hershey Kiss Cookies instantly stops them from spreading too much and gives you that perfect chocolate halo they’re known for.
Gathering Ingredients for Classic Kiss Cookies Recipe
Alright, let’s talk supplies. When you’re making iconic Kiss Cookies like these Peanut Butter Blossoms, using exactly what the recipe calls for makes all the difference, especially since we aren’t loading these up with tons of extra moisture keepers. You need calm, room-temperature ingredients to get that perfect creamed base for the dough. Before you even preheat that oven, get your Kisses ready, because they need a little chill time!
Here is what you’ll need for about two dozen soft and chewy cookies:
- 1 ½ cups all-purpose flour
- ¾ teaspoon baking soda and ½ teaspoon salt (gotta have that balance!)
- ¾ cup creamy peanut butter—I stick to the classic, smooth kind.
- ½ cup unsalted butter that’s very soft, like nearly spreadable, but not greasy.
- ⅓ cup granulated sugar for the dough, plus another ½ cup of granulated sugar waiting in a shallow dish for rolling.
- ⅓ cup light brown sugar, make sure it’s packed down tight.
- 1 large egg, also at room temperature, please!
- 2 teaspoons pure vanilla extract
- And the star: 28 Hershey’s Kiss candies—unwrapped and already chilling in the freezer!
If you’re looking for a quick cheat for another peanut butter fix that doesn’t involve baking, you’ve got to try my quick, creamy peanut butter fudge!
Step-by-Step Instructions for Easy Kiss Cookies
This recipe shouldn’t intimidate anyone—that’s the point! We want fun, dependable results. Have your baking sheets ready, lined with parchment paper, and make sure your oven is humming along at 375°F (190°C) before you start mixing. If you’re trying to multitask, remember that the dough comes together really fast, which is why having those Kisses frozen solid is your secret weapon here. For more baking ideas that fit into a slightly rushed schedule, check out my collection of easy breakfast recipes—sometimes cookies for breakfast is okay, right?
Mixing the Peanut Butter Cookie Dough Base
First things first, whisk together your dry elements—flour, baking soda, and salt—in a medium bowl. Set that aside. Now, in your big bowl, we need to cream our fats and sugars: the peanut butter, the soft butter, the third cup of granulated sugar, and that packed brown sugar. Beat it until it looks lighter and fluffy; this is where those little air pockets start forming for our Kiss Cookies. Then, beat in your room-temperature egg and the vanilla extract, but stop mixing right when they disappear. We’re mixing just enough to combine everything smoothly!
Rolling and Coating Your Kiss Cookies Dough Balls
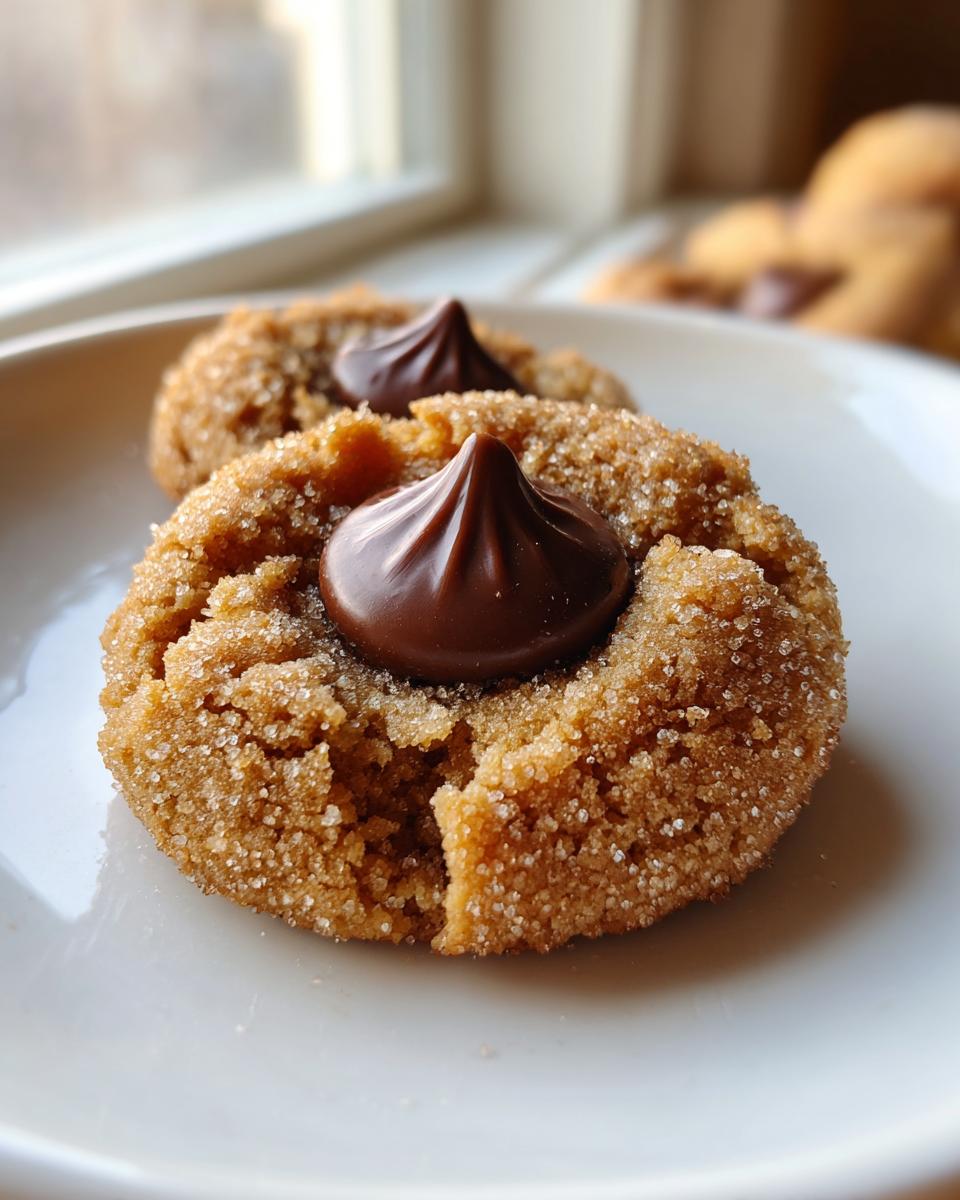
Once the flour mixture is in and just barely makes a dough, stop the mixer! Don’t overdo it, or you’ll lose that soft texture we worked so hard for. Pour the remaining half cup of granulated sugar into a shallow dish. Scoop out your dough and roll it into neat, uniform 1-inch balls. I try to make them pretty accurate so they all bake evenly. Every single one of those dough balls needs a good, thorough roll in that plain sugar until it’s totally coated. That coating is what gives the outside of the cookie that signature beautiful crackle that contrasts with the soft interior.
Baking and Applying the Hershey Kiss to Warm Kiss Cookies
Place those sugared balls about two inches apart on your prepared sheets. Pop them into the hot oven for only 8 to 10 minutes. You are looking for the edges to look just lightly set—they’ll still look a little underdone in the middle, and that is perfect! Pull the pan out, and immediately, gently press one of those frozen, unwrapped Kisses right into the center of each warm cookie. Let them sit right there on the hot pan for about five minutes. This resting period lets the chocolate melt just slightly while the cookie structure supports it. Then, carefully move your beautiful Kiss Cookies to a wire rack to finish cooling down.
Ingredient Notes and Substitutions for Your Kiss Cookies
Okay, I know sometimes you open your pantry and you just don’t have exactly what the recipe calls for. That’s real life! But for these Kiss Cookies, a couple of ingredients really matter for texture, so a few tips can save you a batch. Don’t stress too much, though; a little flexibility is always good in the kitchen. We want these to be your favorite holiday bake, not a source of frustration!
If you’re missing something, you can always check out my deep dive on making a sourdough starter, just in case you decide to go a totally different route next time! But for these Blossoms, read on.
Peanut Butter Choice for Blossom Cookies
This is a big one, folks. You absolutely need creamy peanut butter here, not the natural kind where the oil separates. Why? Because that natural or oily peanut butter won’t give you the right structure in the dough. It ends up too soft, meaning your Blossom Cookies spread too much in the oven, and you won’t get enough height to press that chocolate down firmly. Stick to Jif or Skippy—the processed, creamy stuff is the hero here for that classic, soft, rollable dough.
Variations on Classic Kiss Cookies for Festive Baking
My favorite thing about baking is how one great dough base can turn into a whole party platter of treats. Once you master these classic peanut butter Kiss Cookies, you won’t stop! The internet is just bubbling over with amazing ways people have adapted this concept, and honestly, why wouldn’t you? Who says a chocolate kiss has to sit on peanut butter? You can totally play with the flavors of the cookie itself.
You get the bright pink ones, the dark ones, even ones that taste like Christmas spice. If you’re looking for a different kind of decadence, you should definitely sneak a peek at my recipe for moist and fluffy red velvet cake—that technique can inspire some fun holiday colors!
Trying Red Velvet Blossoms or Gingerbread Kiss Cookies
Think about swapping out the peanut butter base for something totally different. For instance, you can take a standard sugar cookie dough—maybe one that doesn’t spread too much—and add a couple of tablespoons of cocoa powder to it for a rich Chocolate Kiss Cookie. Or, if you want that deep holiday warmth, you can try making Gingerbread Kiss Cookies. That means cutting back a bit on the sugar in the dough recipe and introducing lots of ginger, cinnamon, and maybe a touch of cloves. You’d roll those spice balls in the cinnamon sugar coating instead of plain white sugar for an extra layer of flavor before pressing the kiss in right after they bake.
I even saw where folks dip the whole cookie in melted white chocolate before adding a different kind of Kiss, like the Candy Cane ones. And for a tart burst, you can look up recipes like the Cherry Kiss Cookies—they use those little bursts of maraschino flavor which is just wild!
Making Holiday Kiss Cookies Ahead of Time
The holidays get hectic fast, so I always encourage readers to get these delicious Holiday Kiss Cookies done ahead of schedule if they can! The great news is that the peanut butter dough freezes like a dream before you even bake it. You can scoop those little balls, coat them in sugar, and freeze them hard on a cookie sheet. Once they’re frozen, transfer them to an airtight container. When you’re ready to bake, just add a couple of minutes to the standard baking time to account for the frozen dough.
If you’ve already baked them, keep them in a single layer or with parchment between the layers in a sealed container, and they stay fresh for up to five days. Check out my easy Christmas sugar cookie bars for another great make-ahead option!
Serving Suggestions for Your Homemade Candy Cookies
Every cookie needs a true friend to enjoy it with, right? These Homemade Candy Cookies are rich, so you want something that cuts through that peanut butter and chocolate beautifully. For a cozy evening, forget plain milk—try making up a batch of my spiced apple cider Moscow Mules; the ginger and spice are just fantastic alongside baked goods!
If you’re looking for a non-alcoholic pairing, a strong, dark black coffee or even just a cold, crisp glass of whole milk works wonders. They’re perfect for piling high on a tiered stand next to fudge or salty holiday pretzels!
Frequently Asked Questions About Kiss Cookies
I always get so many questions when I post these! It means you’re loving them, which is the best endorsement. Since these Kiss Cookies are such a classic, folks worry about messing up that delicate balance between the soft cookie and the perfect chocolate top. Don’t worry one bit; we’ve covered the main hiccups already, but here are a few more quick tips I always keep handy.
Can I use a different type of peanut butter in this Kiss Cookies Recipe?
I’m going to harp on it one last time because it’s that important for the texture: stick to creamy peanut butter for this specific Kiss Cookies Recipe if you want that soft, chewy result. Natural peanut butter is just too oily and won’t hold its shape when you roll those dough balls. If you are using crunchy, you might get a slightly different texture, and they will spread a bit more, so keep an eye on them in the oven!
How do I stop the Kisses from melting completely when I press them in?
This is the key to getting that perfect little hat shape! The absolute must-do is freezing those Kisses solid beforehand. Then, you MUST press them into the cookies the very second they come out of the oven—don’t wait even a minute longer than necessary. The cookie needs that heat to soften the chocolate base, but the cold chocolate fights back long enough to keep its iconic shape as the cookie cools. It’s chocolate warfare, and the frozen Kiss usually wins!
Are Peanut Butter Blossoms considered Christmas Cookie Recipes?
They absolutely are! Peanut Butter Blossoms are right up there with shortbread and frosted sugar cookies as true hallmarks of Christmas Cookie Recipes. They show up on almost every cookie platter around here from Thanksgiving right through New Year’s. If you need more ideas for decking out your holiday spread, make sure you check out my guide on easy appetizer recipes—you need some savory snacks next to all this sweet stuff!
Sharing Your YumDrizzle Kiss Cookies Creations
Whew! You just made the official cookie of cozy comfort, and I am so proud of you. Whether these are piled high for a big family Christmas party or tucked away for a quiet afternoon snack with a mug of coffee, I want to know how they turned out for you!
Baking is always better when we share the results, right? Snap a picture of your beautiful batch of Kiss Cookies—I love seeing how that chocolate Kiss sits perfectly atop your chewy peanut butter base. Rate this recipe below and let me know if you tried any of those fun variations we talked about, like maybe turning them into Red Velvet Blossoms!
If you have any burning questions that I somehow missed, please don’t hesitate to reach out through my contact page. Go share the love, and I can’t wait to see what delicious thing you’re whipping up next!
PrintClassic Peanut Butter Blossoms (Kiss Cookies)
Make these soft and chewy Peanut Butter Blossoms, a classic holiday cookie topped with a melted Hershey’s Kiss. This recipe is beginner-friendly and delivers rich, familiar flavor.
- Prep Time: 20 min
- Cook Time: 10 min
- Total Time: 30 min
- Yield: About 28 cookies 1x
- Category: Dessert
- Method: Baking
- Cuisine: American
- Diet: Vegetarian
Ingredients
- 1 ½ cups all-purpose flour
- ¾ teaspoon baking soda
- ½ teaspoon salt
- ¾ cup creamy peanut butter
- ½ cup unsalted butter, very soft
- ⅓ cup granulated sugar (for dough)
- ½ cup granulated sugar (for rolling)
- ⅓ cup light brown sugar, packed
- 1 large egg, room temperature
- 2 teaspoons vanilla extract
- 28 Hershey’s Kiss candies, unwrapped and frozen
Instructions
- Preheat your oven to 375°F (190°C). Line baking sheets with parchment paper.
- In a medium bowl, whisk together the flour, baking soda, and salt. Set aside.
- In a large bowl, beat the peanut butter, soft butter, ⅓ cup granulated sugar, and brown sugar until creamy.
- Beat in the egg and vanilla extract until just combined.
- Gradually add the dry ingredients to the wet ingredients, mixing on low speed until a dough forms.
- Place the remaining ½ cup of granulated sugar in a shallow dish.
- Roll the dough into 1-inch balls. Roll each ball in the granulated sugar to coat completely.
- Place the sugared dough balls about 2 inches apart on the prepared baking sheets.
- Bake for 8 to 10 minutes, or until the edges are lightly set. Do not overbake.
- Immediately upon removing the cookies from the oven, gently press one frozen, unwrapped Hershey’s Kiss into the center of each warm cookie.
- Let the cookies cool on the baking sheet for 5 minutes before transferring them to a wire rack to cool completely. The Kiss will soften slightly as the cookie cools.
Notes
- Freezing the Kisses before pressing them into the warm cookies helps them hold their shape better.
- Use creamy peanut butter for the best texture in this recipe.
- You can substitute Hershey’s Hugs or other chocolate kisses if desired.
Nutrition
- Serving Size: 1 cookie
- Calories: 160
- Sugar: 12g
- Sodium: 110mg
- Fat: 9g
- Saturated Fat: 3g
- Unsaturated Fat: 6g
- Trans Fat: 0g
- Carbohydrates: 18g
- Fiber: 1g
- Protein: 4g
- Cholesterol: 15mg