
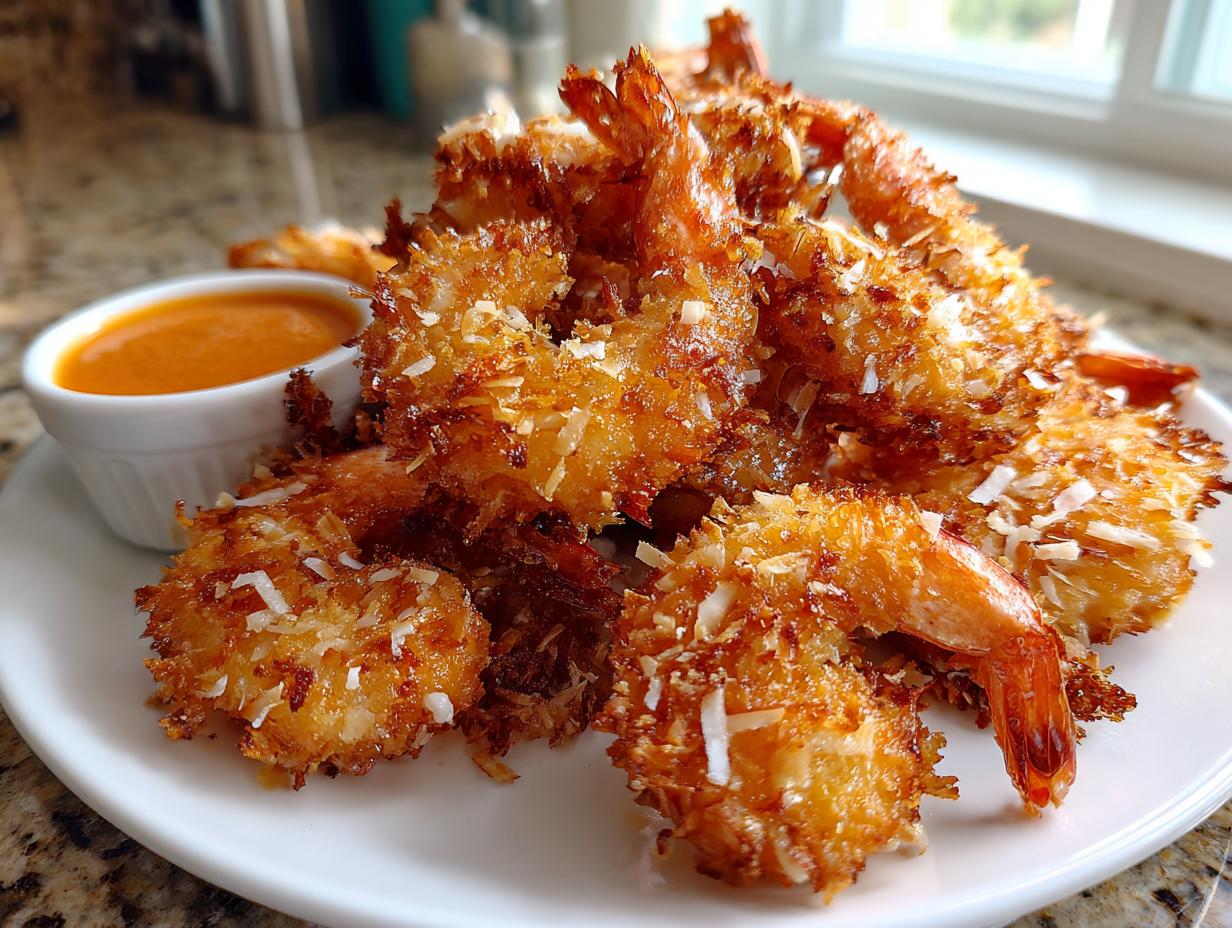
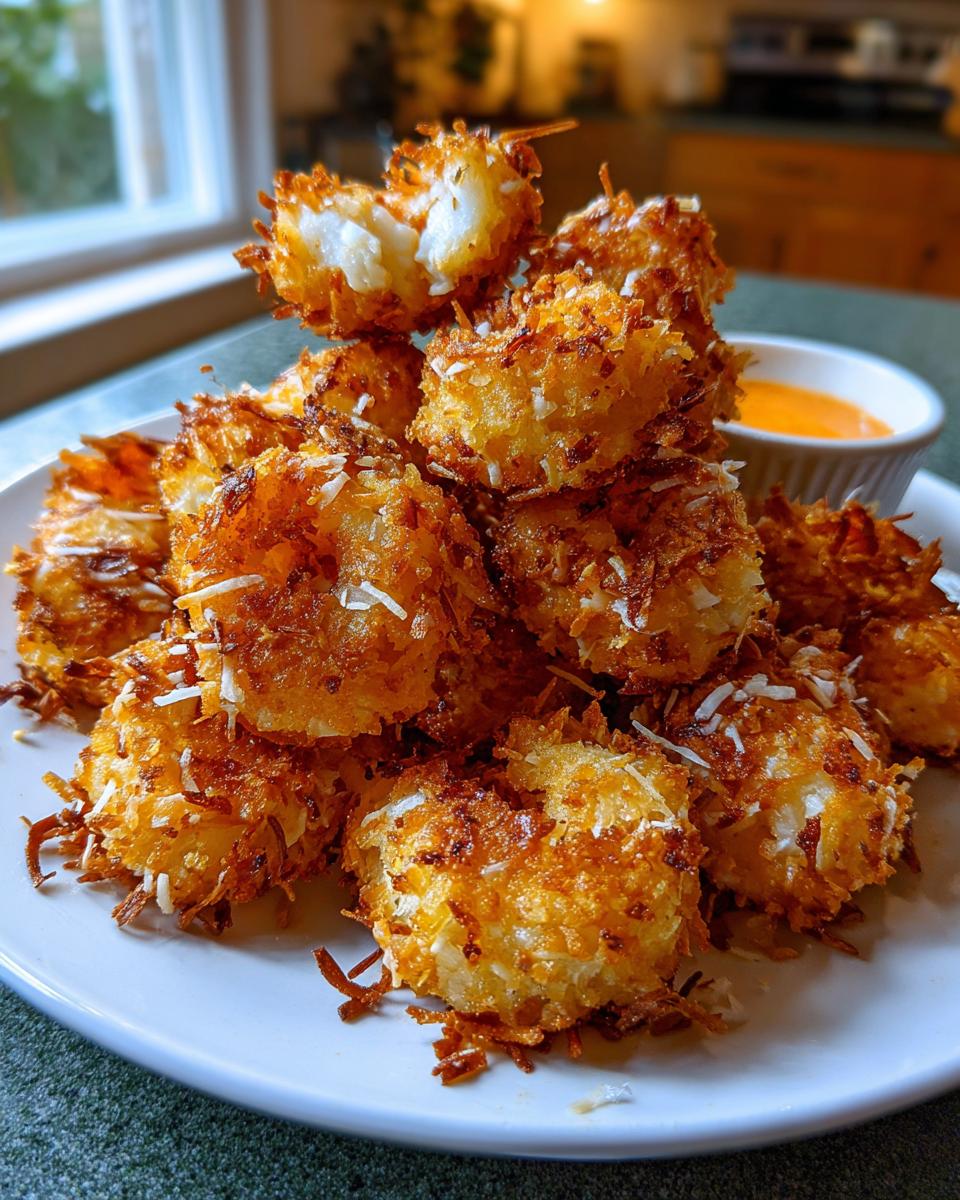
Man, you know that craving. That moment when you just *need* that perfect appetizer—the kind you usually only find at a nice place or that amazing all-you-can-eat buffet? I’m talking about the golden, crunchy, sweet, and savory masterpiece that is truly great coconut shrimp.
When I was on the road, watching bands and living off cheap airport food, I chased that flavor everywhere. I realized you don’t need a complicated setup to get that restaurant-style perfection. Here at YumDrizzle, we make sure you get it right, every single time. That’s why I put together this ultimate guide.
This recipe is the real deal because it works for YOUR life. Whether you want it deep-fried for pure indulgence, baked for a lighter option, or zapped quickly in the air fryer, we nail the texture. Trust me, Jaxson Riley knows a thing or two about resourcefulness, and this simple approach proves you can create incredible flavor without stressing out in the kitchen one bit.
- Why This Ultimate Crispy Coconut Shrimp Recipe Works for Everyone
- Ingredients for Perfect Coconut Shrimp
- Crafting the Essential Dipping Sauces for Coconut Shrimp
- Step-by-Step Instructions for Restaurant Style Coconut Shrimp
- Cooking Methods: Achieving the Best Crispy Coconut Shrimp
- Tips for Success: Making Homemade Buffet Style Shrimp Every Time
- Serving Suggestions for Your Tropical Shrimp Appetizer
- Storage and Reheating Instructions for Crispy Coconut Shrimp
- Frequently Asked Questions About Coconut Shrimp
Why This Ultimate Crispy Coconut Shrimp Recipe Works for Everyone
Look, I’ve seen too many people get intimidated by appetizers that look fancy but taste… meh. What makes this recipe special is that it always delivers that golden, audible *crunch* you expect from the best restaurants. It’s versatile enough for a huge crowd, but simple enough for Tuesday night.
We’ve designed this recipe around real life. You get maximum flavor payoff without needing specialized equipment or hours of prep. This is how you make unbeatable Party Shrimp Appetizers that disappear instantly, or turn it into a perfectly satisfying Weeknight Seafood Dinner.
Achieving Maximum Crunch with Panko Crusted Shrimp
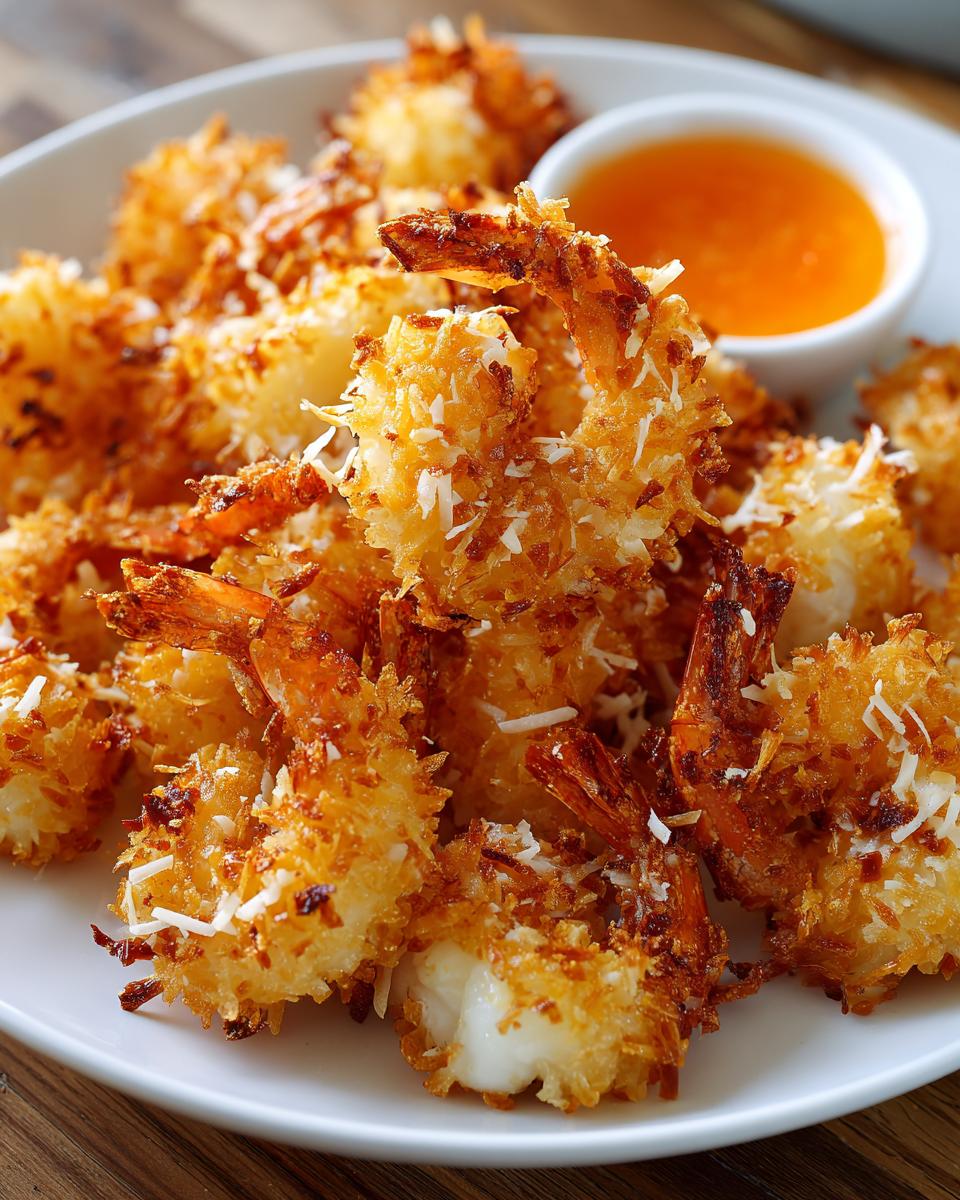
If you want crunch that lasts, you have to ditch regular breadcrumbs sometimes. The secret weapon here is that blend of shredded coconut and Panko. Panko crumbs are light and airy, which means when they hit the heat, they puff up and create a spectacular, shatteringly crisp coating around the shrimp. That’s the texture centerpiece of amazing coconut shrimp.
It’s what separates a good snack from a legendary one, guaranteeing you that perfect bite every time.
Flexibility: Frying, Baking, or Air Fryer Shrimp Appetizer Options
I get it—not everyone wants to deal with hot oil, and sometimes you just need dinner done faster than the time it takes to preheat a deep fryer. That’s why this recipe is built around three ways to cook!
You can fry, bake, or use your air fryer. If you’re looking for a healthier option that still packs a punch, the Air Fryer Shrimp Appetizer version is ridiculously good. You get the crunch without the cleanup fuss.
Ingredients for Perfect Coconut Shrimp
Okay, pulling this off successfully starts with the right lineup. Don’t skimp here; these simple components are what build that restaurant-quality bite we’re chasing. You’ll need three main elements lined up on your station: the flour dredge, the egg dip, and the crunchy coating.
Here’s what you need for that perfect, juicy shrimp coating:
- 1 pound large shrimp, peeled and deveined (tails on or off, your call!)
- 1 cup all-purpose flour
- 2 large eggs, beaten well
- 1 cup sweetened flaked coconut
- 1 cup panko breadcrumbs
- 1 teaspoon salt
- 1/2 teaspoon black pepper
- Vegetable oil, for frying (if you choose that route!)
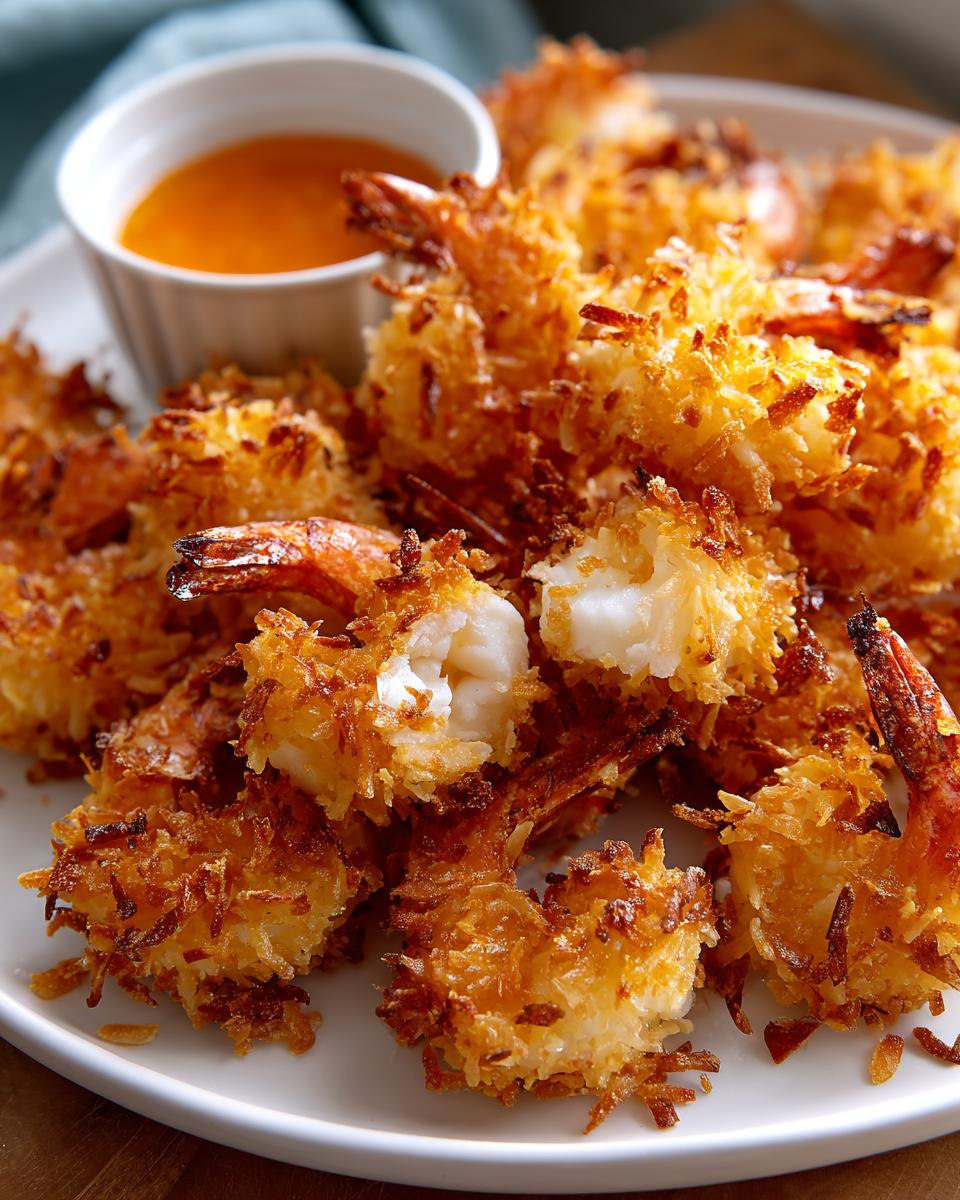
A quick tip from my roadie days: try to find the biggest shrimp you can, usually labeled 21/25 count. When you fry them, those bigger guys stay tender and juicy inside even though the coating gets perfectly golden. Small shrimp turn rubbery too fast, and we want juicy every time!
Crafting the Essential Dipping Sauces for Coconut Shrimp
Okay, we’ve got the crispy shrimp ready to go, but let’s be real—the sauce is half the battle! You can’t just serve up amazing coconut shrimp naked. It needs that sweet, spicy, or tangy element to really bring that tropical vibe home. I found that two go-to sauces cover almost every craving my bandmates ever had.
These dips take literally two minutes to throw together, and you can whip them up while you’re chilling the breaded shrimp. If you don’t make a sauce, you’re missing out on the full experience, trust me!
Quick Sweet Chili Dipping Sauce for Shrimp
This is the classic, the standby, the one everyone recognizes! You don’t need to boil anything down for hours. Just grab your favorite store-bought sweet chili sauce. To make it a true game-changer that pairs perfectly with this shrimp, I like to thin it out just a touch. Mix about a half-cup of the Sweet Chili Dipping Sauce for Shrimp with a teaspoon of fresh lime juice or a tiny splash of rice vinegar. It brightens up the sweetness instantly. Done. Seriously, that’s it!
Simple Coconut Shrimp with Pineapple Sauce
If you want that ultra-tropical flavor profile, you need pineapple involved. This sauce is super easy to make at home. Get yourself a small can of crushed pineapple (drained, mostly). In a little saucepan, mix that pineapple with maybe two tablespoons of brown sugar and a half-teaspoon of cornstarch dissolved in a tablespoon of water. Warm it gently, stirring until it thickens slightly—just enough to cling to the shrimp when you dip it. It’s tangy, sweet, and absolutely heavenly with that crunchy coating.
Step-by-Step Instructions for Restaurant Style Coconut Shrimp
Alright, let’s get messy! The magic happens way before the shrimp hits the oil or the air fryer basket. It’s all about setting up a clean, efficient dredging station. When I was cooking for the band in tiny hotel kitchens, organization was everything, and that advice holds true for this coconut shrimp.
First thing’s first: Pat those shrimp completely dry. I mean bone-dry. Grab a stack of paper towels and press down on every single shrimp. If they are damp, your flour won’t stick, and trust me, a wet coating equals a soggy, sad shrimp wrap. This dryness is the key to happiness here. Once they’re dry, organize your three dishes.
Setting Up Your Dredging Station for Juicy Shrimp Coating
Your three stations need to flow perfectly, one right after the other, to guarantee that rich, Juicy Shrimp Coating:
- Dish 1 (The Binder): Mix your flour with the salt and pepper. This dries the surface just enough.
- Dish 2 (The Glue): This is your beaten egg wash. It sticks everything together.
- Dish 3 (The Crunch): Combine your flaked coconut and those amazing Panko breadcrumbs.
Now, work one shrimp at a time: flour, shake off excess; egg, let it drip a bit; then press firmly into the coconut-Panko mix. Press it in there! You want every single nook and cranny covered before setting it on parchment paper. If you have time—and I highly recommend it—pop that sheet into the fridge for 15 minutes. It locks the coating in place for cooking, leading to less fallout later on. If you’re in a rush, though, just move straight to cooking, like when I had to whip up quick shrimp before a gig!
Cooking Methods: Achieving the Best Crispy Coconut Shrimp
Now for the moment of truth! This recipe is fantastic because it doesn’t force you into one cooking style. Honestly, whether you’re looking for that deeply golden, classic crunch or trying to keep things lighter, we have a method that wins. Getting the temperature right is the make-or-break point for any fried or coated food, and getting this right shows you have the confidence of someone who knows food!
I’m going to walk you through the three ways to finish these beauties so you can pick the right road for your kitchen tonight. Whether you’re aiming for a perfect Baked Coconut Shrimp or going full indulgence, these times and temps are what you need.
Deep Frying for Classic Crunchy Seafood Snack
If you want that true, straight-from-the-restaurant experience—the one that’s shatteringly crunchy on the outside and pulls away slightly from the shrimp meat—you need oil, and you need it hot. Heat about two inches of vegetable oil in a deep-sided skillet until it hits 350°F. Trust me, use a thermometer! If it’s not hot enough, the crust soaks up oil and gets greasy instead of crunchy.
Don’t crowd the pan! Fry your shrimp in small batches for about 2 to 3 minutes per side. They cook fast, so watch them until they are perfectly golden brown. When they come out, immediately place them on a wire rack, never paper towels, to keep that bottom side crisp. That’s how you get the best Crunchy Seafood Snack.
Tips for the Healthier Coconut Shrimp Recipe (Baking and Air Frying)
Want that tropical flavor without dunking everything in oil? No problem. For the oven, preheat to a hot 400°F. After you coat your shrimp, place them on a parchment-lined baking sheet and give them a generous spray of cooking oil. That little bit of fat helps the Panko toast up. Bake them for 12 to 15 minutes, and make sure you flip them halfway through so they brown evenly.
If you rely on the air fryer, set it to 380°F. Again, hit them with cooking spray—this is crucial for that golden color! Cook them in a single layer for about 8 to 10 minutes total, flipping halfway. The air fryer is my go-to when I need an Air Fryer Shrimp Appetizer ready in a flash without the post-fry cleanup worry.
Tips for Success: Making Homemade Buffet Style Shrimp Every Time
You’ve mastered the coating and you’ve picked your cooking method—now let’s talk about the small tweaks that turn good Homemade Buffet Style Shrimp into legendary party food. Even with a solid recipe, a couple of habits can make or break that final crunch.
Remember when I mentioned chilling the shrimp after breading? That’s honestly massive advice. Back when we were touring, sometimes the prep space was tight, and I wouldn’t have time to chill them. The difference was shocking—the coating would flake off in the hot oil! Chilling the breaded shrimp for about 15 minutes in the fridge lets that coating really set up, so it adheres like glue when it hits the heat. It’s worth the wait, promise.
Also, think about your coconut! The recipe calls for sweetened flakes, which is classic, but if you’re watching sugar or just want a more subtle tropical note, go for unsweetened flakes instead. That’s an easy swap.
And don’t forget, these shrimp are awesome as an appetizer, but they make a fantastic weeknight seafood dinner too! Serve four or five big ones over a simple rice pilaf or with a big green salad, and you’ve got a meal that feels way fancier than the effort it took.
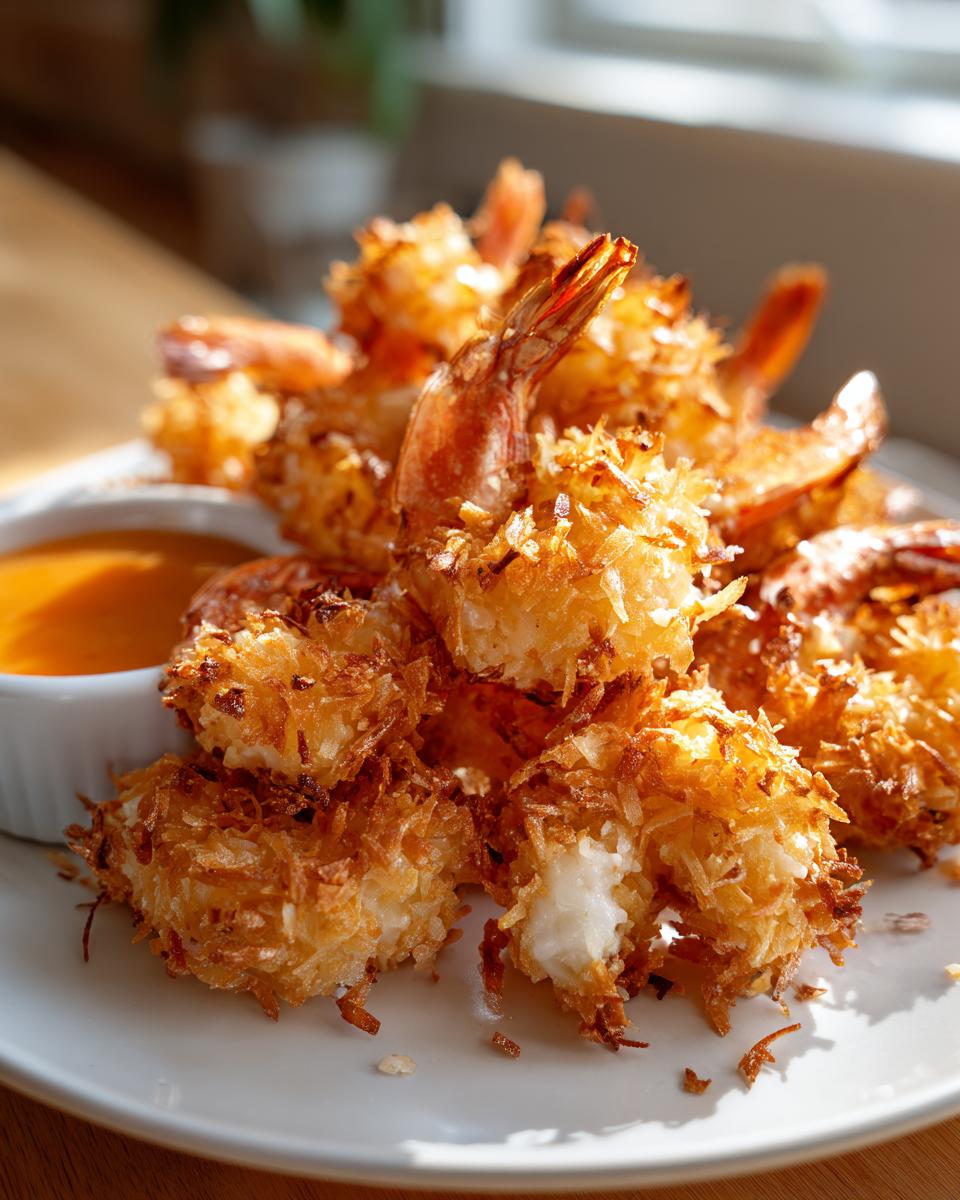
Serving Suggestions for Your Tropical Shrimp Appetizer
We made these so you could eat them, right? While they are absolutely amazing straight off the cooling rack as the ultimate party shrimp appetizer, don’t stop there! If you’re having a night where you want something quick but still exciting, these work beautifully as a light weeknight seafood dinner.
For a main course, serve about five nice crispy ones per person over a bed of fluffy rice—maybe my garlic and herb pilaf? Or, if you want to keep it light and tangy, throw them onto a big bed of crisp mixed greens with some sliced mango and finish it with a drizzle of that pineapple dipping sauce. That turns it into one heck of a tropical shrimp appetizer that eats like a whole meal!
Storage and Reheating Instructions for Crispy Coconut Shrimp
So, what happens when you actually have leftovers? Bless your heart for having any left at all! Because these are heavily coated, the texture doesn’t last quite as long as, say, a baked potato. If you have any of this amazing coconut shrimp left over, the key is quick storage and using the right tool for reheating.
First, let any fried shrimp cool completely to room temperature on a wire rack. Do not seal them up hot, or you’ll steam that beautiful crunch right out of existence! Once totally cool, tuck them into a single layer in an airtight container. They’ll keep okay in the fridge for maybe two days, max.
Now, the reheating part—this is crucial. Please, for the love of crispiness, don’t use the microwave. You’ll get sad, spongy shrimp. The absolute best method is revisiting the air fryer. Pop the cooled shrimp directly into the air fryer basket, making sure they aren’t overlapping at all. Heat at about 375°F for just 4 to 6 minutes. That blast of hot air re-crisps that Panko shell beautifully, bringing it right back to life, making it taste almost fresh-fried again. If you don’t have an air fryer, a quick toast in a 400°F oven will work, but watch it closely so the coconut doesn’t burn!
Frequently Asked Questions About Coconut Shrimp
I get a ton of emails asking the same few things when people first try making these at home. It’s natural! Cooking restaurant-quality food can feel tricky, but once you know these little hacks, you’ll be making the best shrimp appetizer on the block.
Can I use frozen shrimp for this easy coconut shrimp recipe?
Oh, absolutely you can! Life is busy, and having a bag of frozen shrimp in the freezer is key for a quick shrimp recipe. The main thing—and I mean the *main* thing—is that you have to thaw them completely first. Once thawed, you need to treat them exactly like fresh shrimp: pat them down with paper towels until they feel dry to the touch. If they are even a little damp after thawing, that flour coating won’t stick for beans!
What is the secret to making the coconut coating stick?
We talked about this a bit in the step-by-step, but it bears repeating because it’s make-or-break! The secret is twofold. First, the shrimp must be completely dry before they even see the flour. Second, after dipping your shrimp in the egg wash, you need to really press it into that coconut-Panko mix. Don’t just gently roll it; physically press that coating onto the shrimp so it adheres well. If you chill them afterward, it sets even harder!
Is this recipe suitable for a weeknight seafood dinner?
One hundred percent! That’s why I love giving you the cooking options. If you use the air fryer method, start to finish, you are looking at maybe 25 minutes total, max. That puts it right in the sweet spot for a fast, impressive weeknight seafood dinner. You get that delicious, crispy flavor profile without sacrificing your entire evening to the kitchen.
PrintUltimate Crispy Coconut Shrimp with Two Essential Dipping Sauces (Air Fryer, Baked, and Fried Options)

You can make restaurant-style coconut shrimp at home that is perfectly crispy, juicy, and tropical. This recipe gives you options for frying, baking, or air frying to achieve maximum crunch, plus two simple dipping sauces.
- Prep Time: 20 min
- Cook Time: 15 min
- Total Time: 35 min
- Yield: 4 servings 1x
- Category: Appetizer
- Method: Frying/Baking/Air Frying
- Cuisine: American
- Diet: Vegetarian
Ingredients
- 1 pound large shrimp, peeled and deveined, tails on or off
- 1 cup all-purpose flour
- 2 large eggs, beaten
- 1 cup sweetened flaked coconut
- 1 cup panko breadcrumbs
- 1 teaspoon salt
- 1/2 teaspoon black pepper
- Vegetable oil, for frying (if frying)
Instructions
- Set up your dredging station. Place flour, salt, and pepper in one shallow dish. In a second dish, place the beaten eggs. In a third dish, combine the flaked coconut and panko breadcrumbs.
- Pat the shrimp completely dry with paper towels. This step helps the coating stick and promotes crispiness.
- Take one shrimp and dredge it lightly in the flour mixture, shaking off any excess.
- Dip the floured shrimp into the egg wash, letting excess drip off.
- Press the shrimp firmly into the coconut-panko mixture, coating it completely. Place the coated shrimp on a baking sheet lined with parchment paper.
- For Frying: Heat 2 inches of oil in a deep skillet to 350°F (175°C). Fry the shrimp in batches for 2-3 minutes per side until golden brown and cooked through. Remove and drain on a wire rack.
- For Baking: Preheat your oven to 400°F (200°C). Lightly spray the coated shrimp with cooking spray. Bake for 12-15 minutes, flipping halfway, until golden.
- For Air Frying: Preheat the air fryer to 380°F (195°C). Lightly spray the shrimp with cooking spray. Cook in a single layer for 8-10 minutes, flipping halfway, until crispy.
- Serve your crispy coconut shrimp immediately with your choice of dipping sauce.
Notes
- For the crispiest coating, chill the breaded shrimp for 15 minutes before cooking.
- If you want a less sweet coating, use unsweetened coconut flakes.
- For a weeknight seafood dinner, serve these over rice with a side of steamed broccoli.
Nutrition
- Serving Size: 4 shrimp
- Calories: 350
- Sugar: 12
- Sodium: 450
- Fat: 18
- Saturated Fat: 10
- Unsaturated Fat: 8
- Trans Fat: 0
- Carbohydrates: 28
- Fiber: 2
- Protein: 18
- Cholesterol: 150