
If you’re like me, coffee isn’t just a drink; it’s the essential launching pad for the whole day. But seriously, dealing with those massive, preservative-laden tubs from the grocery store? No thanks. After years of chasing the best, simplest flavors on the road, Jaxson Riley learned that incredible flavor doesn’t require magic—it requires respect for real ingredients mixed quickly. That’s why I obsess over sharing things like this **homemade coffee creamer**. It whips up in under five minutes, tastes unbelievably better than anything you buy, and instantly upgrades your morning routine. Forget the industrial junk; we’re making something superior right now. If you love making simple but bold flavors, you have to check out my trick for an amazing < sour cream coffee cake soon!
- Why This is the Best Homemade Coffee Creamer You Will Make
- Ingredients for Your Easy Coffee Creamer Recipe
- How to Make Homemade Coffee Creamer at Home in 5 Minutes
- Flavor Variations for Your Homemade Coffee Creamer
- Storage and Shelf Life for Your Homemade Coffee Creamer
- Troubleshooting Common Homemade Coffee Creamer Issues
- Frequently Asked Questions About Homemade Coffee Creamer
- Estimated Nutrition for This Homemade Coffee Creamer Recipe
- Share Your Favorite Homemade Coffee Creamer Creation
Why This is the Best Homemade Coffee Creamer You Will Make
I’ve seen every kind of coffee hack out there, but nothing beats walking into the kitchen knowing you have a fresh, creamy additive waiting for you. That big, bright flavor you expect from a gourmet coffee bar? You can nail that right here. When I was on the road, finding a decent cup was a battle, which is why I put so much energy into making things taste incredible with minimal fuss. This recipe is the result of that hunt. It’s truly the **best homemade coffee creamer** because it’s entirely natural and uses ingredients I actually recognize. Honestly, once you see how easy this is, you’ll never go back to the stuff in the plastic jug. You deserve a **natural coffee creamer** that actually tastes like cream and vanilla, not chemicals. It’s so much **better than store bought creamer**! You can read more about the incredible simplicity over at < this guide.
My philosophy from those busy tour days rings true here: simple ingredients prepared well yield the best results. Forget complicated ratios; this is about boosting your daily ritual without adding stress. And trust me, if you want inspiration for other simple kitchen wins, my < coffee cake cookies will change your life. Or when you need a great frosting base, check out my < vanilla buttercream recipe for comparison!
Quick Prep Time for Your Morning Routine Coffee Upgrade
We’re talking five minutes, tops. That’s the beauty of this DIY coffee creamer. You don’t need precision cooking; you just need a jar and a short window before you need to leave the house. This speed allows you to instantly upgrade your **morning routine coffee upgrade** from dull to delightful without losing precious time. Shake it up, toss it in the fridge, and enjoy creamy coffee goodness all week long!
Ingredients for Your Easy Coffee Creamer Recipe
You only need four main things to get this going, which is why I love calling this an **easy coffee creamer recipe**. I always keep these staples on hand. If you stocked up on my favorite < 3-ingredient butter cookies mix, chances are you already have most of this stuff floating around!
- 1 cup Half and Half (or whole milk for a lighter version)
- 1/2 cup Sweetened Condensed Milk (or substitute with 1/4 cup granulated sugar plus 1/4 cup regular milk for a condensed milk free creamer)
- 1 tablespoon Vanilla Extract (please use the pure stuff, your coffee deserves it!)
- 1 teaspoon Maple Syrup (this is optional, but it really wakes up the sweetness if you like it extra decadent)
Ingredient Notes and Sweetened Condensed Milk Free Creamer Options
Okay, let’s talk swaps, because sometimes you run out of the good stuff. If you don’t have sweetened condensed milk, don’t panic! You can easily make a **sweetened condensed milk free creamer** mix by using 1/4 cup of regular granulated sugar mixed with 1/4 cup of basic regular milk. Give it an extra hard shake, but that totally works. Also, if you need a **dairy free coffee creamer diy** version, try using creamy, full-fat canned coconut milk or a rich oat milk instead of the Half and Half. It changes the profile slightly, but it’s still amazing!
How to Make Homemade Coffee Creamer at Home in 5 Minutes
Seriously, this is the easiest part of the whole process. We aren’t baking; we aren’t standing over a hot stove. You just need a clean jar with a tight lid—one that you’re sure won’t leak, because you are going to shake this thing!
- First up, gather every single thing on your ingredient list. Having it all lined up makes this process super quick, just like making my < easy homemade tartar sauce.
- Pour in your creamer base—that’s the Half and Half—and then whichever sweetener you decided on (SCM or the sugar/milk swap).
- Add that beautiful vanilla extract. Don’t skimp here; the vanilla is the star flavor!
- Seal that container up TIGHTLY. I mean it—make sure that lid creates a proper seal.
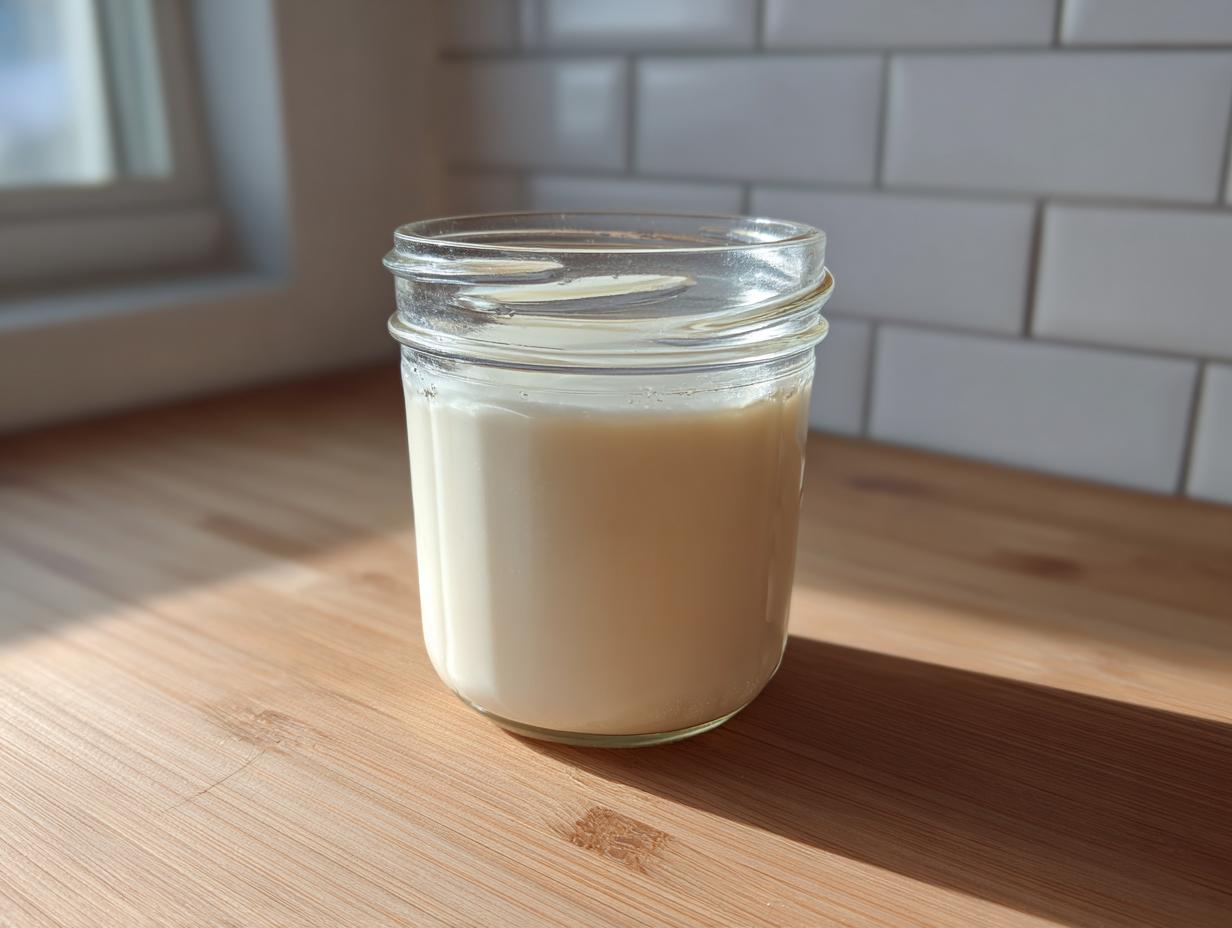
- Now, shake, shake, shake! You need to mix this until everything is completely combined and the liquid looks perfectly smooth and uniform. This is how you ensure you’ve made excellent **homemade coffee creamer**!
That’s it! You can dip right in immediately, but for the best flavor melding, just pop it into the fridge. It’s ready to go when you are. If you’re looking for more simple drink magic, check out this fun guide on < making coffee creamer over on Temecula Blogs.
Flavor Variations for Your Homemade Coffee Creamer
The absolute best part about making your own **homemade coffee creamer** is that you are the flavor boss! The basic vanilla recipe is fantastic, but why stop there when you have so much potential to create gourmet coffee additions? I love making a big batch of the vanilla base and then splitting it up to create two or three different flavors for the week. It keeps things interesting, especially if you have a crew of coffee drinkers with different tastes!
If you need some inspiration for flavor boosting, look at what my friends are doing over at < French Vanilla this way. But if you’re staying here, keep reading, because I break down these simple tweaks for you.
Creating a Brown Sugar Coffee Creamer
This one brings that cozy, rich molasses note that reminds me of my grandmother’s baking. It’s so easy to convert the base recipe! Instead of using just white sugar or SCM, simply swap out the regular sweetener for packed light brown sugar. Or, if you used SCM, knock back the amount just slightly and add about one tablespoon of dark brown sugar mixed in. Shake it up, and suddenly you aren’t just making creamer; you’re making magic!
Tips for Gourmet Coffee Additions: Salted Caramel
Ah, salted caramel. Pure decadence in a mug. This is where you turn your morning cup into a real splurge without the guilt of buying one of those specialty lattes every day. For this luxurious flavor, keep your base ingredients the same, but add about 1/4 teaspoon of good sea salt to the mix. Then, stir in one tablespoon of your favorite caramel sauce before shaking. If you’ve ever managed to whip up my < whipped cinnamon butter, you know I love pairing salty and sweet!
Storage and Shelf Life for Your Homemade Coffee Creamer
Now that you’ve got this amazing, fresh batch of creamy goodness, the important thing is keeping it happy in the fridge. Since this is made with real dairy—that lovely Half and Half—it definitely needs to stay cold, just like any of my other dairy-based recipes, such as my < creamy egg salad.
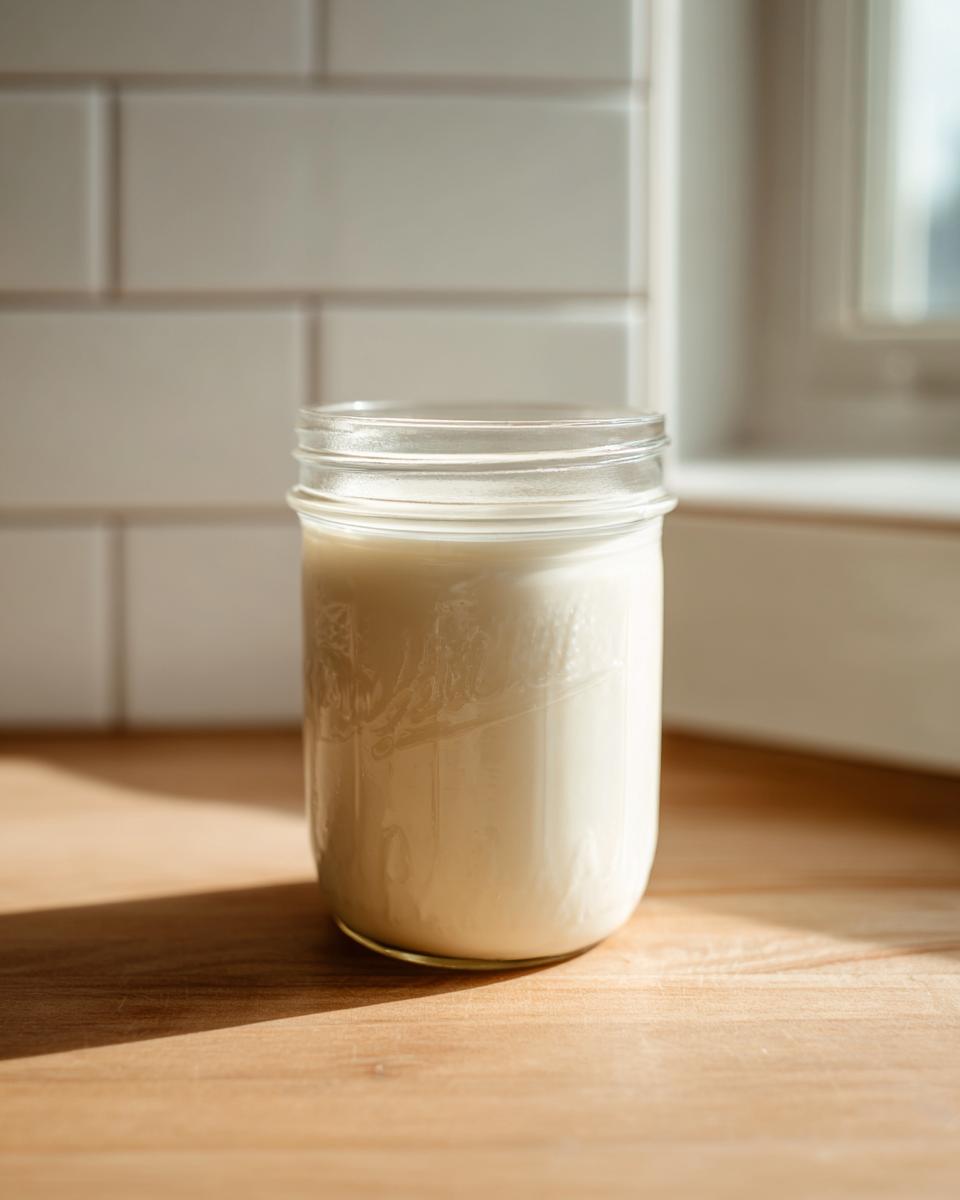
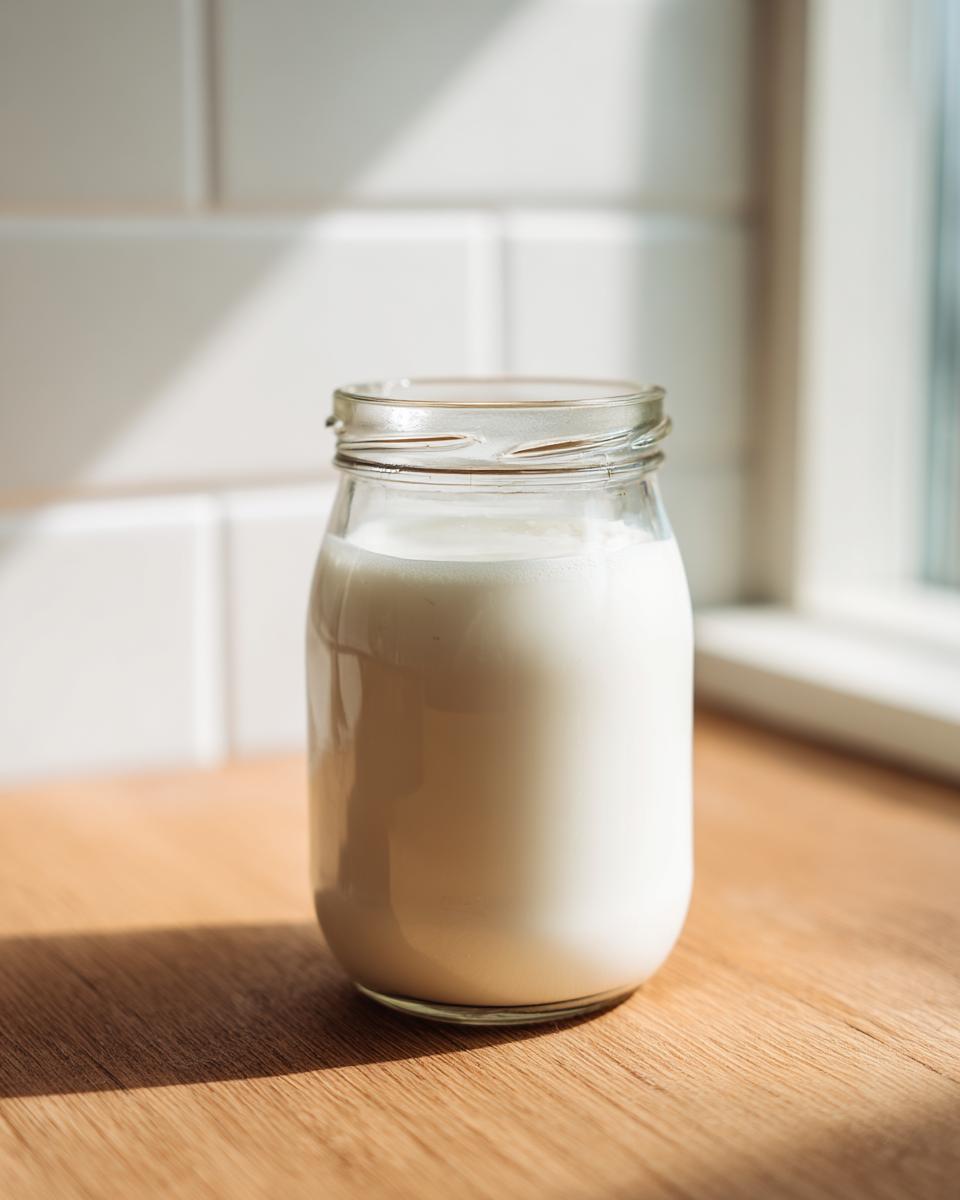
Always pour your finished creamer into a clean, airtight jar or a bottle that seals really well. A simple mason jar is perfect for this. If you don’t seal it tight, you risk letting odors from the fridge sneak in and mess up that perfect vanilla flavor we worked so hard to make!
Since we skipped all those preservatives that the big companies load into their versions, the shelf life is shorter, but trust me, you’ll use it up fast. Generally, you should aim to finish this batch within about one to two weeks. Give it a good sniff before you use it past the 10-day mark. If it smells sweetly of cream and vanilla, you are good to go! If it starts smelling even slightly sour, toss it out immediately. Better safe than sorry, especially where your precious morning coffee is concerned!
Troubleshooting Common Homemade Coffee Creamer Issues
Sometimes things don’t mix right away, or maybe you accidentally added a little too much vanilla—it happens to the best of us! When you’re cooking from scratch, you get to be the quality control expert, which is way better than getting stuck with something weird tasting from the store. Don’t sweat it if your first attempt isn’t perfect; we just need to fine-tune the variables, kind of like dialing in the perfect consistency when I make a batch of < homemade tartar sauce.
Here are the few snags folks run into when making their DIY coffee additive, and how we fix them quickly.
The Creamer Separated After Sitting
If you open your jar and it looks like two different liquids, don’t panic! This doesn’t mean it’s gone bad, it just means we need to re-emulsify. Density differences between the dairy and the sugar solution can cause separation when it sits in the fridge. The fix is so simple: just seal the jar up and give it a really vigorous shake for about 30 seconds. Voodoo? Nope, just physics! A good shake usually makes it perfectly creamy again.
It’s Not Sweet Enough (or, Oops, It’s Too Sweet!)
Figuring out the right sweetness level is all about personal preference, which is why this recipe is flexible. Say you poured it in your coffee and thought, “Hmm, needs more zip.” That’s an easy fix for next time—just add a tiny bit more maple syrup or a dash of sugar next time you mix a new batch. If you accidentally went overboard, you can try adding a tiny splash more plain milk or Half and Half to slightly dilute the sweetness without ruining the flavor profile.
Texture is Weird When Using Non-Dairy Milk
If you went the < dairy free coffee creamer diy route using almond milk or very thin oat milk, you might notice your creamer feels a little thin, almost watery. That’s because those alternatives don’t have the natural fat content of Half and Half. To counter this and get a better **creamy coffee additive** texture, try replacing some of that thinner milk with a spoonful of full-fat canned coconut cream or even a teaspoon of cornstarch whisked into the base liquid *before* shaking. That little bit of extra body goes a long way toward mimicking that rich texture.
Frequently Asked Questions About Homemade Coffee Creamer
How long does this easy coffee creamer recipe last?
Since we are using fresh dairy and skipping all those artificial preservatives that major brands rely on, this **DIY coffee creamer** lasts about one to two weeks in the refrigerator. You always want to keep it in a tightly sealed container—a good mason jar works perfectly. Like I mentioned before, always trust your nose! If it smells off, don’t use it, even if you haven’t hit the two-week mark. You want that fresh, clean taste for your **coffee bar recipes at home**.
Can I make a healthy coffee creamer mix version that is sugar-free?
Absolutely! If you’re watching your sugar intake, you can definitely make a **healthy coffee creamer mix**. Instead of the Sweetened Condensed Milk or granulated sugar, you can substitute it with your favorite liquid sugar substitute, like stevia drops or monk fruit sweetener, adjusted to taste. Start small because these are usually much sweeter than regular sugar. This freedom to customize is why crafting your own **homemade coffee creamer** is just miles better than buying pre-made.
What is the best milk to use for a creamy coffee additive?
If you want that thick, velvety texture that makes a **creamy coffee additive** truly satisfying, you must start with the highest fat content available. For dairy options, Half and Half is the winner here because it balances richness and yield perfectly. If you’re using a non-dairy option, look at full-fat canned coconut milk or a high-fat oat milk. These alternatives tend to lend the best body, giving you richer results than, say, plain unsweetened almond milk. You are making a **fresh coffee additive**, so the quality of the base really shows here! If you’re curious about other creamy recipes, you should check out my go-to < creamy egg salad recipe.
Can I use this recipe to make flavored coffee syrup alternatives?
That’s a great question! While this recipe creates a fully mixed creamer that you shake and pour directly into your mug, the flavor bases we use—like the vanilla extract or brown sugar—are the same components you’d build a concentrated syrup with. If you wanted a more condensed version to mix with plain milk later, you could totally scale this down by using less Half and Half and keeping the sugar/vanilla ratios the same. Check out some great syrup ideas on < Coffee Copycat for inspiration on using these strong flavor profiles! I find those flavor concentrates are perfect for things like my < chicken satay marinade!
Is this recipe better than commercial coffee flavor shots?
In my opinion, yes, a thousand times yes! Those little flavor shots are packed with artificial flavorings and sometimes weird stabilizers. This recipe gives you pure vanilla flavor derived from real extract, meaning you get a much cleaner, rounder taste. It’s such a wonderful way to enhance your beverage. My goal with YumDrizzle has always been to show folks how to achieve **gourmet coffee additions** using simple kitchen tools right at home. If you’ve ever made my < creamy egg salad recipe, you know I value real flavor over shortcuts!
Estimated Nutrition for This Homemade Coffee Creamer Recipe
Okay, let’s talk numbers. I know some of you are tracking macros, and some of you just want to know if pouring this glorious stuff into your mug is going to derail your day. Remember, I’m not a registered dietitian, and this isn’t lab-tested! This nutritional breakdown is just an estimate based on the standard recipe using Half and Half and Sweetened Condensed Milk—the classic way to make this amazing **creamy coffee additive**.
When you’re making your own **gourmet coffee additions**, you have total control, which is fantastic. You can adjust the sugar or swap to non-dairy, which totally changes these figures. But for the original recipe, here’s what you can generally expect per two-tablespoon serving size:
- Serving Size: 2 tablespoons
- Calories: About 120
- Fat: 7g
- Sugar: 12g (This is where you can really adjust things!)
- Protein: 1g
See? It’s honestly not bad at all, especially considering how much flavor and creaminess you get! If cutting sugar is your main goal, you’re going to see that number drop significantly when you use the granulated sugar substitute or liquid stevia instead. It gives you peace of mind knowing exactly what you are putting into your cup while still enjoying that perfect flavor boost. It reminds me a lot of how easy it is to manage the ingredients in my < old-fashioned creamy rice pudding—simple ingredients, clear results.
Share Your Favorite Homemade Coffee Creamer Creation
Alright, you now have all the secrets to crafting the absolute **best homemade coffee creamer** imaginable! I hope this has inspired you to toss out those overly processed bottles and take charge of your morning cup. From the basic vanilla heaven to those exciting Salted Caramel variations we cooked up, this recipe is built to fit your real life.
Now the fun part: I need to know what you came up with! Did you stick to the classic? Did you invent a flavor combo that knocked your socks off? When you make a batch, please take a second to tell me how it went down in the comments below. A star rating really helps other coffee lovers find this simple trick, too! Seriously, don’t be shy about experimenting, because that’s how the best recipes are born—just like how I figured out my < creamy vegan pumpkin curry!
Go on, give this **homemade coffee creamer** a try tomorrow morning. I promise you won’t regret upgrading your daily ritual with something this delicious and easy. Happy brewing!
Print5-Minute Basic Homemade Vanilla Coffee Creamer
Learn how to make creamy, rich homemade vanilla coffee creamer in just five minutes using simple ingredients. This recipe tastes better than store-bought versions and lets you control what goes into your morning cup.
- Prep Time: 5 min
- Cook Time: 0 min
- Total Time: 5 min
- Yield: About 1.5 cups 1x
- Category: Beverage
- Method: Mixing
- Cuisine: American
- Diet: Vegetarian
Ingredients
- 1 cup Half and Half (or whole milk for a lighter version)
- 1/2 cup Sweetened Condensed Milk (or substitute with 1/4 cup granulated sugar plus 1/4 cup regular milk for a condensed milk free creamer)
- 1 tablespoon Vanilla Extract (use pure extract for best flavor)
- 1 teaspoon Maple Syrup (optional, for extra sweetness)
Instructions
- Gather all your ingredients: Half and Half, sweetener, and vanilla extract.
- Pour the Half and Half and your chosen sweetener (sweetened condensed milk or sugar/milk mix) into a jar or airtight container.
- Add the vanilla extract.
- Seal the container tightly.
- Shake the mixture well until everything is fully combined and the creamer looks smooth and uniform.
- Store the creamer in the refrigerator. It is ready to use immediately in your favorite coffee.
Notes
- For a French Vanilla flavor, add 1/4 teaspoon of almond extract along with the vanilla extract.
- To make a Brown Sugar Coffee Creamer, substitute the granulated sugar with packed light brown sugar, or reduce the white sweetener slightly and add 1 tablespoon of dark brown sugar.
- For a Salted Caramel flavor, add 1/4 teaspoon of sea salt and 1 tablespoon of caramel sauce to the base recipe before shaking.
- If you want a dairy-free coffee creamer DIY option, substitute the Half and Half with full-fat canned coconut milk or oat milk.
Nutrition
- Serving Size: 2 tablespoons
- Calories: 120
- Sugar: 12
- Sodium: 25
- Fat: 7
- Saturated Fat: 4
- Unsaturated Fat: 3
- Trans Fat: 0
- Carbohydrates: 13
- Fiber: 0
- Protein: 1
- Cholesterol: 25