
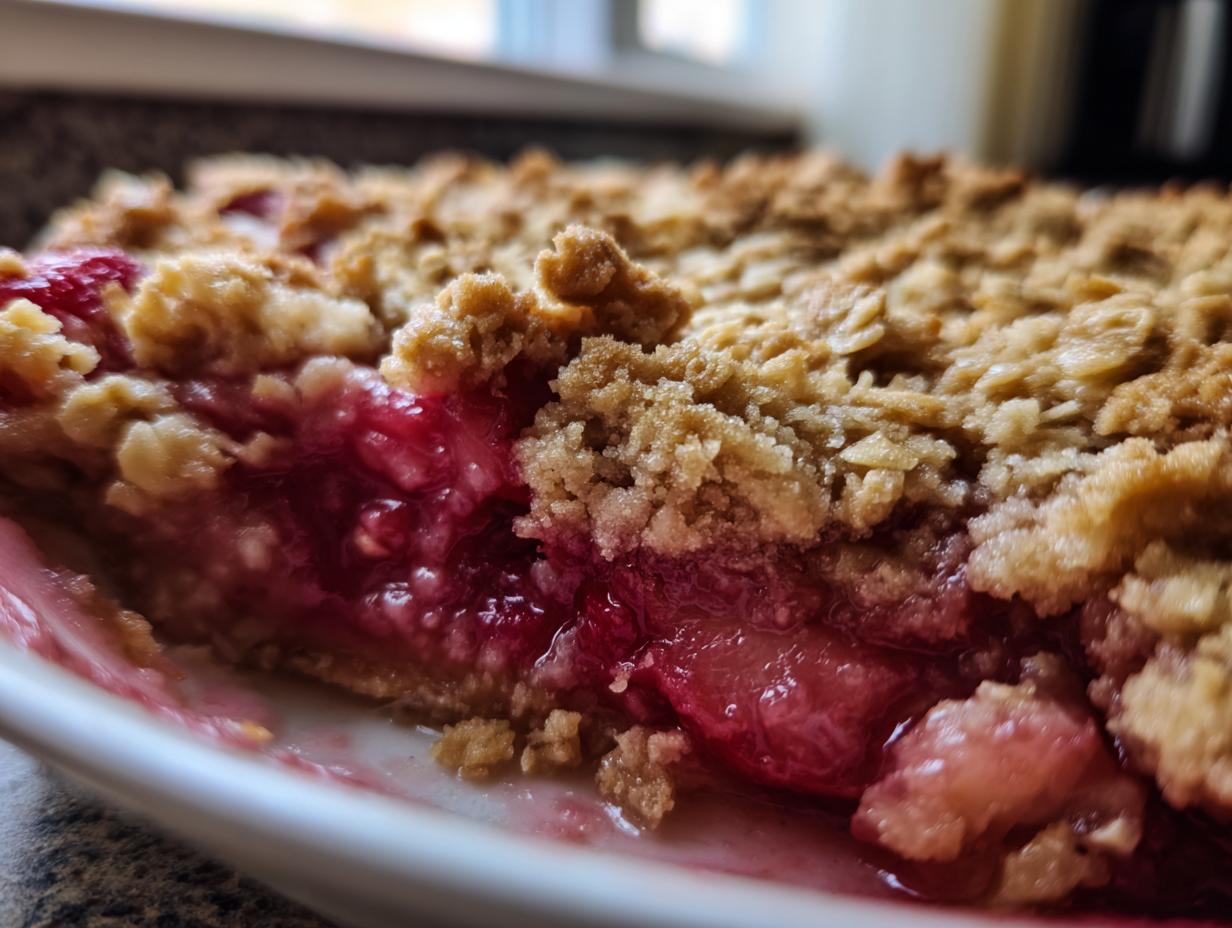
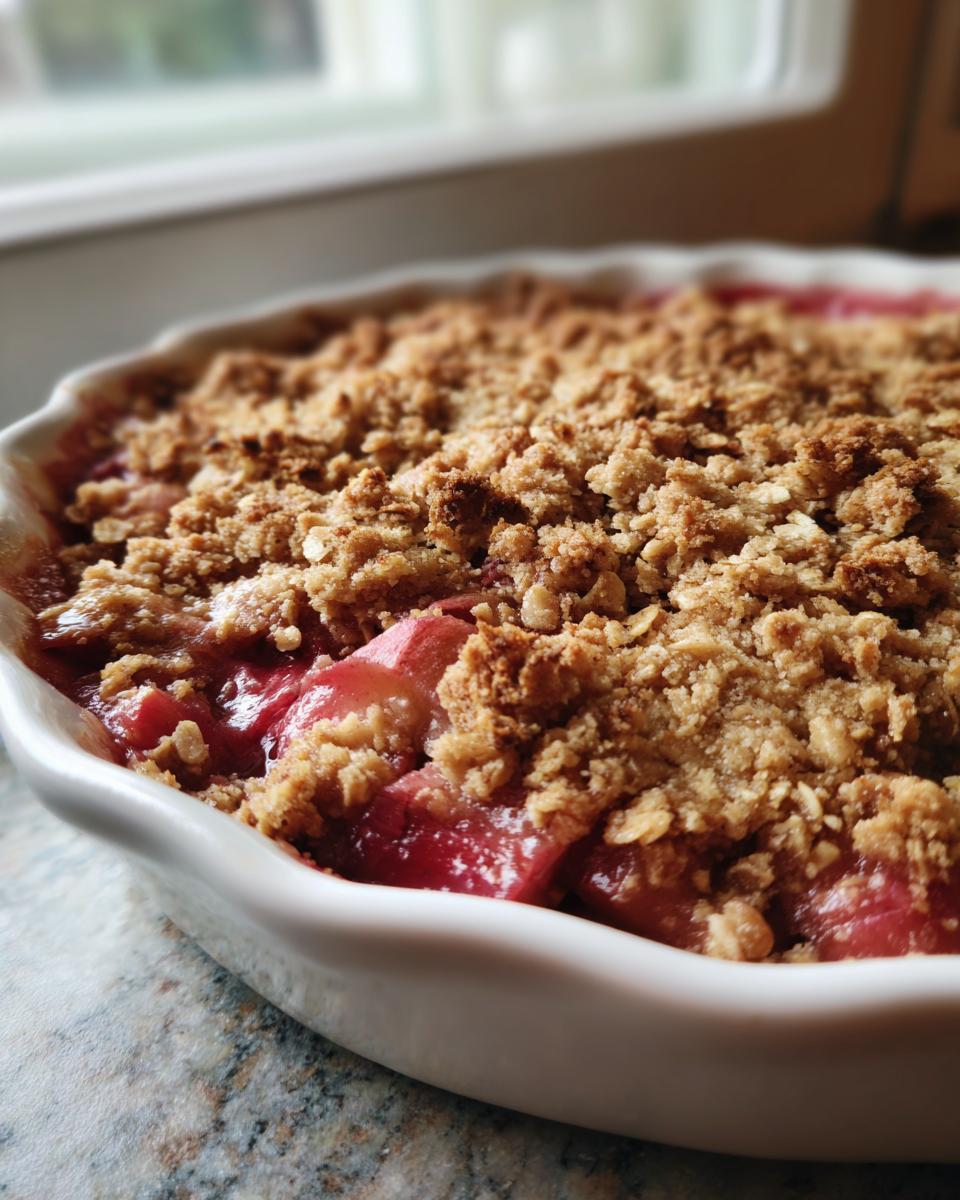
When that first stalk of rhubarb pops up, you know it’s time. Forget fancy techniques; the kind of truly phenomenal flavor I chased across the country touring with the band comes from simple ingredients handled with a little bit of love. That’s why I’m giving you my absolute go-to recipe for the ultimate rhubarb crisp. This isn’t just another fruit bake; it’s where that bright, unmistakable tartness of rhubarb meets a sweet, buttery, crunchy oat topping that stays crisp! It’s comfort food made utterly accessible, proving that the best memories are made right there in your own kitchen.
- Why This Classic Rhubarb Crisp Recipe Works Every Time
- Gather Your Ingredients for the Best Rhubarb Crisp
- Step-by-Step Guide to Making Your Homemade Rhubarb Dessert
- Tips for the Ultimate Crispy Topping Dessert Success
- Variations on the Classic Rhubarb Crisp
- Serving Suggestions for Your Sweet Tart Dessert
- Storage and Reheating Instructions for Rhubarb Crisp
- Frequently Asked Questions About Rhubarb Crisp
- Nutritional Snapshot of This Homemade Rhubarb Dessert
Why This Classic Rhubarb Crisp Recipe Works Every Time
I know you’re looking for that sweet spot: big flavor without spending your whole afternoon battling the stove. This Classic Rhubarb Crisp nails it. It’s designed to be one of those go-to Spring Dessert Recipes you pull out season after season.
- It’s incredibly fast! Prep is under 15 minutes, which is almost unheard of for a dessert this good.
- The filling is perfectly balanced—tart enough to wake up your tastebuds but sweet enough for everyone to ask for seconds.
- That oat topping? It stays truly crunchy, not soggy.
- Honestly, if you can stir two bowls together, you can make this. It’s perfect for Beginner Baking Desserts.
Trust me, you’ll feel like a pro baker without even trying that hard. Just make sure to check out my make-ahead french toast casserole if you need another simple winner!
Gather Your Ingredients for the Best Rhubarb Crisp
Okay, let’s get down to the specifics. Having the right stuff ready before you even turn the oven on makes the whole experience smooth. We’re keeping this incredibly straightforward—this is about highlighting that fresh, seasonal fruit crisp! I’ve broken it down below so you can just grab what you need from the pantry.
For the filling, you need 4 cups of fresh rhubarb, cut up into those nice, bite-sized 1-inch pieces. Toss that instantly with 1 cup of granulated sugar, 2 tablespoons of flour to thicken things up, a quick teaspoon of vanilla extract, that lovely cinnamon, and about a quarter cup of water. That water helps get the bubbling started!
Now, for the star of the show, the crispy topping dessert. Make sure that stick of butter is cold and cut into small pieces—this is key! You will also need 1 cup of flour, 1 cup of good rolled oats (don’t use instant, please!), 3/4 cup of packed brown sugar for that molasses depth, a bit more cinnamon, and a pinch of salt. If you want the flavor boost later, jump over and check out my thoughts on the best classic creamy egg salad recipe—it’s all about technique!
Step-by-Step Guide to Making Your Homemade Rhubarb Dessert
Alright, let’s get this sweet tart goodness in the oven! You’ve got your ingredients ready, so now it’s simply about layering everything right. We’re aiming for that beautiful, bubbly filling underneath a golden, sturdy crust. This is how you nail the Rhubarb Crisp Recipe every single time without feeling overwhelmed.
Creating the Sweet Tart Rhubarb Filling
First things first: get that oven humming at 375 degrees Fahrenheit, and have your 8×8 baking dish greased up. Take that bowl of prepped rhubarb and the other filling ingredients—sugar, flour, vanilla, cinnamon, and water. You just need to toss it all together gently. Don’t mash those beautiful rhubarb pieces! We want them coated nicely, then pour the whole delicious mess into your prepared dish. That’s half the battle won!
Achieving the Perfect Crispy Topping Dessert Texture
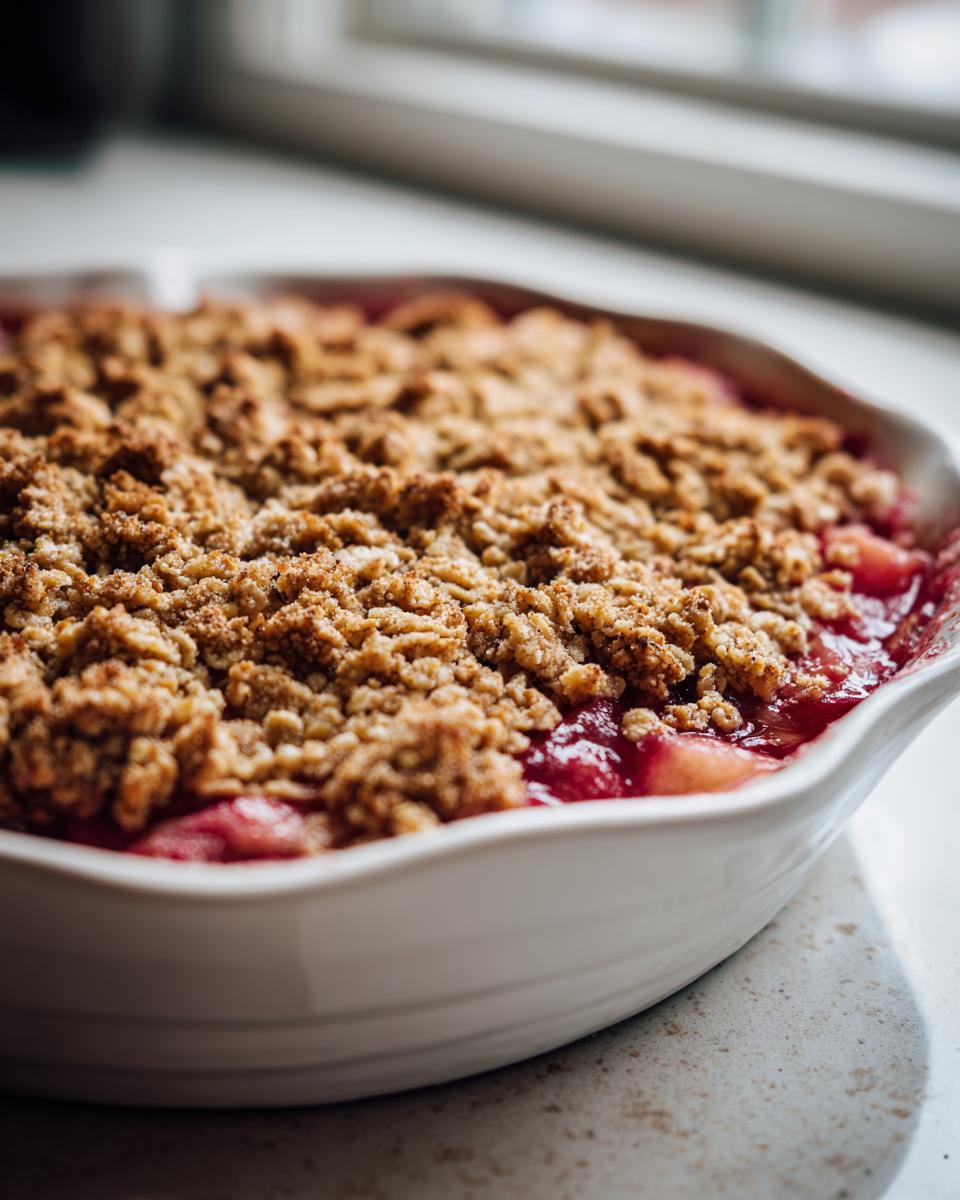
This is where we lock in that crunch! In your other bowl, whisk your topping dry ingredients—flour, oats, brown sugar, cinnamon, and salt—until they are friendly with each other. Now, grab your cold butter pieces. You have to cut that butter into the dry mix. You can use a pastry blender, but honestly? Your fingertips work best here. Work fast so the butter doesn’t melt! Stop when you see coarse crumbs, with some pea-sized lumps still floating around. Those butter lumps are the secret to a truly wonderful, crunchy Oat Topping Crisp.
Baking and Resting the Rhubarb Crisp
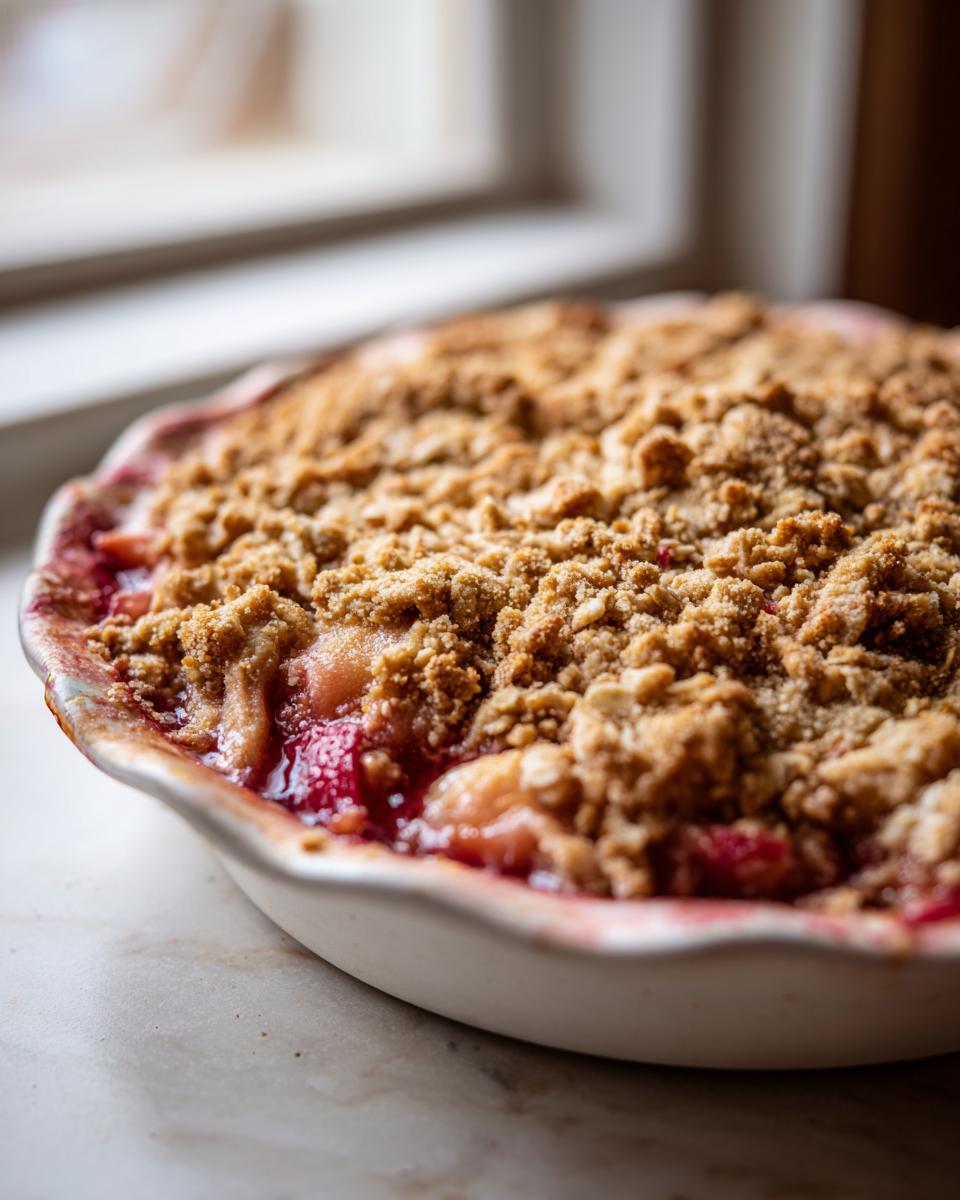
Sprinkle that glorious topping evenly over the rhubarb—no hard pressing, just a light little pat down. Pop it in the oven for about 35 to 45 minutes. You’re looking for golden brown on top and the filling should be actively bubbling at the edges. When it comes out, here’s the expert move: let it rest for at least 15 minutes! I know it’s tempting to dive in, but that resting time lets the filling thicken up instead of running everywhere. Keep that in mind when you serve it up!
If you want another easy baking adventure once this is done, check out my guide on easy gingerbread cupcakes!
Tips for the Ultimate Crispy Topping Dessert Success
I want your topping to be the MVP of this dessert—sturdy, golden, and irresistibly crunchy! It’s those small tweaks that turn a good rhubarb crisp into the Best Rhubarb Crisp. Don’t be scared to play just a little bit once you master the base recipe.
My favorite little secret, which I talk about a lot because it adds such depth, is using brown butter. Remember that note in the recipe? Substitute just a quarter cup of that cold butter in the topping mix with brown butter. You melt the butter first until it smells nutty and looks a little amber, then chill it again until it’s firm but pliable. That nutty, buttery flavor screams sophistication but takes just an extra five minutes. You can see how I do it when I make my brown butter chocolate chip cookies!
Also, if you notice your topping is browning too fast before the filling is bubbly, just loosely tent a piece of foil over the dish for the last 10 minutes of baking. That keeps the oats from turning black while the rhubarb finishes simmering. It’s all about balancing textures!
Variations on the Classic Rhubarb Crisp
The core of this recipe is fantastic because it’s so forgiving. While this is my perfect Classic Rhubarb Crisp, I know sometimes you just need that burst of summer sweetness! If you’re trying to use up all that glorious seasonal produce, this formula is your best friend.
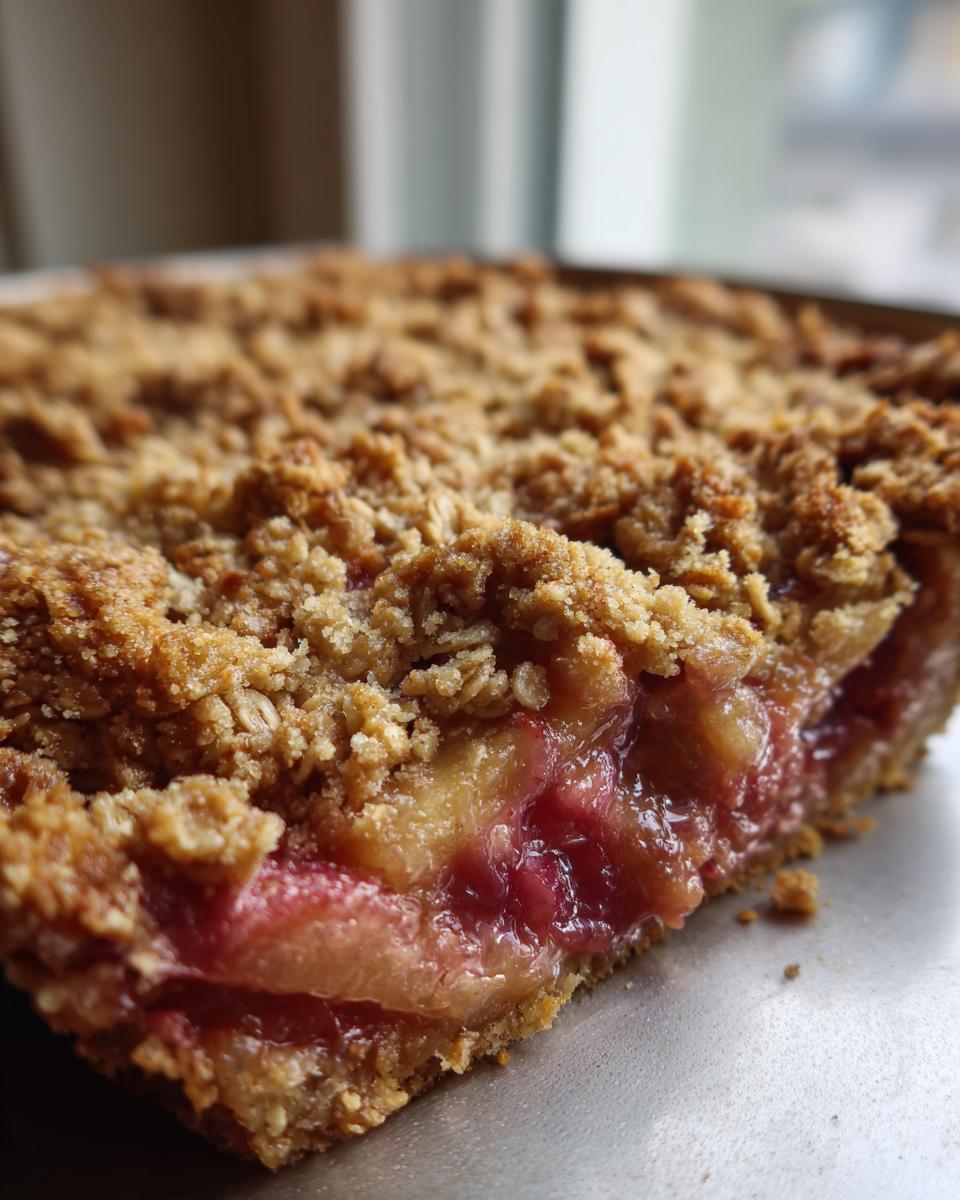
The most popular twist, and one you’ve probably seen all over the place, is turning this into a Strawberry Rhubarb Crisp. It’s super simple to make the switch! For every four cups of rhubarb you use in the filling, just swap out one cup for fresh strawberries, hulled and halved or quartered if they’re big. Strawberries bring a softer sweetness that mellows the rhubarb’s tart punch just perfectly. You might want to cut back the granulated sugar in the filling by just a tablespoon or two since strawberries are sweeter than plain rhubarb.
If you happen to have other fruit lying around that needs using up, go for it! It makes a fantastic Seasonal Fruit Crisp base. Apples work wonderfully—just peel and dice them small, and maybe add an extra teaspoon of cinnamon to the filling to boost that apple flavor. Pears are lovely too, though they break down a bit softer than rhubarb. Honestly, this is my favorite part of comfort dessert recipes—making them exactly what you need at the moment. If you want to see how I tackle a different seasonal fruit, check out my apple crisp recipe sometime!
Serving Suggestions for Your Sweet Tart Dessert
So, your beautiful, bubbly, homemade rhubarb crisp is out of the oven, it’s rested perfectly, and the smell filling your house is just incredible. Now what? The presentation matters, even for a rustic dessert like this! While it’s heavenly all on its own, a little something extra takes this simple treat right over the top.
First up, you absolutely have to try it with vanilla ice cream. That contrast between the hot, tangy, sweet-tart filling and the cold, creamy dairy is iconic for a reason. If you’re feeling adventurous, grab some cinnamon whipped cream instead! I make a huge batch of my own whipped cream (sometimes flavoring it with a hint of nutmeg or even chocolate) when I’m having people over—you can find the recipe for my whipped hot chocolate floating around here, and that same technique works wonders for plain whipped cream!
If you’re serving this at a big weekend gathering, a nice drizzle of caramel sauce over the top of the ice cream after it’s scooped onto the crisp is never a bad idea. Sometimes, I even skip the ice cream and just use a spoonful of plain Greek yogurt to cut the sweetness a bit. Either way, enjoy every single bite of that buttery, crunchy goodness!
Storage and Reheating Instructions for Rhubarb Crisp
Anyone else always end up with leftovers? Yeah, me too! Since this is one of those desserts—a quick summer dessert that is best served warm—you need to know how to handle the leftovers so they’re still fantastic the next day. We don’t want sad, soggy crisps in this kitchen! Keeping this practical for when you’re juggling work or family is super important, so here are my easy storage tricks.
First, let the Homemade Rhubarb Dessert cool completely on the counter after you pull it out of the oven. Don’t try to cover it while it’s warm, or you’ll trap all that steam, and guess what? Soggy topping! Once it’s totally cool, cover the baking dish tightly with plastic wrap or transfer portions to an airtight container. You can keep it on the counter for about a day if your kitchen isn’t too hot. If you need to keep it longer, definitely move it to the fridge.
If you stored it in the fridge, it’s going to lose a little bit of that glorious crunch. No sweat! Reheating is the way to bring it back from the dead. I find the microwave absolutely ruins the oat topping structure, so skip that when you reheat. Instead, pop individual servings onto a small, oven-safe plate or straight onto a baking sheet and warm them up in a 350°F oven for about 8 to 10 minutes.
That gentle heat warms the fruit filling through and crisps up the topping again perfectly. If you’re reheating a half-pan, give it a bit longer, maybe 15 minutes, covered lightly with foil if the edges look done but the middle isn’t hot yet. It’s almost as good as fresh, I promise. If you want to see how I handle leftovers of other classics, my tips for keeping my moist banana bread recipe fresh are similar!
Frequently Asked Questions About Rhubarb Crisp
I always get asked the same few things when people try this recipe for the first time. It’s totally normal; baking fruit desserts can sometimes feel a little tricky, but I promise this process is super straightforward. Let’s tackle the common snags right now so you can be confident when you start!
Can I use frozen rhubarb in this Easy Rhubarb Crisp?
Yes, you absolutely can! If you’re dealing with beautiful frozen stalks, just toss them in! You don’t need to thaw them first, which saves cleanup time. Because frozen fruit releases more moisture, you might need to add an extra tablespoon of flour to the filling mix, just to keep it from getting too watery. It’s a tiny adjustment for a great result.
How do I make sure my topping stays crispy and doesn’t burn?
This is the biggest worry with any baked fruit dessert! If you notice the oat topping is looking beautifully golden brown but the filling underneath isn’t bubbling yet, just grab a piece of aluminum foil and loosely tent it over the top. This shields the oats from direct heat while letting the fruit simmer until it’s tender. That’s the trick to a perfect finish!
What is the difference between a Rhubarb Crisp and a Rhubarb Crumble Recipe?
That’s a fun one! Traditionally, a ‘crisp’ has oats in the topping, which gives it that signature crunch—that’s what we’ve got here! A ‘crumble’ usually skips the oats and relies only on flour, butter, and sugar, making it softer and more cookie-like. Since you want that substantial snap, sticking to this Rhubarb Crisp Recipe is the way to go!
Can I substitute the oats with something else?
If you’re avoiding oats for whatever reason, you can use chopped nuts like pecans or almonds instead. Just substitute them one-for-one in the topping mix. It changes the texture slightly, making it richer, but it still gives you that essential crunch that keeps this dessert so satisfying. If you want to see how I handle other baked goods perfect for quick sharing, check out my viral sushi bake recipe!
Nutritional Snapshot of This Homemade Rhubarb Dessert
Look, I know we’re talking comfort food here, and nobody is making a crisp because they are counting every single macro. But just like when I was trying to make sure the band had enough energy on the road, it’s good to have a basic idea of what’s in the goodness we’re baking!
This recipe is made with simple pantry staples, so the numbers are pretty straightforward, but remember these are just estimates, world travelers! They change depending on exactly how much sugar you use in the filling or what kind of butter you cut in—I always encourage tasting as you go!
Here’s a quick look at what you’re diving into if you serve up a generous slice of this rhubarb crisp:
- Serving Size: 1 serving
- Calories: About 350
- Fat: 16g (A good chunk of that is that amazing butter in the topping!)
- Carbohydrates: 52g
- Protein: 5g
It’s got a decent amount of fiber because we’re using whole oats and fruit, which is always a win in my book. Enjoy it warm; maybe add a small scoop of low-fat vanilla ice cream to cool things down if you’re watching the sugar. Every great meal is about balance, right?
PrintClassic Rhubarb Crisp Recipe with Crunchy Oat Topping
You need this easy rhubarb crisp recipe for a perfect spring dessert. It balances tart rhubarb with a sweet, buttery, and crunchy oat topping. This is comfort food made simple.
- Prep Time: 15 min
- Cook Time: 40 min
- Total Time: 55 min
- Yield: 6 servings 1x
- Category: Dessert
- Method: Baking
- Cuisine: American
- Diet: Vegetarian
Ingredients
- 4 cups fresh rhubarb, cut into 1-inch pieces
- 1 cup granulated sugar
- 2 tablespoons all-purpose flour
- 1 teaspoon vanilla extract
- 1/2 teaspoon ground cinnamon
- 1/4 cup water
- For the Topping:
- 1 cup all-purpose flour
- 1 cup rolled oats
- 3/4 cup packed brown sugar
- 1/2 teaspoon ground cinnamon
- 1/4 teaspoon salt
- 1/2 cup (1 stick) cold unsalted butter, cut into small pieces
Instructions
- Preheat your oven to 375 degrees Fahrenheit. Lightly grease an 8×8 inch baking dish.
- Prepare the filling: In a medium bowl, combine the cut rhubarb, granulated sugar, 2 tablespoons of flour, vanilla extract, cinnamon, and water. Toss gently to coat the rhubarb evenly. Pour this mixture into your prepared baking dish.
- Prepare the topping: In a separate bowl, whisk together the 1 cup flour, rolled oats, brown sugar, 1/2 teaspoon cinnamon, and salt.
- Cut in the cold butter using a pastry blender or your fingertips until the mixture resembles coarse crumbs. Do not overmix; you want some pea-sized pieces of butter remaining for the best texture.
- Sprinkle the oat topping evenly over the rhubarb filling in the baking dish. Press it down lightly.
- Bake for 35 to 45 minutes, or until the topping is golden brown and the rhubarb filling is bubbly and tender when pierced with a fork.
- Let the crisp cool on a wire rack for at least 15 minutes before serving. This allows the filling to set slightly.
Notes
- For an extra layer of flavor, substitute 1/4 cup of the cold butter with brown butter in the topping mixture.
- Serve this sweet tart dessert warm with a scoop of vanilla ice cream for the classic taste of home.
- If your rhubarb is very tart, you may increase the granulated sugar in the filling by 1 to 2 tablespoons.
Nutrition
- Serving Size: 1 serving
- Calories: 350
- Sugar: 35g
- Sodium: 120mg
- Fat: 16g
- Saturated Fat: 9g
- Unsaturated Fat: 7g
- Trans Fat: 0g
- Carbohydrates: 52g
- Fiber: 4g
- Protein: 5g
- Cholesterol: 35mg