
When summer hits, you absolutely need something bright, zesty, and unbelievably refreshing to bring to the table! Forget those fussy, overly sweet desserts; we are diving headfirst into true citrus perfection with my Thick and Creamy Baked Key Lime Cheesecake. This isn’t just another dessert; it’s my personal mission to prove you can nail those high-end flavors right in your own kitchen, just like Jaxson believes we all should be able to do when looking at our story!
We’re focusing on a killer texture here—that satisfying density that only a perfectly baked cheesecake can deliver, meeting incredible, sharp lime zing. Trust me, once you nail this tangy lime dessert, you won’t go back to those sloppy pie versions. It’s accessible, it’s impressive, and it tastes like sunshine!
- Why This Baked Key Lime Cheesecake Recipe Stands Out
- Ingredients for Your Thick and Creamy Key Lime Cheesecake
- How to Prepare the Best Key Lime Cheesecake
- Tips for Success When Making Key Lime Cheesecake
- Ingredient Notes and Substitutions for Your Key Lime Cheesecake Recipe
- Serving Suggestions for This Refreshing Cheesecake
- Storage and Reheating Instructions for Homemade Key Lime Cheesecake
- Frequently Asked Questions About Key Lime Cheesecake
- Share Your Key Lime Cheesecake Experience
Why This Baked Key Lime Cheesecake Recipe Stands Out
You might be thinking, why bake it when a no-bake version is easier? Well, for my ultimate key lime cheesecake, baking is absolutely the key to that luxurious texture we’re chasing. This isn’t going to crack on you if you just follow the cooling steps! We use a water bath, which sounds scary, but it makes all the difference.
- It delivers that dense, thick texture that separates a great cheesecake from a good one.
- The slow bake ensures no rubbery curds, resulting in that signature creamy finish.
- It gives us the perfect vehicle for that sharp, necessary tang!
Achieving the Perfect Creamy Key Lime Cheesecake Texture
Seriously, the difference is the temperature of your ingredients! Make sure that cream cheese is soft—like, butter-soft. That, plus beating the eggs in one at a time and stopping as soon as they disappear, is pure magic for a creamy key lime cheesecake. You’re building structure without whipping in too much air, which causes cracks!
The Importance of Fresh Citrus in Your Tangy Lime Dessert
Please, please, please use fresh key limes! That bottled stuff? It’s just… dull. We need the real, potent kick from fresh juice to cut through all that richness. That bright, zesty punch is what makes this a truly satisfying tangy lime dessert. It’s non-negotiable for the best flavor, I promise!
Ingredients for Your Thick and Creamy Key Lime Cheesecake
Okay, gathering your ingredients is where the real prep work starts, and this is so important, especially for a baked treat like this gorgeous key lime cheesecake. You need everything ready to go, mostly because once we start mixing the filling, we don’t want to stop! Remember my note about room temperature eggs? That really helps everything mesh together beautifully.
We’re making the crust first, which is super easy. Then we move onto the filling ingredients, where the real flavor power comes from those lovely little key limes!
Graham Cracker Crust Dessert Components
For your buttery base, you’ll need:
- One and a half cups of graham cracker crumbs—crush them fine!
- A quarter cup of regular granulated sugar just to sweeten it a bit.
- Six tablespoons of unsalted butter, and it absolutely needs to be melted.
Get that pressed firmly into your springform pan; it needs to hold up to that rich filling!
Filling Ingredients for Homemade Key Lime Cheesecake
This is where the magic happens for our homemade key lime cheesecake. You need three full 8-ounce packages of cream cheese, and yes, they have to be softened up completely on the counter first. We also use a quarter cup of flour and a half cup of sour cream for stability and that rich tang.
And for the star? You need three-quarters of a cup of juice—but it MUST be fresh key lime juice. Trust me, that fresh citrus makes all the difference in this recipe!
How to Prepare the Best Key Lime Cheesecake
Alright, let’s get dirty—well, not *too* dirty, we are making key lime cheesecake, after all! Baking this properly is all about method, not just mixing. Grab your mixer, because we are starting things off by getting the oven warm—325 degrees Fahrenheit is where this beauty likes to begin its life. First, wrapping that springform pan in heavy-duty foil is essential because we need to set up our water bath so we don’t end up with a cracked top!
I’ve got some helpful links on easy breakfast recipes, but this cheesecake definitely takes the morning prize for needing patience!
Assembling and Baking Your Key Lime Cheesecake
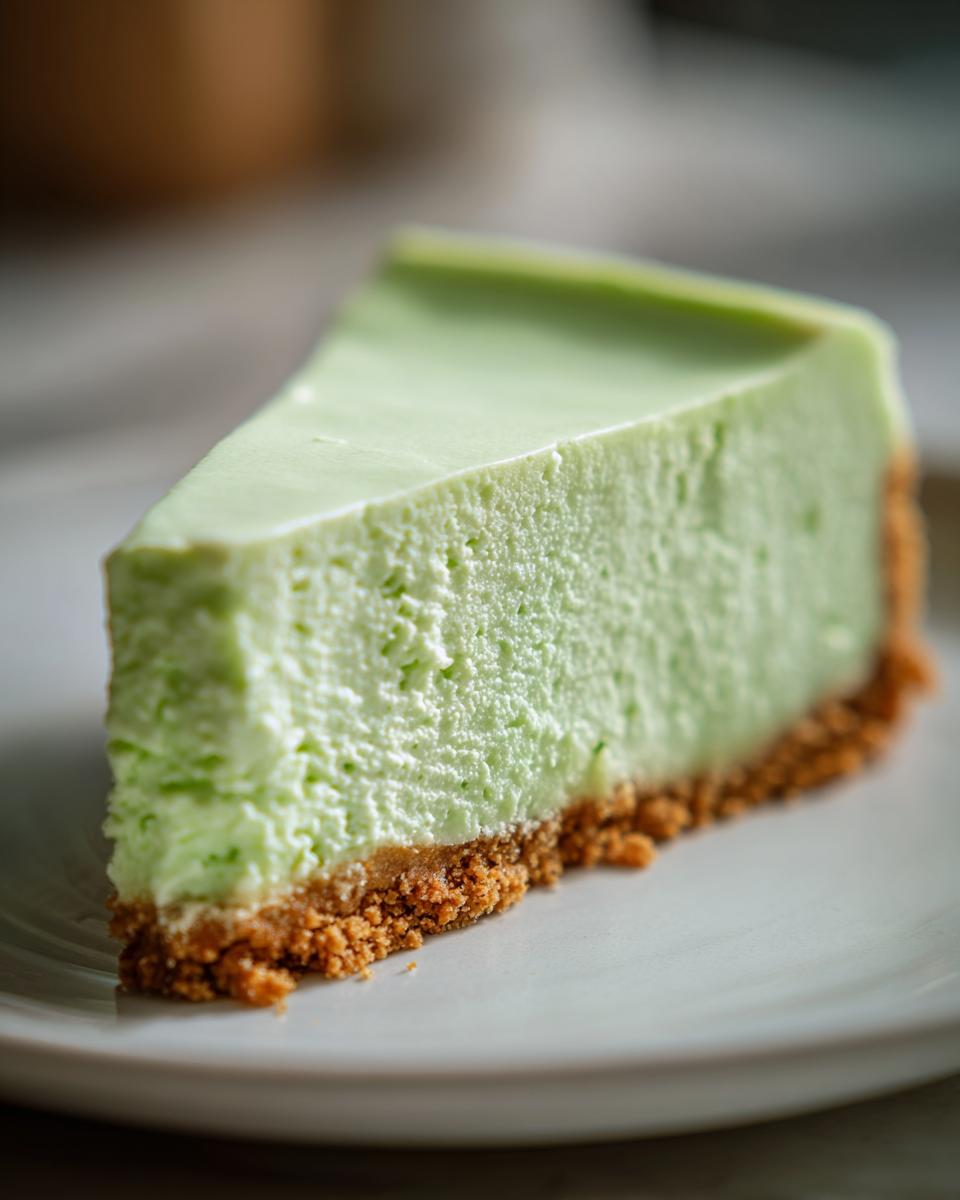
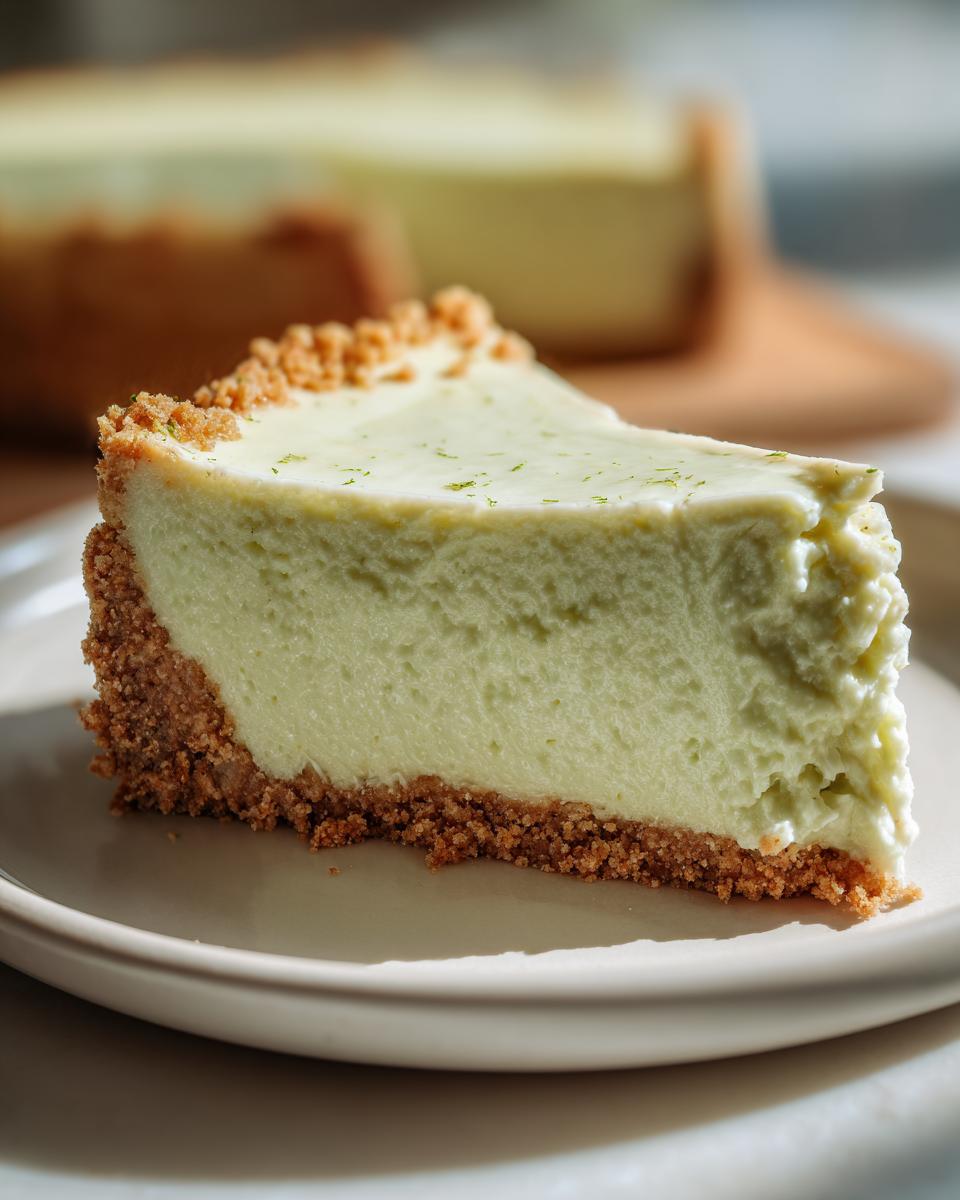
After you press that crust in and give it a quick 10 minutes in the oven, it’s time for the filling. Beat that cream cheese until it’s perfectly smooth—no lumps allowed! After that, gently mix in the sugar, flour, and sour cream. Now for the eggs: add them one by one, mixing just until barely combined. Seriously, stop mixing the second you don’t see streaks! Pour it over the crust, place that pan securely into a roasting pan, and pour in that hot water halfway up the side. Bake this for about 55 to 65 minutes. You’re looking for edges that are set firm, but still a tiny bit of jiggle right in the center. That jiggle means creamy perfection is coming!
Crucial Cooling Steps for a Perfect Key Lime Cheesecake
This next part is where most people mess up their beautiful key lime cheesecakes, so listen up! Once the baking time is up, do NOT pull that thing out into the cool air. Turn the oven off, crack the door open—stick a wooden spoon in there if you need to keep it ajar—and let it sit inside for a full hour. This slow transition prevents shocking the structure. After that hour, take it out, ditch the foil and water bath, and let it cool on the counter until it’s room temperature. Then, and this is the hardest part, cover it and let it chill overnight. Seriously, six hours minimum, but overnight is best for that ultimate texture.
Tips for Success When Making Key Lime Cheesecake
If you want the best key lime cheesecake, you have to respect the ingredients! My biggest tip, which I keep telling everyone, is that your cream cheese and eggs have to be totally at room temperature. If they’re cold, you’ll end up with tiny lumps, and nobody wants a lumpy cheesecake, right?
Also, that tangy flavor we love? It comes almost entirely from using fresh key lime juice. Bottled concentrate just won’t give you that vibrant punch we are aiming for in this refreshing dessert. A little bit of sour cream in the filling also helps keep things wonderfully smooth and rich!
Ingredient Notes and Substitutions for Your Key Lime Cheesecake Recipe
We’ve talked about technique, but let’s quickly circle back to the ingredients because they’re everything for this key lime cheesecake. If you’re having trouble finding actual key limes—and honestly, they can be tricky depending on where you live—you can cheat a little bit. You can substitute with regular Persian limes, which are the big ones you usually find.
The catch is that Persian limes aren’t quite as sharp or tart as the little key limes. So, if you swap them out, you might need to bump up your lime juice slightly, maybe by another tablespoon or two, just to get that aggressive tang we are looking for. But stick to fresh juice, okay? Bottled concentrate is going to flatten out all that wonderful bright flavor we worked so hard to create!
Serving Suggestions for This Refreshing Cheesecake
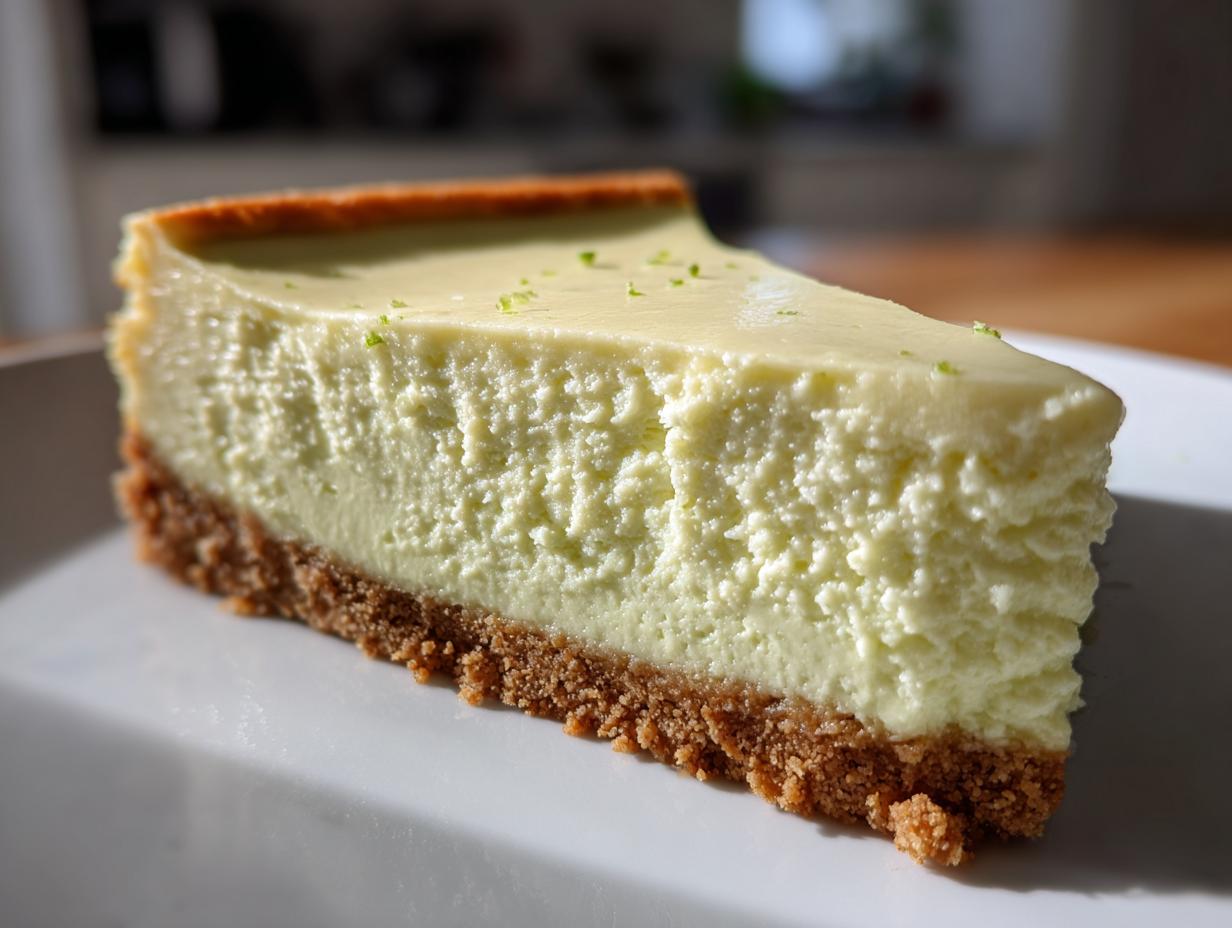
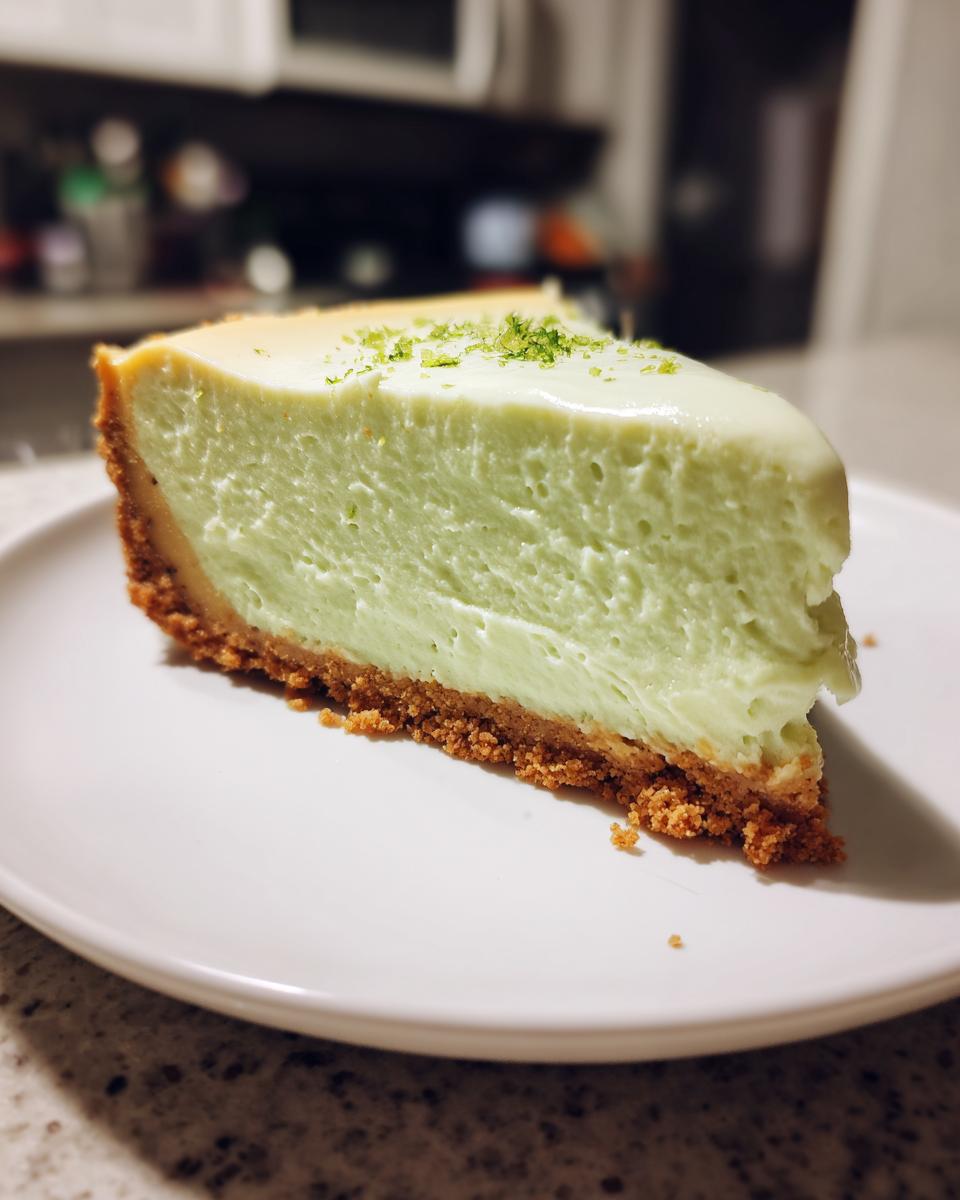
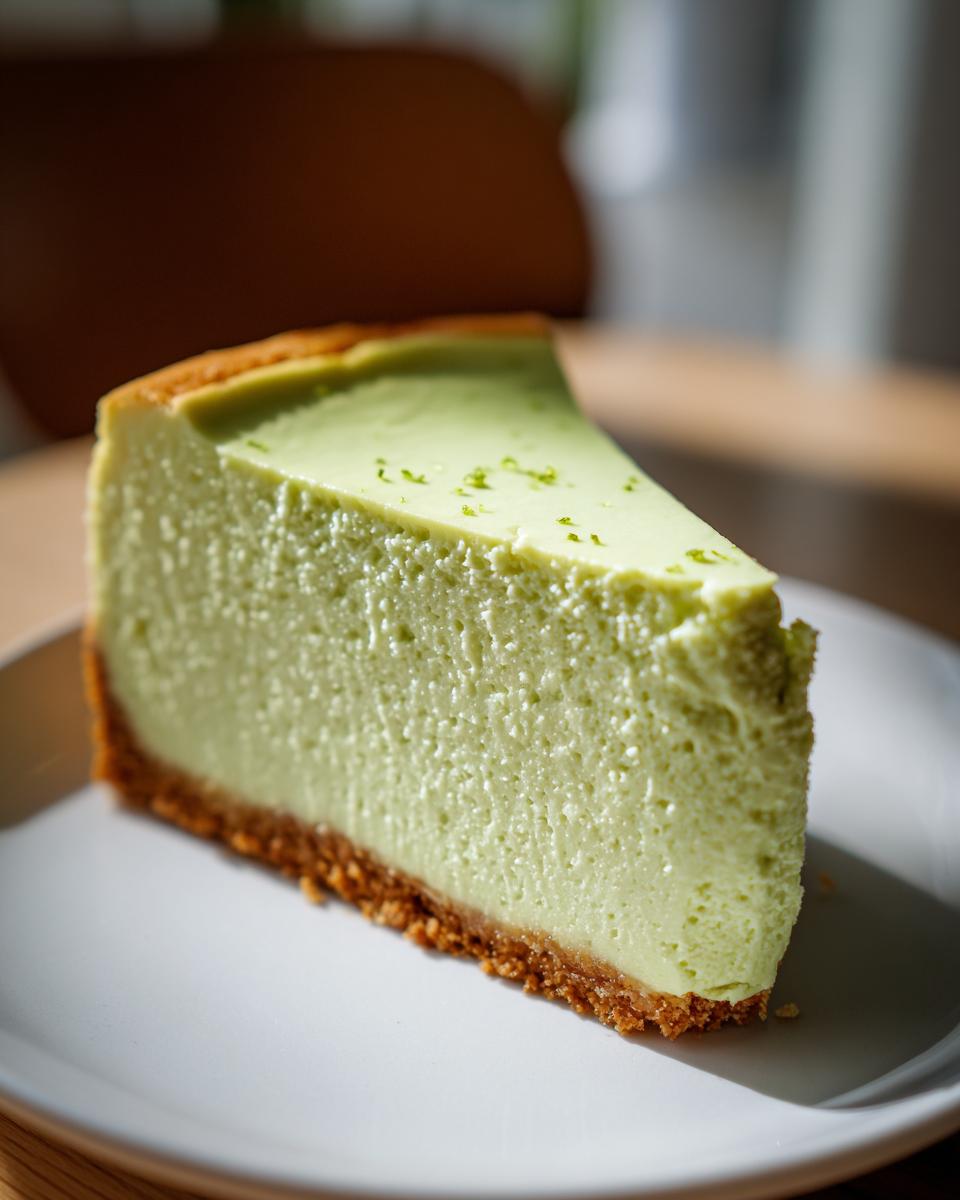
Once your key lime cheesecake has chilled overnight—and trust me, you need to be patient here—the fun part is deciding how to make it look as gorgeous as it tastes! This dessert looks amazing all on its own, but a tiny bit of flair really elevates it. I love grating some fresh key lime zest right over the top just before serving; the green specks look so vibrant against the creamy white.
If you want a little extra something, a dollop of freshly whipped cream pairs beautifully because it mellows out that tartness just a touch. Check out my collection of dessert recipes for more inspiration on plating!
Storage and Reheating Instructions for Homemade Key Lime Cheesecake
Okay, so you managed to save some of your amazing homemade key lime cheesecake? That’s a feat in itself! Good news: this keeps really well, but it must stay cold. You want to cover that springform pan loosely with plastic wrap or transfer a slice to an airtight container. Pop it right back into the fridge.
Cheesecake is always best served straight from the cold, so honestly, reheating isn’t something you want to do here; the texture will turn weird fast. It’s really meant to be a refreshing, chilled dessert, so just let a slice warm up on the counter for about 15 minutes before you dig in!
Frequently Asked Questions About Key Lime Cheesecake
I totally get it—baking a perfect cheesecake isn’t always straightforward, so let’s answer some of the questions I get all the time about this key lime cheesecake recipe. These little tweaks can really make or break your dessert experience!
Can I make this Easy Key Lime Cheesecake recipe without a water bath?
Look, I won’t stop you, but I strongly advise against it if you want that amazing, super creamy key lime cheesecake texture. The water bath creates steamy, gentle, even heat; without it, you risk the outside baking too fast, which leads to cracks and a slightly drier edge. If you absolutely can’t do it, just watch it like a hawk, but know the texture won’t be quite as velvety.
What makes this a Restaurant Style Key Lime Cheesecake?
What sets this apart from a simple pie filling is the density we get from the eggs and the specific baking method—it’s much richer! Plus, we are using a massive dose of fresh juice, which gives it that signature, powerful zip you find at those high-end places like Cheesecake Factory. If you want to compare notes, sometimes it helps to look at other popular versions, like the one over at Recipe Horizon to see the variations online.
How do I know if my limes are fresh enough?
You want limes that feel heavy for their size, and the skin should yield easily when you give it a gentle squeeze—that means they are juicy! If they feel hard or light, they are dried out and won’t give you enough liquid for that proper tangy lime dessert flavor punch.
Share Your Key Lime Cheesecake Experience
Now that you’ve conquered this amazing key lime cheesecake, I absolutely want to hear all about it! Please leave a rating below and tell me how that texture turned out—did you get that perfect creaminess?
If you snapped any photos of your beautiful citrus creation, tag me on social media! Or if you have questions, pop over to my contact page here so we can chat about your baking success!
PrintThick and Creamy Baked Key Lime Cheesecake

Bake a rich, tangy key lime cheesecake with a buttery graham cracker crust. This recipe focuses on achieving a thick, creamy texture perfect for a refreshing summer dessert.
- Prep Time: 25 min
- Cook Time: 65 min
- Total Time: 7 hours 30 min
- Yield: 12 servings 1x
- Category: Dessert
- Method: Baking
- Cuisine: American
- Diet: Vegetarian
Ingredients
- 1 1/2 cups graham cracker crumbs
- 1/4 cup granulated sugar (for crust)
- 6 tablespoons unsalted butter, melted
- 3 (8 ounce) packages cream cheese, softened
- 1 1/2 cups granulated sugar (for filling)
- 1/4 cup all-purpose flour
- 1 teaspoon vanilla extract
- 1/2 cup sour cream
- 4 large eggs, room temperature
- 3/4 cup fresh key lime juice (about 10–12 limes)
- Zest of 2 key limes (for topping)
Instructions
- Preheat your oven to 325 degrees Fahrenheit. Wrap the outside of a 9-inch springform pan tightly with heavy-duty aluminum foil to prepare for a water bath.
- Make the crust: Combine graham cracker crumbs, 1/4 cup sugar, and melted butter in a bowl. Press the mixture firmly into the bottom and about 1 inch up the sides of the prepared springform pan. Bake for 10 minutes. Let cool slightly.
- Prepare the filling: In a large bowl, beat the softened cream cheese with an electric mixer until smooth. Gradually beat in the 1 1/2 cups sugar and flour until just combined. Mix in the vanilla extract and sour cream.
- Beat in the eggs one at a time, mixing only until each egg is incorporated. Do not overmix the batter once eggs are added.
- Stir in the fresh key lime juice until the filling is uniform.
- Pour the filling over the cooled crust. Place the springform pan into a larger roasting pan. Carefully pour hot water into the roasting pan until the water reaches halfway up the sides of the springform pan (this is the water bath).
- Bake for 55 to 65 minutes, or until the edges are set but the center still has a slight jiggle.
- Turn off the oven, crack the oven door open slightly, and let the cheesecake cool inside the oven for 1 hour. This prevents cracking.
- Remove the cheesecake from the water bath and foil. Cool completely on a wire rack. Once cool, cover and refrigerate for at least 6 hours, or preferably overnight, before serving.
- Before serving, top with fresh key lime zest.
Notes
- Use room temperature ingredients for the cream cheese and eggs to ensure a smooth, creamy filling.
- For the best tangy flavor, use fresh key lime juice rather than bottled concentrate.
- If you do not have key limes, you can substitute with regular Persian limes, but you may need slightly less juice.
Nutrition
- Serving Size: 1 slice
- Calories: 450
- Sugar: 35g
- Sodium: 250mg
- Fat: 30g
- Saturated Fat: 18g
- Unsaturated Fat: 12g
- Trans Fat: 0.5g
- Carbohydrates: 40g
- Fiber: 1g
- Protein: 7g
- Cholesterol: 110mg