
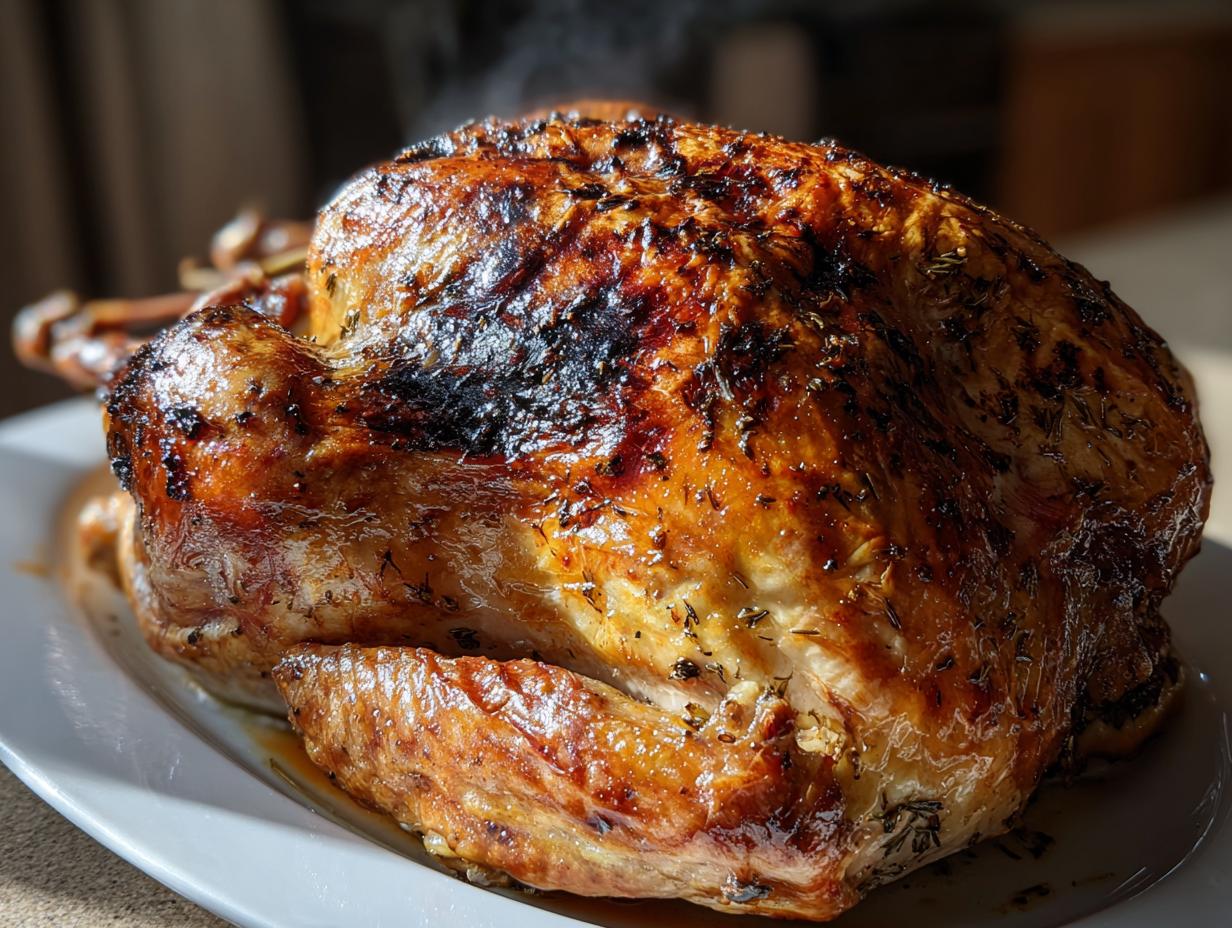
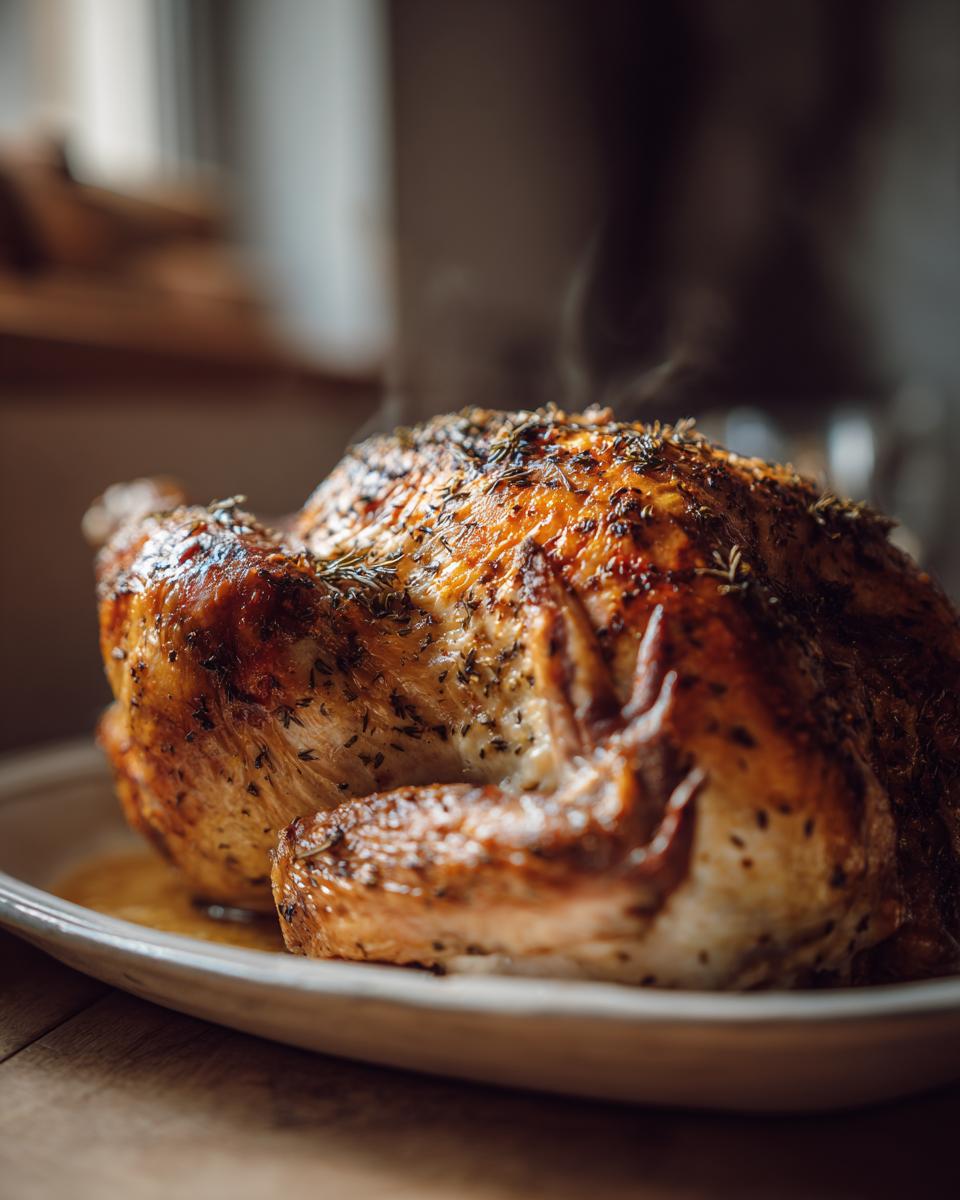
Let’s be honest: the fear of serving up a dry, sad holiday bird is real. Nobody wants to carve into a magnificent centerpiece only to find the meat tastes like packing peanuts. That’s why, after years of chasing incredible flavor on the road, Jaxson Riley developed this recipe. This isn’t complicated; it’s just smart cooking. We’re talking about the Juicy Garlic Herb Butter Roast Turkey, designed to be the foolproof solution for the most important meal of the year. This technique ensures your turkey is utterly saturated with flavor and stays unbelievably moist, no matter how long your dinner conversations run.
My time spent touring America meant learning how the best local cooks make simple ingredients taste epic. That’s exactly the philosophy Jaxson Riley champions here at YumDrizzle, which you can read more about on our About Page: high-impact flavor doesn’t need high-stakes execution. This recipe is our dependable answer for delivering that perfect, golden-brown turkey every single time you need it.
- Why This Herb Butter Turkey Recipe Guarantees a Juicy Roast Turkey
- Gathering Ingredients for Your Holiday Centerpiece Entree Turkey
- Step-by-Step Instructions for a Moist Baked Turkey
- Tips for Success with Your Garlic Roasted Turkey
- Making a Thanksgiving Turkey Recipe Side: Turkey Stuffing Balls
- Storage and Reheating Instructions for Leftover Turkey
- Frequently Asked Questions About Cooking Turkey
- Estimated Nutritional Data for Herb Butter Turkey
- Share Your Juicy Turkey Results
Why This Herb Butter Turkey Recipe Guarantees a Juicy Roast Turkey
If you’ve ever suffered through a dry bird, you know the agony. This recipe cuts right through that fear because we tackle moisture and texture simultaneously. We aren’t just throwing butter on top; we are strategically massaging it in key spots. This is the kind of dependable technique Jaxson learned while trying to turn roadside ingredients into amazing tour meals. This method guarantees you an unbelievably Juicy Roast Turkey that tastes seasoned right down to the bone. If you follow this, you won’t have to worry about dry meat again.
We’re focusing on building flavor layers before the bird even hits the oven. For all the details on building these flavor bases, check out my favorite tips on Best Turkey Technique.
The Secret: Herb Butter Application for a Flavorful Turkey
Wow, the flavor in this herb butter is unbelievable! We combine soft butter with tons of fresh rosemary, thyme, and garlic. The real trick? You have to get about half of that gorgeous mixture *under* the skin, directly onto the breast meat. This allows the fat and herbs to baste the meat from the inside out as it cooks. That’s pure flavor infusion happening right there, making sure every slice is delicious.
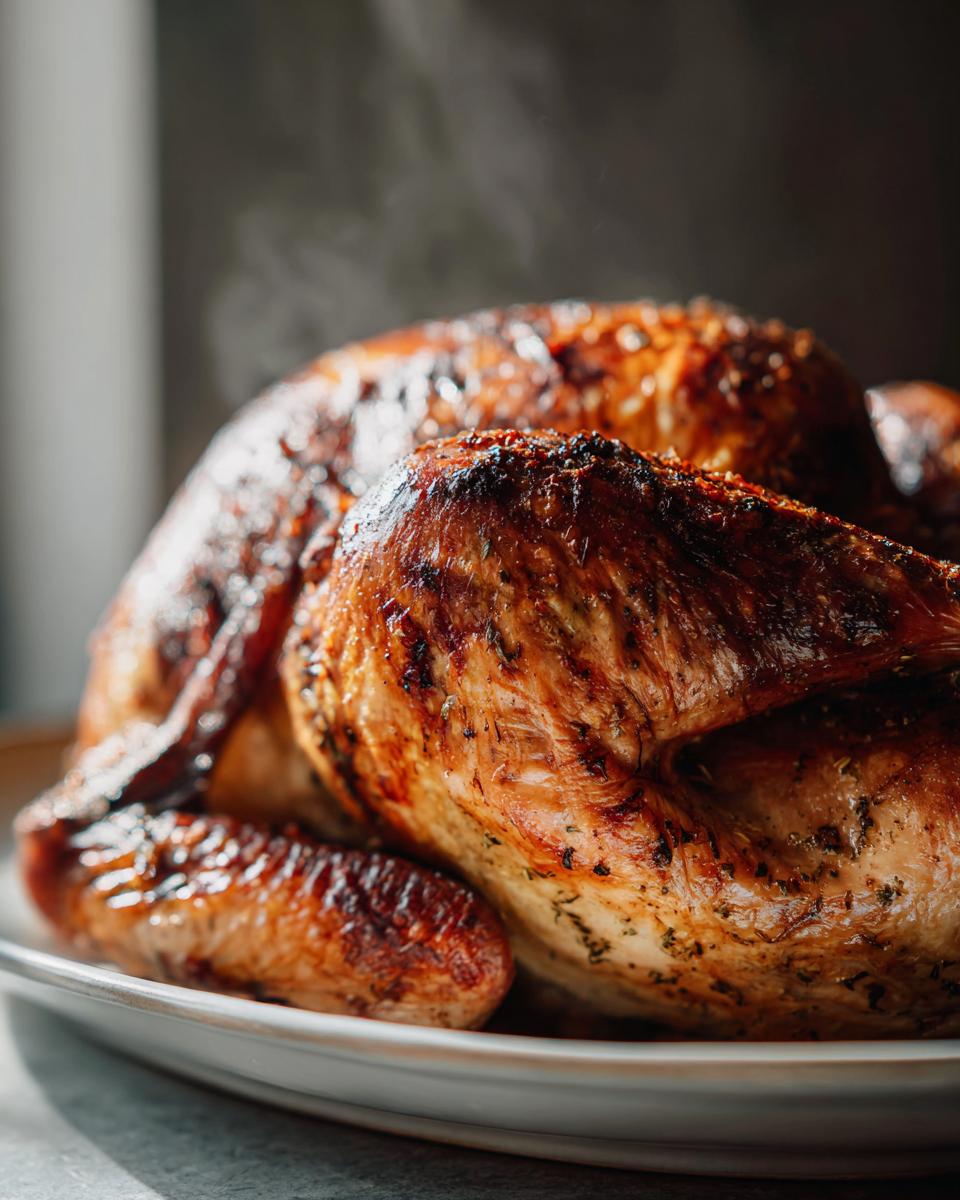
Achieving the Perfect Crispy Skin Turkey
Crispy skin is non-negotiable during the holidays, right? The most important thing you can do—and please, please listen to me on this—is pat your entire bird bone-dry with paper towels before anything else happens. Seriously, dry skin equals crispy skin; wet skin equals soggy skin. Then, we hit it with a blast of high heat (425°F) right at the start. That rapid blast gets that skin tightening and rendering fat fast, setting you up for a beautiful, golden, Crispy Skin Turkey finish.
If you love maple notes, you might want to check out this Maple Butter Glazed Turkey idea for inspiration, though our garlic version is absolutely fantastic on its own!
Gathering Ingredients for Your Holiday Centerpiece Entree Turkey
Okay, you can’t make magic without the right elements! Since this is the star of the show—your Holiday Centerpiece Entree—we need crystal-clear measurements. Don’t skimp on the herbs here; fresh really does make a world of difference when flavoring your whole turkey. I’ve made sure every part of this recipe is accessible, so you’re just grabbing things from your regular market, not some specialty shop. If you’re looking for a great festive drink to serve alongside this masterpiece, I whipped up a fantastic Crowd-Pleasing Thanksgiving Punch!
Here’s exactly what you need to pull this bird together so it’s perfectly juicy:
- One whole turkey, about 12 to 14 pounds. Make sure it’s fully thawed. That’s rule number one!
- One cup of unsalted butter. This needs to be softened up nicely, almost creamy looking.
- Four cloves of garlic, minced super fine. We want that pungent flavor mingling with the herbs.
- Two tablespoons each of fresh rosemary and fresh thyme, carefully chopped up.
- One tablespoon of fresh sage, finely chopped. If you’re using dried, cut that amount in half, but I really push for fresh on this one!
- One tablespoon of kosher salt—don’t use regular table salt here, it’s too harsh.
- One teaspoon of black pepper, freshly ground is better!
- For stuffing the cavity: One large onion, quartered, and one lemon, cut right in half.
- Four cups of chicken broth. This goes right into the bottom of the pan to keep things steaming nicely.
- For that optional shiny finish, grab about a quarter cup of pure maple syrup.
See? Nothing scary! It’s just high-quality basics brought together with a killer technique.
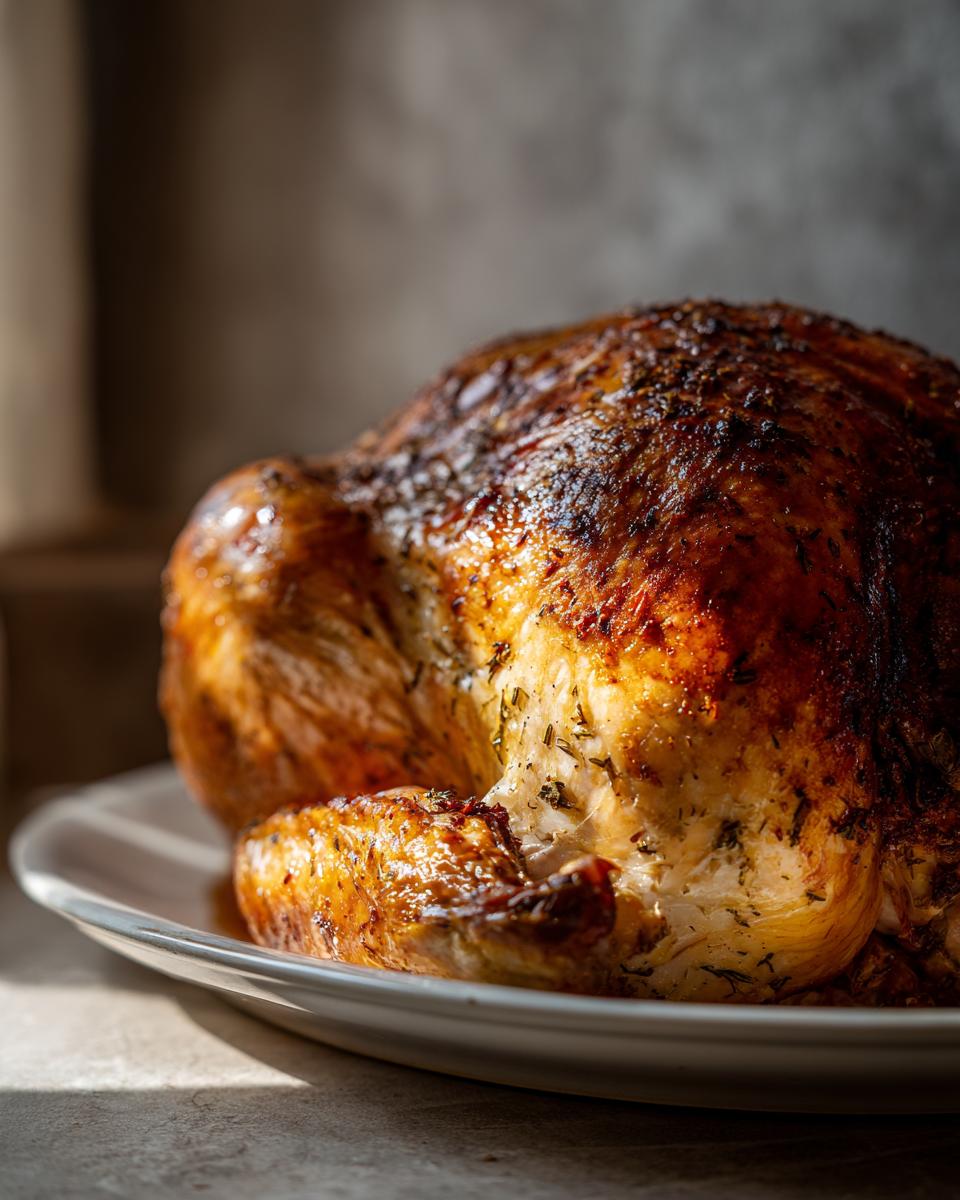
Step-by-Step Instructions for a Moist Baked Turkey
Here is where the actual magic happens. If you stick to this schedule, you’re looking at a truly Moist Baked Turkey that you will brag about for years. When I first started learning roasting on the road, I was obsessed with timing, and that’s what I want to give you here—a Foolproof Turkey Cooking plan. Remember, cooking a big bird is less about following the clock perfectly and more about trusting that thermometer. Let’s walk through this.
Because we are putting so much flavor into this bird, you are going to want to make sure you carve it smartly afterward. My personal tip from Jaxson: don’t just hack at it! Take a minute to remove the legs and thighs completely first, then take the breast meat off the bone in one big piece before slicing it across the grain. That makes for way neater, more attractive slices on the plate. If you want to see another amazing, tried-and-true method, check out this reference for a great Crispy Thanksgiving Turkey!
Before we get to the oven time, don’t forget to check out my recipe for Classic Homemade Thanksgiving Stuffing—you can use the drippings from this bird for the best gravy ever!
Preparing the Turkey: Drying and Butter Application
Step one is all about sweat equity: grab those paper towels and start blotting! You need the skin completely, totally dry. I mean it—no damp spots allowed, or you won’t get crispy skin. Once it’s dry, move right into the butter. Gently peel that skin away from the breast and thigh meat—don’t rip it, just make a pocket. Rub roughly half of your amazing herb butter directly onto the flesh underneath. Then, take the rest of that garlicky butter and smear it all over the outside skin. It smells incredible already, doesn’t it?
Roasting Schedule for the Best Turkey Technique
Time to get it into the pan. Tuck your quartered onion and halved lemon right inside that cavity. Pour the chicken broth into the bottom of your roasting pan—this humidity is what keeps the bottom of your bird from drying out while the top is crisping. We kick the oven temperature up high, preheating it to 425°F. Roast it at this high heat for exactly 30 minutes. This initial blast is crucial for setting that crispy texture. After that half hour, drop the temperature down significantly to 325°F. Now, keep checking it every 45 minutes to baste it with those glorious pan drippings running low in the bottom. This is also where, in the last 30 minutes, you can brush on that optional mixture of maple syrup and drippings if you want that beautiful, slightly sweet coat—a great alternative for a flavor twist, similar to a Maple Glazed a Maple Glazed Turkey!
Resting: The Final Step for a Tender Turkey
This last part is where most people cheat, and that’s why their meat ends up dry! When your thermometer hits exactly 165°F in the thickest part of the thigh, pull that bird out. Do not carve it yet! Tent it loosely with foil—make sure the foil isn’t touching the skin or you’ll steam those crispy spots you worked so hard for. You must let it rest for a minimum of 30 minutes, sometimes even 40 for a larger bird. This resting period is non-negotiable; it lets all those juices that were surging up to the surface redistribute back through the meat. Trust me, this step makes the difference between good turkey and the best holiday bird ever.
If you’re looking for an easy starter appetizer, these Easy Cranberry Brie Bites pair perfectly with the rich flavors we’re building here.
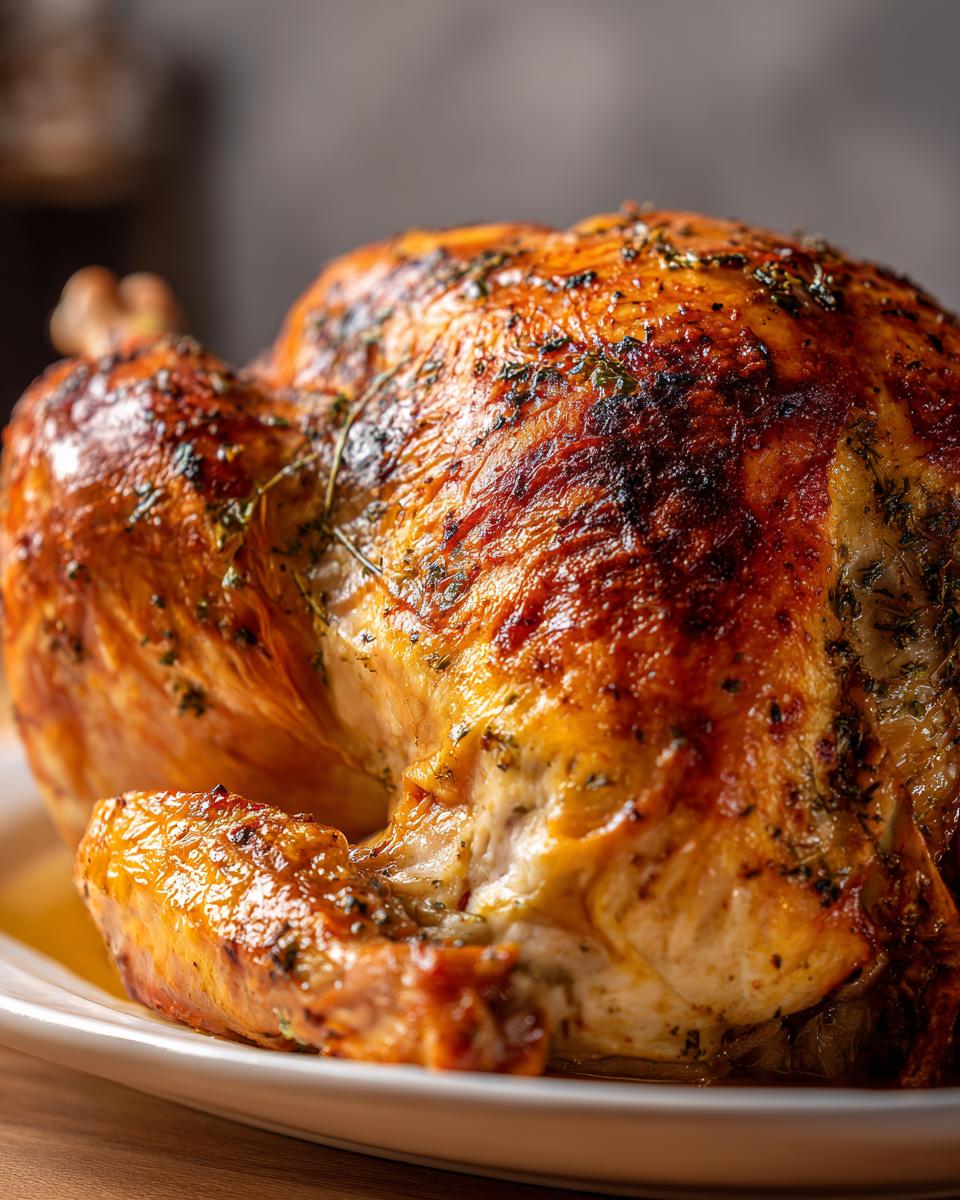
Tips for Success with Your Garlic Roasted Turkey
Even with a perfect recipe, sometimes you just need that little extra nugget of wisdom to make sure your Garlic Roasted Turkey is the absolute best it can be. Based on all the years I’ve spent messing around with big birds—both for holiday feasts and just weeknight dinners—here are a few pointers Jaxson Riley swears by. If you follow these, you’ll feel like a total pro.
First off, if you really want to commit to crispiness, try to prep the bird the day before. After you apply that amazing herb butter mix, stick the whole thing—uncovered—into the fridge overnight. This slow, cold air drying process really helps the skin dehydrate, which means the roasting process focuses entirely on crisping instead of fighting off moisture removal. It’s worth the extra planning, trust me!
Also, when it comes to the heat, always, always trust the thermometer over the clock. We aim for 165°F in the thigh, but here’s the real expert insight I picked up watching seasoned cooks: check the thigh meat first, as it takes longer to cook than the breast meat. Once the thigh hits 165°F, pull that bird out immediately. The carryover cooking while it rests will push that breast meat right up to a perfectly safe and tender temperature without drying it out!
Finally, don’t let that precious moisture go to waste! Those drippings you’ve been faithfully basting with? They are liquid gold. Make sure you save every drop; they are the foundation for the richest gravy you’ve ever had, which you can serve alongside something fantastic like my Garlic Herb Butter Potato Stacks. For further reading on achieving that moist result, this link offers great general tips for a Juicy Masterpiece.
Making a Thanksgiving Turkey Recipe Side: Turkey Stuffing Balls
Okay, you’ve got the main event handled—the whole roast! But what’s a holiday feast without amazing sides? Since I know we’re all about maximizing flavor while keeping things easy here, let me tell you about my quick hack for next-level Turkey Stuffing Balls. You can take the drippings from your perfectly roasted bird to make the stuffing incredibly flavorful!
Instead of baking a huge pan of dressing, I turn leftover bread crumbs, sage, celery, and maybe some sautéed onions into little balls. You just mix it all up, maybe add a splash of broth or even some of those pan drippings we saved for the gravy, roll them into golf-ball sizes, and bake them right alongside your resting turkey for the final 20 minutes. They get this amazing, slightly crunchy exterior and a soft, steamy center. It’s easier to manage than traditional stuffing, and every single person gets a perfect little portion. For another great, low-stress side, I love my recipe for Crock-Pot Stuffing, which lets you forget about it until dinner time!
Storage and Reheating Instructions for Leftover Turkey
Phew! You did it. Your turkey was the star, and now you have leftovers—which, let’s be honest, are often even better the next day! But we have to treat those leftovers right, or all that hard work keeping the meat juicy disappears fast. My main goal when storing or reheating is fighting dryness. We put so much attention into getting that initial roast perfect, so let’s not mess it up in the microwave, okay?
First, carving is important here. Don’t just shove the whole carcass in the fridge! Carve up all that glorious meat (both white and dark) once it has cooled down. Keep them separate, too. Dark meat holds moisture better than the breast meat, so you might want to treat them slightly differently when reheating.
Storing the Meat Safely
Seal these precious leftovers up tight. We’re talking airtight containers—no leaving them wrapped loosely in foil in the back of the fridge. You want those carved pieces wrapped tightly, maybe even with a little splash of good quality chicken broth or stock dribbled over them before sealing. This helps keep the meat from absorbing any fridge odors and keeps those moisture levels up. Use everything within three to four days, or freeze the rest right away. Freezing is your friend for getting through the post-holiday slump!
Reheating for Maximum Juiciness
If you want that meat to taste almost as good as it did fresh, the oven or stovetop is your best bet, not the microwave. If you’re reheating a large portion in the oven, place the sliced meat in a single layer in a baking dish. Add just a spoonful or two of broth or gravy to the bottom of the dish—again, that steam is your moisture preserver! Cover the dish tightly with foil and warm it gently at about 300°F. Low and slow is key here. You’re just warming it through, not cooking it again.
For smaller portions, like a quick sandwich filling, a quick trip in a skillet over medium-low heat works wonders. Toss the meat with a teaspoon of broth or melted butter just until it loses that cold chill. If you must use the microwave, use 50% power in short 30-second bursts and stir frequently. Never blast it high power, or you’ll end up with rubbery edges instantly.
Using Leftover Turkey in New Ways
Don’t limit yourself to just eating slices! This leftover turkey is fantastic for switching things up during the week. Shred it up and use it in quick tacos or mix it into that leftover gravy for an amazing stew base. It’s a great way to extend the holiday flavor without eating the same exact meal three nights in a row. It’s the ultimate resourcefulness, something Jaxson really values!
Frequently Asked Questions About Cooking Turkey
It’s totally normal to have questions when you’re attempting a big roast, especially if you’re planning on this being your incredible holiday bird. Cooking an Easy Whole Turkey can feel intimidating, but with the right answers, you’ll be an expert. We’ve all been there staring at the packaging wondering what the next step is. Here are the things folks ask me most often when they’re diving into this process, whether it’s for Thanksgiving or a perfect Christmas Turkey Guide.
If you are looking for ways to speed up your weeknight cooking after the holiday, check out my ideas for weeknight dinner recipes—sometimes you just need something fast!
How long does it take to thaw a 14 lb turkey?
This is one of the biggest safety concerns, so you have to plan ahead! The golden rule I always stick to is this: you need about 24 hours of refrigerator thawing time for every five pounds of weight. So, for our 14 lb bird, you’re looking at roughly three full days in the fridge! You can’t rush this in a warm area because bacteria can grow too fast. If you’re running short on time, the cold water bath method is faster, but it requires constant attention. But for the best results, plan that fridge time in advance!
Can I skip the resting period for my turkey?
Oh my goodness, absolutely not! If you skip the resting period, you are signing up for dry meat, no matter how perfectly you cooked it. When that turkey finishes roasting, all those juices you worked so hard to keep inside are all heated up and surging toward the surface and the connective tissues. If you cut into it right away, those juices just flood out onto your cutting board, leaving the meat dry. Resting allows those tight muscle fibers to relax and slowly reabsorb that moisture back into the meat. That 30-minute tented rest is the secret ingredient for that juicy meat everyone raves about. Seriously, don’t skip this step!
What temperature should the oven be for the final hour of roasting the turkey?
We start high to get the skin crisp, but for the long haul—which is most of your cooking time—we drop it way down to 325°F. You generally want to keep that temperature steady for the final hour unless the skin begins to look way too dark, which sometimes happens. If you notice your skin getting too dark before the internal temperature is met (and remember, we are looking for 165°F in the thigh), you can loosely tent the bird with foil for the remainder of the time. Keeping it at 325°F ensures slow, even cooking right through the center without scorching the outside. For more general wisdom on what makes a truly great roast, I always reference what folks like The Kitchn have to say about the best turkey ever.
Estimated Nutritional Data for Herb Butter Turkey
Every year when I post this recipe, someone inevitably asks me about the numbers, and I totally get it! We want flavor, sure, but we also want to know what we’re eating, especially when it’s the centerpiece of a big holiday spread. I’ve pulled the average nutrition breakdown from the ingredients we use in this Herb Butter Turkey recipe, but take this information with a grain of salt.
Since we are using whole ingredients and the exact size of our turkey changes every time, these numbers are just estimates based on a standard 6-ounce serving of cooked white meat after everything cooks down. Keep in mind that how much butter you actually use and how much you might be skimming off the pan drippings will change these slighty. However, this gives you a great baseline for tracking your meals!
Here is the estimated breakdown for one serving size:
- Serving Size: 6 oz cooked meat
- Calories: 350
- Fat: 18g (This is largely the good fat from the butter and meat)
- Saturated Fat: 8g
- Trans Fat: 0g
- Cholesterol: 140mg
- Sodium: 450mg (Depends heavily on how much salt *you* add!)
- Carbohydrates: 1g
- Fiber: 0g
- Protein: 45g (A massive protein hit right there!)
Honestly, for a giant holiday meal, those numbers look pretty good to me, especially seeing that protein count! We’re keeping the sugar low unless you decide to go heavy on that maple glaze we mentioned earlier. This is solid food designed to fuel you for a day of family fun.
Share Your Juicy Turkey Results
Alright, you’ve done the hard work! You’ve got the bird resting perfectly, the kitchen smells incredible, and now it’s time to carve and enjoy. I truly hope this Juicy Garlic Herb Butter Roast Turkey makes your holiday table shine. Jaxson and I put so much love into making sure these recipes work for your real life, not some fantasy cooking set!
Once you’ve finally carved into that beautiful bird and tasted how incredibly moist that breast meat is, I really, really want to hear about it! Please take a second to hop down and leave a star rating right below this post. Knowing what worked for you—whether you nailed the crispy skin or loved the maple glaze touch—helps me keep making better recipes for everyone.
And since the main dish is only half the battle, tell me in the comments: What was your absolute favorite side dish right next to that perfectly roasted turkey? Were you serving my stuffing balls, or did you whip up something else amazing? I’m always looking for new inspiration for next year!
If you have any super specific questions about the technique or need help perfecting a different dish, never hesitate to reach out directly through our Contact Page. Happy feasting, everyone!
PrintJuicy Garlic Herb Butter Roast Turkey: The Foolproof Holiday Centerpiece
You need a turkey that stays moist and has crispy skin every time. This recipe uses a simple herb butter technique and specific roasting steps to deliver a flavorful, juicy centerpiece for your Thanksgiving or Christmas feast.
- Prep Time: 30 min
- Cook Time: 3 hr 30 min
- Total Time: 4 hr 0 min
- Yield: 10 servings 1x
- Category: Holiday Main Dish
- Method: Roasting
- Cuisine: American
- Diet: Low Fat
Ingredients
- 1 whole turkey (12–14 lbs), thawed
- 1 cup unsalted butter, softened
- 4 cloves garlic, minced
- 2 tablespoons fresh rosemary, chopped
- 2 tablespoons fresh thyme leaves
- 1 tablespoon fresh sage, chopped
- 1 tablespoon kosher salt
- 1 teaspoon black pepper
- 1 large onion, quartered
- 1 lemon, halved
- 4 cups chicken broth
- 1/4 cup maple syrup (for optional glaze)
Instructions
- Remove the turkey from its packaging. Take out the neck and giblets from the cavities. Pat the entire turkey skin completely dry using paper towels. This step is key for crispy skin.
- In a small bowl, mix the softened butter with minced garlic, rosemary, thyme, sage, salt, and pepper until you have a uniform herb butter.
- Gently loosen the skin over the turkey breast and thighs. Rub about half of the herb butter directly onto the meat under the skin. Rub the remaining herb butter all over the outside of the turkey skin.
- Place the onion quarters and lemon halves inside the main cavity of the turkey.
- Preheat your oven to 425 degrees Fahrenheit. Place the turkey on a roasting rack set inside a large roasting pan. Pour the chicken broth into the bottom of the pan.
- Roast the turkey at 425°F for 30 minutes to start crisping the skin.
- Reduce the oven temperature to 325°F. Continue roasting. Baste the turkey with the pan drippings every 45 minutes. For a 12-14 lb turkey, this usually takes about 3 to 3.5 hours total cooking time after the initial high-heat blast.
- If you want a maple glaze, mix the maple syrup with 2 tablespoons of pan drippings. Brush this mixture over the skin during the last 30 minutes of cooking.
- The turkey is done when a meat thermometer inserted into the thickest part of the thigh registers 165°F.
- Remove the turkey from the oven. Tent it loosely with foil and let it rest on the counter for at least 30 minutes before carving. This resting period keeps the meat juicy.
Notes
- For extra crispy skin, you can place the turkey uncovered in the refrigerator overnight after applying the herb butter.
- If you are cooking a larger turkey, plan for an extra 15-20 minutes per 2 pounds over 14 pounds. Always trust the thermometer over the clock.
- Save the pan drippings to make rich gravy for serving alongside your turkey.
Nutrition
- Serving Size: 6 oz cooked meat
- Calories: 350
- Sugar: 1
- Sodium: 450
- Fat: 18
- Saturated Fat: 8
- Unsaturated Fat: 10
- Trans Fat: 0
- Carbohydrates: 1
- Fiber: 0
- Protein: 45
- Cholesterol: 140