
Listen, I know you’ve seen it. It’s everywhere—the blindingly white, seemingly magical tortilla that pops up on every feed you scroll through. Seriously, I almost missed the **viral food trends** wave on this one, but when something promises huge protein with basically zero fuss, I have to check the source. That’s where the **cottage cheese wrap** comes in. If you’re like me, juggling life and trying to keep those macros in check without eating another sad salad, you need this recipe in your arsenal. My mission here at YumDrizzle has always been taking resourceful, simple ideas—the kind you discover on the road or when the pantry is totally bare—and turning them into reliable, real-food staples. This recipe is the ultimate expression of that: high-protein goals met with two ingredients? Yes, please. We’re making this accessible magic happen today, so get ready for your new favorite healthy lunch recipes staple.
- Why This Viral Cottage Cheese Wrap Recipe Works (High Protein Focus)
- Gathering Ingredients for Your Cottage Cheese Wrap
- Step-by-Step: Making the Perfect Blended Cottage Cheese Wrap
- Tips for Success with Your Cottage Cheese Wrap Flatbread
- Ideas for Using Your High Protein Cottage Cheese Wrap
- Storage and Reheating Instructions for Your Cottage Cheese Wrap
- Dietary Considerations: Gluten Free and Low Calorie Meals
- Frequently Asked Questions About the Viral Food Trend
- Share Your Cottage Cheese Wrap Creations
Why This Viral Cottage Cheese Wrap Recipe Works (High Protein Focus)
Honestly, the reason this *cottage cheese wrap* blew up is simple: it solves the hungry problem. When I was touring back in the day, finding high-protein food that wasn’t wrapped in three layers of bread was nearly impossible. This recipe nails that feeling of finding something special and incredibly simple. It’s an absolute winner for **high protein recipes** because you’re combining the power of eggs and cottage cheese into one flexible package. It means you get serious fuel without the carb crash later.
It cooks up fast, which is exactly what you need when you’re busy. Trust me, once you see those macros, you’ll be making these on repeat. Why not try them for a speedy boost to your quick breakfast ideas, too?
Nutritional Wins: Low Carb and High Protein
Let’s talk numbers, because they are fantastic. We’re looking at about 30 grams of protein coming out of just one wrap! That’s what keeps you full until dinner, no joke. Because we skip the flour entirely, these are inherently perfect **low carb wraps**—totally on board for anyone doing keto or just trying to cut back on the heavy stuff. You can load this thing up with veggies, maybe some lean turkey, and still feel like you had a light meal. It’s clean fuel, plain and simple.
Gathering Ingredients for Your Cottage Cheese Wrap
Okay, you won’t believe how short this list is, which is part of the entire charm of these **viral food trends**! This isn’t about hunting down obscure items; it’s about pantry basics coming together. We only need two stars, but having a couple of the optional spices on hand really makes a difference between a plain wrap and a flavorful one. You want this batter smooth as silk, so make sure your cottage cheese isn’t swimming in too much liquid!
Essential Components and Flavor Boosters
For this giant, high-protein shell, grab these items:
- 1 cup low-fat cottage cheese (This keeps the fat content down for those counting macros!)
- 2 large eggs (These bind everything together, so don’t skimp!)
- 1 teaspoon dried Italian seasoning (My favorite kick!)
- 1/4 teaspoon garlic powder (Optional, but wow, does it add depth.)
- Pinch of salt (Just a tiny bit to wake up the flavors.)
If you’re serious about getting that perfect, flexible texture we talked about, make sure you’re using the low-fat version unless you plan on baking it crispier. The smoother the blend, the better the final result!
Step-by-Step: Making the Perfect Blended Cottage Cheese Wrap
Alright, this is where we turn sad dairy products and eggs into one of the wildest **easy 2 ingredient recipes** out there. Remember what I learned on the road? Resourcefulness! This process is less cooking and more careful blending, which is why technique matters so much here. Don’t rush the first few steps; they determine if you get a floppy, usable tortilla or a crumbly mess. We’re aiming for perfection, so grab that blender! Have your baking sheet ready and lined with parchment paper; this wrap sticks, and parchment saves you so much scrubbing later—trust me on that one.
Achieving That Smooth Batter Consistency
This is absolutely the make-or-break moment for a soft, **flexible tortillas**’ texture. You need that blender running until you literally can’t see a single white speck of cottage cheese remaining. I mean perfectly smooth—think heavy cream consistency, maybe even slightly thinner. If you try to use an immersion blender or just whisk like crazy, you might end up with thicker patches. If that happens, the wrap won’t stretch right when you try to fill it. Run it for a good minute on high. We need that homogeneity for a professional finish!
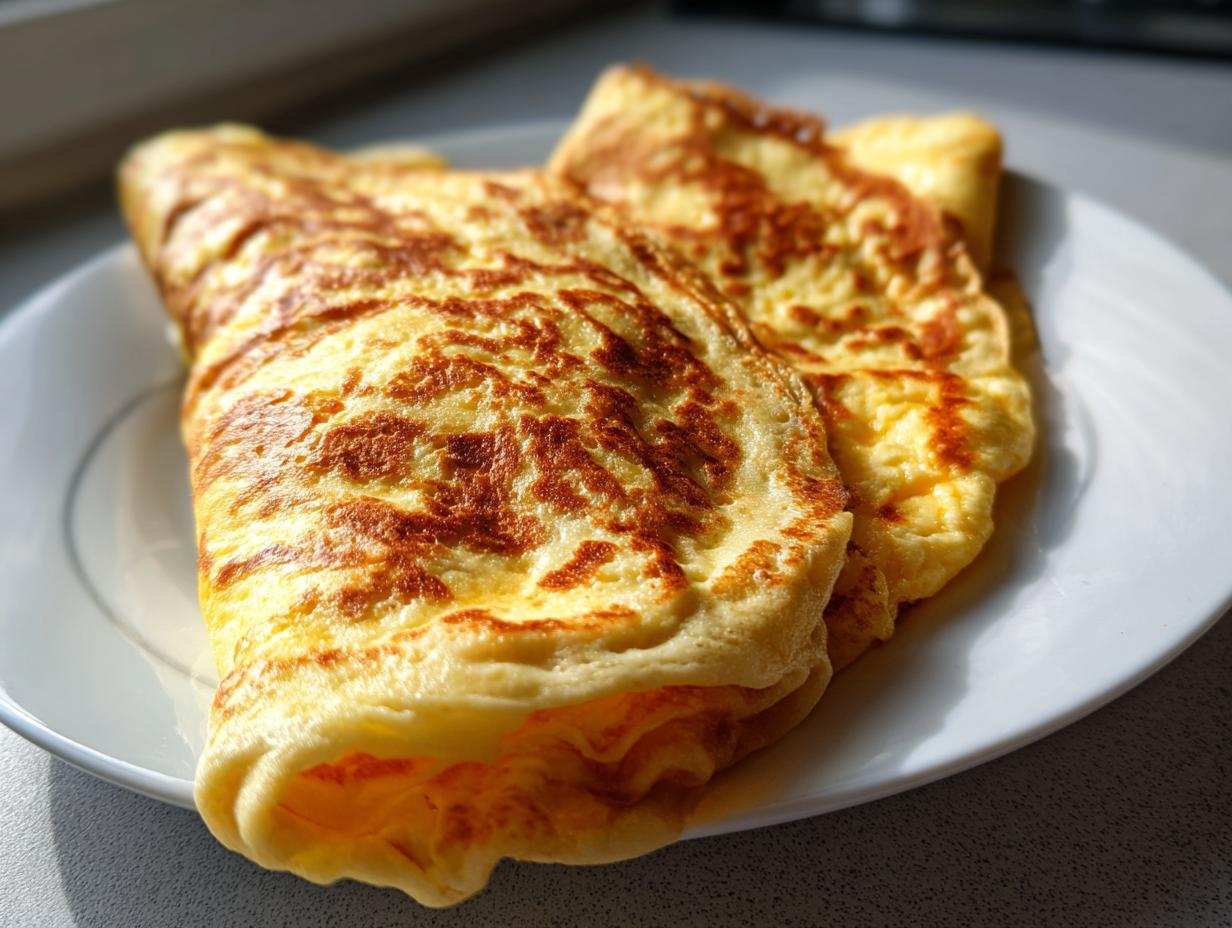
Baking for the Right Cottage Cheese Wrap Texture
Once it’s creamy smooth, pour that batter right onto your prepared sheet. Now, use an offset spatula—that’s the one with the slight bend—and spread it out. You’re aiming for a large circle, maybe 8 to 10 inches, and here’s the key: thin. Like, thin enough that you’re barely coating the parchment. Consistency is everything, especially near the edges; if the edges are thick, they’ll burn before the middle sets. Slide it into a 350°F oven for about 20 to 25 minutes. You’re looking for the edges to look firm and just barely starting to pull away from the paper before taking the whole thing out. It needs to cool slightly before you move it, or you’ll tear it! Check out some of my favorite ways to use these wraps when you look through my protein packed snacks ideas.
Tips for Success with Your Cottage Cheese Wrap Flatbread
Okay, we’ve nailed the blending and the baking time, but getting that perfect texture—soft enough to roll or crispy enough for a crunch—that takes a little insider knowledge. Remember, this isn’t like mixing up regular dough; we need to manage moisture carefully to get those great **flexible tortillas**. These little adjustments are what turn a good outcome into an excellent one, and that’s how we build reliable recipes that work every time.
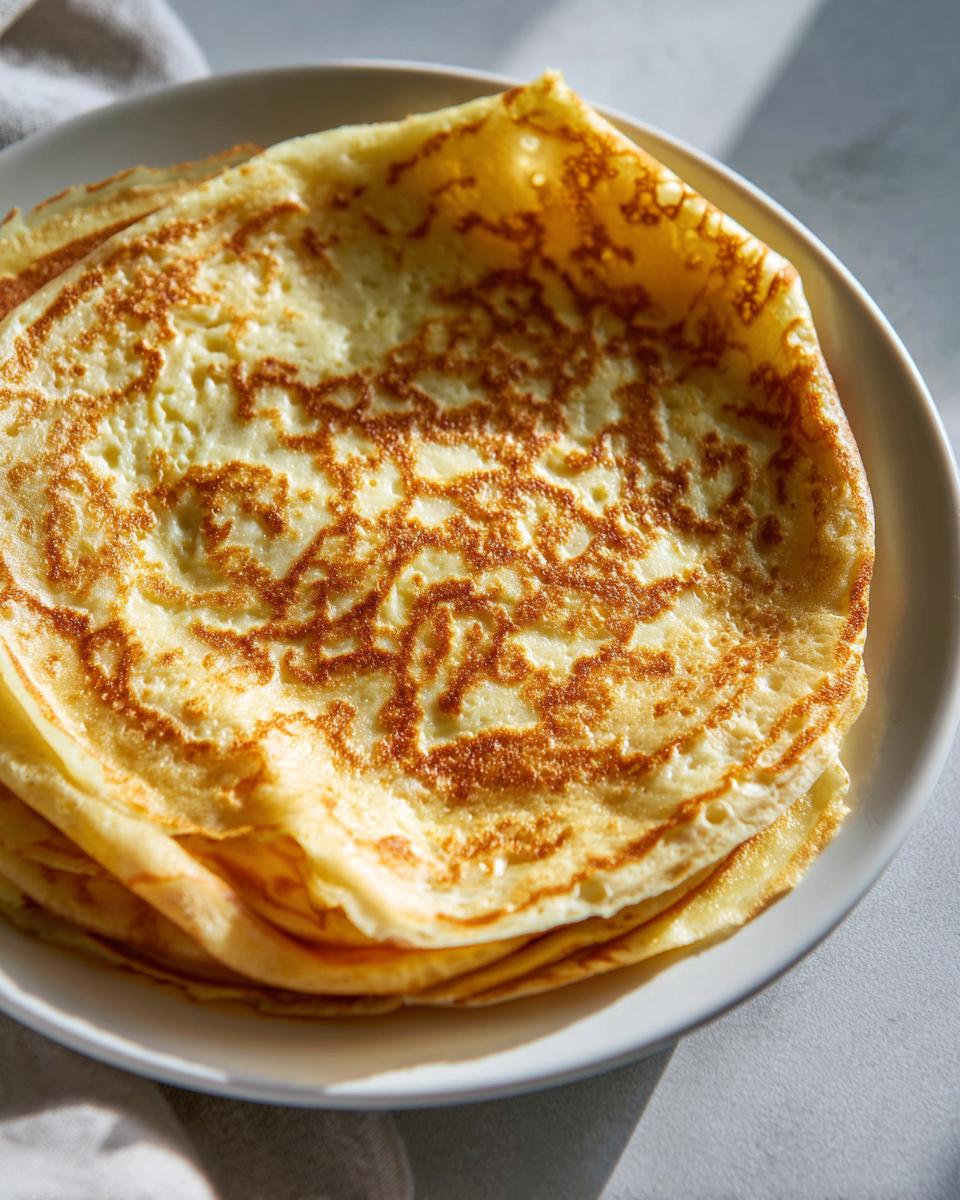
Getting the Crispy vs. Flexible Balance
If you’re dreaming of a crispy flatbread texture, the fix is simple baking time! Just give it another 5 to 10 minutes in the oven until those edges start looking lightly golden brown. Don’t walk away, though, because crispy happens fast! On the flip side, if you want that beautiful, soft wrap ability for rolling up your filling, you MUST let it cool completely on a rack. It feels strange when it comes out slightly soft, but the cooling process firms it up *just right* so it doesn’t tear when you fold it. Patience here pays off big time for your simple dinner hacks.

Troubleshooting Common Issues
What if my blender decided to quit on me right when I needed it? Don’t panic! My road-life lessons taught me to always have a backup plan. If you don’t have a big blender, you can use an immersion blender right in your mixing bowl. It might take a bit longer to get that silky-smooth look, but it absolutely works. If you are tool-less, you can vigorously whisk those ingredients by hand, but you have to be determined! Keep whisking until all the curds have dissolved. You want that consistency more than anything!
Ideas for Using Your High Protein Cottage Cheese Wrap
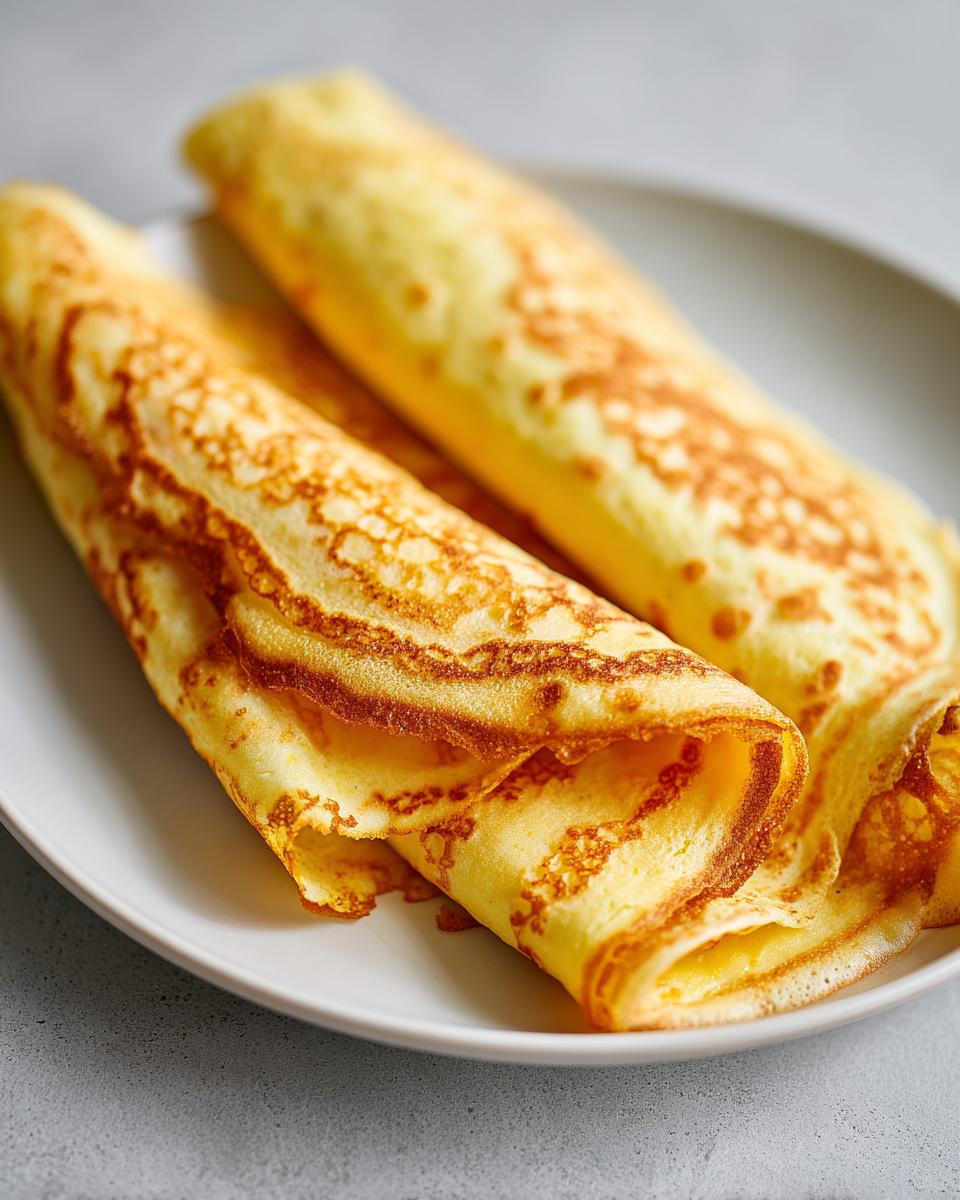
Now that you have this beautiful, high-protein canvas, what are you going to do with it? This is where the fun starts! Because our wrap is so lean, it takes on whatever flavor you throw in there. I’m always preaching about keeping things simple and flavorful, and these wraps are perfect for that. They scream convenience and fit right into your **healthy meal prep** cycle all week long. Forget those boring lunch boxes!
Making This a Great Healthy Meal Prep Staple
We want fillings that keep the wrap healthy but still pack a punch against hunger. Think about ditching heavy bread spreads and leaning into texture. My go-to is always a scoop of my homemade cottage cheese chicken salad—it’s creamy but still high protein. You can also wrap up some deli slices like lean turkey or ham with fresh spinach and a slice of provolone for fantastic **keto friendly lunch ideas**. Since the wrap itself is so mild, layer on things with bold flavor, like some sliced avocado or a little spicy mustard. It makes a satisfying, low-calorie roll-up in minutes!
Storage and Reheating Instructions for Your Cottage Cheese Wrap
Since this wrap is basically baked egg and cheese, we have to be smart about storing it, or it can get a little brittle or rubbery later. For the best texture, you need to let it cool completely before you even think about wrapping it up. Once it’s cool, I lay mine flat between sheets of parchment paper inside an airtight container. You can easily keep these **low carb wraps** in the fridge for about three to four days—perfect for a week’s worth of **healthy meal prep** lunches!
When you’re ready to eat, don’t microwave it straight away, or it gets weirdly chewy. The best way to reheat for flexibility is on a dry, non-stick skillet over medium heat for about 30 seconds per side. If you’re aiming for that crispy edge, a quick blast in the toaster oven works like a charm!
Dietary Considerations: Gluten Free and Low Calorie Meals
One of the best parts about this simple base, besides the huge protein punch, is how many diets it manages to fit into naturally. If you’re avoiding gluten, you are instantly covered. We didn’t add any flour, grain, or weird binders, so these are completely **gluten free wraps** right out of the oven. That’s a huge win when you’re trying to find satisfying bread alternatives!
And since we’re sticking to cottage cheese and eggs, the calorie count stays super low. We’re looking at just over 200 calories for the whole wrap! That makes this recipe an immediate winner when you are looking for **low calorie meals** that actually feel satisfying. You can wrap up your fillings from my chicken bacon ranch wrap inspiration and still keep things light.

Frequently Asked Questions About the Viral Food Trend
I get it—when you see something this popular online, you naturally have questions about tweaking it for your own kitchen! I want you to feel confident making this, so let’s tackle the things I hear most often about these amazing **high protein recipes**. Remember what I always say: recipes should work for your life, not the other way around. Don’t hesitate to experiment once you have the base down!
Can I use different types of cottage cheese in the cottage cheese wrap?
You totally can! I usually push the low-fat stuff because that keeps the calories down and aligns with those *low calorie meals* goals we talked about. However, if you only have full-fat cottage cheese, go for it! The only thing you need to watch out for is liquid. If your cottage cheese looks really wet, you might want to drain off some of that extra moisture before blending. Too much liquid equals a wetter batter, and that means your wrap might take longer to set up or might tear when you try to transfer it later. A quick strain goes a long way!
How do I make this cottage cheese wrap recipe crispy like a flatbread?
Oh, I love a crispy flatbread sometimes, especially if I’m using it for something that needs a bit of sturdy structure! To switch from soft wrap to crispy flatbread, you just need a little extra bake time. Once the wrap looks set in the middle (around the 20-minute mark), leave it in there for another 5 to 10 minutes. Keep an eye on it, though. You’re aiming for those edges to brown up nicely. When it comes out, it’ll be much firmer and almost cracker-like once it cools down completely. This is a fantastic alternative for crunchier **keto friendly lunch ideas**!
What is the best way to store the finished wraps?
Storage is key for longevity, especially if you’re doing **healthy meal prep** for the week. I find the texture holds up best when the wrap cools completely flat—I mean *completely* cool. Then, just stack them with a piece of parchment paper between each *cottage cheese wrap*. Put that stack into an airtight container or heavy-duty zip-top bag. They keep beautifully in the fridge for up to four days. And remember that reheating tip—a quick 30 seconds per side on a dry skillet brings back the flexibility without making it rubbery. Don’t forget to check out my favorite healthy lunch recipes for filling inspiration!
Share Your Cottage Cheese Wrap Creations
That’s it! You’ve got the blueprint for one of the hottest, most helpful high-protein recipes out there. I am so excited for you to try this **cottage cheese wrap**. It’s proof that you don’t need 20 ingredients and fancy gear to make something that tastes great and keeps you feeling awesome through the afternoon.
Now, I want to hear all about it! Did you go for the soft, pliable tortilla, or did you bake yours a little crispier to make a flatbread? What amazing fillings did you stuff inside? Don’t be shy! Drop a comment below, tell me how fast you whipped it up, and please, please share a picture if you post one on social media. Tag me in it! Making food fun and accessible is what we’re all about here, and seeing your successes inspires me to keep digging up more simple, powerful recipes like this one. Happy wrapping!
PrintViral 2-Ingredient Cottage Cheese Wrap (High Protein, Low Carb)

Make the viral cottage cheese wrap that took the internet by storm. This recipe uses just two main ingredients to create a high protein, low carb tortilla perfect for quick lunches or healthy meal prep.
- Prep Time: 5 min
- Cook Time: 25 min
- Total Time: 30 min
- Yield: 1 large wrap 1x
- Category: Lunch
- Method: Baking
- Cuisine: American
- Diet: Low Fat
Ingredients
- 1 cup low-fat cottage cheese
- 2 large eggs
- 1 teaspoon dried Italian seasoning (optional)
- 1/4 teaspoon garlic powder (optional)
- Pinch of salt
Instructions
- Preheat your oven to 350°F (175°C). Line a baking sheet with parchment paper.
- Place the cottage cheese and eggs into a blender. Add the optional seasonings (Italian seasoning, garlic powder, salt).
- Blend on high speed until the mixture is completely smooth and creamy, with no visible curds remaining. This step is key for a flexible wrap.
- Pour the batter onto the prepared parchment paper. Use an offset spatula to spread the mixture into a thin, even circle, about 8 to 10 inches in diameter. Keep the edges as thin as possible.
- Bake for 20 to 25 minutes, or until the edges are set and the center is firm to the touch. The wrap should not look wet.
- Carefully remove the baking sheet from the oven. Let the wrap cool on the sheet for 5 minutes.
- Gently slide a thin spatula under the wrap and transfer it to a cooling rack to cool completely. It will become more flexible as it cools.
- Once cool, use this high protein wrap for your favorite fillings.
Notes
- For a crispier flatbread texture, bake for 5-10 minutes longer until the edges brown slightly.
- If you do not have a blender, use an immersion blender or vigorously whisk the ingredients until smooth.
- This recipe is naturally gluten free, making it a great option for low carb gluten free meals.
- Use this wrap for keto friendly lunch ideas or as a base for protein packed snacks.
Nutrition
- Serving Size: 1 wrap
- Calories: 220
- Sugar: 5
- Sodium: 450
- Fat: 8
- Saturated Fat: 4
- Unsaturated Fat: 4
- Trans Fat: 0
- Carbohydrates: 8
- Fiber: 1
- Protein: 30
- Cholesterol: 250