
Forget pulling out your mixer, waiting for things to come to temperature, and praying that your cookies don’t flatten! When that sweet craving hits hard, especially when you’re short on time, you need magic, not a math equation. That’s why I’m obsessed with this cool whip candy. It’s the ultimate cheat code for homemade sweets!
Back when I was driving trucks and setting up stages—living off hot plates and whatever local heroes were making—I learned that the best flavors use the ingredients you already have. This recipe embodies that resourceful spirit. We’re turning whipped topping, pudding mix, and sugar into what I honestly think is the easiest, melt-in-your-mouth treat you’ll ever put together. It satisfies that deep need for something fluffy and chocolatey without ever needing to turn on the oven. Seriously, you’re going to save this one forever.
If you love no-bake treats that travel well and disappear lightning-fast, check out how we make these incredible little bites. You can find more ideas like this one when you need a simple sugar fix, like my recipe for no-bake Avalanche Cookies.
- Why This Easy Cool Whip Candy Recipe Works So Well
- Gathering Ingredients for Your Cool Whip Candy
- Step-by-Step Guide to Making Perfect Cool Whip Candy
- Expert Tips for the Best Cool Whip Candy Results
- Storage and Keeping Your Cool Whip Candy Fresh
- Serving Suggestions for These Bite Sized Sweet Treats
- Frequently Asked Questions About Cool Whip Candy
- Nutritional Estimate for This Simple Sweet Treat
- Share Your Cool Whip Candy Creations
Why This Easy Cool Whip Candy Recipe Works So Well
You need treats that work for you, not the other way around! That’s why this Cool Whip candy recipe is huge in my rotation. It checks every box when you’re looking for something fuss-free but completely satisfying. Don’t you just hate complicated candy recipes?
Here are the biggest reasons this simple sweet treat keeps making the cut, whether it’s for a last-minute party or just a Tuesday night craving:
It’s a True 3 Ingredient Candy Recipe
Yep, you read that right! The core of the center is built on just three things you probably already have sitting around. This makes it the perfect 3 Ingredient Candy Recipe for when the snack drawer feels suspiciously empty. It proves you don’t need fancy supplies to nail that melt-in-your-mouth experience.
The Ultimate No Bake Cool Whip Dessert
This is pure genius because we skip the oven entirely! This is the ultimate No Bake Cool Whip Dessert. We rely on the freezer to do all the heavy lifting. You spend maybe 15 minutes actively mixing the base, and after that, it’s completely hands-off. That quick prep time is a lifesaver, honestly. If you’re looking for other quick fixes, you should look at my 3-Ingredient Butter Cookies for another speedy win.
Gathering Ingredients for Your Cool Whip Candy
Okay, let’s get down to the supplies! Because this is such a simple recipe, the quality of what you buy actually matters a ton. We’re aiming for those fluffy, melt-in-your-mouth results, so don’t skimp on the main components. I try to keep everything on hand for those emergency dessert moments, like when an unexpected guest shows up!
Core Components for Fluffy Chocolate Bites
For the essential part—the fluffy center that tastes just like heaven—you only need three things. Make sure your whipped topping is fully thawed, but not runny, before you start mixing; coldness is key!
- One standard 8-ounce tub of frozen whipped topping (that’s your main Cool Whip hero).
- One 3.4 ounce package of instant chocolate pudding mix. Gotta be instant!
- About 1 cup of powdered sugar, plus extra floating around for dusting later.
Optional Chocolate Coating for Homemade Cool Whip Truffles
If you want to step this up and make them look like fancy Homemade Cool Whip Truffles, you’ll want about a cup of melting wafers. I usually grab the milk chocolate kind because they set up nice and smooth. That coating is what makes these feel like a little vacation in your mouth!
Don’t forget to check out my recipe for No-Bake Dubai Chocolate Balls if you’re in a coating mood!

Step-by-Step Guide to Making Perfect Cool Whip Candy
Alright, this is the fun part! Since we’re keeping this super straightforward—perfect for Beginner Candy Making—the steps just flow right into each other. There’s no real ‘cooking,’ just mixing and chilling, but timing is everything to get that incredible payoff.
Mixing the Base for Creamy No Bake Sweets
Grab a large bowl. You’re going to combine your thawed whipped topping, the instant chocolate pudding mix, and the powdered sugar. Now, here’s the tip: mix gently at first! You want everything just combined until it looks uniform and thick, kind of like a super light frosting. If you beat it too hard or too long, you’ll deflate the air right out of that Cool Whip, and we absolutely need that fluffy texture for our Creamy No Bake Sweets.
Freezing and Shaping Your Simple Freezer Candy
Once it’s mixed, line up a baking sheet with parchment paper. This step is non-negotiable, trust me, or you’ll be chipping frozen fluff off your tray later! Use a rounded tablespoon—scoop out the mixture and drop little mounds onto the paper. These are your basic shapes before the deep freeze kicks in. Pop that whole sheet into the freezer for a minimum of two hours. You need them totally firm so they can handle being dipped later. This is how we make super easy Simple Freezer Candy.
Coating or Dusting Your Cool Whip Candy
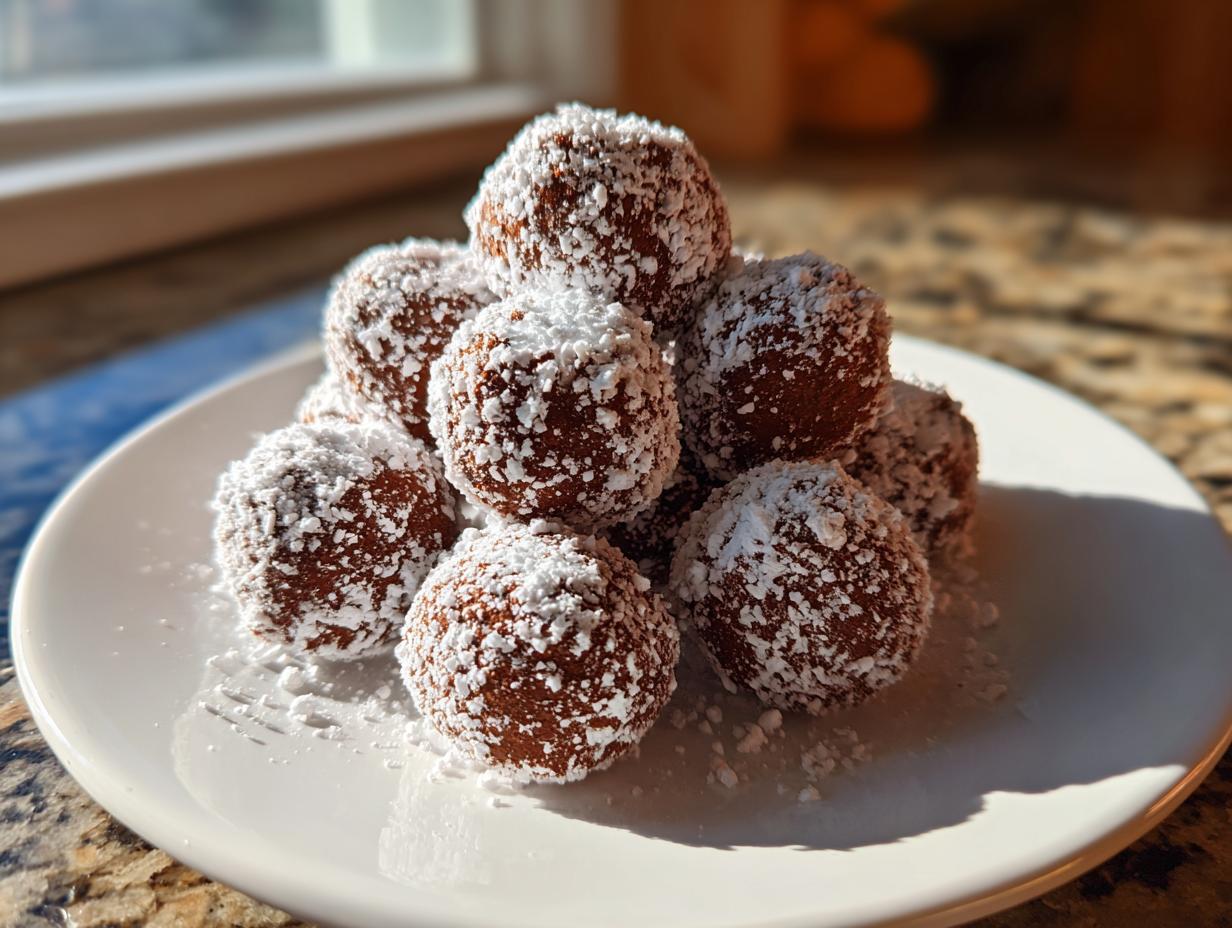
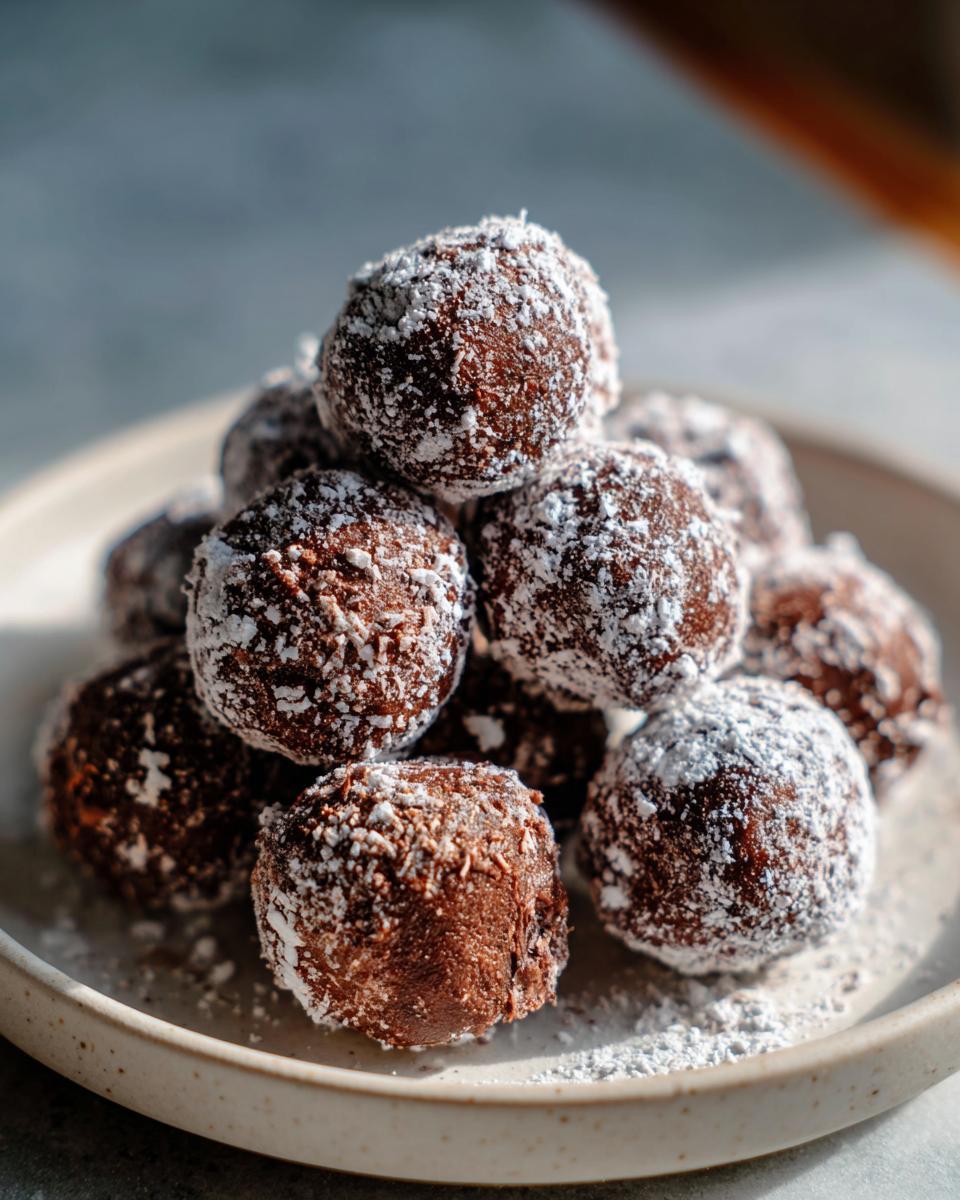
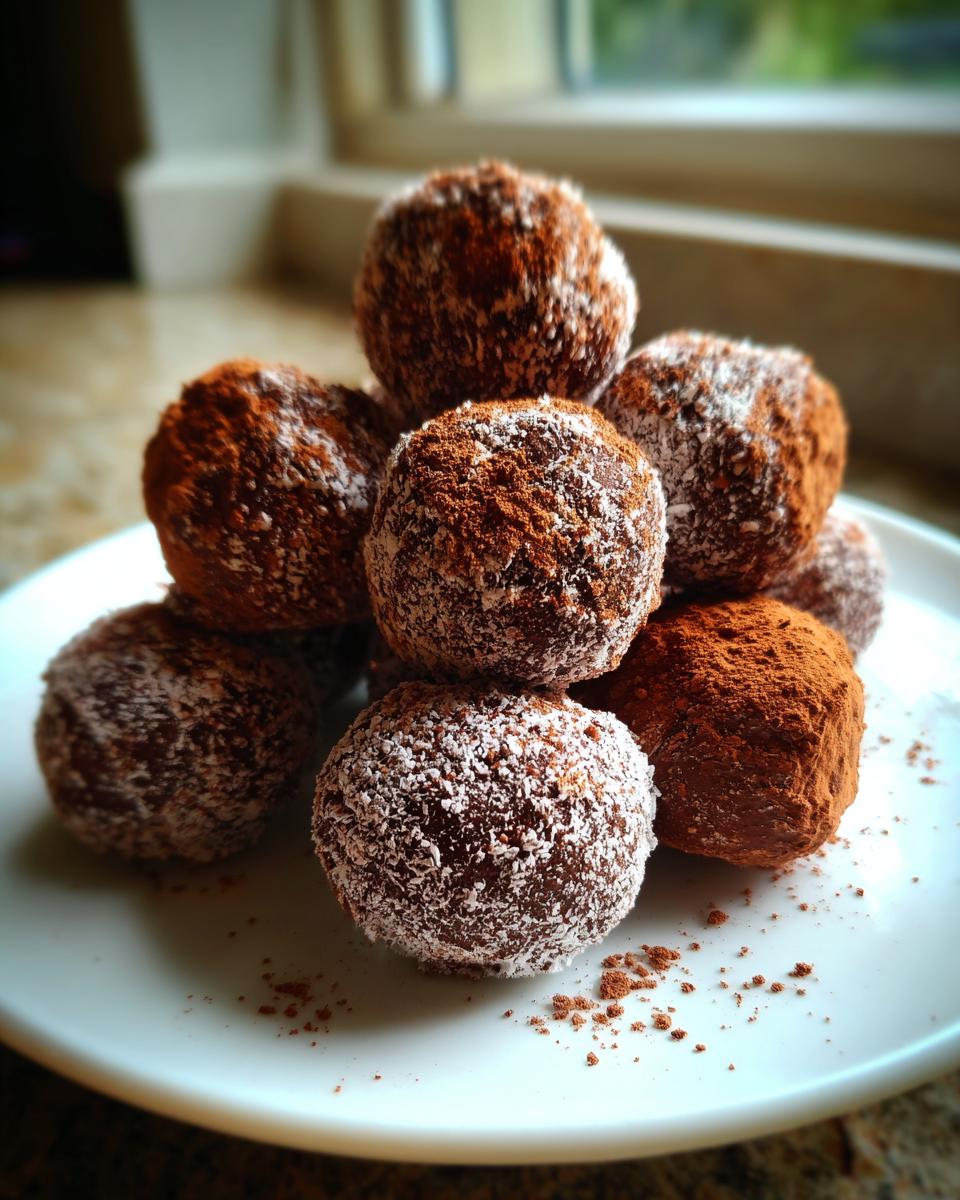
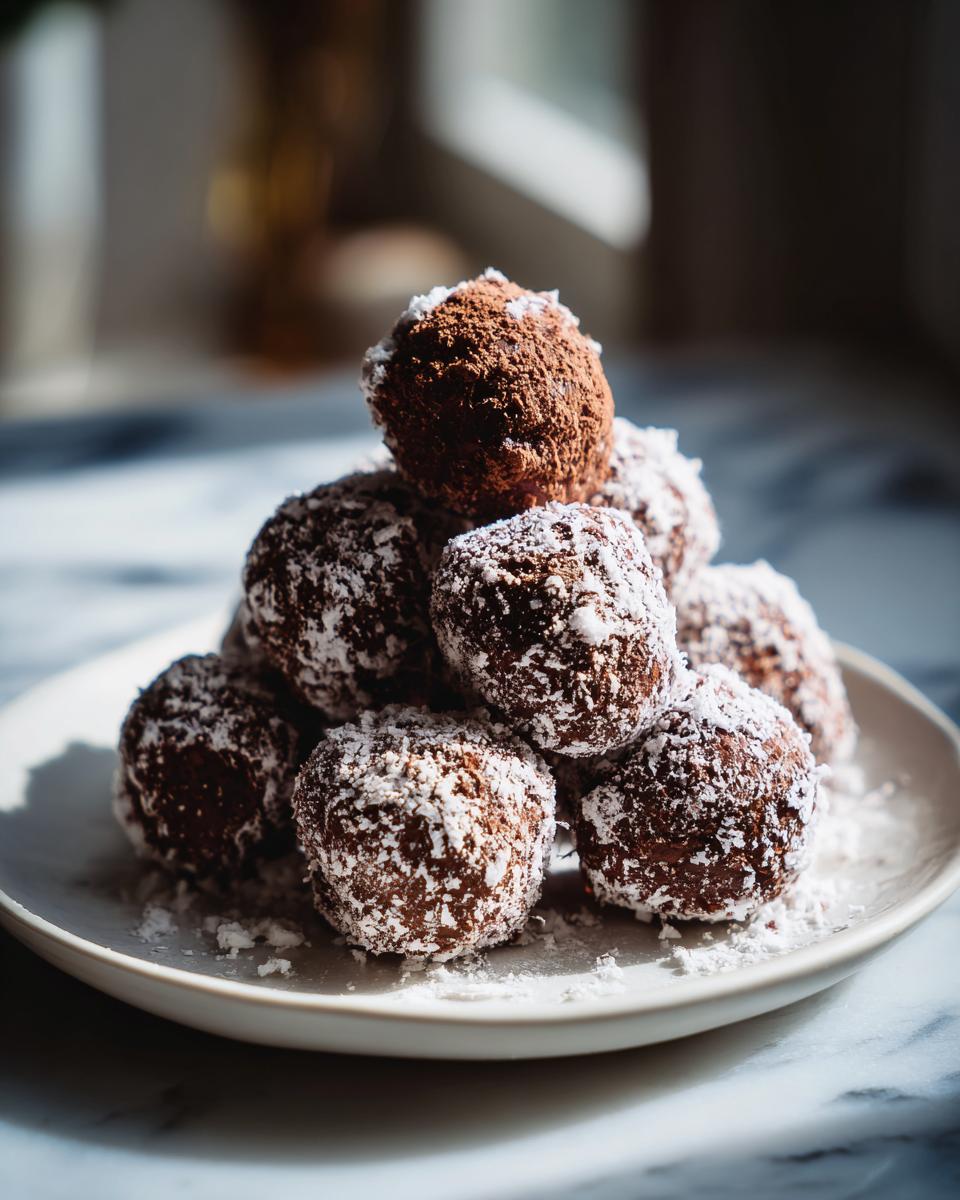
Once rock hard, you have options! If you’re coating, melt those wafers gently—low heat, stir often! Then, you take a frozen mound, dip it quickly, let the extra chocolate drip off like a waterfall, and place it back on the parchment. If you skip the chocolate, just dust those frozen pieces generously with a little reserved powdered sugar for a classic look. Pop them back in the freezer until that chocolate coating sets up hard. If you skip coating, they’re ready to eat right away or after a quick chill. Don’t forget to check out my recipe for homemade tartar sauce if you need a savory counterbalance later!
Expert Tips for the Best Cool Whip Candy Results
Even though this Cool Whip candy feels like cheating because it’s so easy, there are a couple of little secrets I picked up that keep these from turning into sad, watery puddles. We want that pillowy texture, right? This is where we separate the good bites from the great ones. Follow these quick tips for that professional-level result. It’s all about using what you have smartly, just like when I used to figure out meals on the road!
Achieving the Copycat 3 Musketeers Recipe Texture
The magic that makes this taste like a Copycat 3 Musketeers Recipe is really how that instant pudding mix stabilizes the whipped topping. Pudding mix has starches in it, and when it mixes with the fats in the Cool Whip, it firms everything up enough to handle freezing and dipping without collapsing. If you want the *absolute* truest flavor clone, use vanilla pudding mix instead of chocolate in the center. That way, when you dip them in chocolate coating, you get that perfect dark-on-light contrast!
Flavor Swaps for Vanilla Cool Whip Candy Variations
Don’t feel chained to chocolate! These little bites are totally versatile. If you’re trying to branch out from the classic, you can easily swap out the instant pudding. Try using instant butterscotch pudding mix for a rich, caramel-like flavor profile—it’s amazing with a dark chocolate coat. Or, use vanilla pudding and add a teaspoon of mint extract right at the end of mixing for a quick little Christmas bite. Remember to check out my guide on making fluffy vanilla buttercream if you ever need another creamy base recipe to play with. And for a completely different but equally fluffy texture, you have to see my moist sour cream coffee cake recipe!
Storage and Keeping Your Cool Whip Candy Fresh
Since these are basically homemade, melt-in-your-mouth frozen truffles, storage is super simple, but you definitely need to keep them cold! You can’t just leave these out on the counter like fudge; the whipped topping needs its chill.
The best way to store your Cool Whip candy—especially if you made a huge batch for your Holiday Candy Trays—is completely airtight. Pop them in a freezer-safe container with a tight lid. You can layer them with wax paper sheets so they don’t stick together, especially if you coated them in chocolate.
Honestly, they keep great in the freezer for weeks, maybe even a month or two! Just pull them out about 10 minutes before you plan to serve them, and they’re perfect again. If you love chocolate surprises, you really must try my Chocolate Cherry Cookies recipe next!
Serving Suggestions for These Bite Sized Sweet Treats
These little chocolate bites are so versatile, which is why they make the best Easy Party Candy. Since they are naturally freezer-friendly, you don’t have to worry about them melting mid-party crisis!
I love setting these out right from the freezer when we have friends over for coffee in the afternoon. They look beautiful piled onto a small tiered tray, especially if you’ve dusted them heavily with powdered sugar, giving them a snowy look. They are also fantastic nestled next to something acidic, like fresh raspberries, just to cut through that amazing chocolate fluffiness. If you’re serving them during the holidays, you absolutely have to try them alongside my creamy homemade eggnog!
Frequently Asked Questions About Cool Whip Candy
I get so many questions about these little fluffy bombs—and that’s great! It means you’re ready to stock up that freezer for easy snacking. Just like any good recipe, you run into little snags, so here are the things folks ask me most often about getting this Cool Whip candy just right.
Can I use real whipped cream instead of Cool Whip in this candy recipe?
Oh, I totally get why you’d ask that! Real whipped cream is delicious, but for this specific application, you really should stick to the tub of frozen whipped topping (Cool Whip). Homemade whipped cream isn’t stabilized like Cool Whip is—it has gelatin or stabilizers mixed in. If you try to freeze it, it can weep water or completely deflate when it thaws or when you try to dip it. We need that structural integrity for this particular recipe, even though it feels like a basic Cool Whip Dessert Hack!
How long do I need to freeze the candy before dipping?
This is crucial for getting that chocolate coating to stick beautifully! You need the little mounds to be completely, solidly frozen, almost like little hockey pucks. I tell everyone a minimum of two full hours in the freezer. If you try to dip them when they are only semi-frozen, they might start to melt under the heat of the chocolate, or worse, they’ll just crumble when you try to pull them out of the melted dip. Seriously, give them that two hours!
Can I add mix-ins like nuts or sprinkles into the Cool Whip Candy mixture?
Absolutely! This is where you can start personalizing your Easy Cool Whip Candy. If you want to add chopped nuts, mini chocolate chips, or even those little festive sprinkles, you mix those right in with the pudding mix and powdered sugar. Just remember to fold gently so you don’t knock out all that air we worked to create! If you are using something very heavy, it might make the freezing time a little longer, or make scooping slightly trickier. But go wild with flavors!
If you’re looking for a way to use up leftover holiday sprinkles, or maybe you want to make a version that tastes like chocolate mousse, check out my recipe for easy no-bake chocolate mousse pie—it shares some of that light, airy texture magic!
Nutritional Estimate for This Simple Sweet Treat
Now, I know we aren’t making this Cool Whip candy because we’re tracking every macro, but it’s good to have a rough idea, right? Since this recipe is so simple and uses that whipped topping instead of heavy cream or loads of butter, it stays surprisingly light. Please remember this is just an estimate based on coating just 24 pieces;
if you dip all of yours in chocolate, your numbers will jump up a bit! When you’re done, you get around 110 calories per piece. For a quick, freezer-stable sweet, that’s pretty darn good. If you’re ever looking for another lighter topping base, check out my recipe for easy homemade cream cheese frosting!
Share Your Cool Whip Candy Creations
Okay, friends, that’s my secret for making the easiest, fluffiest Cool Whip candy imaginable. But now it’s your turn! I truly love seeing how you take these simple ideas and make them your own.
Did you try the vanilla pudding variation? Did you use dark chocolate instead of milk chocolate for the coating? Don’t keep the flavor wins to yourself!
- Please head down to the comments section and leave me a rating—five stars if these melt-in-your-mouth bites totally saved your dessert game!
- Tell me what you thought about the texture compared to the real deal.
- If you snapped a picture of your beautiful chocolate-covered fluff, tag me on social media! I want to show off your amazing work.
If you’re looking for another fun, easy, no-bake treat that pairs perfectly with these little bites—maybe something creamy for the same dessert tray—you have to check out my Cookie Butter Cheesecake Cups. Happy sweet-making, everyone!
PrintEasy 3-Ingredient Cool Whip Candy (Melt-in-Your-Mouth Truffles)

You can make this incredibly simple Cool Whip candy with just three ingredients. It creates light, fluffy chocolate bites that taste like a homemade 3 Musketeers bar. This no-bake recipe is perfect for quick holiday candy trays or satisfying a sweet craving fast.
- Prep Time: 15 min
- Cook Time: 0 min
- Total Time: 2 hr 15 min
- Yield: About 24 pieces 1x
- Category: Candy
- Method: No-Bake/Freezing
- Cuisine: American
- Diet: Vegetarian
Ingredients
- 1 (8 ounce) tub frozen whipped topping (Cool Whip), thawed
- 1 (3.4 ounce) package instant chocolate pudding mix
- 1 cup powdered sugar, plus more for dusting
- 1 cup milk chocolate melting wafers (for coating, optional)
Instructions
- In a large bowl, combine the thawed whipped topping, instant chocolate pudding mix, and powdered sugar. Mix these ingredients together until the mixture is uniform and thick.
- Line a baking sheet with parchment paper or wax paper. Drop rounded tablespoons of the mixture onto the prepared sheet, forming small mounds or balls.
- Place the baking sheet into the freezer and freeze the candy mounds for at least 2 hours, or until they are firm enough to handle.
- If you are coating the candy, melt the milk chocolate wafers according to package directions.
- Dip each frozen candy mound into the melted chocolate, allowing excess chocolate to drip off. Place the coated candies back onto the parchment-lined sheet.
- If you skip the chocolate coating, dust the frozen mounds generously with extra powdered sugar for a simple finish.
- Return the finished Cool Whip candy to the freezer until the chocolate coating sets, or serve immediately if not coated. Store leftovers in an airtight container in the freezer.
Notes
- For a different flavor, use vanilla or butterscotch instant pudding mix instead of chocolate.
- If you want a true 3 Musketeers copycat, use vanilla pudding mix for the center and dip the frozen pieces in melted milk chocolate.
- You can add 1/2 teaspoon of vanilla extract to the mixture for extra flavor depth.
Nutrition
- Serving Size: 1 piece (uncoated)
- Calories: 110
- Sugar: 15
- Sodium: 110
- Fat: 5
- Saturated Fat: 3
- Unsaturated Fat: 2
- Trans Fat: 0
- Carbohydrates: 16
- Fiber: 0
- Protein: 1
- Cholesterol: 5