
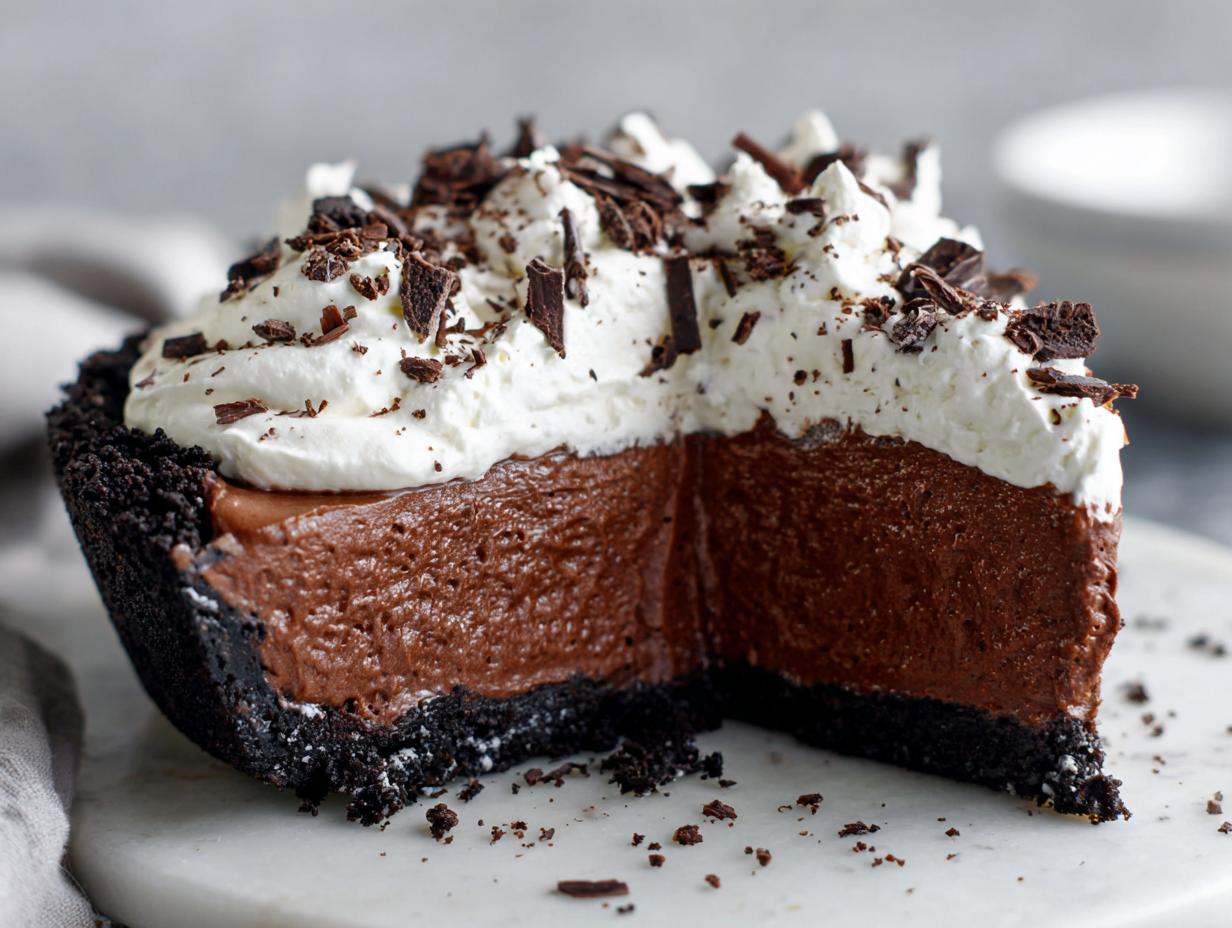
Sometimes, you just need a dessert that feels impossibly fancy without actually requiring you to turn on your oven. I get it; life on the road taught me that the best flavors often come together with minimal fuss but maximum impact. If you’ve been searching for that perfect, light-as-air indulgence, look no further. Today, we’re making an Easy No-Bake chocolate mousse pie cradled in a deep, crunchy Oreo crust. Forget complicated pastry—this is pure, rich decadence made simple. This recipe proves that you don’t need fancy techniques or hours of work to achieve that truly decadent texture everyone craves in a homemade chocolate mousse pie. We aren’t aiming for perfection here; we’re aiming for pure, shareable happiness. You can find more of my favorite simple sweets right here: our dessert collection.
- Why This Easy No-Bake Chocolate Mousse Pie is Your New Favorite
- Gathering Ingredients for Your Silky Mousse Pie
- Step-by-Step Instructions for the No-Bake Chocolate Mousse Pie
- Tips for the Best Chocolate Mousse Pie Texture
- Ingredient Notes and Substitutions
- Storage and Make Ahead Desserts Guidance
- Serving Suggestions for Your Decadent Chocolate Dessert
- Frequently Asked Questions About No Bake Chocolate Pie
- Nutritional Snapshot
- Share Your Indulgent Dessert Ideas
Why This Easy No-Bake Chocolate Mousse Pie is Your New Favorite
When I was on the road, time was always the enemy. That’s why I love recipes that deliver big flavor without demanding hours in the kitchen. This pie is the perfect solution for those busy weeks or when you just don’t want to fire up the oven. Seriously, it’s a game-changer for potlucks! If you need something you can prep on Friday for a Saturday party, this is one of the best make ahead desserts out there.
- It’s genuinely No-Bake! You just mix, press, and chill. That means less stress, less heat in the kitchen, and more time hanging out.
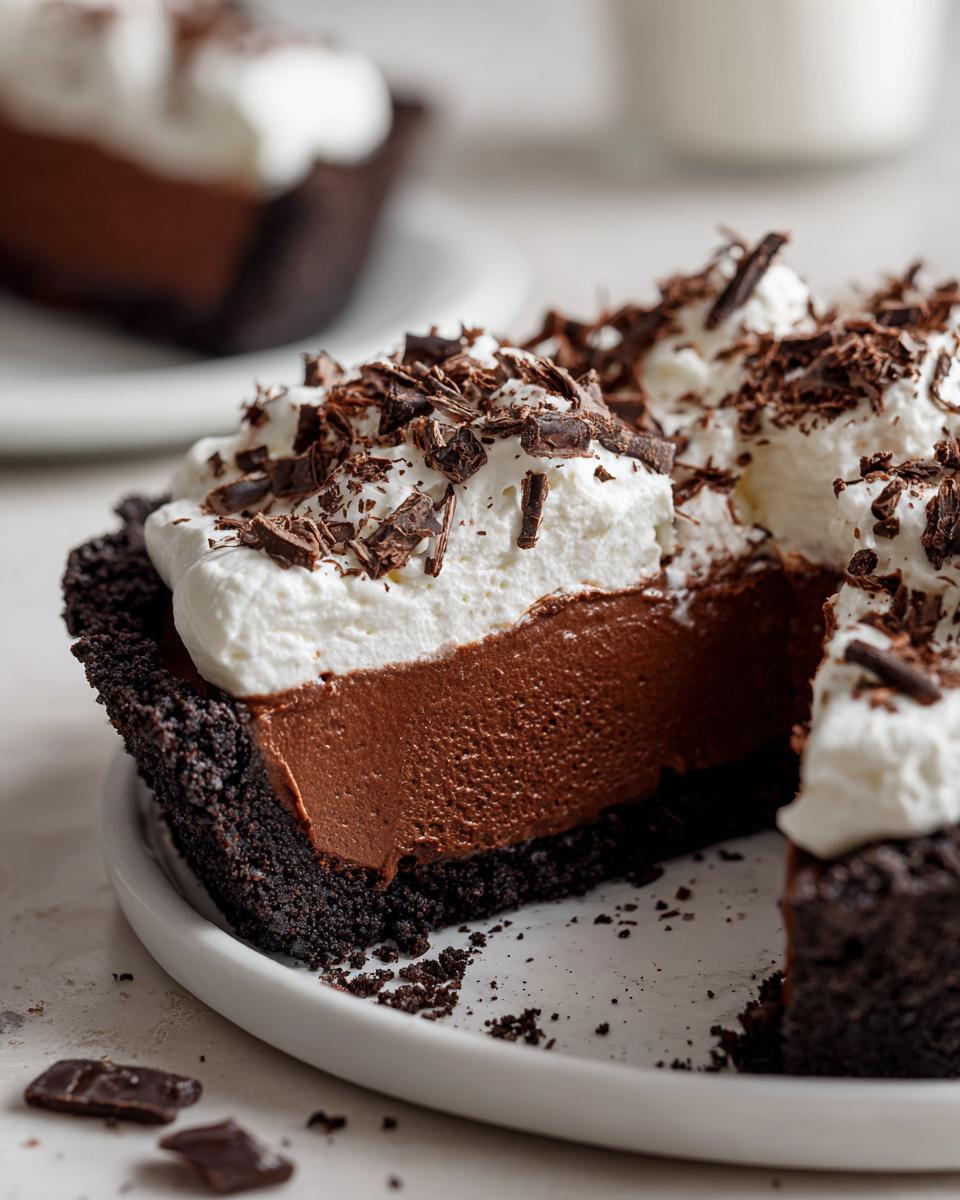
- The texture is unbelievably light—we’re talking next-level dreamy for a Silky Mousse Pie. It melts right in your mouth.
- This is peak make ahead desserts territory. You can pull this out of the fridge hours after you made it, and it’s perfect.
- It uses smart ingredients; the pudding mix ensures consistency without any fussy tempering.
- The contrast between the rich filling and that crunchy dark crust? Perfection!
The Perfect Creamy Chocolate Filling
You know how some mousse recipes are so heavy they feel like eating a block of fudge? Not this one. We use a smart combination of softened cream cheese and instant pudding mix folded with real whipped cream. The cream cheese gives it just enough body so it sets up beautifully, but the whipped cream keeps the whole thing airy and light. It’s the definition of a superior creamy chocolate filling—thick enough to slice cleanly, but smooth enough that you just want to dive in with a spoon.
Quick Oreo Crust Recipes for Your Chocolate Mousse Pie
Listen, if you want an easy chocolate dessert, starting with a crust you don’t have to bake is half the battle won. The Oreo crust is non-negotiable for me here. You just crush those cookies, mix them with melted butter, and press. Pop it in the freezer for maybe ten minutes to firm up while you whip up the filling, and you’re golden. This simple base keeps the spirit of our chocolate mousse pie firmly in the “quick and easy” category we love.
Gathering Ingredients for Your Silky Mousse Pie
Okay, let’s talk about what you need to bring this dream together. Since this is a no bake chocolate pie, the quality of what goes in really matters because you aren’t covering up any mistakes with baking time, right? Everything needs to be fresh and ready to go before you start mixing. I’ve organized this list by what you’ll be mixing first. Remember, precision makes that texture so much better!
For the easy, no-bake crust, have these ready:
- 1 3/4 cups chocolate cookie crumbs (That’s about 24 Oreos, including the filling! Don’t bother scraping it out—that extra sugar helps hold it together.)
- 1/2 cup unsalted butter, melted (Real butter is a must here, trust me. It tastes better in the crust.)
Next up is the creamy filling. This is where the magic happens:
- 1 package (8 ounces) cream cheese, softened (Make sure this is really soft, guys. Cold cream cheese ruins the smooth texture we’re after.)
- 1 cup powdered sugar
- 1 teaspoon vanilla extract
- 1 package (3.4 ounces) instant chocolate pudding mix (The standard box size works perfectly.)
- 1 1/2 cups cold milk (Use whatever milk you have on hand, but cold helps the pudding set faster.)
- 2 cups heavy whipping cream, divided (We’ll use this in two parts: one cup folded into the mousse, and one cup for the topping.)
- 1/2 cup granulated sugar (This is just for sweetening the top layer of whipped cream.)
- 1/4 cup chocolate shavings, for topping (These add that beautiful visual touch.)
That list might look long, but honestly, most of these are pantry staples. It’s just assembly that takes the time, not complicated cooking. Once you have everything measured out, you’ll be amazed how fast the actual mixing goes. If you want some inspiration on other creamy dishes, check out my creamy egg salad recipe—it’s surprisingly addictive!
Step-by-Step Instructions for the No-Bake Chocolate Mousse Pie
Alright, this is the fun part! As I mentioned, we avoid the oven entirely, which cuts down on cleanup big time. We move through this process quickly; the real time commitment is just waiting for it to chill out in the fridge. We’ll tackle this in four main stages: crust prep, mixing the two main textures, folding them together, and then setting the whole thing. It’s all about layering flavor and texture here to ensure that final slice of chocolate mousse pie looks gorgeous and tastes even better. If you’ve made my make-ahead oatmeal, you know I love efficiency, and this recipe delivers!
Building the Oreo Crust Base
First things first: we need a solid foundation. Grab your 9-inch pie plate. Take those chocolate cookie crumbs—all those Oreos, filling and all—and dump them into a bowl with the melted butter. Mix it up good until everything looks like damp, dark sand. Now, press that mixture firmly into the bottom and right up the sides of your pie plate. I like to use the bottom of a measuring cup to really pack it down evenly, especially when I’m planning on serving this showstopper as a proper chocolate mousse pie.
Once it’s packed tight, pop that entire plate into the freezer. It doesn’t need long, maybe 10 minutes or so. This chilling time is critical; it helps that buttery crust firm up so it doesn’t crumble when you pour in that creamy filling later. Don’t skip the chill!
Creating the Creamy Chocolate Filling
While the crust is getting cold, let’s mix the delicious insides. Grab your stand mixer or a big bowl and your hand mixer. Start by beating that softened cream cheese until it is utterly smooth. No lumps allowed, please! Slowly beat in the powdered sugar and vanilla extract until it looks light and fluffy. This is your base texture, so make sure it’s looking good.
Next, in a separate bowl, whisk together the instant chocolate pudding mix and the cold milk. You only need about two minutes until it starts to thicken up nicely. Now, gently fold that thickened pudding right into your cream cheese mixture. Just blend it until they are incorporated.
For the crucial airy texture, we need to deal with the heavy cream. Take one cup of your heavy whipping cream and whip it up with the 1/2 cup of granulated sugar until you get stiff peaks. This is the moment you are building air into the dessert! Now, take those stiff peaks and gently, I mean gently, fold them into the chocolate mixture. Use a spatula and cut down the middle, scooping up from the bottom. You want that air to stay trapped in there to keep the mousse silky, not deflate it into a dense paste.
Assembling and Setting the Chocolate Mousse Pie
Time to bring the layers together! Take that lovely, chilled Oreo crust out of the freezer. Pour that beautiful, silky chocolate filling right into the crust. Smooth the top out with your spatula so it looks neat—we eat with our eyes first, right?
Here’s the part where you need patience, which, as you know, is hard when chocolate is involved. Cover the pie loosely with wrap (don’t let the plastic touch the surface!) and put it in the fridge. It needs a minimum of 4 hours to set properly. If you rush this step, your beautiful chocolate mousse pie will turn into a chocolate puddle when you slice it. Seriously, 4 hours is non-negotiable for that clean slice.
Tips for the Best Chocolate Mousse Pie Texture
Listen, achieving that cloud-like, decadent texture in this chocolate mousse pie isn’t about wrestling with gelatin or egg whites; it’s all about controlling the temperature and being gentle when you mix. I’ve learned a few tricks over the years that guarantee that perfect, silky slice every single time. If you handle these two stages right, you’re going to end up with a dessert that looks like it came from a fancy bakery.
First off, let’s talk about the cream cheese. If it’s too cold, you’re going to end up with little white flecks throughout your beautiful chocolate filling, and nobody wants that. Pull it out at least an hour before you plan on mixing anything. It should yield slightly when you press it gently—that means it’s soft enough to incorporate completely into the powdered sugar without fighting you. If you need help with the base, sometimes checking out homemade pudding recipes can help you understand texture development, like this guide I wrote on homemade pudding.
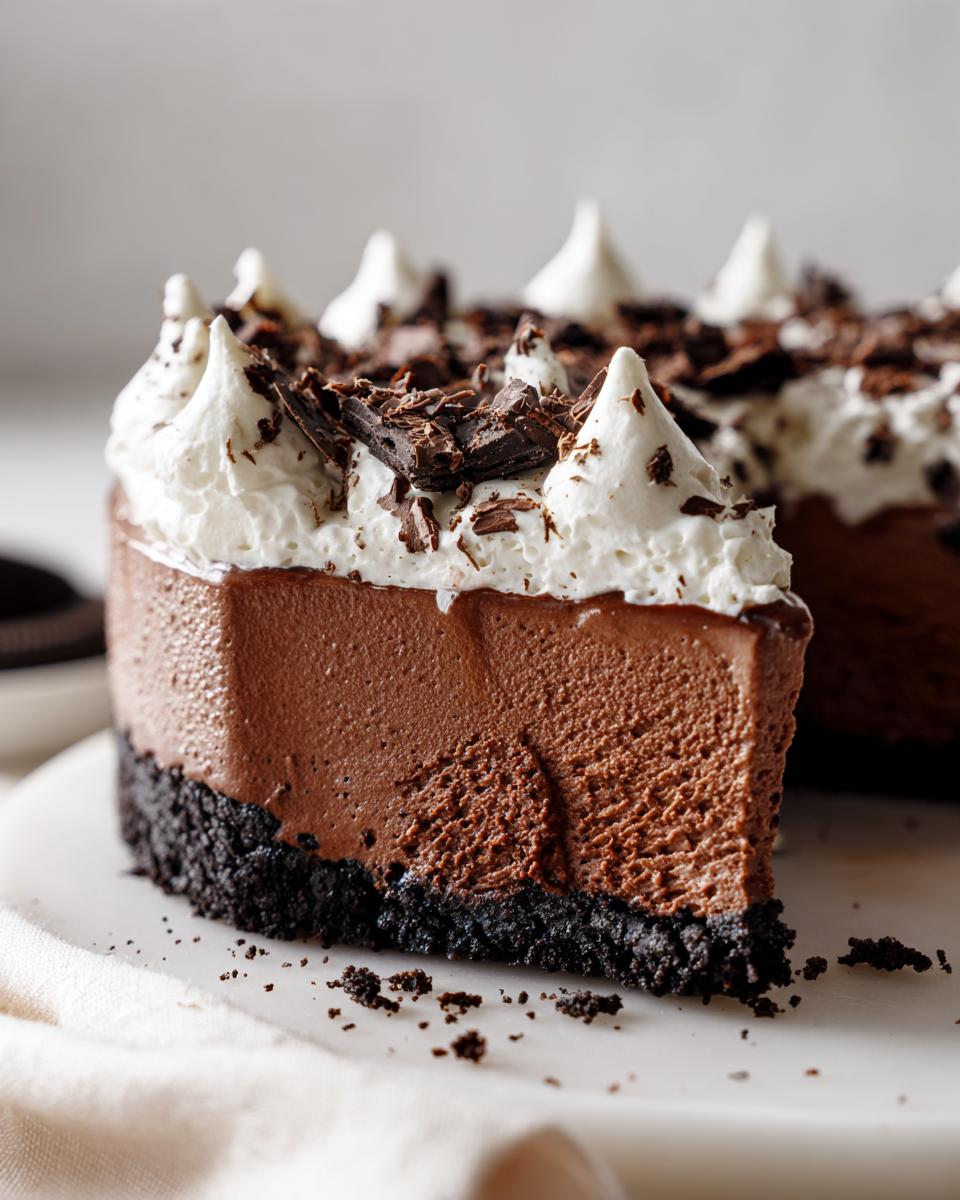
The second big deal is integrating the whipped cream. This is where most people deflate their mousse! We spent all that time whipping air into those glorious two cups of heavy cream to make them stiff peaks. When you fold it in, you’ve got to treat it like it’s made of tissue paper. Don’t stir aggressively! Use a spatula and cut down the center of the bowl, pulling the chocolate mixture up and over the cream. Turn the bowl a quarter turn and repeat. This slow, methodical folding traps the air and ensures you get that light, yet structurally sound, mousse texture that makes this pie so famous.
Finally, don’t cheat the chill time. Seriously, 4 hours is the minimum. If you try to rush it, the pudding hasn’t fully hydrated and the cream cheese hasn’t locked everything in place, and you’ll end up with a runny disaster instead of the sliceable, indulgent dessert idea you deserve.
Ingredient Notes and Substitutions
I love that this recipe is super flexible, which is something I picked up a lot while traveling and trying to make good meals with whatever random grocery store I found! We aren’t prisoners to the ingredient list here, but there are a couple of things that make it work best. If you’re missing something, don’t sweat it; we can usually swap it out without turning this into a total flop.
So, let’s talk about the crust swaps first. If you happen to be out of the chocolate cookies—maybe you only have graham crackers on hand—go for it! The recipe notes mention this: you can use graham crackers, but because grahams aren’t as sweet as Oreos (especially when you toss out the filling!), you need to add a little something back in. I always just toss in about 2 extra tablespoons of sugar with the crumbs and melted butter. It keeps that crust from tasting bland next to the richly flavored filling. If you need ideas for another crust, I have a fun no-bake ice cream pie crust that uses Oreos too!
What about the milk? The recipe calls for 1 1/2 cups of cold milk when mixing the instant pudding. That works great, and it keeps the dessert lighter because the cream cheese base is already pretty rich. But, and this is for my true chocolate fiends out there, if you want the filling to be even more intense—closer to that deep, decadent chocolate you crave—feel free to swap that dairy milk out for heavy cream. It makes the pudding set up slightly differently, denser, but wow, the flavor is amazing! Just make sure it’s cold when you add it to the pudding powder.
Remember, the cream cheese needs to be truly softened. I can’t stress this enough! If you forget to take it out early, I use the microwave in 10-second bursts, turning the block each time until it’s soft but not melted or greasy. That way, when you beat it, you get that smooth canvas for the rest of the filling to marry into perfectly.
Storage and Make Ahead Desserts Guidance
One of the biggest wins for this recipe is that it is truly a champion among make ahead desserts. When I was hustling on the road, knowing I could whip something up the day before a gig meant I could actually relax and enjoy the show. This chocolate mousse pie is perfect for that! Because it’s a no-bake, chilled pie, it actually gets better after a full night in the cold.
The filing needs time to set up properly around that cream cheese and pudding base. If you make it the day before, great! If you make it this morning for an evening party, that’s fantastic too. The recipe notes mention it holds up really well for about two days in the fridge. Any longer than that, and the whipped cream topping might just start looking a little sad, even when tightly covered.
You must keep it covered, though. Plastic wrap works fine, but make sure it’s not sticking directly to that beautiful whipped cream topping, or you’ll end up peeling off half your garnish when you go to serve it. I usually tent the plastic wrap loosely over the top. And just a friendly reminder—since this has so much cream and cream cheese, there is no reheating this pie! It’s meant to be served cool, straight from the cold.
Planning ahead for parties is so much easier when you have a dessert like this locked down. Just make sure you leave enough room in your fridge for the whole 9-inch plate!
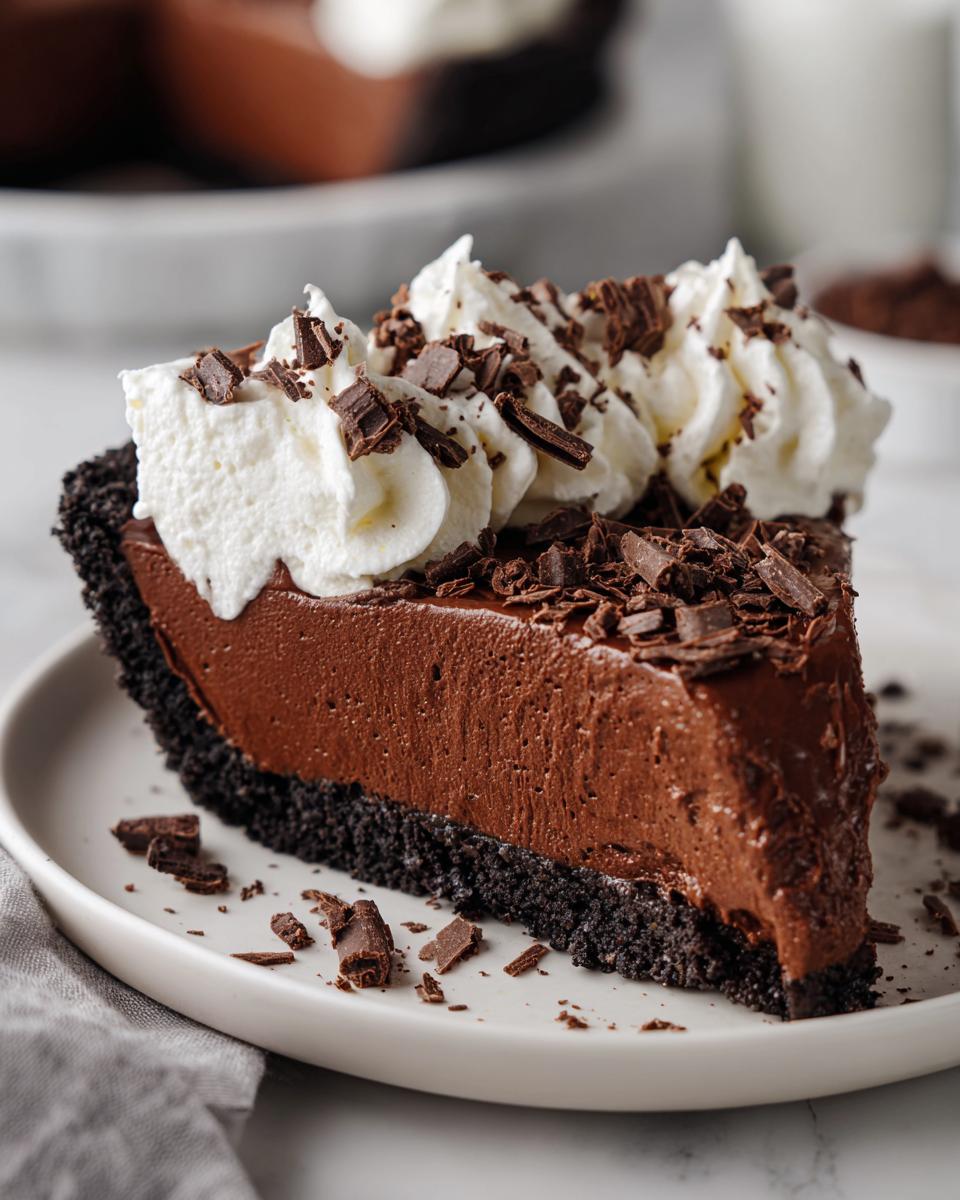
Serving Suggestions for Your Decadent Chocolate Dessert
Now that you’ve mastered the creamy filling and locked down that glorious Oreo crust, it’s time to make this decadent chocolate dessert look like the showstopper it is! Those chocolate shavings we listed are just the starting point. When you bring this pie to a potluck or family gathering, you want it to look as rich as it tastes, right? A little extra effort on top makes a huge difference!
I love serving this pie when it’s still slightly frosty from the fridge. The visual appeal is half the fun. If you want to elevate it even more than just a simple sprinkle of shavings, here are a few things I always keep in my back pocket when I’m serving this up:
- Fresh Fruit Factor: Nothing cuts through deep chocolate richness like a little tartness. A handful of fresh raspberries or sliced strawberries scattered around the edge or right over the whipped cream topping is gorgeous. The bright red against the dark chocolate? Chef’s kiss!
- The Drizzle Life: If you have a bottle of chocolate syrup lying around—use it! Don’t be shy. A light zigzag pattern over the entire top adds a glossy finish. Better yet, if you make a quick caramel sauce, the saltiness combined with the heavy chocolate is absolutely unreal.
- Whipped Cream Sculptures: Remember that extra cup of heavy cream we whipped up? Before spooning it on, use a pastry bag with a large star tip to pipe pretty swirls all over the top. It makes the pie look professional, even though we know it was incredibly easy to make! For a super fun hot chocolate vibe, check out my whipped hot chocolate recipe for inspiration on airy toppings.
The key to serving any great quick chocolate pie is temperature. Keep it chilled right up until you slice it. That contrast between the cold, silky filling and the room-temperature toppings (like a fresh drizzle) is what makes every bite an indulgence. It’s seriously the easiest way to impress people!
Frequently Asked Questions About No Bake Chocolate Pie
It’s always smart to have backup plans, especially when you’re making a dreamy dessert like this! I field so many questions about getting the texture just right or swapping ingredients when I post this no bake chocolate pie. Life happens, and ingredients disappear, so let’s tackle the most common things I hear about making this recipe shine.
Can I use a graham cracker crust instead of Oreos for this No Bake Chocolate Pie?
Absolutely! You can definitely swap out the Oreos for graham crackers if that’s what you have on hand, or if you just prefer a slightly less chocolatey base—though why you’d want that, I’m not sure! If you make the switch, remember what I mentioned in the ingredient notes. Graham crackers don’t have that sweet filling, so to keep this from tasting a little bland next to the rich filling, you’ll want to add about 2 extra tablespoons of granulated sugar to your graham crumbs and melted butter mixture. Press it in tight, chill it (or even bake it for just 8 minutes if you have time!), and you’re good to go. It makes for a fantastic, slightly buttery base for our quick chocolate pie.
How do I ensure my mousse filling is truly silky and not grainy?
This is the key to making this recipe feel truly luxurious! Two things are crucial here to avoid graininess or lumps in your creamy chocolate filling. First, that cream cheese: It has to be completely soft, room temperature soft. If you try to beat cold cream cheese, you end up with sticky little lumps that never fully dissolve later on. Beat that cream cheese by itself until it looks absolutely smooth and almost whipped before you even think about adding the powdered sugar. Second, remember when we talked about folding the whipped cream? That is essential! Stirring the whipped cream too hard—or using a whisk—will knock all the air out, making the mousse dense, not silky. Use a rubber spatula and fold gently until the streaks disappear. That folding action is what gives us that cloud-like, silky mousse pie texture.
If you’re looking for more advice on making fast, delicious dishes, you can always check out my tips for quick soup recipes, too. Sometimes you just need speed!
Nutritional Snapshot
Look, I’m not going to stand here and tell you this decadent creation is health food, okay? We started this journey chasing that rich, satisfying cocoa punch, and we found it! This chocolate mousse pie delivers big on flavor and indulgence. However, since I believe in giving you the full picture, here are the estimated nutritional values for one big slice.
Remember, this is just an estimate based on using standard brand-name ingredients like full-sugar pudding mix and standard Oreo cookies. If you swap to lighter cream cheese or use a different crust, these numbers will shift a bit. Every batch is a little different, but this gives you a general idea of what you’re enjoying!
- Serving Size: 1 slice
- Calories: 450
- Sugar: 35g
- Fat: 30g
- Saturated Fat: 18g
- Carbohydrates: 42g
- Protein: 6g
See? It’s worth every calorie when it tastes this good! If you’re tracking macros or watching sugar too closely, definitely look at reducing the sugar in the whipped cream topping when you make it next time. But for a show-stopping dessert, this profile is fantastic.
Share Your Indulgent Dessert Ideas
So, there you have it! The secret to an unbelievably easy, ridiculously creamy, no-bake chocolate mousse pie that tastes like it took you all day. This recipe is all about making big, bold flavors accessible for real life, which is why I started YumDrizzle in the first place. I truly hope you and your family or friends get to enjoy this decadent treat.
Now that you’ve conquered the crust and mastered the silky fold, I want to see what you came up with! Did you stick with the classic Oreo, or did you try a sneaky graham cracker swap? Did you go wild with raspberries on top, or did you keep it simple with just the chocolate shavings?
This community is built on sharing what works in your real kitchen. Please, leave a rating below—I check every single one! And if you snapped a picture of your showstopper pie before everyone dug in, tag me on social media so I can see your amazing work. Don’t forget, if you have any questions at all while you’re putting this together, whether it’s about setting time or texture woes, you can always reach out to me directly via the contact page!
Go forth and enjoy that chocolate bliss. You absolutely earned it!
PrintEasy No-Bake Chocolate Mousse Pie with Oreo Crust

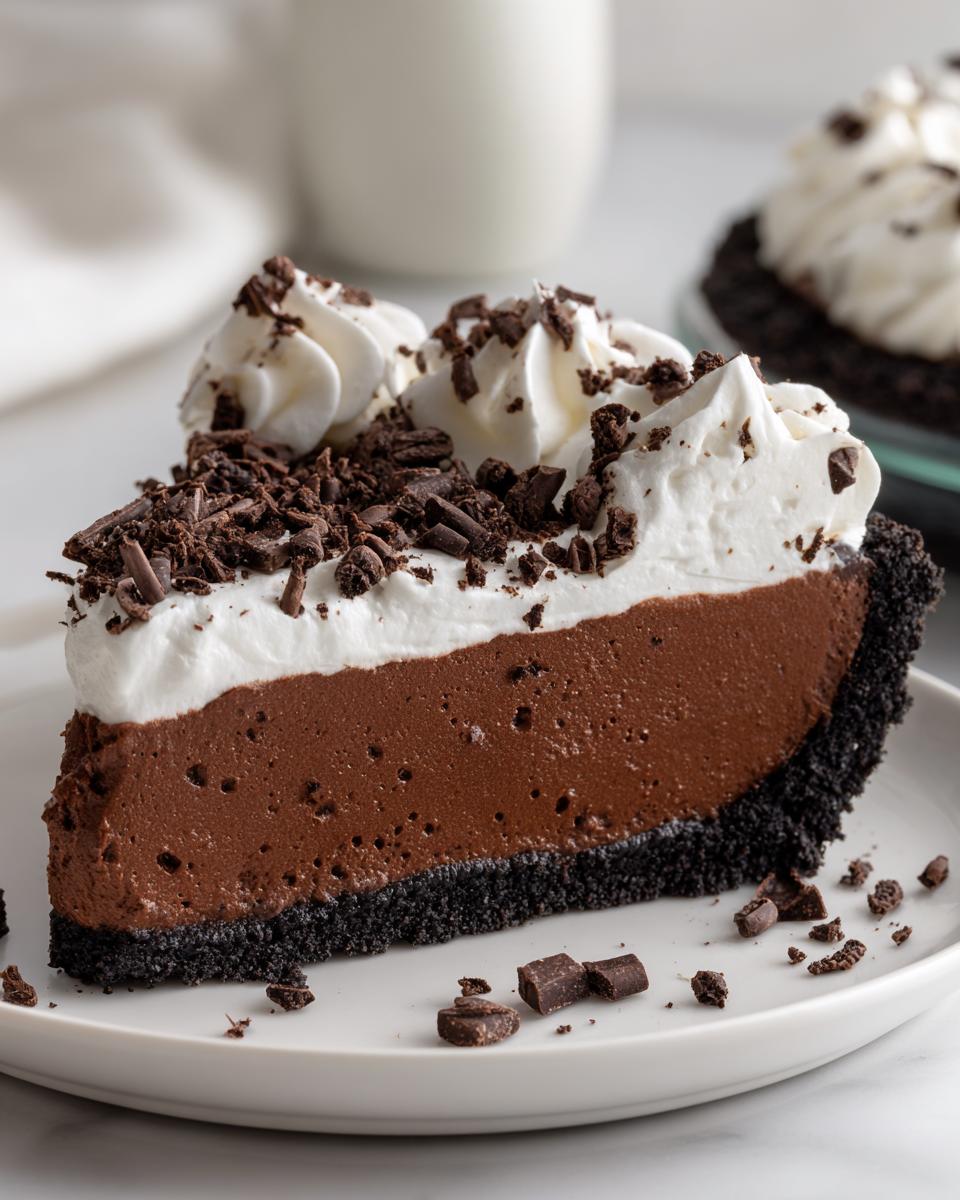
You can make this decadent, silky chocolate mousse pie without turning on your oven. It features a rich, creamy filling set in a crunchy Oreo crust and is topped with light whipped cream. This is a perfect make-ahead dessert for any gathering.
- Prep Time: 25 min
- Cook Time: 0 min
- Total Time: 4 hr 25 min
- Yield: 8 servings 1x
- Category: Dessert
- Method: No-Bake
- Cuisine: American
- Diet: Vegetarian
Ingredients
- 1 3/4 cups chocolate cookie crumbs (about 24 Oreo cookies)
- 1/2 cup unsalted butter, melted
- 1 package (8 ounces) cream cheese, softened
- 1 cup powdered sugar
- 1 teaspoon vanilla extract
- 1 package (3.4 ounces) instant chocolate pudding mix
- 1 1/2 cups cold milk
- 2 cups heavy whipping cream, divided
- 1/2 cup granulated sugar (for whipped cream)
- 1/4 cup chocolate shavings, for topping
Instructions
- Prepare the crust: Mix the chocolate cookie crumbs and melted butter in a bowl until fully combined. Press the mixture firmly into the bottom and up the sides of a 9-inch pie plate. Place the crust in the freezer while you prepare the filling.
- Make the cream cheese base: In a large bowl, beat the softened cream cheese until smooth. Gradually beat in the powdered sugar and vanilla extract until the mixture is light and fluffy.
- Prepare the mousse filling: In a separate medium bowl, whisk together the instant chocolate pudding mix and cold milk for about two minutes until it begins to thicken.
- Combine the fillings: Gently fold the pudding mixture into the cream cheese mixture until just combined.
- Prepare the whipped topping: In a clean, chilled bowl, beat 1 cup of the heavy whipping cream with the granulated sugar until stiff peaks form. Reserve the remaining 1 cup of heavy whipping cream for later.
- Fold in the whipped cream: Gently fold the whipped cream into the chocolate mixture until no streaks remain, creating a silky mousse texture.
- Assemble the pie: Pour the chocolate mousse filling into the chilled Oreo crust and smooth the top with a spatula.
- Chill the pie: Cover the pie loosely with plastic wrap and refrigerate for at least 4 hours, or until the filling is completely set.
- Make the final topping: Before serving, beat the remaining 1 cup of heavy whipping cream until soft peaks form. Spread or pipe the whipped cream over the chilled pie.
- Garnish and serve: Sprinkle the top with chocolate shavings. Slice and serve this indulgent dessert immediately.
Notes
- For an even richer flavor, substitute the milk in the pudding step with heavy cream.
- If you do not have Oreo cookies, you can use graham crackers and add 2 tablespoons of sugar to the crust mixture.
- This pie holds up well for up to two days in the refrigerator, making it a great make-ahead dessert.
Nutrition
- Serving Size: 1 slice
- Calories: 450
- Sugar: 35g
- Sodium: 280mg
- Fat: 30g
- Saturated Fat: 18g
- Unsaturated Fat: 12g
- Trans Fat: 0.5g
- Carbohydrates: 42g
- Fiber: 2g
- Protein: 6g
- Cholesterol: 65mg