
There is nothing more heartbreaking than spending hours getting your sugar cookies perfect, only to have the icing stay tacky forever. You try to stack them, or maybe you put them in a tin for gifting, and bam! You open the lid to a disappointing, sticky, colorful mess. I remember those days, way back when I was learning the ropes on the road—you need icing that works like professional-grade cement, but tastes like heaven.
Forget runny glazes that crack! This guide is about the real deal: our foolproof royal icing recipe. This is the sugar cookie icing that hardens perfectly, dries smooth as glass, and keeps that professional, glossy cookie icing finish you see in bakeries. After years of testing recipes everywhere from Texas BBQ joints to tiny Chicago diners, I perfected this formula so you never have to worry about sticky cookies again. Trust me, this easy icing recipe is what lets your cookies stack up perfectly.
- Why This is the Best Sugar Cookie Icing That Hardens Perfectly
- Ingredients for Sugar Cookie Icing That Hardens
- How to Make Sugar Cookie Icing That Hardens: Step-by-Step Instructions
- Adjusting Consistency for the Best Cookie Decorating Icing
- Tips for Success with Your Sugar Cookie Icing That Hardens
- Storage and Reheating Instructions for Hardening Icing
- Frequently Asked Questions About Icing That Hardens Firm
- Estimated Nutritional Data for This Durable Cookie Topping
- Share Your Creations Using This Sugar Cookie Icing That Hardens
Why This is the Best Sugar Cookie Icing That Hardens Perfectly
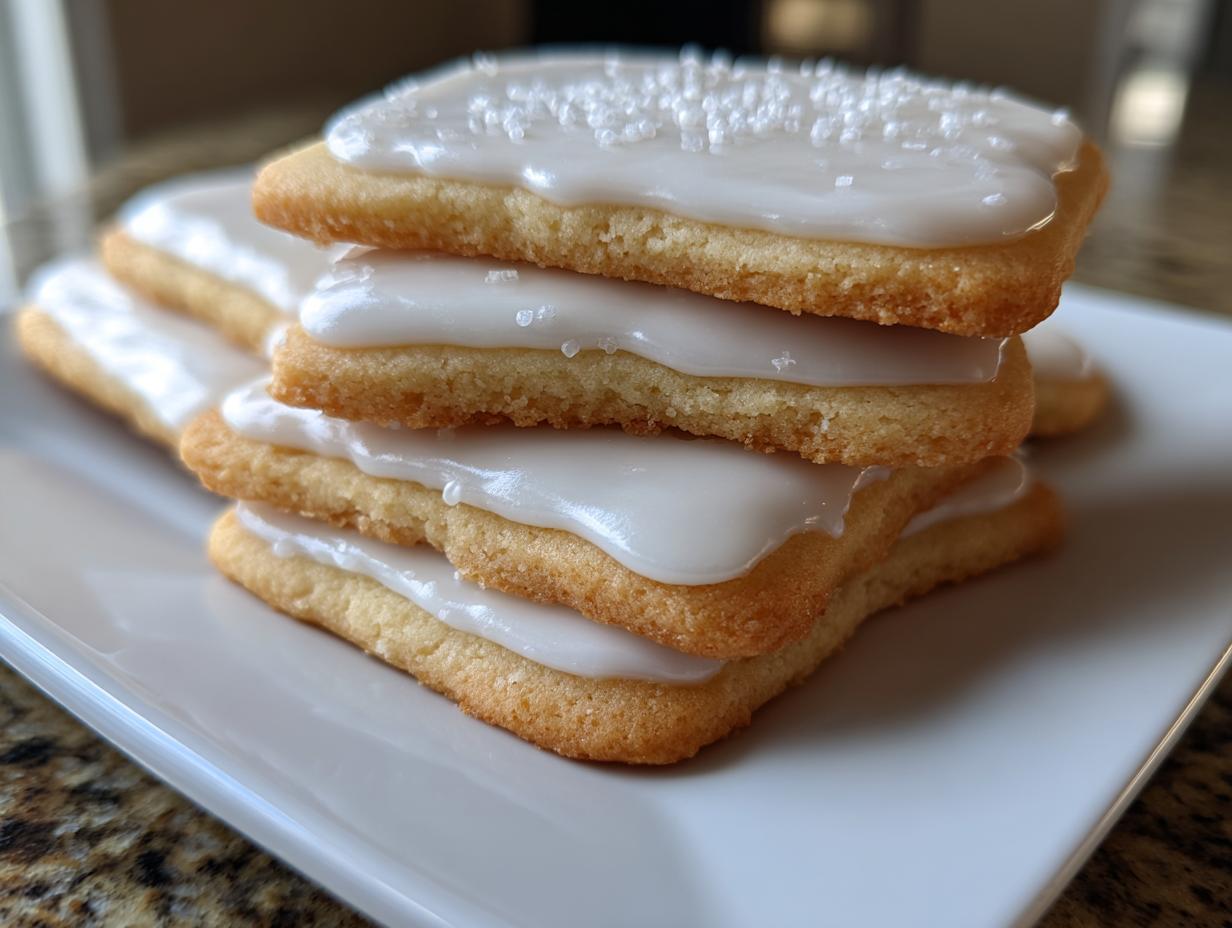
Look, a simple powdered sugar and milk glaze looks pretty for about five minutes, right? Then it stays gummy, and you can’t package your amazing creations. That’s where this royal icing jumps in to save the day. We aren’t messing around with soft tops; we want that satisfying *click* when you tap the dried icing.
This recipe isn’t just a batch of sugar; it’s engineered for durability. It’s the kind of reliable icing that hardens firm that I learned to trust when hauling decorated cookies across state lines on tour. It’s all about those special little additions we mix in.
- If you want to learn more about proven methods, check out this excellent guide on hardening icing—it backs up exactly why we take these steps!
The Secret to Icing That Hardens Firm
The main player here is the meringue powder, folks. Think of it like the scaffolding for your icing structure. It’s what takes us from a soft, sweet puddle to a rigid shell. If you don’t have meringue powder, a pasteurized egg white does the same job, but you need that protein binder to ensure you nail that hard dry icing tutorial success.
Achieving That Professional Glossy Cookie Icing Finish
Here’s my favorite trick for that super high-end look: light corn syrup. Don’t skip this! It seems counterintuitive—isn’t corn syrup sticky? Nope, not in this mix. It stops the icing from drying out brittle and cracking, and more importantly, it gives you that mirror-like, glossy cookie icing shine when it sets up. It’s the difference between homemade and bakery-bought, honestly.
Ingredients for Sugar Cookie Icing That Hardens
Okay, ready for the lineup? Gathering your ingredients is half the battle for getting that perfect sugar cookie icing that hardens. Because this icing’s integrity relies on precision, make sure your measurements are spot on. I always recommend sifting your powdered sugar—it saves you SO much time dealing with lumps later when you’re trying to get that smooth finish!
If you want to make your decorating vibrant, skip the liquid food coloring; it adds too much moisture and will ruin your hard-setting consistency. You absolutely need to use gel food coloring if you plan on coloring this icing. It gives you rich color without disrupting the dry time.
Here is exactly what you need to mix up a batch that coats about three dozen average-sized cookies:
- 4 cups powdered sugar, sifted
- 3 tablespoons meringue powder
- 1/2 teaspoon vanilla extract
- 1/4 cup warm water (approximately)
- 1 tablespoon light corn syrup
See how simple that is? Meringue powder and corn syrup are our powerhouse duo here, guaranteeing that firm set we’re after. Grab your cutest mixing bowl, and let’s get these dry ingredients combined first!
How to Make Sugar Cookie Icing That Hardens: Step-by-Step Instructions
Alright, the prep work is done, and now we get to the fun part—turning those simple powders into magic! Getting the right movement in this sugar cookie icing that hardens is crucial for that smooth, professional look. Follow these steps closely, especially the mixing times, and you’ll be stacking your decorated cookies by tomorrow!
If you need some inspiration on decorating once this icing is ready, check out my recipe for easy ice cream pie base—it shows how much I love a perfect, set presentation!
Mixing the Base for Hard Dry Icing Tutorial
First things first: always start with your dry ingredients completely combined. Dump the sifted powdered sugar and that critical meringue powder into your mixer bowl. Give it a quick whisker by hand just to make sure there are no sneaky clumps before you start the machine. Then, add in your flavor (vanilla) and that secret weapon, the corn syrup. Start mixing everything on the absolute LOWEST speed. We just want to incorporate everything so it doesn’t go flying everywhere. Oops! See that little bit of dry sugar left on the bottom? That’s normal for now.
Whipping for Stiff Peaks: The Key to Stackable Cookie Icing
Now, we build the structure! Crank that mixer up to medium-high speed. This is where the air gets incorporated, which is what forces the icing to dry hard later on. You need to whip this mixture for a solid 5 to 7 minutes. Seriously, set a timer! When it’s done, the icing should be bright white and hold stiff peaks when you lift the beater—that means it’s ready to be the stackable cookie icing we want. If you stop early, it’ll stay tacky, and we can’t have that! We want a rock-solid finish—check out this guide on making icing glossy for visual tips!
Adjusting Consistency for the Best Cookie Decorating Icing
So, you’ve got your stiff, glorious icing from the mixer—that’s perfect for tracing the outline of your cookies, which locks in your design. But for the insides, we need something that flows, right? This is where we tailor the sugar cookie icing that hardens for two different jobs.
The biggest mistake people make is adding too much liquid and ruining the whole batch’s ability to dry firm. The secret is adding liquid, a tiny bit at a time. We want flow, but never sogginess! When you’re ready to thin it out for filling, remember that even flood icing needs to set hard eventually, so be extremely conservative with your water additions.
If you want to see how professionals manage different thicknesses for intricate work, have a look at this resource for smoothing icing—it really helps clarify technique.
Achieving the Perfect Ribbon Stage for Flooding
When you’re preparing the icing for the flood—which is filling in the area inside your piped outline—you need to hit what bakers call the “ribbon stage.” This is the gold standard for getting that smooth surface.
Here’s how you test it: Take a spoon or a small spatula and lift some icing up over the bowl. If the icing that drips back down mounds on top of itself for about 10 seconds before dissolving back into the main batch, that’s your ribbon stage. It should look like a ribbon sitting on the surface, not instantly disappearing.
I usually add water—just half a teaspoon at a time—while mixing slowly until I hit that perfect ribbon stage. Remember, this flood icing still has the meringue powder and corn syrup, so even though it’s thinner and flows easily, it will still set completely hard and glossy, unlike a standard powdered sugar glaze that might stay slightly soft in the middle.
Tips for Success with Your Sugar Cookie Icing That Hardens
Even with a foolproof recipe like this, sometimes you run into little hiccups, especially when you start adding colors or trying to get that stark white finish for holidays. Because I learned this icing trade while bouncing around the country, I picked up a few tricks that make achieving that smooth, hard finish much less stressful for beginners.
The biggest challenge I hear about is getting that dazzling white color for winter cookies—you know, the one that doesn’t look slightly yellowed? It all comes down to the vanilla. Standard vanilla extract, even good stuff, has a brownish tint, and that dulls the brilliance of the sifted powdered sugar.
If you want your base icing to pop off the cookie like jewelry, you need to switch out your usual vanilla. If you’re not using clear vanilla extract for the flavoring, the white won’t be as bright as you want. You can find clear vanilla easily enough, and it’s totally worth it for making that sugar cookie icing that hardens look professional. For more creative color mixing ideas, take a peek at how they handle ingredients in this guide on cookie icing—it offers great color theory!
Also, never, ever try to rush the drying process with heat! Don’t stick your freshly iced cookies in a warm oven or blast them with a hairdryer to speed up the cure. That just introduces too much moisture, and you’ll end up with a tacky, bubbly mess that won’t set firm. Patience is the final ingredient for any hard dry icing tutorial success.
If you ever worry about keeping your kitchen sweet and efficient, I always keep my favorite non-bake recipes handy, like my easy buckeye fudge recipe, for quick wins when I don’t have hours to wait for things to set!
Storage and Reheating Instructions for Hardening Icing
So, you mixed up a huge batch of this incredible sugar cookie icing that hardens, and now you have leftovers! That’s fantastic, because this icing actually stores pretty well, but you have to treat it right. Royal icing is different from your standard buttercream; it hates humidity and extreme cold.
My biggest warning here: please keep it away from the refrigerator unless you wrap it up tighter than a mummy. If you put this icing in the fridge uncovered, condensation happens. When you take it out, that moisture will make your beautiful, hard icing weep and turn soupy. Nobody wants weeping cookies! Keep whatever you aren’t using right away sealed up tight under plastic wrap, pressing the wrap right down onto the surface of the icing in the bowl.
Room temperature is your friend here. It will stay perfectly usable for a couple of days stored this way. Now, if you happen to store it overnight and it looks a little stiffer the next day—which often happens as the meringue powder absorbs the moisture—don’t panic! You don’t need to start over.
To revive your leftover icing that hardens firm, all you need to do is add water, but you must be gentle. Add just one half-teaspoon of water at a time—I mean it, half a teaspoon!—and then mix it by hand with a spoon or spatula until it loosens up. If you use the electric mixer, you risk whipping in too much air again, which affects the final dry texture. Slow, gentle stirring brings it right back to life so you can finish decorating those last few cookies!
Frequently Asked Questions About Icing That Hardens Firm
I know when you’re decorating, questions pop up fast. When you need that perfect, stackable cookie icing, tiny doubts can throw off your whole rhythm. Don’t sweat it! Most of the time, issues come down to humidity or just needing a tiny tweak to the mixing. Here are the top things people ask me about getting that firm set!
Why is my sugar cookie icing that hardens still tacky after 24 hours?
Oh man, that’s the worst feeling, expecting a hard, beautiful shell and finding sticky goo! If your sugar cookie icing that hardens is still tacky after a full day, the culprit is almost always humidity. If it’s a rainy or super humid day where you live, the icing just absorbs moisture from the air while it cures. There’s not much you can do about the weather, but next time, crank up that mixer to ensure you whip in enough air for a longer time—that incorporation helps it fight back against the moisture. Also, check if you skipped the corn syrup! That helps it lock down tight.
What is the best substitute for meringue powder in this easy icing recipe?
If you’re out of meringue powder or just can’t find it at the store, don’t panic about skipping the binding agent! This recipe needs that protein structure to dry firm, so you need a direct substitute. The absolute best backup for this easy icing recipe is using one large, good-quality pasteurized egg white instead. It does the same job chemically, giving you that necessary structural support so your cookies actually set hard. Just remember, you might need to adjust your water slightly when using an egg white, but the principles of this icing that hardens firm stay the same!
If you’re looking for other tips on making your kitchen run smoother, you might find my guide to an easy make-ahead baked oatmeal helpful for stress-free mornings!
Estimated Nutritional Data for This Durable Cookie Topping
Now look, when we’re talking about pure sugar icing, we know this isn’t exactly health food, right? But I always think it’s important to know what’s going into the amazing things we bake. Since this recipe gives you about three dozen cookies worth of icing, these numbers are based on dividing the whole batch by 36 servings. This is just a close ballpark estimate based on standard pantry ingredients, so take it as a guide, not a scientific analysis!
If you need some genuinely simple fueling ideas that are packed with goodness, check out my tips for easy breakfast recipes—those are always a winner when I need something quick!
Here’s the general breakdown for about a quarter cup of this glorious topping:
| Nutrient | Amount |
|---|---|
| Serving Size | 1/4 cup icing |
| Calories | 200 |
| Sugar | 50g |
| Sodium | 5mg |
| Fat | 0g |
| Saturated Fat | 0g |
| Trans Fat | 0g |
| Carbohydrates | 50g |
| Fiber | 0g |
| Protein | 1g |
| Cholesterol | 0mg |
The takeaway here is simple: this is pure, delicious sweetness, engineered for the perfect, hard exterior. It’s a testament to how simple ingredients, when handled with the right technique—like adding that corn syrup—can create something totally professional. Enjoy your beautiful, stackable cookies!
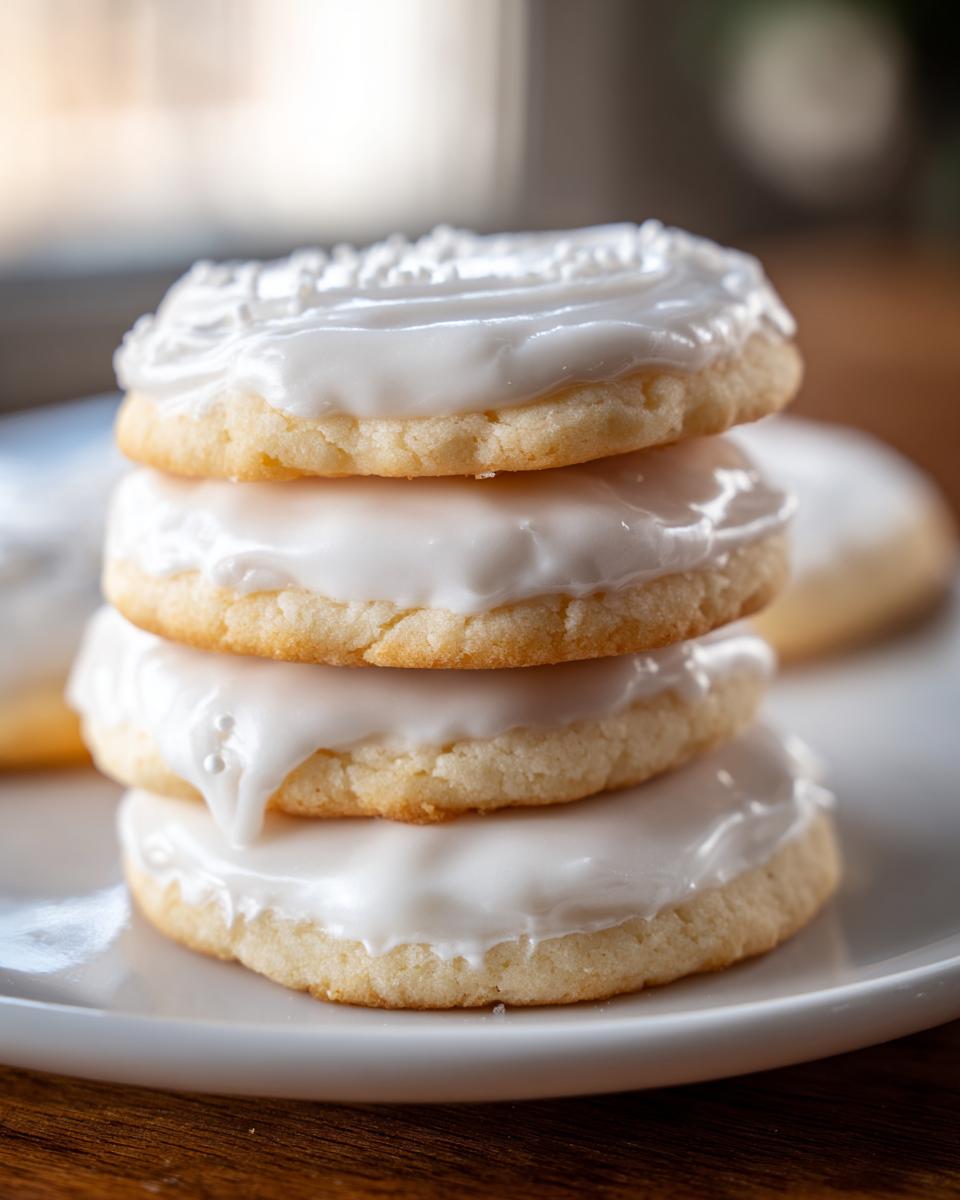
Share Your Creations Using This Sugar Cookie Icing That Hardens
Whew! We made it. You now have the secret formula for that absolutely flawless, rock-hard, glossy topping. Honestly, this is the part of baking that brings me the most joy—seeing those beautifully decorated cookies lined up, knowing they’re going to withstand the car ride, the stack in the gift box, or the chaos of a holiday cookie swap without turning into a colorful puddle.
I truly hope this recipe becomes your go-to for every celebration, whether it’s a big themed holiday bash or just a Tuesday where you need something sweet. When you’ve successfully used this technique to create incredible holiday cookie decorating techniques on your own cut-outs, I want to see them!
Don’t be shy! Drop a comment down below and tell me how it went. Did you use gel colors? Did you manage to get that perfect ribbon stage on the first try? Leaving a rating and a comment really helps me know what’s working for you out there, and nothing makes me happier than hearing about your success with a recipe I poured my road-tested knowledge into.
If you want another incredibly fun, festive bake to try next—something that also presents beautifully—you absolutely have to check out my recipe for the Christmas Tree Cheesecake Recipe. It’s all about creating show-stopping desserts that taste just as good as they look! Happy decorating, and enjoy showing off that beautiful, solid coat of sugar cookie icing that hardens!
PrintFoolproof Royal Icing Recipe: The Sugar Cookie Icing That Hardens Perfectly Smooth and Glossy

Learn how to make sugar cookie icing that hardens completely, giving you a smooth, durable, and glossy finish perfect for stacking and gifting your decorated cookies.
- Prep Time: 15 min
- Cook Time: 0 min
- Total Time: 15 min
- Yield: Coats approximately 3 dozen medium cookies 1x
- Category: Dessert Topping
- Method: Mixing
- Cuisine: American
- Diet: Vegetarian
Ingredients
- 4 cups powdered sugar, sifted
- 3 tablespoons meringue powder
- 1/2 teaspoon vanilla extract
- 1/4 cup warm water (approximately)
- 1 tablespoon light corn syrup
Instructions
- In a large bowl, combine the sifted powdered sugar and meringue powder. Whisk them together to ensure they are fully mixed.
- Add the vanilla extract and the light corn syrup to the dry ingredients.
- Gradually add the warm water, starting with 3 tablespoons. Mix on low speed with an electric mixer until the ingredients are just combined.
- Increase the mixer speed to medium-high and beat for 5 to 7 minutes until the icing is smooth, bright white, and holds stiff peaks. This whipping action incorporates air, which helps it dry hard.
- Check the consistency. If the icing is too thick for outlining, add water, one half teaspoon at a time, until it reaches a thick ribbon stage. For flooding, you may need to thin it slightly more, but remember, this recipe is designed to set firm.
- If you want to color the icing, add gel food coloring now and mix until uniform.
- Use the stiff icing immediately for outlining cookies. Let the outline set for 15 to 20 minutes before filling (flooding) the center areas with slightly thinner icing.
- Allow the cookies to dry uncovered at room temperature for several hours, or preferably overnight, until the icing is completely hard to the touch and glossy.
Notes
- For the shiniest, hardest finish, the corn syrup is essential. Do not skip it.
- If you do not have meringue powder, you can substitute it with 1 large pasteurized egg white, but the drying time might vary slightly.
- If your icing seems too thin after mixing, add more sifted powdered sugar, one tablespoon at a time, until you reach a stiff consistency suitable for piping borders.
- To achieve a bright white color, use clear vanilla extract instead of standard vanilla extract.
Nutrition
- Serving Size: 1/4 cup icing
- Calories: 200
- Sugar: 50g
- Sodium: 5mg
- Fat: 0g
- Saturated Fat: 0g
- Unsaturated Fat: 0g
- Trans Fat: 0g
- Carbohydrates: 50g
- Fiber: 0g
- Protein: 1g
- Cholesterol: 0mg