
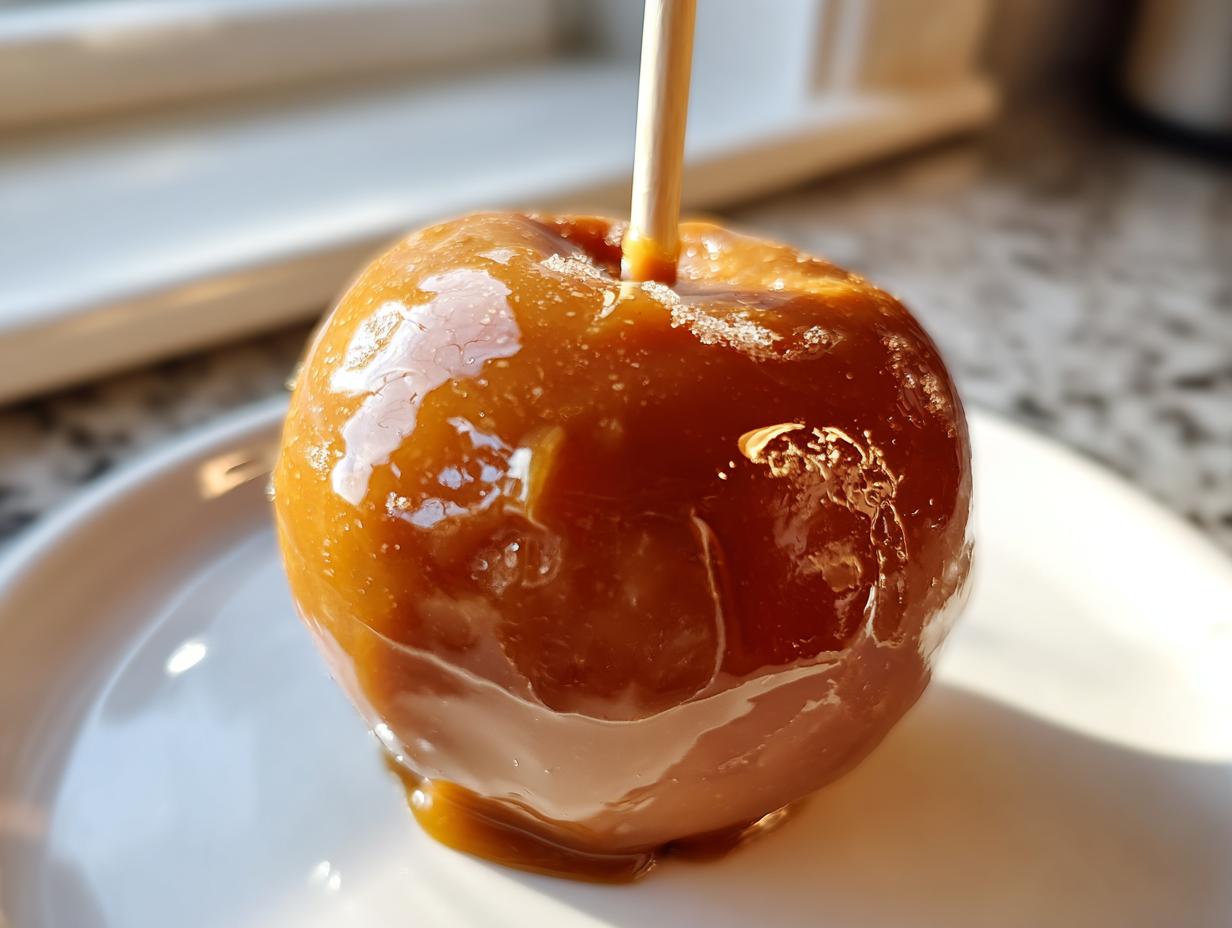
Man, nothing screams autumn like walking up to a perfectly shiny caramel apple. They look so fancy, right? Like something only a bakery could pull off. I remember trying candy making years ago, and it felt impossible—all those temperatures and sticky messes! But I started collecting notes from roadside stops and legendary diners across the country, and I cracked the code. This isn’t just another recipe for caramel apples; this is the method that guarantees your caramel coating sticks, stays chewy, and doesn’t slide right off the second you set it down. Trust me; we’re taking the intimidation out of candy making so you can nail these fall treats every single time.
If you love amazing apple flavors, you absolutely have to check out my easy apple crisp recipe too!
- Why This Homemade Caramel Apple Recipe Is Foolproof
- Ingredients for the Best Caramel Apples
- How to Prepare Foolproof Caramel Apples Step-by-Step
- Gourmet Caramel Apples Tutorial: Topping Variations
- Tips for Perfect Caramel Apples for Fall Dessert Recipes
- Storage & Reheating Instructions for Caramel Apples
- Frequently Asked Questions About Caramel Apples
- Nutritional Information Estimate for Caramel Apples
- Share Your Homemade Caramel Apples Creations
Why This Homemade Caramel Apple Recipe Is Foolproof
Look, most people run into trouble making caramel apples because they skip one tiny, crucial step or guess on the cooking time. That’s where the slide happens! I’m telling you, if you follow my two non-negotiable rules here, you’ll have bakery-quality apples that stay put. It’s all about preparation and precision cooking. We ditch the guesswork so you can focus on the fun part—the toppings!
- We completely remove the apple wax so the caramel actually grips the fruit.
- We cook the caramel sauce to the exact right temperature for that perfect, chewy pull.
If you want more amazing apple ideas after you finish these, check out my caramel apple dump cake or these fun apple pie cookies!
The Secret to Caramel Apples That Stick: Wax Removal
This is huge, and seriously, DON’T skip it! Apples get coated in wax at the store, and caramel just slides right off that waxy layer. You need to strip it! Just drop your clean apples into boiling water for about ten seconds, then dry them completely. I mean bone-dry. This cleaning step is the most important thing you can do to guarantee your caramel apples stay perfectly coated.
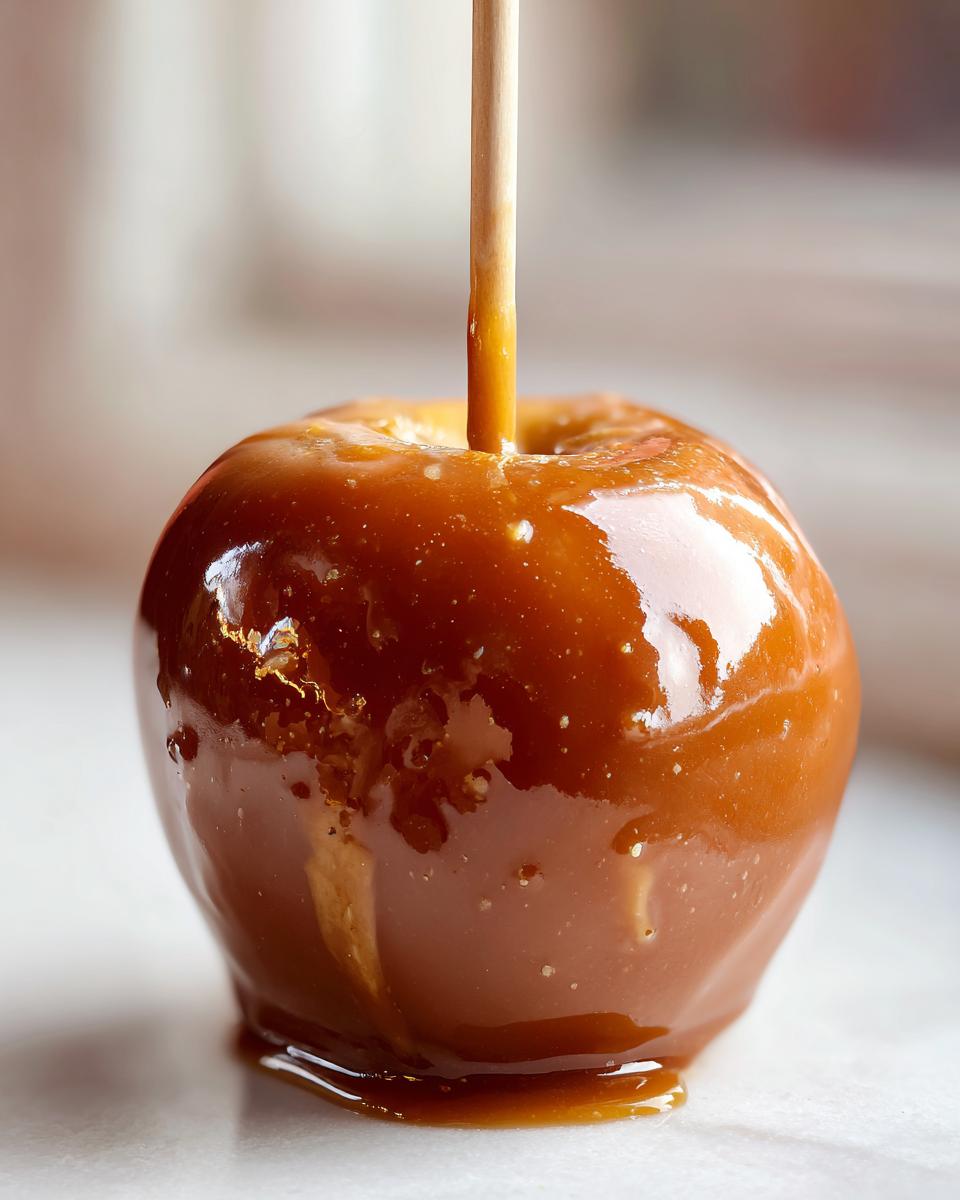
Achieving the Perfect Chewy Caramel Apple Coating
If you want that wonderful, soft, chewy texture—the kind that doesn’t crack when you bite it—you have to use a candy thermometer. Seriously, just buy one! We are aiming for exactly 245 degrees Fahrenheit, which is the soft-ball stage. If you pull it off the heat too early, it’s too runny and slides down; too late, and it gets rock hard. Hitting 245°F is the secret to those ideal chewy caramel apple recipe results.
Ingredients for the Best Caramel Apples
You don’t need a massive shopping list to make these incredible caramel apples! The magic is in the quality of what we use. I always grab firm apples because they hold up to the dipping process so well. Granny Smith or Honeycrisp are my favorites—the tartness cuts through the richness of the homemade caramel sauce beautifully. You’ll need six apples and, of course, those sturdy sticks!
For the caramel itself, the butter and dark brown sugar are key for that deep, rich flavor. Don’t forget the corn syrup; it’s what keeps the final texture chewy and helps prevent crystallization. If you need a fun fall cocktail to sip while you work, you might want to try my apple cider Moscow Mule recipe!
Here’s what you’ll need waiting by the stovetop:
- 6 large, firm apples (Granny Smith or Honeycrisp recommended)
- 6 wooden or sturdy paper lollipop sticks
- 1 cup (2 sticks) unsalted butter
- 2 cups light brown sugar, packed
- 1 cup light corn syrup
- 1 (14 ounce) can sweetened condensed milk
- 1 teaspoon pure vanilla extract
- 1/2 teaspoon sea salt
- Optional toppings: chopped nuts, mini chocolate chips, crushed pretzels, melted white chocolate for drizzling
How to Prepare Foolproof Caramel Apples Step-by-Step
Okay, now that we have our ingredients ready, let’s get down to the actual making! This whole process takes about 40 minutes of active time, plus cooling, but seeing these shiny beauties come together is so satisfying. We are making these easy caramel apples look professional without tearing your hair out!
Preparing Apples for Perfect Caramel Apples Dipping
Remember that wax removal we talked about? You’ve got to do that first! After boiling them briefly and drying them until they’re spotless, take your sturdy sticks and push them firmly right into the center core of each apple. Don’t be shy! You need that stick to be secure because you’ll be rotating the apple, and wobbly sticks lead to sad, broken apples later. Make sure the outside is absolutely moisture-free before you even glance at the stove.
Making the From Scratch Caramel Sauce Recipe
Time to make the star! Get a heavy saucepan going on medium heat. Melt that butter down, then stir in your brown sugar until it looks smooth. Now, add the corn syrup and the condensed milk. Once everything is combined, turn the heat up just enough to bring it to a steady boil—and this is where you stir constantly so you don’t scorch the bottom! Once it’s boiling, stop stirring and leave it alone until that candy thermometer hits 245°F. That’s the sweet spot for our no slide caramel apples texture. Remove it right when it chirps that magical number!
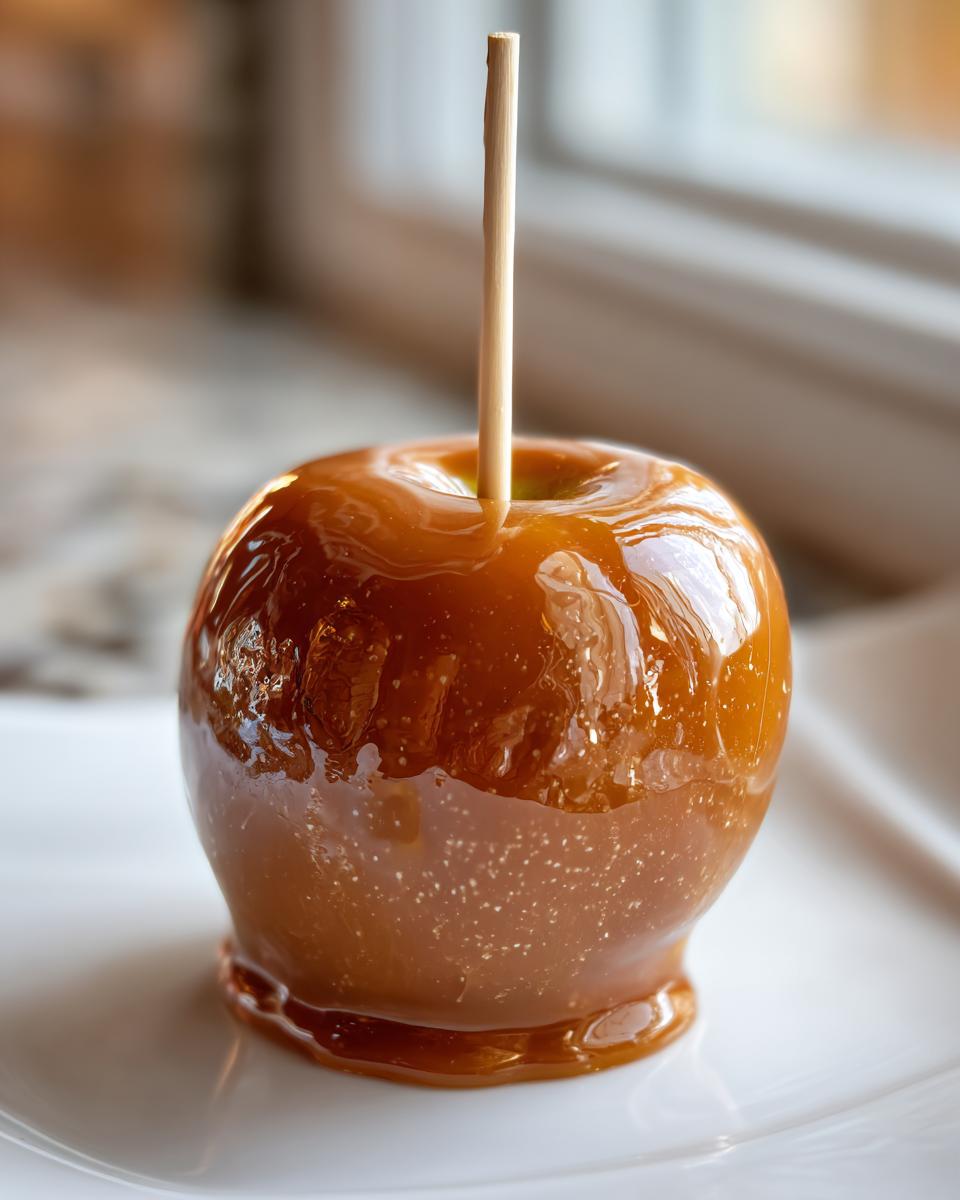
Dipping and Setting Your Caramel Apples That Stick
Listen, don’t dip right away! Let that amazing caramel cool down for about 5 to 10 minutes off the heat. If it’s too hot, it’ll be too thin and just run right off. Tilt the pan slightly when you dip, get that apple covered, and let the extra drip back in. If you’re adding nuts or sprinkles, do it right after you lift it out! Then, set them on parchment paper to cool at room temperature for at least an hour. Don’t rush them into the fridge—that condensation is caramel enemy number one! You’ll love seeing how securely they set up after this step.
If you’re looking for other great fall baking projects, try my moist apple bundt cake or these super easy apple dumplings!
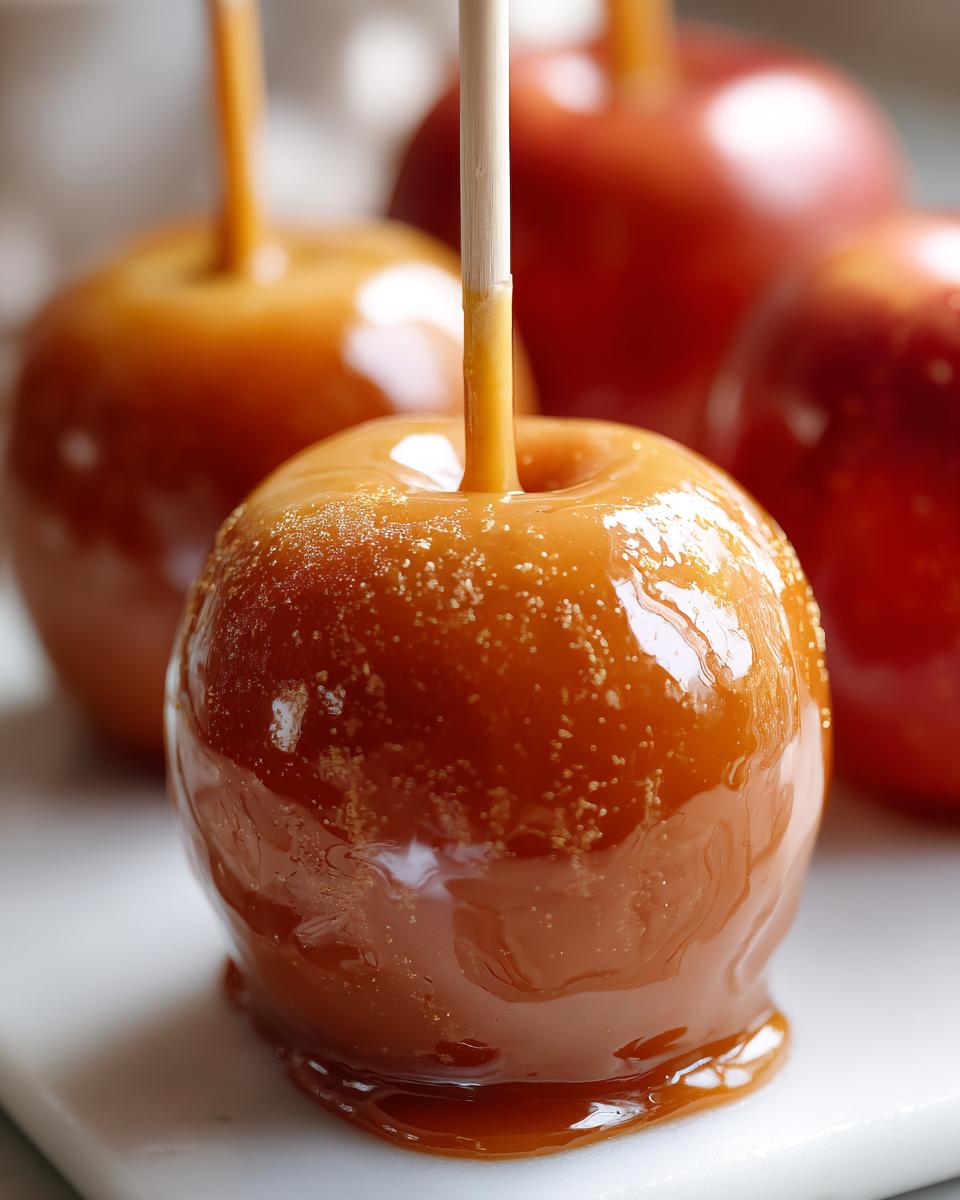
Gourmet Caramel Apples Tutorial: Topping Variations
Once you’ve mastered that chewy caramel layer—which, honestly, is half the battle won—it’s time to make these things look like they belong in a fancy glass case! This is where you can really get creative with your caramel apple decorating ideas. Chopped pecans or peanuts are classics, sure, but what about pairing that salty crunch with something sweet? Think crushed pretzels, toffee bits, or those little rainbow sprinkles that just scream fun!
To really step up the presentation, you have to consider adding chocolate. I love making these brown butter chocolate chip cookies, and that rich flavor translates perfectly here! If you want more inspiration on how to make them truly look like gourmet treats, people always love checking out guides on how to make gourmet caramel apples.
Creating Chocolate Covered Caramel Apples
If you want that truly gourmet look, dipping the set caramel into melted chocolate is the way to go. You don’t need to bother with fancy tempering, not for home apples! Just melt good quality chocolate—dark, milk, or white—until it’s silky smooth. Let the caramel apple set up first, then dip it straight into that melted chocolate, or just use a fork to drizzle cool chocolate zigzags all over the top. It looks amazing next to the caramel color, and it adds another layer of flavor. For some extra grown-up decadence, check out my chocolate bourbon pecan pie recipe for inspiration!
Tips for Perfect Caramel Apples for Fall Dessert Recipes
Alright, let’s boil down all that hard work into a few must-remember superstar tips for your next batch of caramel apples. You did the hard part by making the caramel sauce correctly, so don’t mess up the landing! If you used that thermometer and hit 245°F, your caramel won’t run or get too hard—it’ll be that perfect chewiness everyone craves. Another huge tip from my road trip lessons is making absolutely sure those apples are dry after their hot water bath; that’s how you defeat sliding caramel!
If you want another fantastic fall recipe that’s just as comforting, you can’t beat my Swedish apple cake. For even more brilliant advice on avoiding pitfalls, I always tell folks to check out the wisdom shared by others, like the tricks found over at Adventures of a DIY Mom.
Remember: no sliding means dry apples and accurate temperature. That’s the whole game!
Storage & Reheating Instructions for Caramel Apples
So, you’ve made the most perfect, chewy caramel apples and you want them to last! Here’s the deal: you should let them firm up completely at room temperature—at least an hour—before you even think about wrapping them. Don’t put them straight in the fridge! Cold temps cause condensation, which is the enemy because it makes the gorgeous caramel sticky and prone to leaking.
Store them individually wrapped in plastic wrap in a cool, dry spot, like a pantry shelf, for up to a week. If you absolutely must chill them later on, let them sit out on the counter for 30 minutes before serving so the caramel softens up again. If you want some easy make-ahead options for later in the week, my baked oatmeal is a lifesaver! Easy Make-Ahead Baked Oatmeal Recipe
Frequently Asked Questions About Caramel Apples
I know you’ve got questions! Making anything that feels like traditional candy can be nerve-wracking, but trust me, once you nail the temperature, you’re golden. I’ve rounded up the things people ask me most often when they’re trying to make the best homemade caramel apples for the first time. We want these to be festive, fun, and totally foolproof for your autumn parties!
Can I make caramel apples without a candy thermometer?
You totally *can*, but I’m going to be upfront: it tests your patience! If you don’t have a thermometer, you have to rely on the soft-ball test, which is the classic way to check for that perfect setting point for a chewy caramel apple recipe. Drop a tiny bit of the boiling caramel into a glass of ice water. If you can scoop it out and roll it into a soft ball, it’s ready, usually around 245°F. If it flattens instantly, you need to keep cooking!
What are the best apples for dipping?
My favorites are Granny Smith or Honeycrisp, hands down. Granny Smiths are tart, which is amazing because that tartness really bites back against how sweet the caramel is. Honeycrisp are wonderfully firm and super crisp. Either way, you need a very firm apple! Softer apples tend to start breaking down once the stick goes in or while you’re trying to dunk them in the hot caramel.
How do I make mess-free caramel apple slices recipe?
Oh, I love this one for parties when people don’t want to commit to a whole apple! It’s super simple and solves that mess factor. After you make the caramel and let it cool slightly so it’s still dippable, just cut your apples into thick wedges—like 1-inch thick slices. Skip the stick and just dip the edge of the slice into the caramel, dragging it across the surface. Set those slices on parchment paper right away, and they firm up beautifully. It’s way easier than cutting a whole apple later!
If you managed to master the caramel, you can probably handle other fun dips next! You should definitely take a look at my recipe for easy buckeye fudge recipe!
Nutritional Information Estimate for Caramel Apples
Okay, let’s be real—these are treats, not diet food! But if you need a rough idea of what you’re diving into for one of these magnificent caramel apples, here is a snapshot. This is just an estimate based on the ingredients listed, not counting whatever candy avalanche you pile on top, so keep that in mind!
Disclaimer: Exact figures vary a lot depending on the apple size and what toppings you choose, but this gives you a starting point.
- Serving Size: 1 apple
- Calories: 650
- Sugar: 95g
- Fat: 30g
- Protein: 4g
Share Your Homemade Caramel Apples Creations
Seriously, I am so proud of you right now! If you followed along, you just made incredible, gourmet-quality caramel apples in your very own kitchen. That used to feel like magic reserved for pros, but look at you, mastering the temperature and getting that perfect chewy coating! That confidence is what cooking is all about for me.
Now that you’ve got your spectacular haul ready—maybe you did the whole chocolate drizzle thing or went for a salty/sweet pretzel crumble—I absolutely need to see them! Head over and leave a star rating below so other cooks know this foolproof method really works. And please, snap a picture!
Tag me online so I can swoon over your shiny, perfectly dipped apples. It makes my whole week when I see you enjoying the food we made together. If you’re looking for another satisfying make-ahead treat, try my moist banana bread recipe—it’s perfect for snacking while you admire your caramel masterpiece!
PrintFoolproof Homemade Caramel Apples: The Chewy Recipe That Actually Sticks

You can make bakery-quality caramel apples at home. This easy recipe focuses on the secret technique to ensure your rich, chewy caramel coating adheres perfectly to crisp apples every time. This is the best homemade caramel apple coating tip for fall parties and Halloween treats.
- Prep Time: 20 min
- Cook Time: 20 min
- Total Time: 1 hour 40 min
- Yield: 6 servings 1x
- Category: Dessert
- Method: Stovetop Cooking
- Cuisine: American
- Diet: Vegetarian
Ingredients
- 6 large, firm apples (Granny Smith or Honeycrisp recommended)
- 6 wooden or sturdy paper lollipop sticks
- 1 cup (2 sticks) unsalted butter
- 2 cups light brown sugar, packed
- 1 cup light corn syrup
- 1 (14 ounce) can sweetened condensed milk
- 1 teaspoon pure vanilla extract
- 1/2 teaspoon sea salt
- Optional toppings: chopped nuts, mini chocolate chips, crushed pretzels, melted white chocolate for drizzling
Instructions
- Prepare the apples: Wash the apples thoroughly. Remove the wax coating by boiling them in a pot of hot water for 10 seconds, then immediately dry them completely with a clean cloth. Insert one stick firmly into the core of each apple.
- Prepare your dipping station: Line a baking sheet with parchment paper or a silicone mat. Set up your toppings in shallow bowls nearby.
- Make the caramel: In a heavy-bottomed saucepan, melt the butter over medium heat. Add the brown sugar and stir until dissolved, about 3 minutes.
- Add the liquids: Stir in the corn syrup and sweetened condensed milk. Bring the mixture to a boil over medium heat, stirring constantly to prevent scorching.
- Cook to temperature: Once boiling, stop stirring and allow the mixture to cook until it reaches 245 degrees Fahrenheit (soft-ball stage) on a candy thermometer. This step is crucial for a chewy, no-slide coating. This usually takes 10 to 15 minutes after reaching a boil.
- Finish the caramel: Remove the pan from the heat. Stir in the vanilla extract and salt. Let the caramel cool for 5 to 10 minutes. Cooling slightly prevents the caramel from being too runny when dipping.
- Dip the apples: Tilt the saucepan slightly. Dip one apple into the caramel, rotating it to coat completely. Lift the apple and let excess caramel drip off back into the pan. If the caramel is too thick, you can gently reheat the pan for 30 seconds.
- Apply toppings: Immediately roll the bottom of the dipped apple in your chosen toppings, or set it on the prepared baking sheet to set before drizzling with chocolate.
- Set the apples: Allow the caramel apples to cool completely at room temperature for at least 1 hour until the caramel is firm. Do not refrigerate immediately, as this can cause condensation and make the caramel sticky.
Notes
- The key to caramel sticking is removing the apple wax. Dip apples in boiling water for 10 seconds, then dry them completely before inserting sticks.
- Use a candy thermometer. Cooking the caramel to exactly 245 degrees Fahrenheit creates the perfect chewy texture that resists sliding off the apple.
- For a gourmet look, dip the cooled caramel apples in melted dark or white chocolate after the caramel has set, then add a contrasting drizzle.
- Store finished caramel apples wrapped individually in plastic wrap at cool room temperature for up to one week.
Nutrition
- Serving Size: 1 apple
- Calories: 650
- Sugar: 95
- Sodium: 250
- Fat: 30
- Saturated Fat: 18
- Unsaturated Fat: 12
- Trans Fat: 0
- Carbohydrates: 98
- Fiber: 2
- Protein: 4
- Cholesterol: 75