
Remember those nights when ordering takeout felt like the only option? I get it. Life on the road taught me that the best food—the kind that brings everyone together—doesn’t need a complicated kitchen or fancy equipment. It just needs a little heart. That’s exactly what we’re putting into this homemade pizza recipe. Forget wrestling with stiff doughs or waiting all day; this is the ultimate guide to achieving that incredible, slightly crispy, restaurant-level flavor right on your kitchen counter. Whether you need a full family pizza dinner on a Tuesday or want to dabble in a slower, artisan pizza method, this no-fuss foundation delivers. If you’re looking for more fun handheld options later, check out my recipe for easy pizza sliders recipe. Trust me, once you nail this crust, you’ll look at frozen pizza the same way I do now!
- Why This Is the Best Homemade Pizza Recipe for Your Kitchen
- Ingredients for Your Homemade Pizza
- Easy Pizza Dough Tutorial: From Scratch Pizza Crust
- How to Prepare Your Homemade Pizza Instructions
- Customizing Your Own Pizza: Gourmet Pizza Toppings at Home
- Tips for Success Making Homemade Pizza Like a Restaurant
- Storage and Reheating Instructions for Leftover Homemade Pizza
- Frequently Asked Questions About Your Homemade Pizza
- What to Serve With Your Homemade Pizza
Why This Is the Best Homemade Pizza Recipe for Your Kitchen
When I started this journey cooking on the road, I realized folks wanted great food without the guesswork. This recipe is built exactly for that. It proves you don’t need a fancy wood-fired oven to make a stellar homemade pizza. We keep things straightforward so you can spend less time stressing and more time piling on the pepperoni!
- Instant payoff: It’s perfect for weeknight dinner recipes, giving you amazing results fast.
- Total control: It’s the foundation for your perfect family pizza dinner night.
- Flexible flavor: Works brilliantly for both a rapid bake or a longer, more developed flavor profile.
Achieving the Perfect Crispy Crust Pizza Texture
It all comes down to how you treat the dough early on. That initial yeast activation is crucial; it sets up the bubbles. If you rush the kneading, you don’t get the structure you need for that satisfying bite. We’re aiming for a fantastic middle ground here. A quick 3-minute knead gives you a decent pie, but pushing it to 7 minutes creates that real chewy homemade dough that hugs the toppings.
Simple Pizza for Beginners: A No Fuss Pizza Recipe
If you’ve always been intimidated by ‘from scratch’ baking, throw those worries out! My whole philosophy at YumDrizzle is making things accessible. This is truly a no fuss pizza recipe. I’ve made this dough successfully on a tiny hot plate in a cramped tour bus kitchen, I promise you can do it! It’s forgiving, and even if your first attempt isn’t perfectly round, it will still taste incredible. That’s the best part of a family pizza dinner; it’s about the fun as much as the final product.
Ingredients for Your Homemade Pizza
Okay, grabbing your ingredients is where the magic starts to smell real! Don’t bother with specialty flours here; this dough is built on basics. Because we are making a quick dough, the yeast activation ingredients need your full attention first. I always lay everything out before I even turn the oven on to make sure I don’t forget that crucial salt.
For two medium pies, here’s what you need:
- Yeast starter power! Grab 2 1/4 teaspoons of active dry yeast and 1 teaspoon of sugar.
- Water must be warm—think bathwater temperature, about 105-115°F. You need 1 cup of it.
- We use 3 cups of all-purpose flour plus maybe a little extra for dusting.
- 2 tablespoons of olive oil, plus a slick bit more for greasing the bowl later.
- 1 teaspoon of salt. Don’t skip this; it controls the yeast!
- 1 cup of your favorite pizza sauce from scratch (or store-bought if you’re really in a rush).
- About 2 cups of good, shredded mozzarella cheese.
- And finally, whatever toppings you want! I love pepperoni, but feel free to try something new like the homemade strawberry milk recipe inspired toppings if you’re feeling wild!
Easy Pizza Dough Tutorial: From Scratch Pizza Crust
This is where we move from just talking about homemade pizza to actually making it! Learning how to make your own from scratch pizza crust feels like the biggest secret in cooking, but I promise it’s super simple. This whole easy pizza dough tutorial breaks down the steps so you never have to rely on store-bought again. When I was learning, I messed up the yeast more times than I care to admit, but the process is honestly more forgiving than people think!
Before mixing everything, I always give my flour a quick whisk in the bowl. It’s a little Jaxson move that incorporates air without adding extra steps to the official instructions. It helps lighten things up before we get serious with the mixing.
Activating Yeast for Quick Homemade Pizza
Don’t just dump the yeast into lukewarm water! That’s a rookie move that leads to sad, non-bubbly water. You need that yeast to wake up happy. Make sure your water is exactly between 105°F and 115°F. If it’s too cold, the yeast just sleeps. If it’s too hot, you kill it instantly! Wait five to ten minutes until you see a legit foam layer forming on top. That glorious fluff means the yeast is ready to work its magic and build flavor for your quick homemade pizza.
Kneading for Chewy Homemade Dough or Fast Results
Now for the kneading! This is where you build the structure for that perfect crust. If you’re aiming for a classic, satisfyingly chewy homemade dough—the kind that stretches beautifully—you need to commit to a full 7 minutes of kneading on a lightly floured surface. Keep folding and pushing until it feels smooth and elastic under your hands.
However, if it’s 7 PM and you need dinner on the table ASAP, listen up: knead it hard for just 3 minutes. It won’t be quite as chewy, and the rise will be a little shorter, but it will still be miles better than anything frozen. You can check out more dough tips over at The Food Charlatan’s recipe if you want to compare notes. For developing deeper flavor in the long run, remember that a long, cold ferment is key, though we cover that later!
For more on starting bread projects from scratch, sometimes I look back at my guide on making a sourdough starter from scratch guide, just to remind myself how important those first few steps are!
How to Prepare Your Homemade Pizza Instructions
Alright, the dough has done its hard work resting and rising! Now for the fun part: turning that puffy cloud of dough into a stunning homemade pizza. The flow here is crucial—you want the oven screaming hot before that dough hits the surface, whether it’s a stone or a trusty sheet pan. I always try to get everything ready for assembly while the oven is heating up, especially if I’m already thinking about what other easy breakfast recipes I might make the next morning!
The Rise: 1-Hour Dough vs. Overnight Fermentation
Once you punch the air out of that risen dough gently, you have options. For a speedy weeknight fix, let it rest for just 60 to 90 minutes covered in a warm spot until it doubles. That’s your quick ticket to dinner. But listen, if you really want to step up your flavor game and try that artisan pizza method I mentioned? Tuck that dough into an oiled bowl, cover it tight, and stick it in the fridge overnight. That slow, cold rise develops SO much more flavor in the crust. Either way, make sure you divide that dough for two medium pies unless you are going for one giant family feast!
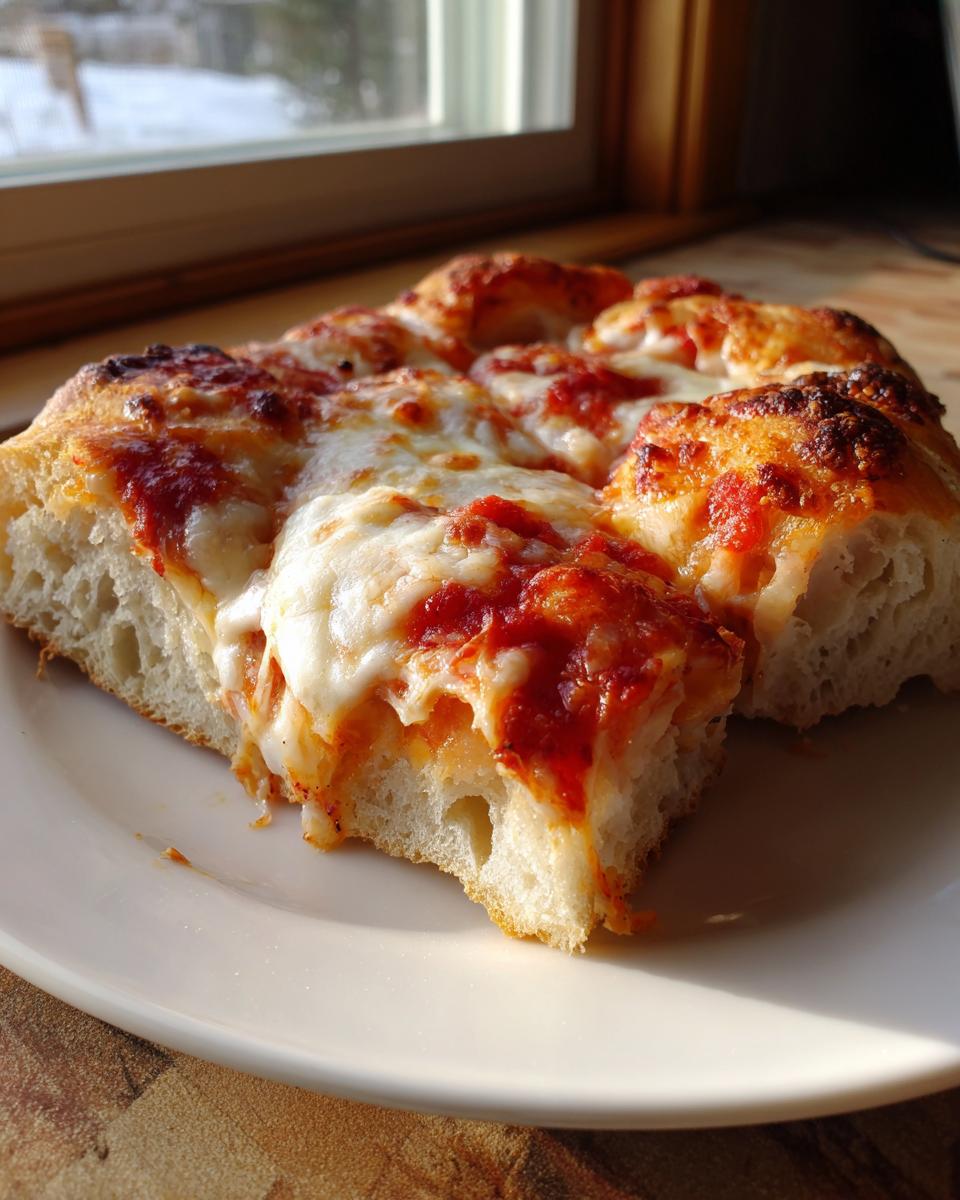
Sheet Pan Pizza Directions and Oven Setup
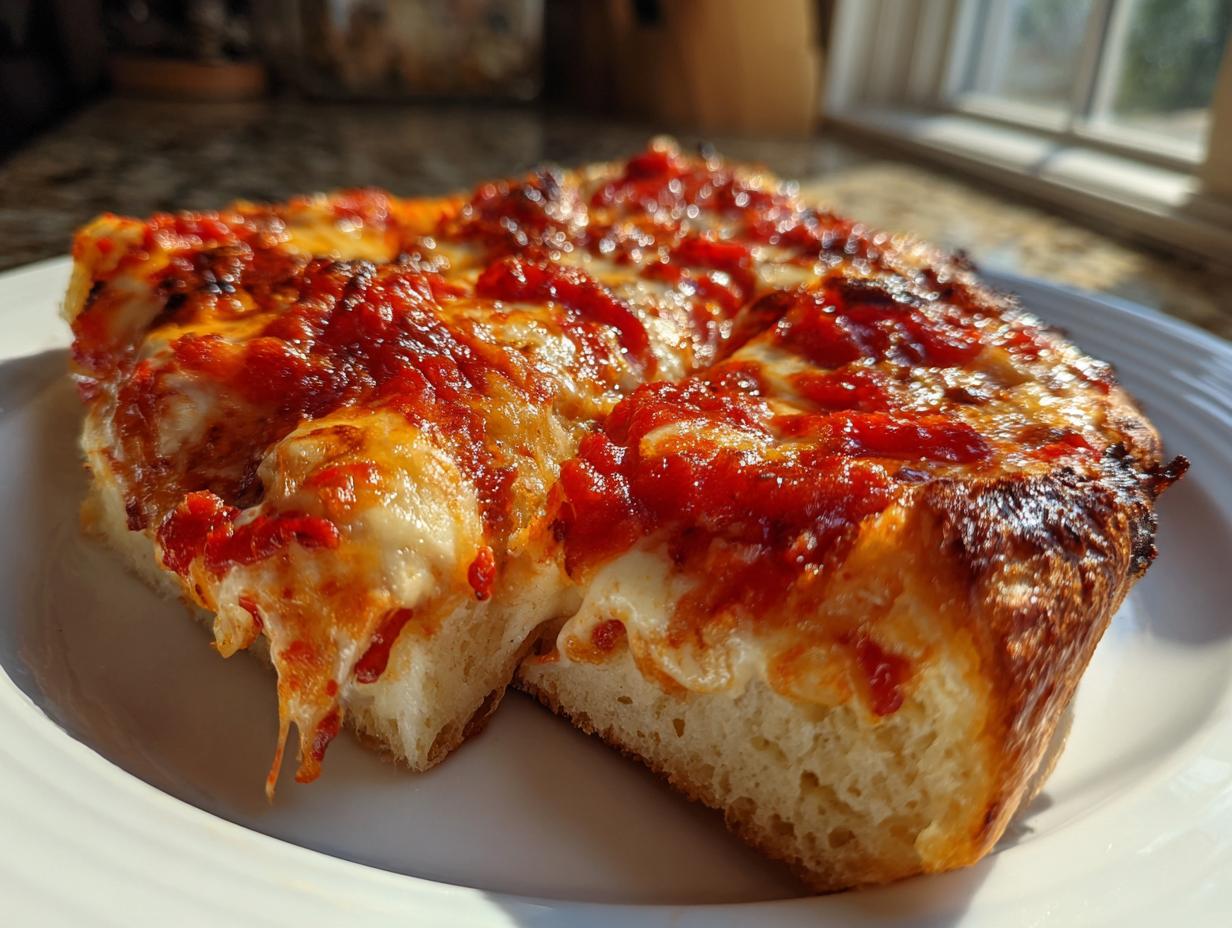
Preheat is non-negotiable! Crank that oven up to 475°F (245°C). If you have a pizza stone, get it in there early so it gets scorching hot—that’s the secret to a crispy crust pizza base. If you are using a sheet pan for easy clean-up—which is perfect for those busy dinner recipes for families—give it a good slick of oil or line it with parchment paper. Once your oven is ready, gently stretch or roll your dough out directly onto your prepared surface. Don’t touch the toppings until the crust is shaped!
For more on getting that dough structure just right, check out the tips shared over at The Cozy Cook. They have some great thoughts on how dough handles when it’s piping hot!

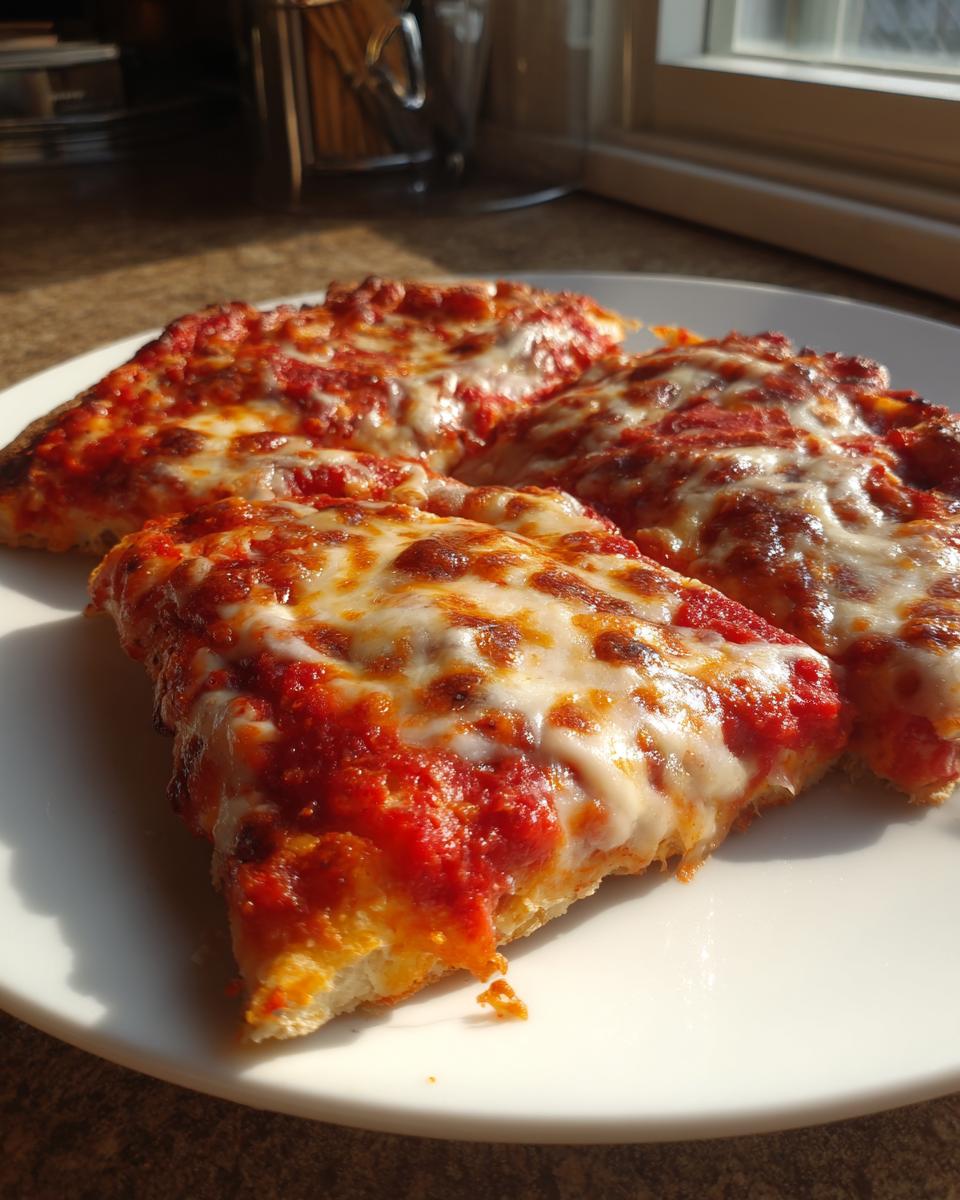
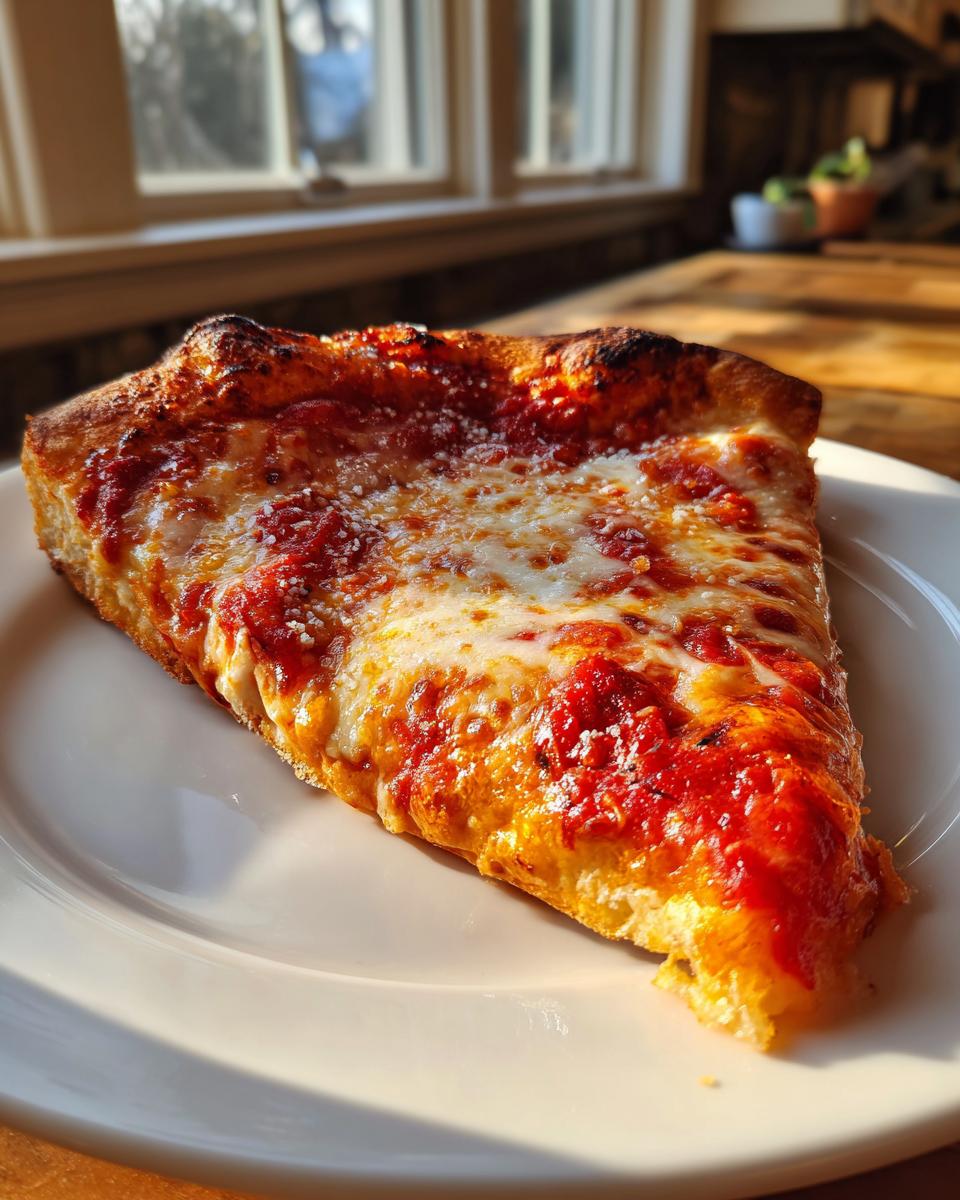
Customizing Your Own Pizza: Gourmet Pizza Toppings at Home
Once that crust is shaped and sauced, the real fun begins: this is your chance to truly customize your own pizza! We started with the classic Margherita flavors, but I absolutely want you to play around here. Think of this crust as the perfect blank canvas for whatever flavor adventure you’re craving. If you’ve got leftover smoky chicken, why not whip up a quick BBQ version? You can even explore incredible gourmet combinations.
For those looking beyond the standard red sauce, I highly recommend trying out some variations. They drastically change the profile and lead to some of the best pizza flavor combinations. Also, if you’re doing a lighter, cheesier pie—maybe something prosciutto and ricotta focused—you should check out my chicken tortilla soup recipe later for a heavier contrast meal!
Sauce Choices Beyond the Standard Pizza Sauce from Scratch
That simple sauce we listed is fantastic, but don’t feel locked into it! If you want to go for a real flavor shift, try a white sauce base. It’s mostly olive oil, garlic, and maybe a little ricotta blended up smooth. It completely changes the texture and pairs amazingly well with things like smoked mushrooms or prosciutto. Or, if you’re feeling bold, you can go full smoky sweet. If you want inspiration for using chicken, take a look at this amazing BBQ Chicken Pizza recipe—it shows how you can transform the whole vibe just by swapping the base layer!
Tips for Success Making Homemade Pizza Like a Restaurant
So you want that perfect, slightly charred, blistered edge that screams ‘pizzeria,’ right? Listen, getting that professional look isn’t about secret dough formulas; it’s about heat management. My biggest tip for anyone trying to make pizza like a restaurant is simple: your oven needs to be hotter than you think is reasonable. Really crank it up to 475°F, or even 500°F if your smoke alarm agrees!
If you’re using a baking steel or a pizza stone—which I highly recommend for that crispy crust pizza result—you need to preheat it for at least 30 minutes before the dough even thinks about going in. That thermal mass is what cooks the bottom instantly, preventing that dreaded soggy center. If you don’t have a stone, use the sheet pan but leave it in the oven while it preheats too; it transfers heat much faster than an empty pan.
Also, go light on the sauce! Too much liquid sauce equals steam, and steam equals sadness. Use just enough to coat the dough lightly. If you want more flavor without the moisture, try sprinkling some garlic powder directly onto the crust before the sauce goes down. For a salty, flavorful side, you have to try my easy beer cheese dip recipe!
For those who want to dive deep into the science of high-hydration, bubbly dough, check out the great breakdown on the artisan pizza dough method.
Storage and Reheating Instructions for Leftover Homemade Pizza
Okay, let’s talk about the day *after* the amazing pizza night. Having leftover homemade pizza is fantastic, but reheating it wrong can turn that beautiful crust into sad, floppy cardboard. Believe me, I’ve eaten plenty of cold pizza slices on the road, but when you take the time to make it right, you need to treat the leftovers right, too!
The first rule for storage is cutting it quickly. Don’t let the whole pie sit out cooling down slowly; that traps steam, which means a softer crust later. Once it’s cool enough to handle—and I mean *safely* cool—get it wrapped up. If you can manage it, I like to separate the toppings from the crust if they got really soggy, but usually, stacking works fine as long as you use the right container.
Place the slices in an airtight container. If you are worried about them sticking together, lay down a small sheet of parchment paper between the layers. This keeps the moisture locked inside the bread part without making the cheese sweat everywhere. It should hold up perfectly well in the fridge for about three days.
Now for the reheat! The microwave is the enemy of crispy crust pizza. It just turns it into soft chewiness. If I want that crust to snap the way it did fresh from the oven, I always go back to the heat source.
The absolute best method is to use a skillet or even a toaster oven. Preheat your cast iron skillet on medium heat—no oil needed! Place the slice directly on the hot pan for about 3 to 5 minutes, keeping an eye on it. This brings the crispness right back to the base. If you don’t want to mess with the skillet, use your regular oven set to about 350°F and just bake the slices directly on the rack for about 8 minutes. That dry heat dries out the crust perfectly.
For a comforting side idea after you’ve perfected your reheating technique, you have to try my recipe for soft and fluffy sourdough sandwich bread; it uses some of the same dough principles, just stretched over longer!
Frequently Asked Questions About Your Homemade Pizza
I always get the best questions after people try making their first homemade pizza! It means they are really getting into it, and that’s what I love. Here are a few things I hear people asking all the time when they are trying to nail that perfect crust texture.
Can I make this dough ahead of time for a weekend pizza baking session?
You absolutely bet you can! That’s actually one of my favorite ways to tackle a weekend pizza baking session. Instead of doing the quick 90-minute rise on the counter, pop that oiled dough ball into the fridge for up to 3 days. The cold slows the yeast way down, and it lets those simple ingredients—flour, water, yeast—talk to each other, building incredible depth. When you pull it out on Saturday, just let it warm up on the counter for about an hour before you start stretching. It makes for a truly memorable crust!
What is the best flour for a chewy homemade dough?
That’s a great question that gets right into the science of a great chewy homemade dough! We use all-purpose flour in the main recipe because it’s easy to find, and it works great for that 1-hour dough. But, if you really want to push for that ultra-elastic, tear-apart chewiness, you’ll want to swap it for bread flour. Bread flour has higher protein content, which means more gluten development when you knead it. It’s the key to that amazing, slightly tough texture you find in the very best pizza places.
If you want the absolute best flavor overall in your crust, check out my guide to making easy Salisbury steak with mushroom gravy—it involves a slow build of flavor that’s similar, even though it’s totally different food!
What to Serve With Your Homemade Pizza
So, you’ve pulled that perfect, bubbly, cheesy disc out of the oven. Victory! But what do you serve alongside it to make it a complete night? Honestly, sometimes, the pizza *is* the whole show, and that’s perfectly okay for a casual pizza night ideas gathering. But if you want to round out the meal without doing a ton of extra work, I always rely on simple pairings.
You don’t want anything too heavy or complex that takes away from the main event, right? Keep the sides simple, fresh, and quick. I usually grab some good quality garlic knots—pre-made or from a box is fine, don’t feel guilty about it!—for dipping in any leftover sauce you might have.
My go-to pairing, though, is always a massive, bright green salad. Something that cuts through the richness of the cheese and pepperoni. A simple mix of crisp lettuce, cucumber, and onion with a zesty vinaigrette is perfect. If you want to make an amazing vinaigrette that just sings next to tomato and mozzarella, you absolutely have to check out my fall harvest salad with maple vinaigrette recipe. It’s light, tangy, and makes the whole meal feel balanced!
PrintEasy Homemade Pizza Recipe for Family Pizza Night

Learn how to make the best homemade pizza with a simple, no-fuss dough that works for quick weeknight dinners or weekend baking. This recipe focuses on achieving a crispy crust and allows for endless customization of your favorite toppings.
- Prep Time: 20 min
- Cook Time: 15 min
- Total Time: 1 hour 35 min
- Yield: 2 medium pizzas 1x
- Category: Dinner
- Method: Baking
- Cuisine: American
- Diet: Vegetarian
Ingredients
- 2 1/4 teaspoons active dry yeast
- 1 teaspoon sugar
- 1 cup warm water (about 105-115°F)
- 3 cups all-purpose flour, plus more for dusting
- 2 tablespoons olive oil, plus more for greasing
- 1 teaspoon salt
- 1 cup pizza sauce from scratch (or store-bought)
- 2 cups shredded mozzarella cheese
- Your favorite toppings (pepperoni, vegetables, cooked chicken)
Instructions
- Activate the yeast: In a large bowl, dissolve the sugar in the warm water. Sprinkle the yeast over the top and let it sit for 5 to 10 minutes until foamy.
- Mix the dough: Add the flour, olive oil, and salt to the yeast mixture. Mix with a wooden spoon until a shaggy dough forms.
- Knead: Turn the dough out onto a lightly floured surface. Knead for 5 to 7 minutes until the dough is smooth and elastic. If you are short on time, knead for 3 minutes for a quicker, slightly less chewy crust.
- First rise: Lightly grease a clean bowl with olive oil. Place the dough in the bowl, turning to coat. Cover the bowl with plastic wrap or a clean towel and let it rise in a warm place for 60 to 90 minutes, or until doubled in size. For a faster result, use the 1-hour dough method.
- Preheat and prepare: Preheat your oven to 475°F (245°C). If using a pizza stone, place it in the oven while preheating. If using a sheet pan, lightly grease it or line it with parchment paper.
- Shape the crust: Punch down the risen dough gently. Divide it in half for two medium pizzas or use it all for one large sheet pan pizza. Stretch or roll the dough to your desired thickness and shape on your prepared surface.
- Assemble: Spread the pizza sauce evenly over the dough, leaving a small border for the crust. Sprinkle with mozzarella cheese, then add your chosen toppings.
- Bake: Carefully transfer the pizza to the preheated stone or place the sheet pan in the oven. Bake for 10 to 15 minutes, rotating halfway through, until the crust is golden brown and the cheese is bubbly.
- Serve: Remove from the oven, let it cool for a few minutes, slice, and enjoy your homemade pizza masterpiece.
Notes
- For a crispier crust, use a pizza stone and let the dough rest for an overnight cold fermentation in the refrigerator instead of the 1-hour rise.
- If you want a thicker, softer crust, use the sheet pan pizza directions and let the dough rest directly in the pan while the oven preheats.
- Make your own simple pizza sauce by simmering crushed tomatoes with garlic powder, oregano, and a pinch of salt for 15 minutes.
Nutrition
- Serving Size: 1 slice
- Calories: 280
- Sugar: 4
- Sodium: 550
- Fat: 10
- Saturated Fat: 4
- Unsaturated Fat: 6
- Trans Fat: 0
- Carbohydrates: 38
- Fiber: 2
- Protein: 11
- Cholesterol: 15