
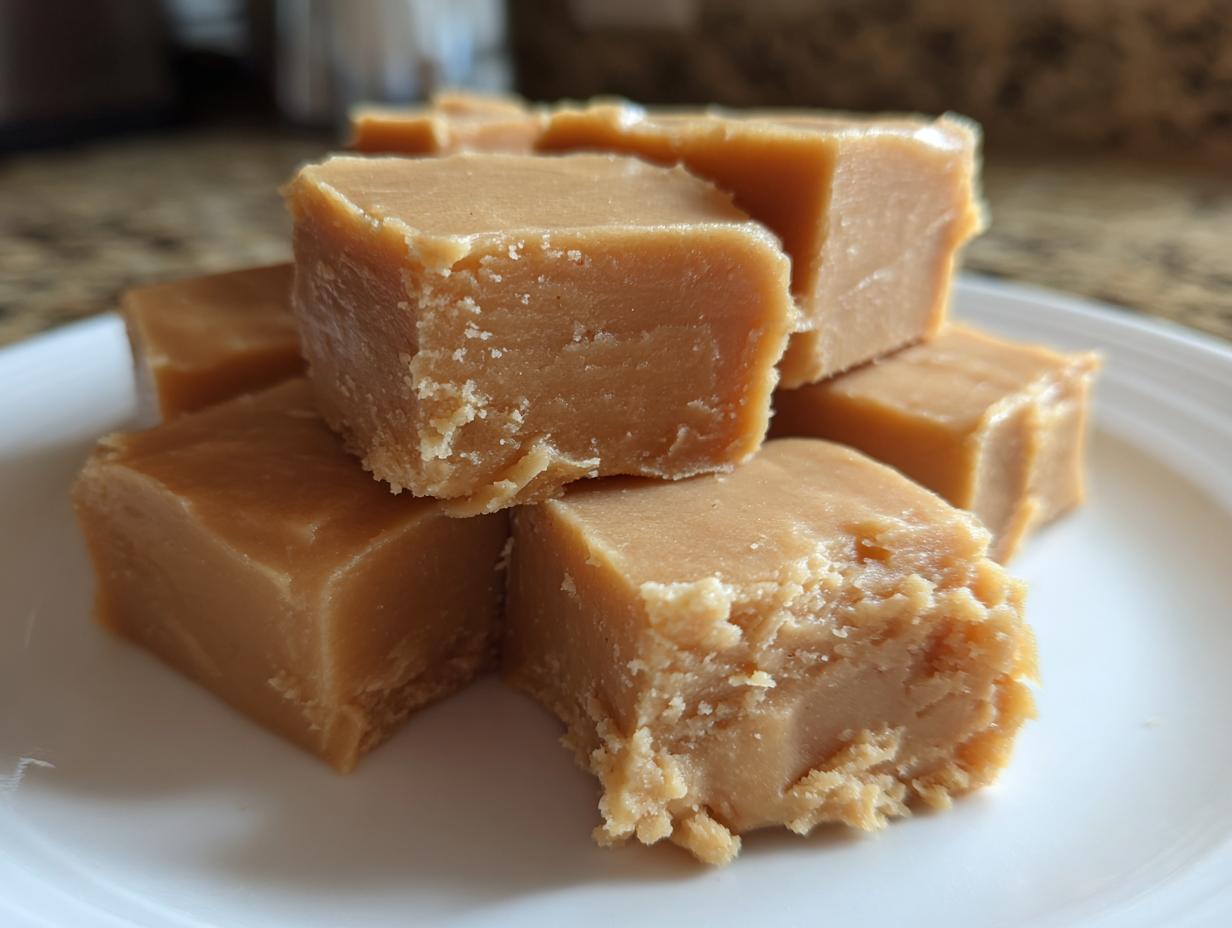
Listen, sometimes the absolute best things in life—whether it’s a killer roadside diner coffee or the perfect piece of candy—are the ones that take zero fuss. When I was out on the road with the band, learning the shortcuts and the real flavors of every town, I realized that complicated steps rarely equal better food. That’s why I’m passing along my go-to recipe for peanut butter fudge.
This isn’t your grandma’s finicky, sugar-boiling process. We’re making a Quick and Creamy 3-Ingredient peanut butter fudge that legitimately melts in your mouth. It’s ridiculously easy, which is exactly what we need when life is moving fast. Trust me, this simple candy recipe has all the nostalgic flavor you want without any of the stress. We’re hitting that sweet spot!
- Why This Quick and Creamy peanut butter fudge Recipe Works
- Gathering Ingredients for Your peanut butter fudge
- How to Prepare Your Smooth peanut butter fudge
- Tips for the Best peanut butter fudge Texture
- Making peanut butter fudge for Holiday Candy Making
- Storage and Reheating Instructions for Your Easy Homemade Fudge
- Frequently Asked Questions About This Quick Fudge Recipe
- Estimated Nutritional Data for This Classic Peanut Butter Dessert
- Share Your Experience Making peanut butter fudge
Why This Quick and Creamy peanut butter fudge Recipe Works
I get asked all the time how I can make fudge consistently smooth when traditional methods are so tricky. Well, that’s the beauty of cutting out the complicated steps. We use a secret weapon here that guarantees richness and that fantastic Creamy Fudge texture every single time, even when I’m rushing between setting up gear.
This isn’t just about saving time; it’s about foolproof results. We skip the temperamental candy thermometers and measuring precise temperatures. Here’s why this method delivers that perfect Smooth Fudge Texture:
The Magic of 3 Ingredient Fudge
The star here is sweetened condensed milk. If you’ve ever tried making fudge the old-fashioned way, you know you have to boil sugar syrups until they hit a specific temperature—wait too long, it’s grainy; pull it too early, it won’t set. Forget all that! The condensed milk is already cooked down and full of dairy solids, which basically jumpstarts the entire setting process for your peanut butter fudge. It gives you amazing stability without the headache.
Speed and Simplicity for Real Life
Since we’re using the microwave to combine the base ingredients, this truly qualifies as a No Bake Fudge experience! This is the ultimate Simple Candy Recipe when you need something decadent fast. It’s perfect for making Holiday Fudge Treats on a weeknight or whipping up a batch for surprise guests. It’s dessert magic in minutes, seriously.
Gathering Ingredients for Your peanut butter fudge
Okay, let’s talk ingredients. Because this is what I call a magic trick recipe, we don’t need a huge shopping list. In fact, we only need three things, and if your pantry is even remotely stocked, you might have them right now! Remember, even though this peanut butter fudge recipe is fast, precision still matters so we get that perfect smooth texture.
Make sure your measurements are spot-on, especially for the sugar, since that’s what gives the fudge its structure. Here is exactly what you’ll need to gather for this batch:
- 1 (14 ounce) can sweetened condensed milk
- 1 cup creamy peanut butter
- 3 cups powdered sugar
That’s it! No butter, no vanilla, no chocolate chips unless you want to add them in later. Just those three powerhouses, ready to go!
How to Prepare Your Smooth peanut butter fudge
This is where the magic really happens, and guess what? It only takes about 10 minutes of active time, plus chilling! Seriously, you can have this ready to pop in the fridge before the kettle even finishes boiling. We’re using the microwave for speed, which is way less intimidating than managing a candy thermometer. If you’ve ever used my recipe for easy chocolate pudding recipe, you know I like to keep things straightforward.
Preparing the Pan and Melting the Base
First things first: get your 8×8-inch pan ready. Grab some parchment paper and make sure you let the sides hang over the edges—we call that the sling, and it lets you lift the whole beautiful block of fudge out later without any messy wrestling matches. Once your sling is in place, we tackle the base. Put your condensed milk and creamy peanut butter into one big microwave-safe bowl. Microwave this for just 60 seconds. When you pull it out, stir it until it’s flawlessly smooth. Don’t panic if you see tiny lumps! If it’s not cooperating, zap it for another 15 seconds and go again. We need zero lumps here for that perfect melt-in-your-mouth effect.
Incorporating Sugar and Setting the peanut butter fudge
Now, that smooth peanut butter base is going to meet its structural partner: the powdered sugar. Add it in slowly, mixing it in batches. It’s going to get stiff, like really thick cookie dough—don’t worry, that’s exactly what you want! Keep stirring until everything is incorporated. Then, press that mixture firmly and evenly into your prepared pan. Use the back of a rubber spatula to get a nice, flat top. This is the only real ‘waiting’ part: you have to stick it in the fridge for at least two hours. That chilling time is non-negotiable if you want clean slices of that incredible Melt in Your Mouth Fudge.
Tips for the Best peanut butter fudge Texture
You’ve seen how incredibly easy this peanut butter fudge is to pull together, but if you’re worried about it turning out grainy or too stiff, let me share a couple of pro tips. Achieving that super Creamy Fudge texture is all about respecting the heat and the ingredients. When I was learning from the pros on the road, I found that slight adjustments make a huge difference in the final mouthfeel, even in a recipe this simple!
Stovetop Method vs. Microwave Fudge Recipe
If your microwave just isn’t your friend, don’t sweat it! You can absolutely use the stovetop for that initial melting step. Just pour your condensed milk and peanut butter into a saucepan and keep the heat on low. You have to stir constantly—and I mean constantly—until it’s smooth. The biggest rule here, just like with any old-school candy making, is: **do not let it boil**. Boiling changes the sugar structure and throws off the set time. Once it looks glossy and combined, pull it right off the heat before you stir in that powdered sugar.
Peanut Butter Selection for Smooth Fudge Texture
I almost always reach for creamy, shelf-stable peanut butter for this recipe because it mixes in so smoothly, which is key for that perfect set. If you absolutely love the flavor of natural peanut butter—you know, the kind that separates and you have to stir the oil back in every time—you can still use it. Just be aware that it might leave your fudge feeling a tiny bit less silky than the classic version. If you opt for natural, just spend an extra minute or two stirring the base mixture to make sure those oils are fully emulsified before adding the sugar. Check out what they do over at Kippi at Home; they have great insights on ingredient balance!
Making peanut butter fudge for Holiday Candy Making
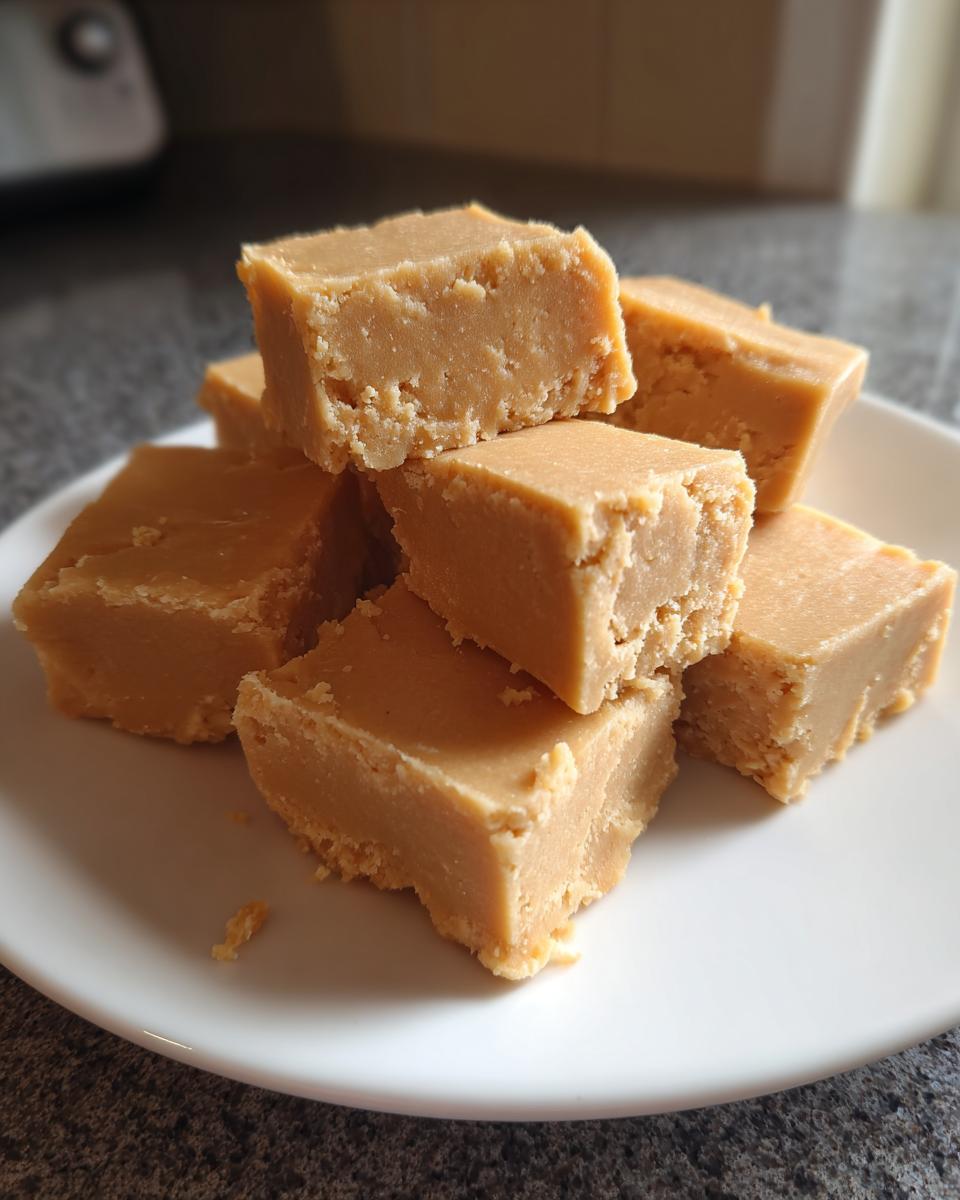
You know, as soon as the weather starts hinting at turning chilly, my mind immediately jumps to making big batches of candies to give away. This peanut butter fudge is probably my favorite contribution to any holiday tray because it’s so creamy and everyone loves it. It’s a guaranteed hit for your Holiday Fudge Treats lineup!
Since this is such a quick recipe, you can easily double or triple the batch while your main dinner is cooking. Once it’s chilled solid, cut those squares cleanly—I like to use a large knife that I run under hot water first, wiping it dry between cuts. That gives you those picture-perfect edges you see in magazines.
For gifting, just line small cellophane bags with some festive tissue paper and toss in about six pieces of your rich peanut butter fudge. Tie it with a bow, and boom—instant, homemade love that didn’t take you all day. It’s the best kind of effort!
Storage and Reheating Instructions for Your Easy Homemade Fudge
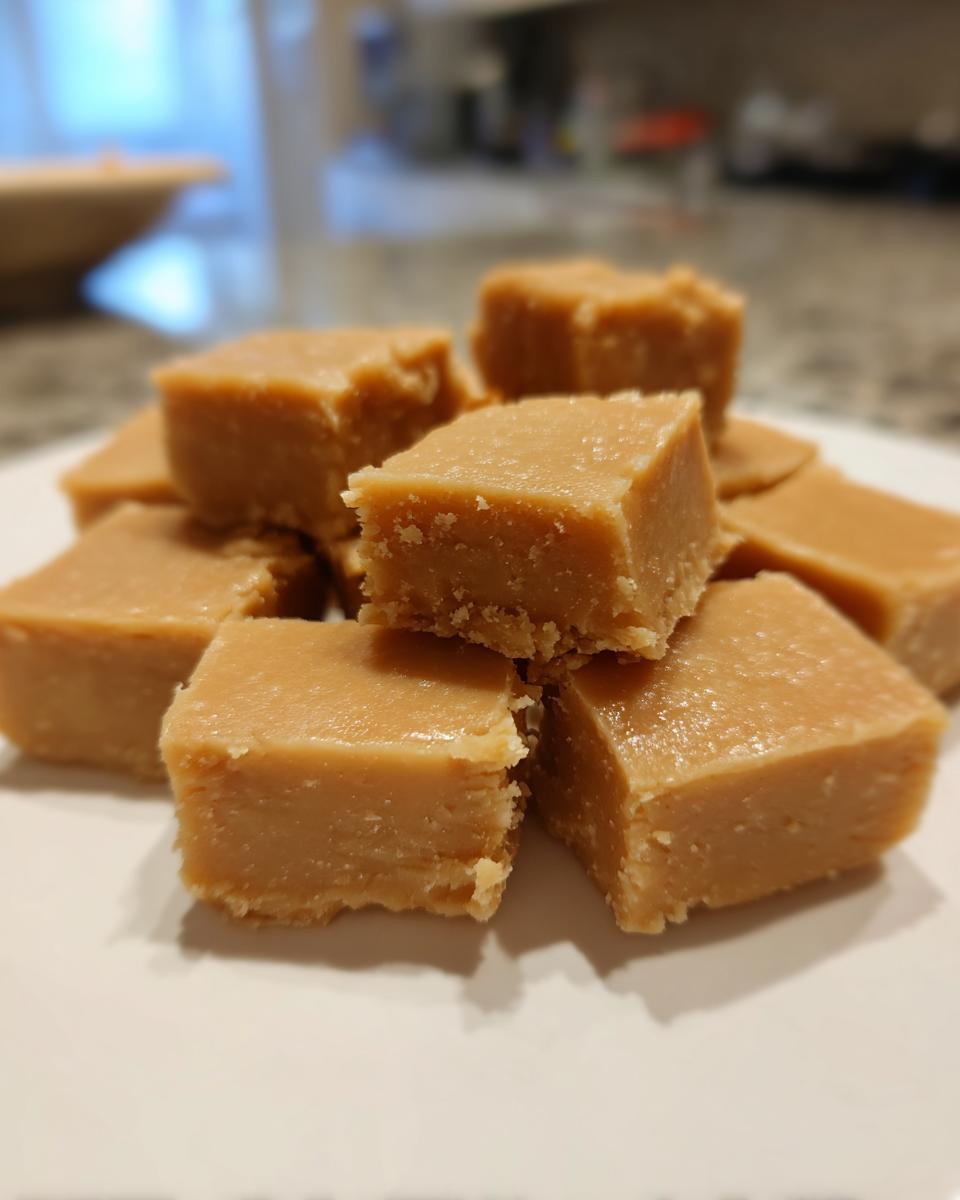
Once your beautiful slab of peanut butter fudge is cut into those promised 36 little squares, you’re going to wonder how they lasted this long. Honestly, this stuff disappears fast!
The great news about this Easy Homemade Fudge is that it stores like a dream. You don’t need to chill it once it’s set, but keeping it cool helps maintain that perfect structure. Pop your squares into an airtight container. I like to use layers of wax paper between the layers of fudge so they don’t stick together, but if you’re eating it within a couple of days, it’s not a huge deal.
It will stay fantastic on the counter for up to a week, or you can pop it into the fridge for up to two weeks if you need it to last a little longer. And since there’s no reheating required—this fudge is designed to be enjoyed cool and firm—it’s genuinely the easiest candy to keep on hand!
Frequently Asked Questions About This Quick Fudge Recipe
I knew you’d have questions! When a recipe is this simple and delivers this much flavor, people always wonder if they missed a step or if they can make substitutions. Don’t worry, I love talking shop about making the best peanut butter fudge. Here are the biggest questions I get about this Quick Fudge Recipe.
Can I make this peanut butter fudge without sweetened condensed milk?
Technically, sure, you can try to rig something else up, but I wouldn’t recommend it if you’re chasing that dreamy texture! The sweetened condensed milk is the stabilizer here; it’s what gives us that guaranteed Creamy Fudge finish without the boiling required in older recipes. If you swap it out for regular milk or heavy cream, you’ll end up needing to stir and cook the sugar for ages, and those results are unpredictable. Stick to the can for this one!
How do I get perfectly clean cuts on my fudge?
This is a great question, especially if you’re planning on making Holiday Candy Making platters! While chilling is number one—make sure it’s fully firm, at least two hours—the real trick is the knife. Use a large, sharp knife. Before you make your first cut, run the blade under very hot tap water for about 10 seconds. Wipe it bone dry, and then press down firmly. The heat helps glide right through the fudge cleanly. Wipe and heat the knife between every couple of cuts, and your edges will look professional!
Is this considered a No Bake Fudge?
Yes, absolutely! This is one of my favorite No Bake Fudge recipes. We use the microwave (or very low stovetop heat) just to get the peanut butter and milk liquid enough to stir in the powdered sugar. We aren’t actually ‘cooking’ anything in the traditional sense, which means no worrying about candy temperatures past the boiling point. It’s quick, easy, and perfect for a hot day when you don’t want to turn on the oven!
Estimated Nutritional Data for This Classic Peanut Butter Dessert
Okay, let’s talk fuel! Because this peanut butter fudge is so simple, the nutrition is pretty straightforward—it’s mostly sugar and peanut goodness, as you’d expect from a perfect Classic Peanut Butter Dessert.
Keep in mind, these numbers are just estimates for one square when divided into 36 pieces. If you cut them bigger or smaller, or if you use slightly different brands of peanut butter, things will shift a bit. But this gives you a great ballpark idea.
- Serving Size: 1 square
- Calories: 165
- Fat: 8g
- Carbohydrates: 22g
- Protein: 4g
This is a rich treat, no doubt about it, but totally worth it!
Share Your Experience Making peanut butter fudge
Now I’ve shared all my secrets for getting that perfect, velvety smooth texture, it’s your turn! I truly believe food tastes better when it’s made with a little bit of joy and a whole lot of confidence. I want to hear all about your batch of peanut butter fudge!
Did you try the microwave method, or did you stick to the gentle stovetop heating I mentioned? Did you cut them into perfect squares, or did you just sort of… carve off a wedge? (No judgment here; I’ve definitely done that too when I needed a taste test before chilling.)
Please drop a comment below and let me know how it turned out! Rate this Quick Fudge Recipe and tell me what you served it with. If you snapped a picture of your finished, creamy squares, tag me online! It means the world to me to see my road-tested recipes landing perfectly in your real-life kitchens.
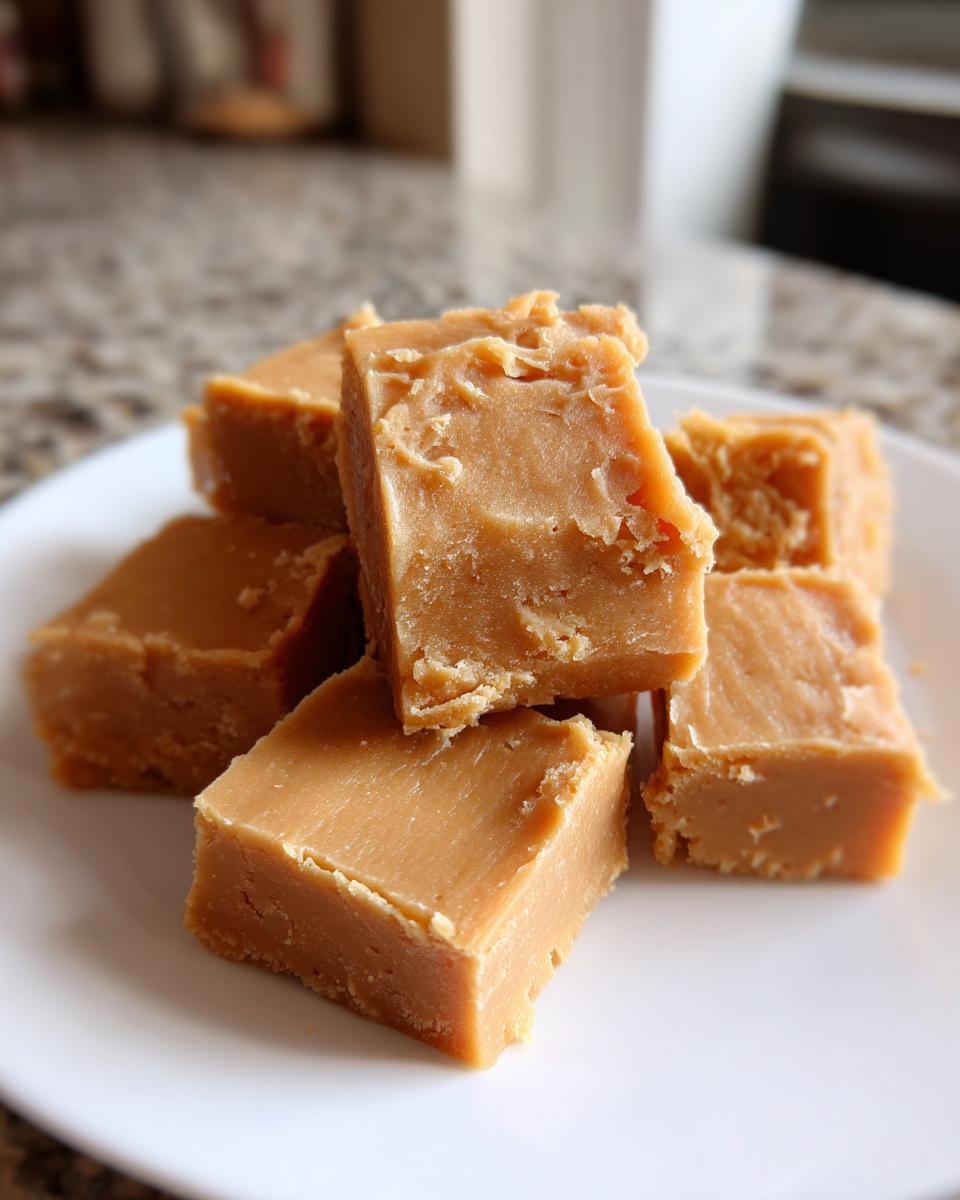
PrintQuick and Creamy 3-Ingredient Peanut Butter Fudge
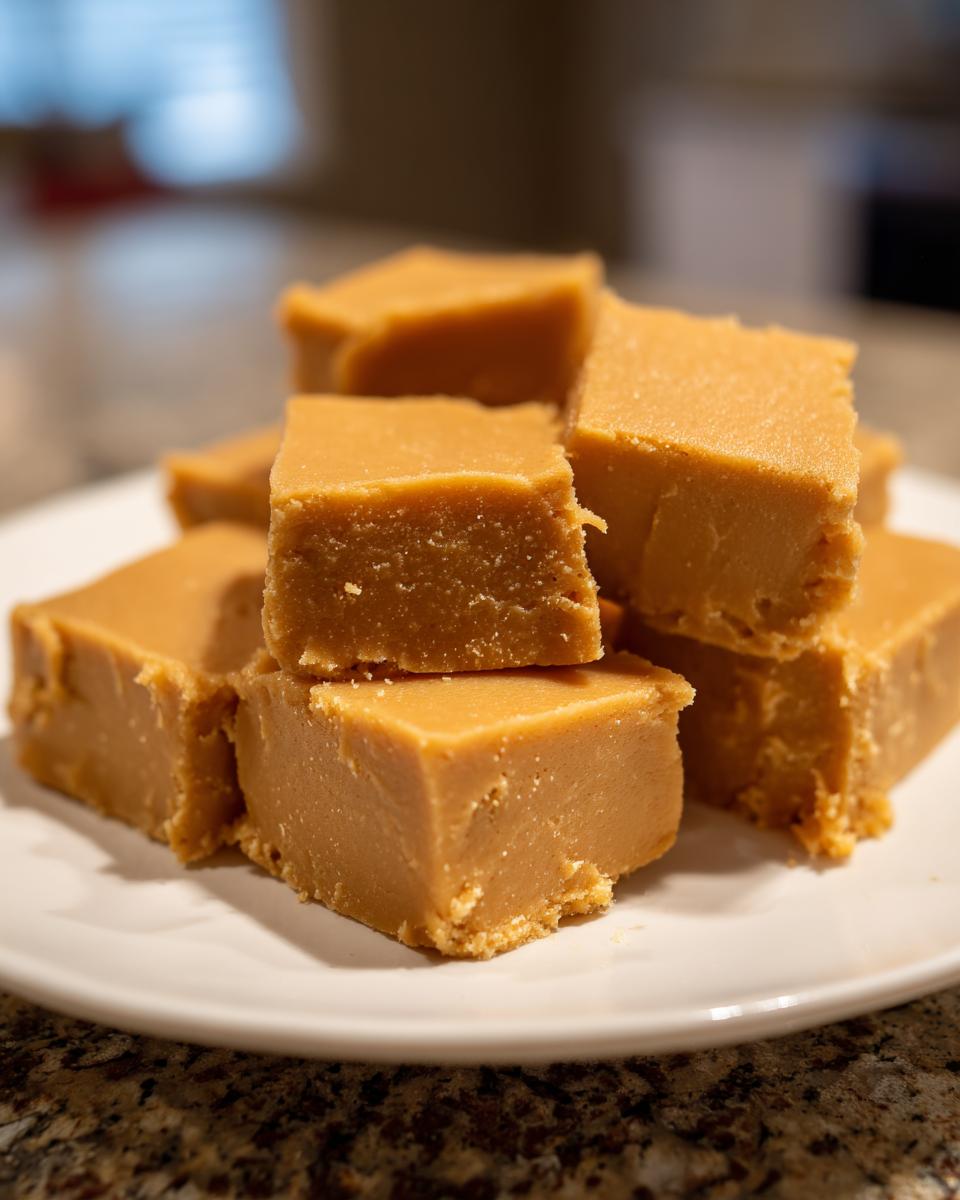
You can make this smooth, melt-in-your-mouth peanut butter fudge using only three simple ingredients. It sets up perfectly for easy slicing and is ideal for holiday candy making or quick dessert gifts.
- Prep Time: 10 min
- Cook Time: 2 min
- Total Time: 2 hours 12 min
- Yield: 36 pieces 1x
- Category: Dessert
- Method: No Bake
- Cuisine: American
- Diet: Vegetarian
Ingredients
- 1 (14 ounce) can sweetened condensed milk
- 1 cup creamy peanut butter
- 3 cups powdered sugar
Instructions
- Line an 8×8 inch baking pan with parchment paper, leaving an overhang on two sides for easy removal. Lightly grease the paper.
- In a large microwave-safe bowl, combine the sweetened condensed milk and peanut butter. Microwave on high for 60 seconds.
- Stir the mixture until it is completely smooth. If lumps remain, microwave for another 15 seconds and stir again until smooth.
- Gradually add the powdered sugar to the peanut butter mixture, stirring until fully combined. The mixture will become very thick.
- Press the fudge mixture evenly into the prepared baking pan. Use a spatula or the back of a spoon to smooth the top.
- Refrigerate for at least 2 hours, or until the fudge is firm enough to cut.
- Lift the fudge out of the pan using the parchment paper overhang. Cut into 1-inch squares. Store leftovers in an airtight container.
Notes
- For a stovetop method, gently heat the condensed milk and peanut butter in a saucepan over low heat, stirring constantly until smooth before adding the powdered sugar. Do not boil.
- If you want a richer flavor, you can use natural peanut butter, but you may need to stir longer to incorporate it fully.
- This easy homemade fudge makes a great addition to your holiday candy making plans.
Nutrition
- Serving Size: 1 square
- Calories: 165
- Sugar: 20
- Sodium: 75
- Fat: 8
- Saturated Fat: 2
- Unsaturated Fat: 6
- Trans Fat: 0
- Carbohydrates: 22
- Fiber: 1
- Protein: 4
- Cholesterol: 5