
Forget those grainy, oddly flavored mixes you grew up with, okay? When it comes to pure, decadent satisfaction, nothing beats making your own chocolate pudding from scratch. Seriously, this is the ultimate creamy homemade chocolate pudding scenario, and I promise you, it’s ready faster than you think—we’re talking minutes on the stovetop! This recipe is proof of what I learned back during my roadie days. Traveling across the country, I kept finding these incredible, comforting flavors in local diners and food trucks. It wasn’t about fancy stuff; it was about real flavor made with simple ingredients. That hunt taught me how to make truly great food accessible, and this quick recipe is the best example of that philosophy. I want that same delicious, fuss-free joy in your kitchen. Come see how easy it is to get that perfect texture. If you want to know more about how we approach real, accessible food here, check out our story over at YumDrizzle.
- Why This is the Best Chocolate Pudding Dessert You Will Make
- Simple Ingredient Pudding for Quick Chocolate Pudding Success
- How to Make Stovetop Chocolate Pudding Step-by-Step
- Tips for Success with Your Rich Chocolate Pudding
- Serving Suggestions for This Decadent Chocolate Dessert
- Storage and Reheating Instructions for Classic Chocolate Pudding
- Frequently Asked Questions About Chocolate Pudding
- Nutritional Snapshot of This Homemade Chocolate Pudding
- Share Your Creamy Chocolate Pudding Experience
Why This is the Best Chocolate Pudding Dessert You Will Make
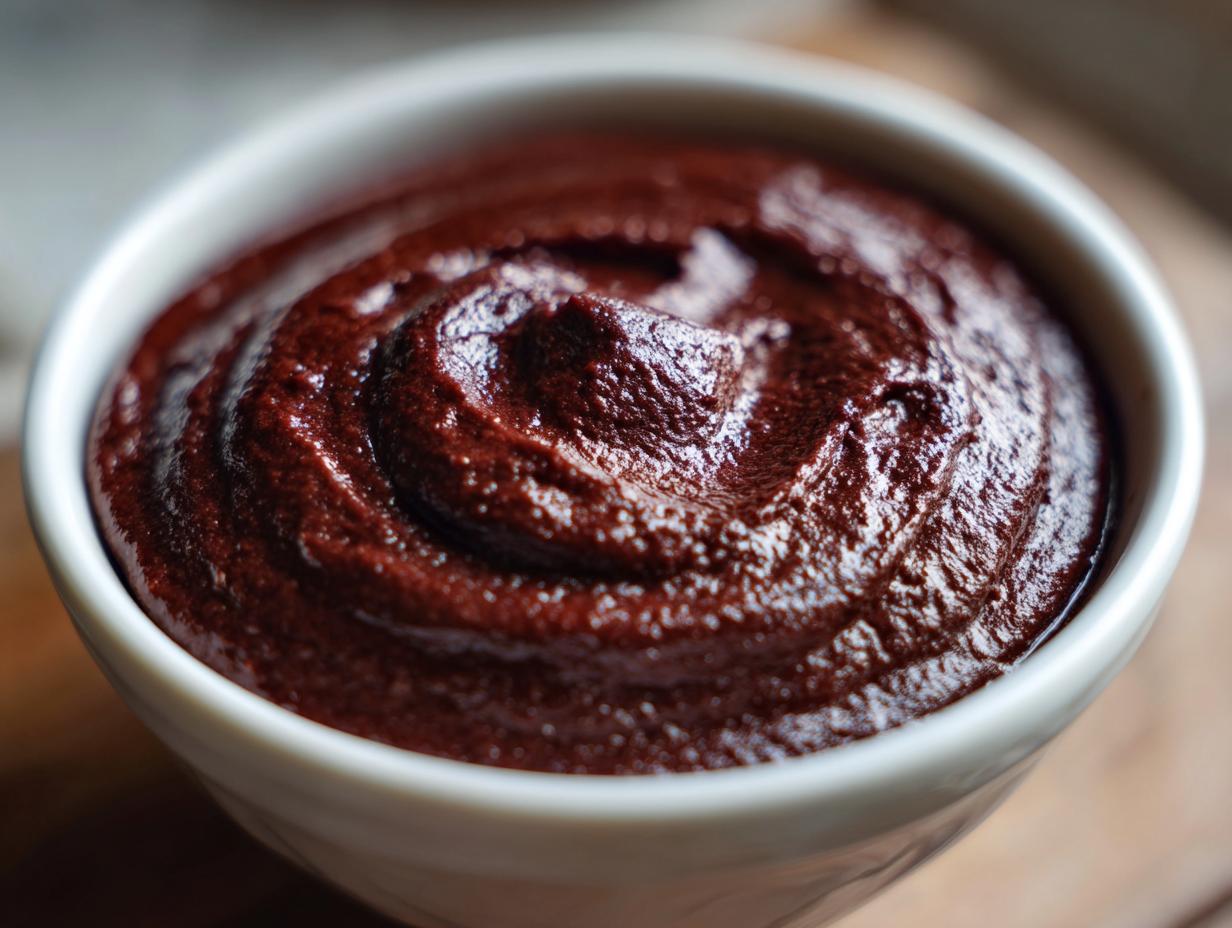
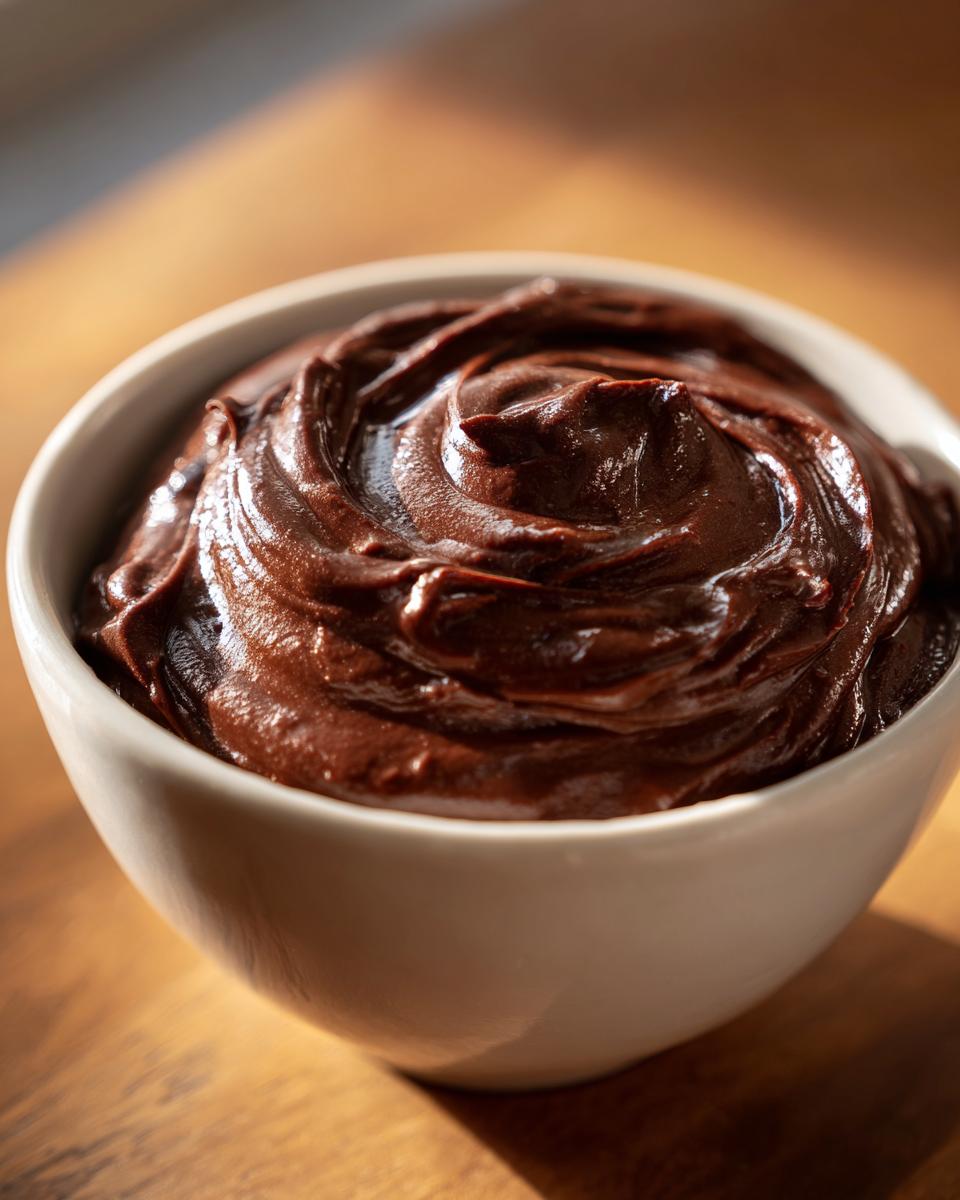
Listen, if you haven’t ditched the box mix, this is your sign to jump ship! This homemade chocolate pudding is simply miles ahead. I’m not kidding when I say this is the best chocolate pudding dessert you’ll ever scrape out of a bowl. It’s so creamy chocolate pudding because we harness the power of cornstarch—it cooks up fast and thick, something those powdery mixes just can’t replicate. Plus, the flavor? It’s intensely rich chocolate pudding that tastes like you spent all day on it, when really, you spent maybe 15 minutes stirring! That home-cooked magic is what we are all about here.
Achieving Velvety Chocolate Pudding Texture
The secret weapon for that unbelievably smooth, velvety chocolate pudding texture is twofold. First, whisking the cornstarch perfectly with the dry ingredients before adding milk prevents any lumps. Second, you have to keep stirring over medium heat until it boils! Once it boils, we kill the heat and immediately whisk in that final pat of butter. That butter melts in, adding a gorgeous sheen and mouthfeel that makes it decadent. It’s a quick trick that elevates this from good to unforgettable.
Simple Ingredient Pudding for Quick Chocolate Pudding Success
I want you to look at this list and feel zero intimidation. This is the beauty of a true chocolate pudding made from scratch—you probably have everything sitting in your pantry right now! There’s no weird extraction or specialized equipment needed here. We are focusing on that speedy, easy chocolate pudding recipe goal. Honestly, your active time for stirring is less than 20 minutes, total! That makes this a top-tier, quick sweet treat when that intense chocolate craving hits you hard. You can see how fast that is compared to running to the store, right? For ingredient inspiration on keeping things budget-friendly, check out how others make things easy over at Budget Bytes.
Ingredients for Homemade Chocolate Pudding From Scratch
Gather your simple supplies! These exact measurements are what get us that perfect, rich set every time. I always keep cocoa powder and cornstarch stocked just for these emergencies! Make sure your milk is cold before you start whisking it in—that’s the key to avoiding lumps right off the bat. We’re making a classic chocolate pudding here using just a few everyday items.
- 1/4 cup unsweetened cocoa powder
- 3/4 cup granulated sugar
- 1/4 teaspoon salt
- 1/4 cup cornstarch
- 2 cups whole milk
- 2 tablespoons unsalted butter
- 1 teaspoon vanilla extract
How to Make Stovetop Chocolate Pudding Step-by-Step
Okay, time to get cooking! This is where the magic happens for your stovetop chocolate pudding. Grab a medium saucepan—nothing nonstick required, just a steady bottom helps. You first need to mix all your dry ingredients—cocoa, sugar, salt, and cornstarch—together really well. That’s essential, trust me! Then, slowly pour in the whole milk while you whisk like crazy until it’s totally smooth. No dry pockets allowed! Heat it over medium, and this is the part where you can’t walk away. You have to stir constantly. You’ll see it start to get bubbly and thick, usually around the 8 to 10-minute mark. When it hits that full boil, keep stirring for one more minute. Here’s a Jaxson tip: letting it bubble that extra minute cooks out the starchy flavor from the cornstarch, giving you that deep, rich chocolate pudding flavor instead of something tasting flat. Once that minute is up, kill the heat!
As soon as you take it off the burner, toss in your butter and vanilla and whisk until it’s all shiny and smooth. Then, pour it right into your bowls. If you skip the next step, you’ll end up with that weird, rubbery skin on top that no one likes on their chocolate pudding. To stop that right now, grab some plastic wrap and press it directly onto the surface of the hot pudding. That barrier traps the steam and keeps the top silky. You need to chill this for at least two hours before it sets up right. Trust me, waiting is the hardest part!
Crucial Cooling Steps for Perfect Chocolate Pudding
That plastic wrap trick is total game-changer material, seriously. It’s the only way I get that dreamy texture and avoid that sad, dry layer on top. Once you’ve pressed thewrap tight against the surface in the bowls, it’s ready for the fridge. Don’t skimp on the time; you need at least two hours for this cornstarch-thickened mixture to fully grab hold and become that perfect, spoonable creamy chocolate pudding consistency. If you’re impatient (I get it!), just know it’ll still be a little loose if you pull it out early. Don’t forget you can look for other great tips on achieving the best results for a homemade version over at A Spicy Perspective.
Tips for Success with Your Rich Chocolate Pudding
Making this amazing chocolate pudding really comes down to keeping your eye on the prize—and your spoon in the pot! The biggest tip I can give you for success is heat management. If you crank that burner up too high trying to rush it, you risk scorching the bottom or getting lumps that won’t dissolve later. Keep it medium, and stir consistently, especially near the bottom where things like to stick. Don’t be afraid to pull the pan off the heat for 30 seconds if you see it threatening to erupt into a massive, hard boil; just keep that whisk moving. This technique ensures you get that perfect, rich chocolate pudding every single time you make it!
Ingredient Notes and Substitutions for Chocolate Pudding
While this recipe is amazing as is, I know people like options, especially if they’re trying to make a batch for someone watching their fat intake or aiming for a healthy chocolate pudding vibe. If you want to take this over the top—and I mean, *over the top delicious*—swap out half a cup of that whole milk for heavy cream. It gives the final product an unbelievable mouthfeel. If you’re looking at dairy-free swaps, whole oat milk is usually a great substitute for the milk, but you might need to increase your cornstarch by a teaspoon because non-dairy milks sometimes throw off the thickening balance slightly. Remember to stick to the full amount of sugar unless you are using a zero-calorie sweetener substitute!
Serving Suggestions for This Decadent Chocolate Dessert
Once your chocolate pudding is perfectly chilled and set, the real fun begins—the toppings! Because this recipe is so deeply flavorful, it honestly shines all on its own, but toppings make everything better, right? If you can’t wait for it to fully chill, you can absolutely serve it warm right out of the pot, almost like a thick, comforting sauce—it really hits that delicious brownie pudding recipe experience. For a cold version, though, you HAVE to try a great dollop of freshly whipped cream. I like to sprinkle a few dark chocolate shavings on top to channel that wonderful decadence you see in recipes like Ina Garten’s famous version, which you can check out sometime over at Tastty Treats Daily for inspiration. Fresh raspberries or sliced bananas are fantastic additions if you want a little brightness to cut through the richness of our chocolate pudding dessert. It just makes the presentation so much nicer!
Storage and Reheating Instructions for Classic Chocolate Pudding
Since this is homemade, storing your chocolate pudding correctly is super important to keep that velvety texture we worked so hard for! If you’ve sealed it tight with plastic wrap pressed right against the surface, it keeps beautifully in the fridge for about four days. Any longer, and you might notice a slight texture shift. If you decide you want to serve it slightly warm, don’t use the microwave—it gets patchy! Just scoop out the portion you need into a microwave-safe bowl and heat it up gently in 15-second bursts, stirring well between each session until it warms through evenly. Never try to bring the whole batch back to a boil; that will just ruin the texture we aimed for!
Frequently Asked Questions About Chocolate Pudding
I know when you’re whipping up a homemade chocolate pudding from scratch, sometimes little questions pop up. That’s totally normal! I’ve pulled together the most common things folks ask me when they try this recipe for the first time. If your question isn’t answered here, feel free to reach out using our contact page over at YumDrizzle!
Can I make this a quick chocolate pudding without chilling?
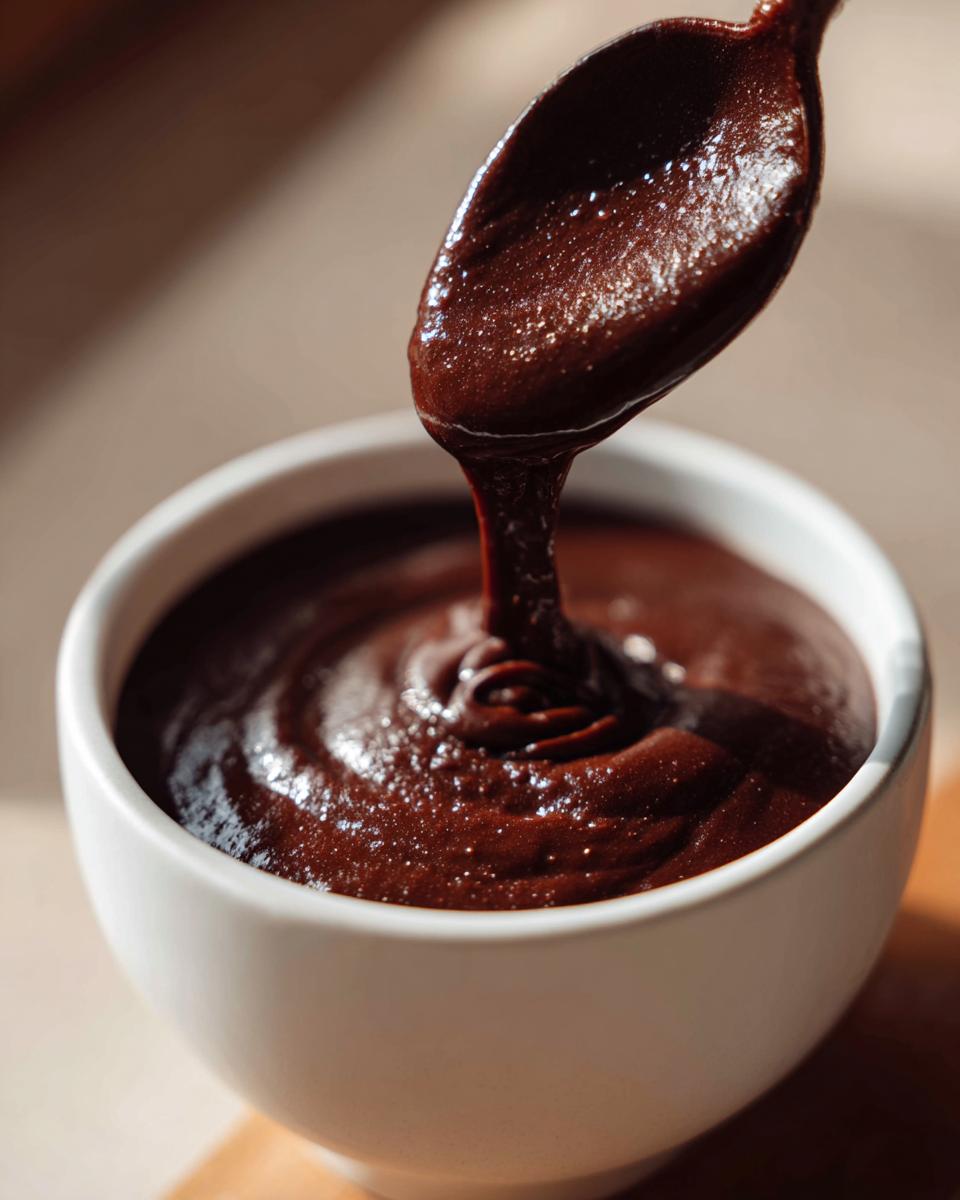
Oh, you absolutely can if you’re craving something right now! But here’s the thing: it won’t be the set, sliceable texture you expect from a true chocolate pudding. If you eat it straight off the stove, it acts more like a really thick, warm chocolate custard or sauce. Kind of like how you’d eat a really gooey, deeply chocolatey brownie pudding recipe warm with a spoon. It’s delicious, but it won’t firm up until it cools down completely. So, yes, it’s quick chocolate pudding if you skip the wait!
How do I ensure my chocolate pudding is not lumpy?
Lumps are the absolute enemy of a perfect dessert! The very best insurance against them is mixing your dry ingredients—especially that cornstarch—together first. Get them completely uniform before you even *think* about adding milk. Then, when you add the milk, pour it in slowly, about a half-cup at a time, whisking vigorously until each bit is absorbed before adding the next batch. Once it’s on the heat, you must stir constantly using that whisk in a figure-eight motion, making sure to scrape the bottom and the corners of the pan. That constant movement is what keeps your creamy chocolate pudding smooth!
Can this recipe be adapted for healthy chocolate pudding?
That’s a great question for those wanting a lighter option! Yes, you can certainly adapt this into a healthier version. Most folks swap the granulated sugar for maple syrup or honey. If you do that, start with a little less than the recipe calls for, because bottled sweeteners are often sweeter than white sugar. You’ll also want to use skim or almond milk instead of whole milk. Just a heads-up: non-dairy milks sometimes don’t thicken quite as well as dairy milk, so you might want to add an extra tiny bit—like a half teaspoon—of cornstarch to make absolutely sure you still get that signature set.
Nutritional Snapshot of This Homemade Chocolate Pudding
Now, since this is a classic, rich comfort food, we aren’t aiming for diet food here, but it’s good to know what you’re working with! I pulled together the estimates below, but remember these are just starting points for one serving, assuming standard ingredients. We used the whole milk version for these numbers, which is usually the richest. So, if you’re indulging in this amazing homemade chocolate pudding, just know it’s well worth every bit of that 280 calories for pure happiness!
- Serving Size: 1 serving
- Calories: 280
- Sugar: 35g (It’s rich dessert, after all!)
- Fat: 10g
- Protein: 6g
Share Your Creamy Chocolate Pudding Experience
I genuinely hope you loved making this! Getting that perfect, silky texture on your first try with a homemade chocolate pudding from scratch is such a satisfying moment. That’s why I always ask you guys to stick around and tell me how it went! Did you go for the plain version or load yours up with toppings?
Seriously, I want to see your creations! Take a picture once your creamy chocolate pudding has set and tag us on social media. If you had any little tweaks that worked perfectly for your kitchen—like a specific type of vanilla extract you love—please drop it in the comments below. Knowing what works for you helps everyone else who is just attempting their first batch of easy homemade desserts! We build our confidence right here in the comments section.
If you made this and loved it, would you mind leaving a quick rating for the recipe? Star ratings really help us know which recipes you want to see more of from my kitchen! And hey, if you ever have questions about ingredients or technique—or if you just want to share a victory—head over and check out our Privacy Policy page (just checking in on all the sharing!), but mostly, just leave a comment below. Happy scooping!
PrintThe Ultimate Creamy Homemade Chocolate Pudding: Rich, Easy, and Ready in Minutes
Make rich, velvety homemade chocolate pudding from scratch on the stovetop. This easy recipe uses simple ingredients and beats any boxed mix, delivering decadent chocolate flavor in under 20 minutes.
- Prep Time: 5 min
- Cook Time: 15 min
- Total Time: 20 min
- Yield: 4 servings 1x
- Category: Dessert
- Method: Stovetop
- Cuisine: American
- Diet: Vegetarian
Ingredients
- 1/4 cup unsweetened cocoa powder
- 3/4 cup granulated sugar
- 1/4 teaspoon salt
- 1/4 cup cornstarch
- 2 cups whole milk
- 2 tablespoons unsalted butter
- 1 teaspoon vanilla extract
Instructions
- In a medium saucepan, whisk together the cocoa powder, sugar, salt, and cornstarch until combined.
- Gradually whisk in the milk until the mixture is smooth and there are no lumps.
- Place the saucepan over medium heat. Cook, stirring constantly with a whisk, until the mixture thickens significantly and begins to bubble. This usually takes 8 to 10 minutes.
- Once boiling, continue to cook and stir for 1 minute to cook out the cornstarch taste.
- Remove the saucepan from the heat. Stir in the butter and vanilla extract until the butter is fully melted and incorporated.
- Pour the hot chocolate pudding into individual serving bowls or a single large dish.
- Press plastic wrap directly onto the surface of the pudding to prevent a skin from forming.
- Chill in the refrigerator for at least 2 hours, or until completely cold and set.
Notes
- For a richer flavor, substitute 1/2 cup of the milk with heavy cream.
- If you want a texture similar to brownie pudding, serve warm immediately after cooking, or chill and top with whipped cream and chocolate shavings.
- This recipe is naturally vegetarian.
Nutrition
- Serving Size: 1 serving
- Calories: 280
- Sugar: 35
- Sodium: 150
- Fat: 10
- Saturated Fat: 6
- Unsaturated Fat: 4
- Trans Fat: 0
- Carbohydrates: 45
- Fiber: 2
- Protein: 6
- Cholesterol: 25