
The calendar flips to October and suddenly the pressure is on to bring the *wow* factor to every get-together, right? I get it. Back when I was running around on tour, I learned that the best party food is often the stuff that looks like it took all day but actually took about twenty minutes of assembly. Trust me, that road-tested resourcefulness is baked into this recipe. That’s why I’m handing you the keys to the absolute easiest showstopper for your Autumn Entertaining: the incredible, make-ahead, visually stunning pumpkin cheese ball. Forget complicated dips; this savory bite is pure crowd-pleasing magic. If you want a centerpiece that disappears before anyone realizes it’s healthy, we need to talk about shaping this beauty. For another fantastic, easy pairing for your holiday board, check out my recipe for easy cranberry brie bites!
- Why This Easy Make-Ahead Pumpkin Cheese Ball is Your New Favorite Fall Appetizer
- Gathering Ingredients for Your Cheddar Cheese Ball Recipe
- Step-by-Step Instructions for the Pumpkin Shaped Food
- Expert Tips for the Best Pumpkin Cheese Ball Presentation
- Serving Suggestions for This Crowd Pleasing Dip
- Storage and Make Ahead Appetizer Guidelines for Your Pumpkin Cheese Ball
- Frequently Asked Questions About Making a Pumpkin Cheese Ball
- Nutritional Estimates for This Savory Fall Recipe
- Share Your Festive Pumpkin Cheese Ball Experience
Why This Easy Make-Ahead Pumpkin Cheese Ball is Your New Favorite Fall Appetizer
If you’re hosting this year, you want those fantastic Fall Appetizers that look like you labored over them for hours. Well, I’m letting you in on the secret: this cheese ball is nearly cheating! It’s a stunning focal point without ever needing to turn on the oven. It’s all about quick shaping and great flavor.
Festive Look, Minimal Effort
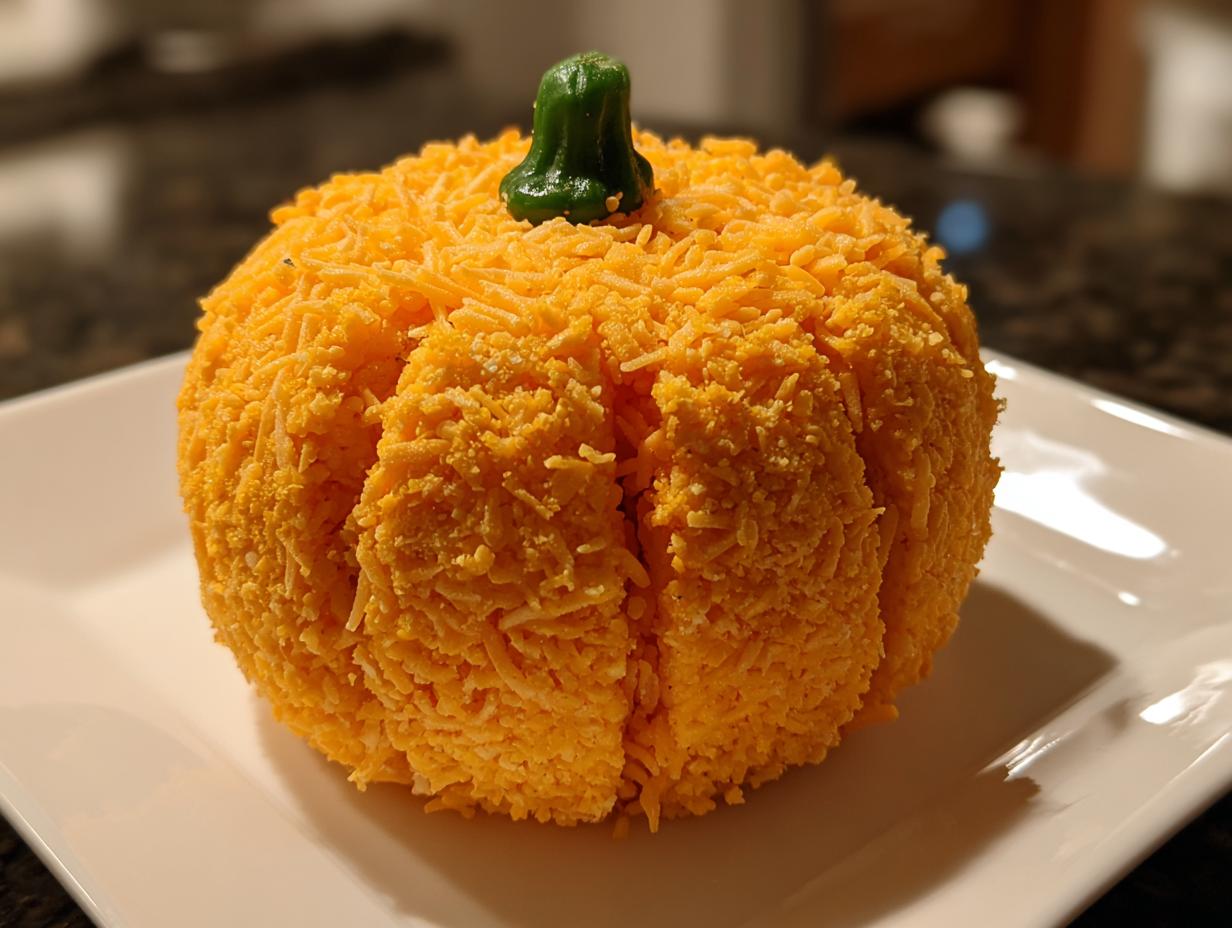
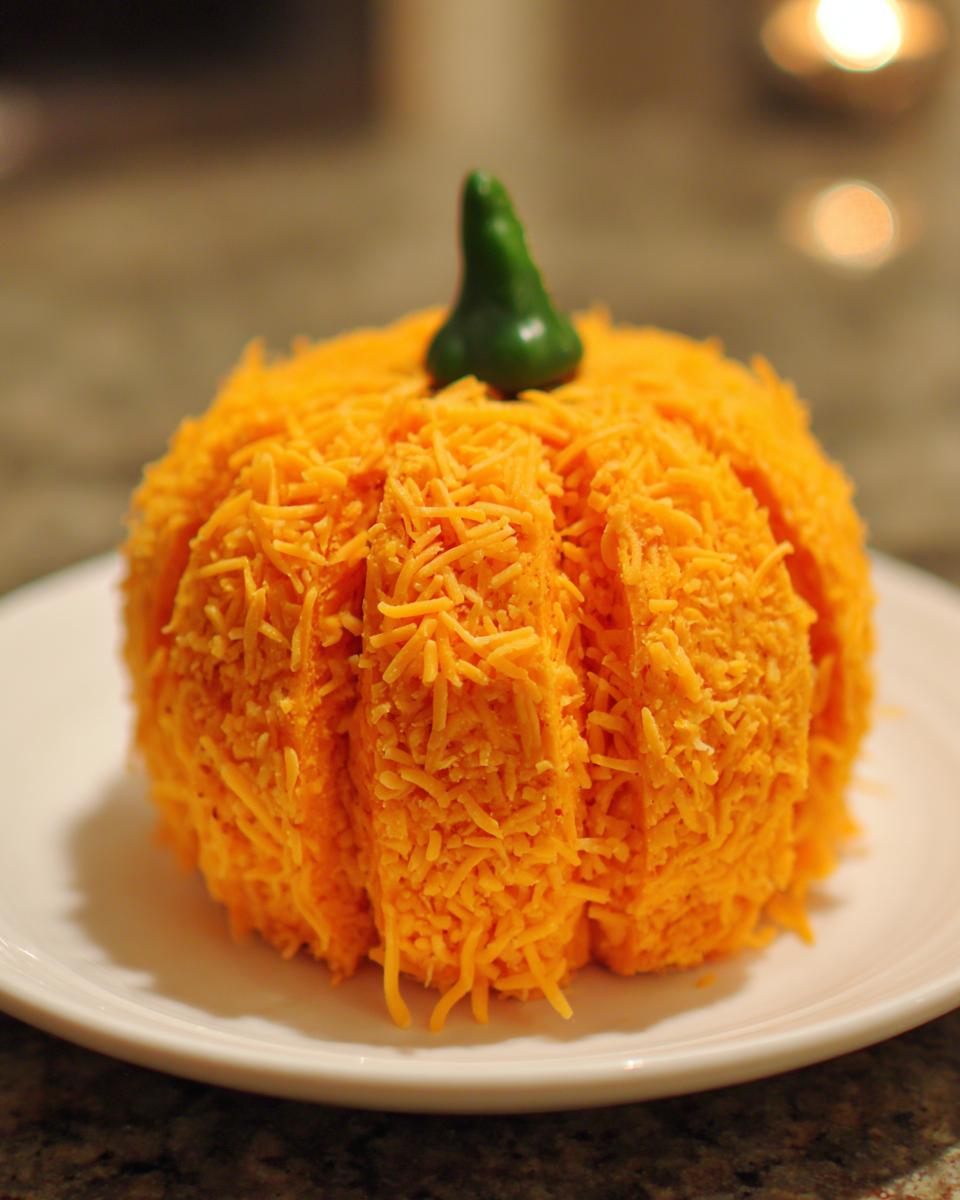
Seriously, the pumpkin shape comes together with just two things: kitchen twine and half a bell pepper. We use the twine to gently mimic those natural grooves you see on a real pumpkin. Once it chills and sets up, you pull the strings off, and bam! Instant showstopper. It’s the easiest way to level up your Pumpkin Shaped Food game.
Perfect Make Ahead Pumpkin Cheese Ball Strategy
This is my favorite benefit—it’s the ultimate Make Ahead Appetizer! You mix, shape, wrap, and chill. I often prep the whole pumpkin cheese ball two days before Thanksgiving, and it holds up perfectly. Just make sure when you wrap it tightly, you don’t press the twine down so hard that the cream cheese mixture cracks when it firms up. That little bit of patience during the chill time saves you so much stress on the actual day!
Gathering Ingredients for Your Cheddar Cheese Ball Recipe
Okay, let’s talk cheese. I want you using that good, sharp cheddar—don’t skimp here because that’s where the flavor really pops! Since this is a Cheddar Cheese Ball, precision matters, especially with the cream cheese being perfectly softened. When you’re assembling your setup, make sure you have everything separated. We’re using simple grocery store items to create something spectacular. If you want another amazing dip to put right next to this one, you absolutely have to try my easy beer cheese dip!
- 16 ounces cream cheese, gotta be good and soft
- 3 cups sharp cheddar cheese, finely shredded, and we’re dividing this up, so keep an eye on that!
- 1/2 cup green onion, really fine chop on these guys
- 1 packet (1 ounce) ranch seasoning mix—the whole thing adds that secret zing
- 1/2 cup chopped pecans or you can go heavy on the extra shredded cheddar for the coating
- 1 small orange or green bell pepper (the natural stem is the best look!)
- Twine or kitchen string for making those beautiful pumpkin lines
Step-by-Step Instructions for the Pumpkin Shaped Food
This is where the magic happens, folks. Don’t let the shape intimidate you; this process is really just a couple of quick mixing sessions followed by some artistic tying—totally achievable, even if you’re juggling juggling kids and a holiday playlist. Pay close attention to the chilling time because that’s the secret to keeping that gorgeous Pumpkin Shaped Food looking pristine when you serve it. If you need a break after mixing, maybe check out my tips for easy pizza sliders first!
Mixing the Creamy Cheese Dip Base
First things first: make sure that cream cheese is soft—I mean, *really* soft. If it’s cold, you’ll struggle to get a truly smooth base, and nobody wants lumps in their dip. Just whip the softened cream cheese together with 1 1/2 cups of that sharp cheddar, all the green onions, and the entire ranch seasoning packet. Mix it until it’s homogenous and creamy. No streaks allowed!
Forming and Texturing Your Pumpkin Cheese Ball
Next, you’ll scoop that mixture out and shape it into a nice round ball. That’s Step 2! Now, pour the remaining cheddar—or maybe you chose nuts—onto a plate and roll your base until it’s completely coated. This is where we get sculptural. Take about four long strings of twine, center the ball on plastic wrap, and tie them evenly around the ball. You need to pull them firmly enough to create those deep vertical ridges in your pumpkin cheese ball, but seriously, stop before you stress it and break the shape. That’s it for the shaping! Now wrap it tight and get it in the fridge for at least two hours. For more festive appetizer inspiration, I saw a gorgeous one over at Savory Orchard that uses a similar approach.

Expert Tips for the Best Pumpkin Cheese Ball Presentation
Getting that fantastic visual payoff for your pumpkin cheese ball takes just a couple of small, easy tricks once you’ve mastered the basic shape. When you chill this appetizer, the twine really sets in those ridges, making it look incredibly authentic. My biggest advice is about those coatings and the final touch—the stem!
Coating Options for Your Festive Cheese Platter
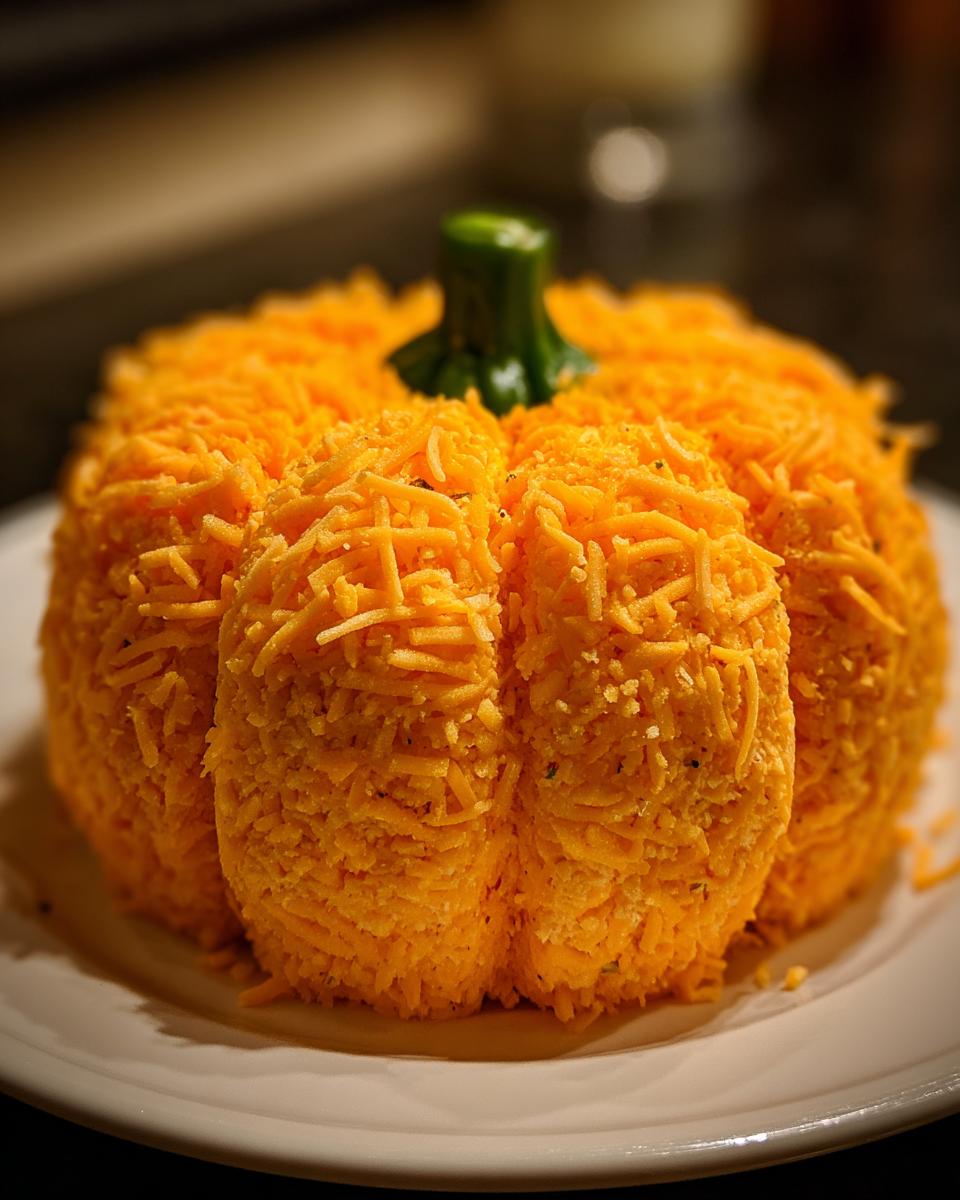
Most folks stick with the remaining shredded cheddar you saved, and that’s totally classic for a Cheddar Cheese Ball. If you want texture, roll the chilled ball in toasted, chopped pecans—that crunch is amazing against the creamy center. But hey, if you want intense color contrast for your Festive Cheese Platter, skip both! Try rolling the chilled ball in smoked paprika mixed with a little garlic powder. It gives you a deep, rustic orange color that screams autumn celebration! I saw a great example of using contrasting colors over at Dishes by Harry.
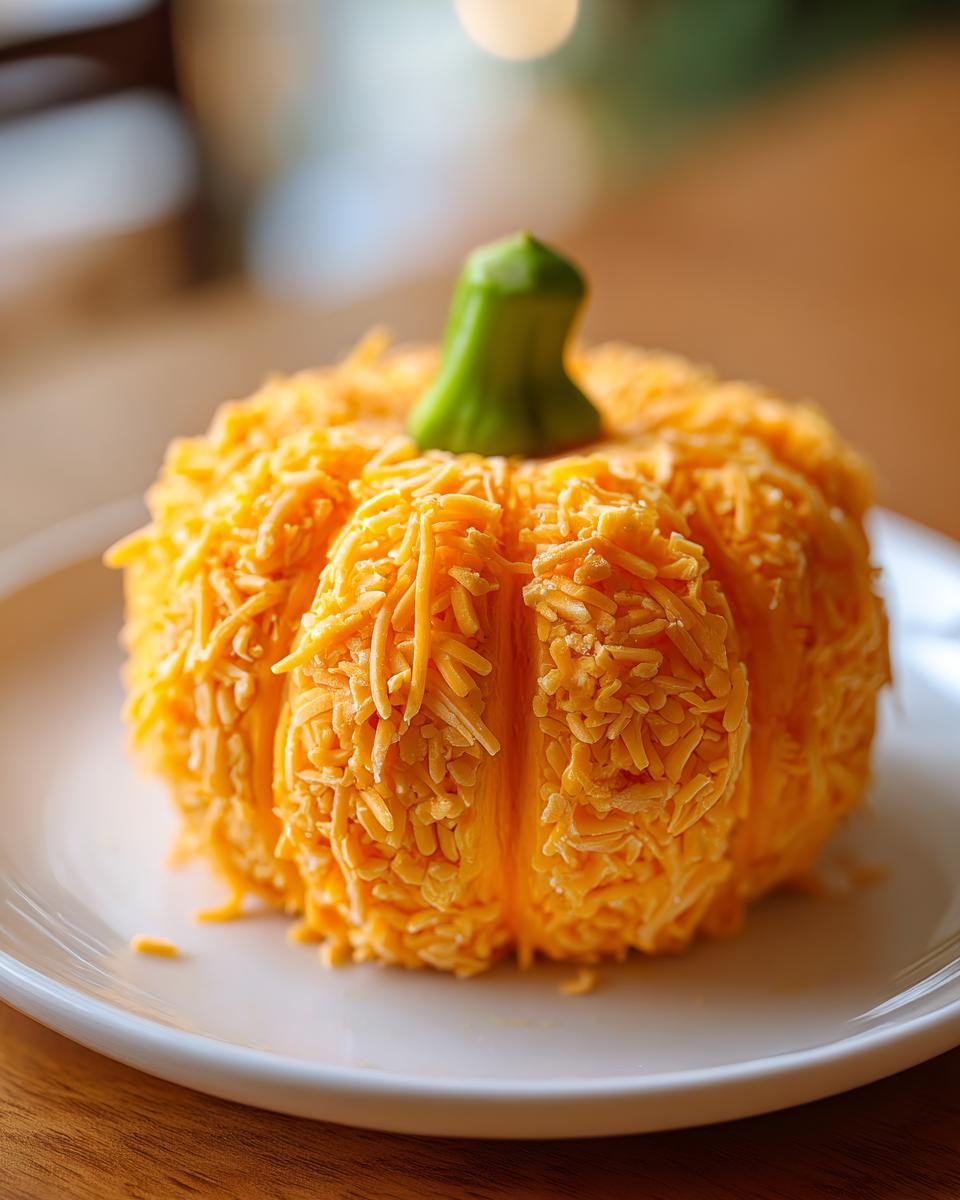
Also, remember that pepper stem timing! Wait until the absolute last minute to insert that little pepper piece. If you put it in before chilling, the cheese hardens right up against it, and it can look messy when you try to serve it. For more fun, easy bites, check out how I make goat cheese and honey bites!
Serving Suggestions for This Crowd Pleasing Dip
Okay, we’ve got this gorgeous, creamy pumpkin cheese ball ready, but what are we going to scoop it with? Since this is a dense, Crowd Pleasing Dip, not all crackers are created equal! You need sturdy stuff to handle the weight of that cheesy goodness. I always make sure I have variety on my Festive Cheese Platter.
Go for sturdy rye crackers or those thick, crunchy pretzel thins—they won’t snap halfway through dipping. If you want to skip crackers entirely, slices of crisp Granny Smith apple or cool cucumber rounds are absolutely fantastic against the savory ranch and cheddar mix. The slight sweetness of the apple is just a perfect pairing. If you need more inspiration for your spread, you can never go wrong with my seven layer dip recipe right next to it!
Storage and Make Ahead Appetizer Guidelines for Your Pumpkin Cheese Ball
Listen, the best part about this entire festive showstopper is that it’s designed for stress-free hosting. This is a premier Make Ahead Appetizer because it actually tastes better after it settles! I like to wrap my fully formed pumpkin cheese ball—twine and all—in plastic wrap, making sure that wrap is pulled down totally tight around the shape so it doesn’t absorb any weird fridge smells. You can easily keep it tucked away in the refrigerator for up to two full days.
When you’re ready to serve, just unwrap it and carefully snip off the twine to reveal those beautiful ridges. For the best texture, pull it out about twenty or thirty minutes before the party starts so it’s not rock hard straight from the cold. If you’re looking ahead to your next slow-cooking adventure, you might want to check out my easy slow-cooker spiced pear butter! People always rave about how great this savory dip tastes years later; you can read more about how long it keeps on Taylor’s Recipe site, too: Taylor’s Recipe.
Frequently Asked Questions About Making a Pumpkin Cheese Ball
I know you might have a few last-minute worries before you put this on your table for your Thanksgiving Appetizers spread, but don’t sweat it! Most of the questions I get are about keeping things easy and food-safe, which is smart thinking when you’re planning a big party.
Can I use different cheeses in this Cheese Ball Recipe?
You absolutely can play around a bit! I encourage it, actually, because that’s how we make things our own. But listen, if you want that perfect savory balance against the ranch seasoning, you really need that sharp cheddar as your main foundation. It just cuts through the creaminess so well. Pepper jack is a fun swap if you want a little heat, but remember, a super mild cheese won’t give you that punch you need in a rich No Bake Appetizer like this!
How long can the pumpkin cheese ball sit out at a party?
This is the most important food safety question! Because this is cream cheese and dairy-heavy, it should never sit out at room temperature for more than two hours total. After that, bacteria start thinking about having a party of their own, and we don’t want that! If you’re hosting a long event, keep the pumpkin cheese ball chilling until just before guests are ready to dig in, or perhaps set it out in two smaller batches. Don’t forget great drinks to go with it—you should check out my crowd-pleasing Thanksgiving punch!
Nutritional Estimates for This Savory Fall Recipe
Now, I always tell people to forget the calculator when you’re having fun at a party, but I know some of you need the rough idea! Since this is such a rich and creamy Savory Fall Recipe, these numbers are based on 1/12th of the ball, assuming you used cheddar for the coating. Please know that these are just estimates, because I’m measuring by heart most days, not by the gram!
- Serving Size: 1/12 of ball
- Calories: 180
- Fat: 16g (with 10g saturated)
- Protein: 8g
- Carbohydrates: 2g
- Sodium: About 350mg (Ranch mix adds a bit!)
Share Your Festive Pumpkin Cheese Ball Experience
Alright, that’s it! You’ve made the showstopper, your house smells amazing, and I guarantee that pumpkin cheese ball is already gone five minutes after walking in the door. Now, I absolutely live for hearing about your party successes! Did the kids try to touch the twine before you took it off? Did someone manage to snag the pepper stem before the party even started? Let me know!
Drop a rating right here on the recipe card—five stars if you think it deserves to be a permanent fixture on your Thanksgiving Appetizers rotation. Leave me a comment below telling me what you served with it, or if you decided to get spicy and try one of the other coating ideas. I always check in with my readers, and if you’ve got a picture of your beautiful creation, please feel free to tag us up on social media! We love seeing your work. If you need to reach out directly with a burning question, you can always send me a note through the contact page. If you need some last-minute inspiration, check out a classic preparation idea from Number 2 Pencil right here: Number 2 Pencil.
PrintEasy Make-Ahead Pumpkin Shaped Cheese Ball
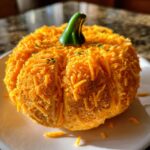
Create this visually impressive, creamy Pumpkin Cheese Ball for your fall gatherings. It uses simple ingredients like cheddar and ranch seasoning and is perfect for Halloween or Thanksgiving entertaining.
- Prep Time: 20 min
- Cook Time: 0 min
- Total Time: 20 min
- Yield: 12 servings 1x
- Category: Appetizer
- Method: No Bake
- Cuisine: American
- Diet: Vegetarian
Ingredients
- 16 ounces cream cheese, softened
- 3 cups sharp cheddar cheese, finely shredded, divided
- 1/2 cup green onion, finely chopped
- 1 packet (1 ounce) ranch seasoning mix
- 1/2 cup chopped pecans or extra shredded cheddar for coating
- 1 small orange or green bell pepper (for the stem)
- Twine or kitchen string
Instructions
- In a large bowl, combine the softened cream cheese, 1 1/2 cups of the shredded cheddar cheese, the chopped green onion, and the entire packet of ranch seasoning mix. Mix well until everything is fully incorporated and smooth.
- Shape the cheese mixture into a round ball. This will be the base of your pumpkin.
- Place the remaining 1 1/2 cups of shredded cheddar cheese (or pecans, if using) on a plate or shallow dish. Roll the cheese ball in the coating until it is completely covered.
- Take four pieces of twine, each about 12 inches long. Center the ball on a piece of plastic wrap. Tie the twine around the ball, spacing the strings evenly to create vertical pumpkin ridges. Pull the twine tight enough to indent the surface but not so tight that the ball breaks.
- Wrap the cheese ball tightly in plastic wrap and refrigerate for at least 2 hours, or up to 2 days, to allow it to firm up and hold its shape.
- Before serving, remove the plastic wrap and twine. Cut the small bell pepper in half lengthwise, then cut a small piece from the top section to resemble a stem. Insert this pepper piece into the top center of the cheese ball.
- Serve immediately with crackers, pretzels, or fresh vegetables.
Notes
- You can make this cheese ball up to two days ahead of time. Keep it wrapped tightly in the refrigerator.
- For a spicier kick, add 1/4 cup of finely diced jalapeno to the cheese mixture.
- Serve this festive cheese platter item with sturdy crackers, pretzel crisps, or sliced cucumbers.
Nutrition
- Serving Size: 1/12 of ball
- Calories: 180
- Sugar: 1
- Sodium: 350
- Fat: 16
- Saturated Fat: 10
- Unsaturated Fat: 6
- Trans Fat: 0.5
- Carbohydrates: 2
- Fiber: 0
- Protein: 8
- Cholesterol: 50