
Look, I get it. After a big meal—Thanksgiving, Christmas, or just a tough Tuesday—you want a dessert that feels special without demanding you spend hours hovering over a stove. That’s exactly why I fell head-over-heels for making beautiful poached pears. This recipe for Spiced Red Wine Poached Pears is my go-to because it proves that gourmet flavor doesn’t have to be complicated. We’re talking about creating these perfectly tender, jewel-toned fruits bathed in wine and spices with almost no actual hands-on work. It’s the philosophy rooted in what I learned traveling—that great flavor comes from passion and resourcefulness, which is what we aim for here at YumDrizzle. You can check out more about why we focus on accessible food over on our About Page.
- Why This Spiced Red Wine Poached Pears Recipe Works (Easy Dessert Recipe)
- Gathering Ingredients for Your Poached Pears
- How to Prepare Elegant Poached Pears on the Stovetop
- Tips for Achieving Perfect Poached Pears
- Serving Suggestions for Your Warm Spiced Pears
- Storage and Make-Ahead Tips for Poached Pears
- Frequently Asked Questions About Poached Pears
- Nutritional Snapshot of These Poached Pears
- Share Your Experience Making This Gourmet Fruit Dessert
Why This Spiced Red Wine Poached Pears Recipe Works (Easy Dessert Recipe)
This is the recipe I hand out when someone says they’re scared of making dessert. Why does it always turn out stunningly, even for beginners? It’s all about controlling the environment. We aren’t baking here; we are gently coaxing flavor into the fruit. It’s elegant enough for a holiday table, but it’s really just fruit and wine hanging out together until they get soft and delicious.
- This is a true easy dessert recipe—set it, forget it (mostly), and let the stove do the heavy lifting.
- The red wine gives you that incredible, deep jewel tone color without needing tiny drops of food coloring.
- The spices are simple, warm, and comforting, making it perfect for Fall and Winter gatherings.
Creating Tender Poached Pears Every Time
When you’re aiming for those melt-in-your-mouth results, the pear you pick matters more than anything. Don’t grab those rock-hard pears that look perfect in the grocery bin. You want firm, but not rock-hard, like Bosc or Anjou. If they are too ripe, they turn to mush too fast. If they are too firm, you boil them forever! We are going for that perfect spot where you get genuinely tender poached pears that hold their shape beautifully when you lift them out.
Gathering Ingredients for Your Poached Pears
You don’t need a fancy pantry to make magic! For these wonderful red wine poached pears, we are keeping the ingredient list short but impactful. This small ensemble really lets the fruit shine through. When you gather these items, remember we use the whole orange—zest and juice—to really brighten up that deep wine flavor we’re building.
- 4 firm pears (Bosc or Anjou recommended)
- 1 bottle (750 ml) dry red wine (like Merlot or Cabernet Sauvignon)
- 1 cup granulated sugar
- 1 vanilla bean, split lengthwise
- 1 orange, zested and juiced
- 2 cinnamon sticks
- 4 whole cloves
Trust me, that splash of vanilla bean seeds scraped right into the pot makes all the difference between a good dessert and a truly gourmet fruit dessert.
How to Prepare Elegant Poached Pears on the Stovetop
When you’re ready to make your beautiful, jewel-toned poached pears, you’ll find the stovetop method is my favorite—it gives you the most control. It’s really just a waiting game for most of this recipe, but those waiting moments are where the flavor develops. I learned the hard way when I first tried this: never rush the simmer! If you boil the wine too hard, you shock the fruit, and it ends up tough around the edges. Gentle heat is your best friend here for achieving that perfectly tender result. Remember how we talked about making homemade sauces? This is similar; you have to respect the reduction time.
Preparing the Pears and Poaching Liquid
First things first: peel those pears, but don’t toss the stems! Keeping those stems on adds a touch of class when you serve them later. If you want them to stand up nicely in a bowl, just shave a thin sliver off the bottom—don’t tell anyone it’s my trick, though! You want to be careful peeling so you don’t bruise the fruit.
In your pot, combine everything liquid and spicy: the wine, sugar, spices, and that beautiful vanilla bean. This is where you scrape out all those tiny black seeds right into the wine; don’t waste any of that flavor! Heat this gently until you stir and feel that sugar completely dissolve. If you were making something like homemade strawberry milk, you’d worry about the milk curdling, but here, we just worry about the sugar! Once it’s dissolved, it’s time to nestle the pears right in.
Simmering and Reducing the Poached Pears Syrup
Once the pears are in and mostly covered by the wine, drop the heat down low. I love placing a circle of parchment paper right on top of the liquid—we call it a cartouche—it keeps the tops of the pears moist without letting them get too aggressively cooked. Now, let them bubble very softly for about 25 to 40 minutes until a knife slides in easily. This is the secret to how to poach pears perfectly without fuss.
When they are tender, pull the fruit out and set them somewhere warm. Now, for the payoff! Turn the heat up on that leftover wine bath. Let it boil hard, uncovered, for about 10 to 15 minutes until it thickens up significantly. That glorious, sticky reduction is your flavorful Poached Pears Syrup, and honestly, it’s better than any store-bought sauce you can find. Make sure you watch it so it doesn’t scorch!
Tips for Achieving Perfect Poached Pears
Learning how to poach pears perfectly is really about knowing when to step back and let the gentle heat do its job. It’s not a race! If you’re worried about undercooking or overcooking, try this: check them around the 25-minute mark. If a paring knife meets a little resistance, let them keep simmering. That slight firmness means they will hold up beautifully when you pull them out to reduce the syrup, which is key if you want an elegant dessert recipe that doesn’t weep onto the plate.
When I’m not using red wine, I sometimes pivot based on what I have on hand or what kind of mood I’m in. It’s all about resourcefulness, right? That spirit keeps things fun in the kitchen!
Poached Pears Variations (White Wine or Slow Cooker Pears)
If you aren’t sold on the deep color of the red wine—maybe you want a lighter, brighter flavor for a spring event—don’t even sweat it. You can swap it out for something like a sweet Moscato or even just simple white grape juice if you have kids around. That just turns it into a beautiful vanilla poached pears situation, though you’ll need to add more sugar since white wine isn’t as tannic.
And for my friends who hate the stovetop cleanup as much as I sometimes do? You can absolutely put these into a slow cooker! Just toss everything in on low, and they’ll cook slow and low all afternoon. Just remember that the reduction will need to happen on the stovetop afterward, or you’ll end up with soup instead of syrup.
Serving Suggestions for Your Warm Spiced Pears
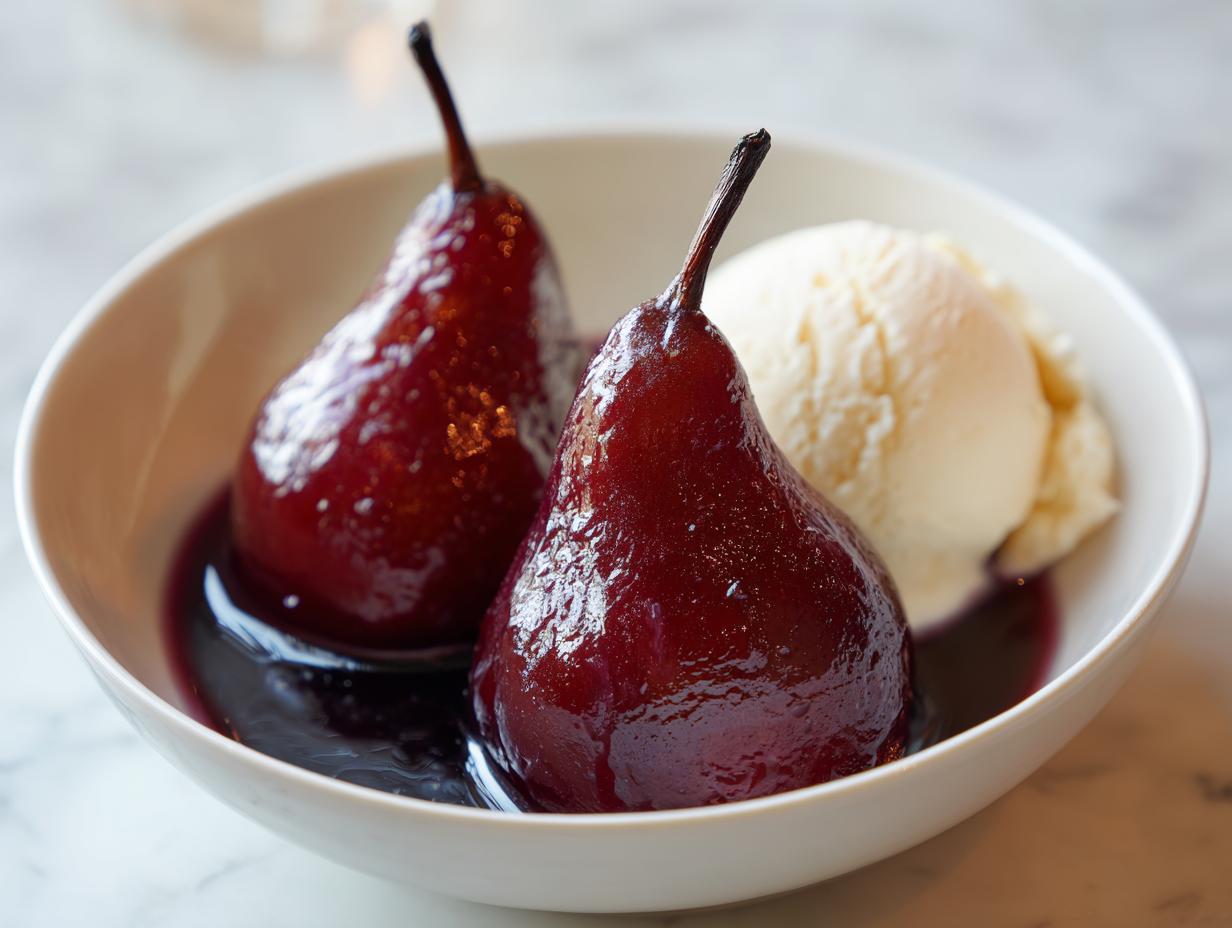
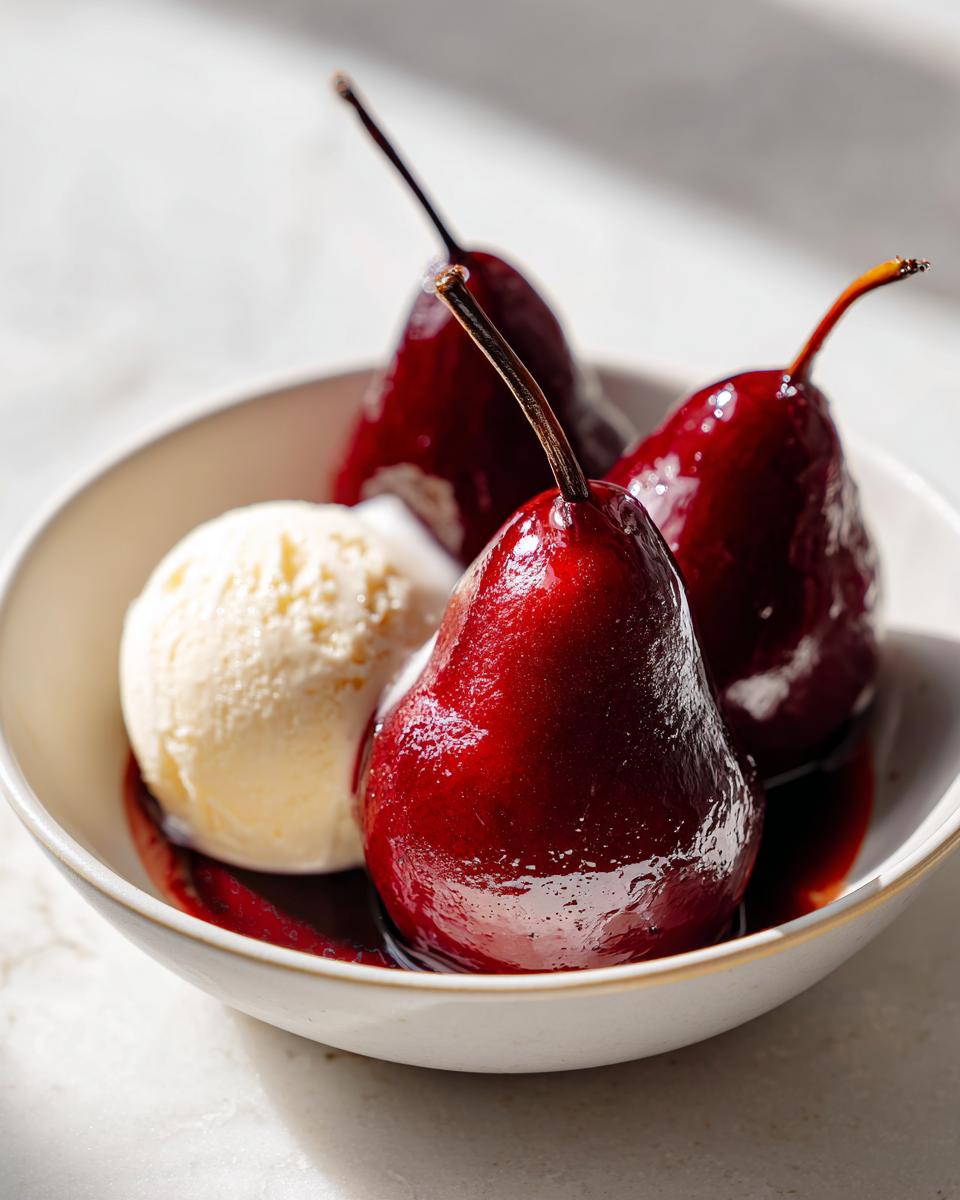
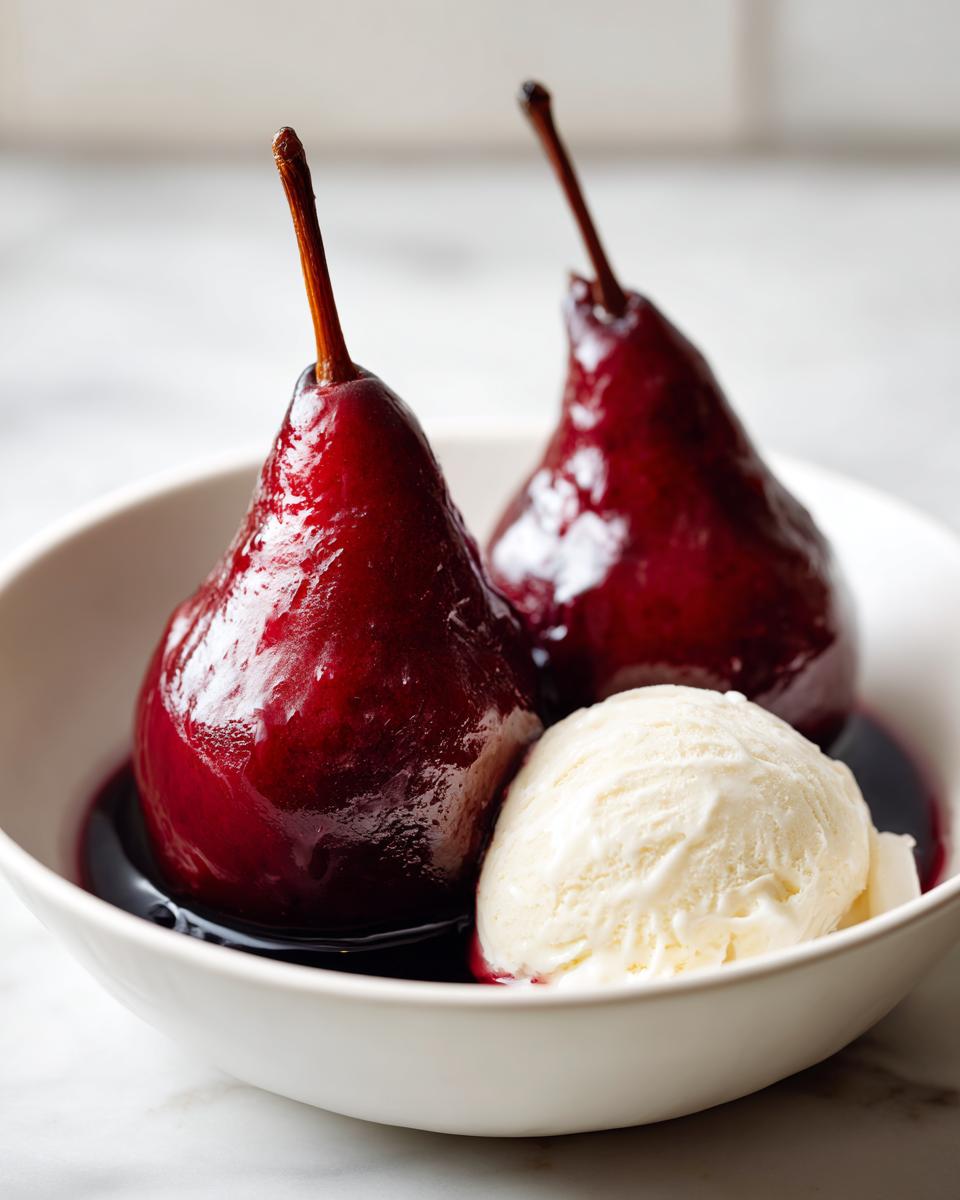
Once you pull these vibrant, jewel-toned beauties out of the pot, the real fun begins: plating! The beauty of these warm spiced pears is how incredibly adaptable they are, yet they look like they took hours. For the ultimate crowd-pleaser, you have to serve them warm—that cozy temperature contrasts beautifully with something cold.
My go-to, non-negotiable pairing is a big scoop of good quality vanilla ice cream. The creamy coldness melting into that spiced wine syrup is pure heaven—seriously, try the poached pears with ice cream combination; you won’t regret it!
If you’re feeling extra decadent, skip the ice cream and drizzle that thick, reduced syrup right over the top. Or, if you’ve already made a batch of simple caramel sauce (we have a super easy one here), that adds another layer of sticky sweetness. Either way, you’ve got a dessert that looks like it belongs on a fancy menu, but it originated right on your stovetop!
Storage and Make-Ahead Tips for Poached Pears
Here is my favorite part about making beautiful fruit like these poached pears: they are fantastic for planning ahead! If you’re making these for a big holiday dinner, don’t worry about making them the day of. You can totally prepare them a few days in advance, which takes so much stress off your plate. Just remember the key rule when storing them.
Make sure you let the pears cool down completely after they are cooked. Then, put them right into an airtight container and completely cover them with that lovely strained syrup you made. Keep them submerged—that syrup is what keeps them from drying out and keeps that deep red color locked in. They hang out perfectly in the fridge for up to a week. When you’re ready to serve them, just gently reheat them on the stovetop or even in a low oven. If you like to prep dips ahead of time, try out my Easy Beer Cheese Dip for an appetizer!
Frequently Asked Questions About Poached Pears
I always get tons of questions about tweaking this recipe, especially when folks are planning their menus way in advance. It’s all about making this work for your kitchen, so let’s tackle a few common ones about getting those perfect poached pears.
Can I use different spices besides what’s listed?
Absolutely! That’s the fun part of making spiced fruit dessert your own. The cinnamon and clove we use are classics, but feel free to toss in a star anise or a strip of fresh ginger for an extra kick. If you love that bourbon flavor I’ve talked about, a little splash of bourbon added with the wine works wonders for a richer dessert experience.
What happens if my pears end up too soft?
If your pears are super soft right out of the poaching liquid, don’t panic! We can save the syrup. Just pull the pears out immediately—they might still be okay to serve with a dollop of cream, even if they aren’t perfectly firm. The most important thing you need to focus on now is reducing that liquid quickly. If you boil it down hard, you’ll get a thick, beautiful syrup, even if the fruit itself got a little too tender.
Can I use white wine instead of red wine for poached pears?
Yes, you totally can! If you swap the red wine for white wine or something sweet like Moscato, you just shift the flavor profile. You won’t get that deep ruby color, but you will get something brighter. Since white wines aren’t as tannic, you might need to use slightly less sugar, or try that Moscato variation some people love. Just remember to taste as you go!
Is this recipe suitable for easy pizza sliders?
Whoa there! While I absolutely love my pizza sliders for weeknight dinners, this dessert recipe isn’t designed to transfer over to savory party food, ha! These are strictly for dessert time. If you are looking for something savory, maybe try making some savory glazed fruit alongside your main course, but stick to the sugar and wine for this one!
Nutritional Snapshot of These Poached Pears
I always try to keep things real with my readers, and that includes talking about nutrition. Now, keep in mind, when we are poaching fruit in an entire bottle of wine and cups of sugar, this isn’t exactly salad territory! But when you compare it to a heavy cake or pie, these poached pears are pretty light on the fat side, which is a huge win for an elegant dessert recipe.
Please remember these numbers are just an estimate based on dividing the total recipe by four servings. If you use less sugar or skip the thick reduction syrup, your numbers will look way better! This calculation is based on the recipe as written, including the fruity wine syrup.
- Calories: Approximately 350 per serving (with syrup)
- Fat: Practically zero—we use almost no added fat in the poaching liquid.
- Carbohydrates: Around 90 grams, mostly from the natural fruit sugars and the added granulated sugar.
- Protein: Very low, around 1 gram.
- Sugar: This is the highest number here, around 65 grams, concentrated in that delightful syrup!
It’s a sweet treat, for sure, but it feels way cleaner and fresher than most baked desserts, especially when you look at the fat content. It’s a great way to enjoy a festive, spiced fruit dessert!
Share Your Experience Making This Gourmet Fruit Dessert
Alright, you’ve made the magic happen! I genuinely hope you got to sit back, relax, and enjoy these stunning poached pears. That’s what YumDrizzle is all about—making impressive food accessible. Now I can’t wait to hear what you thought!
Did you drizzle that syrup over ice cream? Did you try adding something unexpected, like bourbon for a deeper flavor, similar to what I saw mentioned over on this Vanilla Bourbon recipe? Drop a rating below! Tell me about your modifications in the comments, or better yet, tag us in a photo of your beautiful gourmet fruit dessert. If you need to reach out for support, the Contact Page is always open!
PrintSpiced Red Wine Poached Pears with Vanilla Bean
You can create an elegant, jewel-toned dessert with minimal effort. These tender poached pears simmer in red wine with warm spices and citrus until they are sweet. Serve this simple fruit dessert warm with vanilla ice cream for an impressive finish.
- Prep Time: 15 min
- Cook Time: 40 min
- Total Time: 55 min
- Yield: 4 servings 1x
- Category: Dessert
- Method: Stovetop Simmering
- Cuisine: American
- Diet: Vegetarian
Ingredients
- 4 firm pears (Bosc or Anjou recommended)
- 1 bottle (750 ml) dry red wine (like Merlot or Cabernet Sauvignon)
- 1 cup granulated sugar
- 1 vanilla bean, split lengthwise
- 1 orange, zested and juiced
- 2 cinnamon sticks
- 4 whole cloves
Instructions
- Peel the pears, leaving the stems intact. If you want a more uniform look, you can slice a thin layer off the bottom so they stand upright later.
- In a saucepan large enough to hold the pears standing up or lying on their sides, combine the red wine, sugar, vanilla bean (scrape the seeds into the wine, then add the pod), orange zest, orange juice, cinnamon sticks, and cloves.
- Bring the liquid to a simmer over medium heat, stirring until the sugar dissolves completely.
- Gently place the pears into the simmering liquid. The liquid should mostly cover the pears. If it does not, you can add a little water or more wine.
- Reduce the heat to low. Cover the saucepan partially with a lid or a piece of parchment paper cut to fit the top (a cartouche).
- Simmer the pears gently for 25 to 40 minutes, turning them occasionally, until they are tender when pierced with a knife. The cooking time depends on the ripeness and size of your pears.
- Once tender, remove the pears from the liquid and set them aside.
- Increase the heat to medium-high and boil the remaining poaching liquid, uncovered, for about 10 to 15 minutes, or until the liquid reduces to a thick, syrupy consistency. This creates your flavorful poaching syrup.
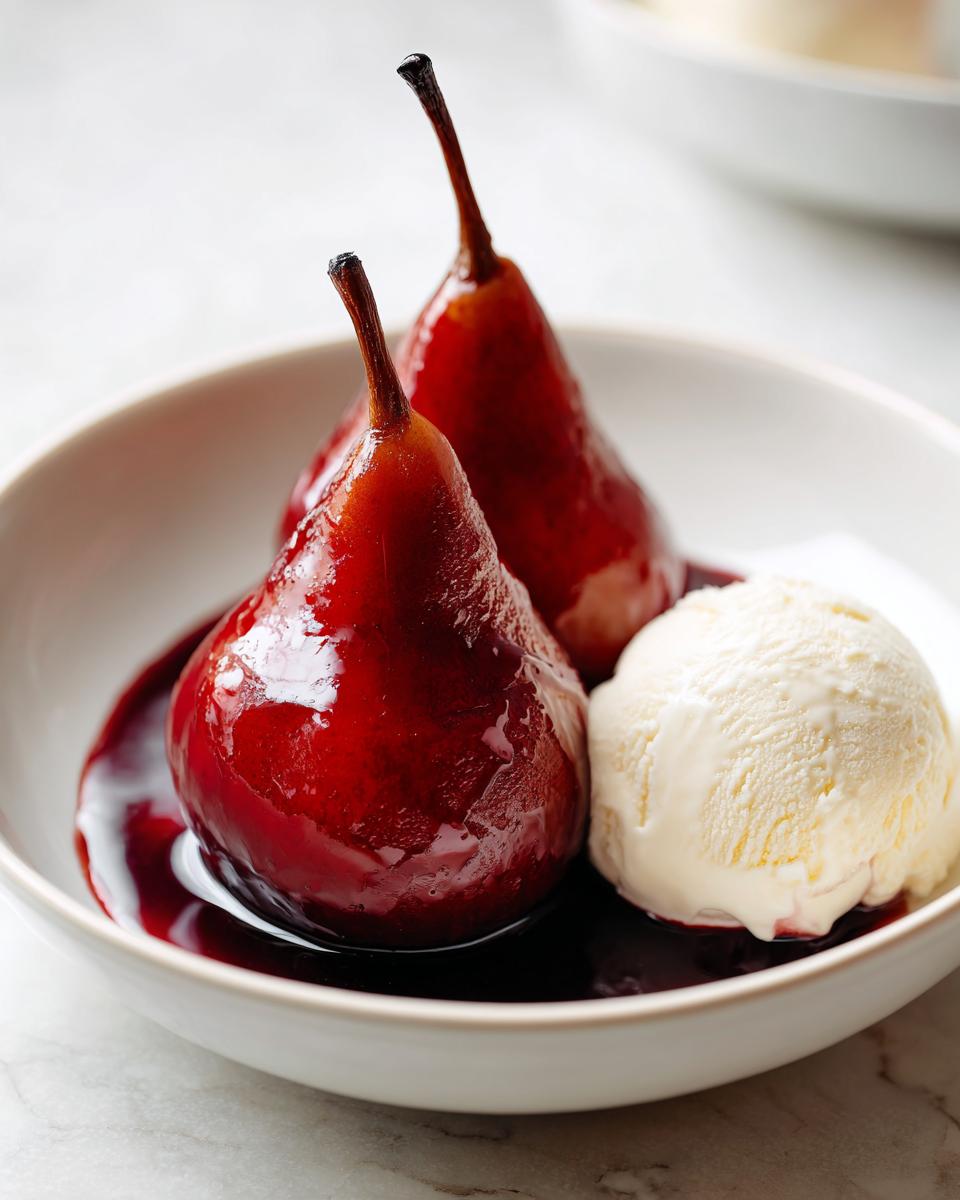
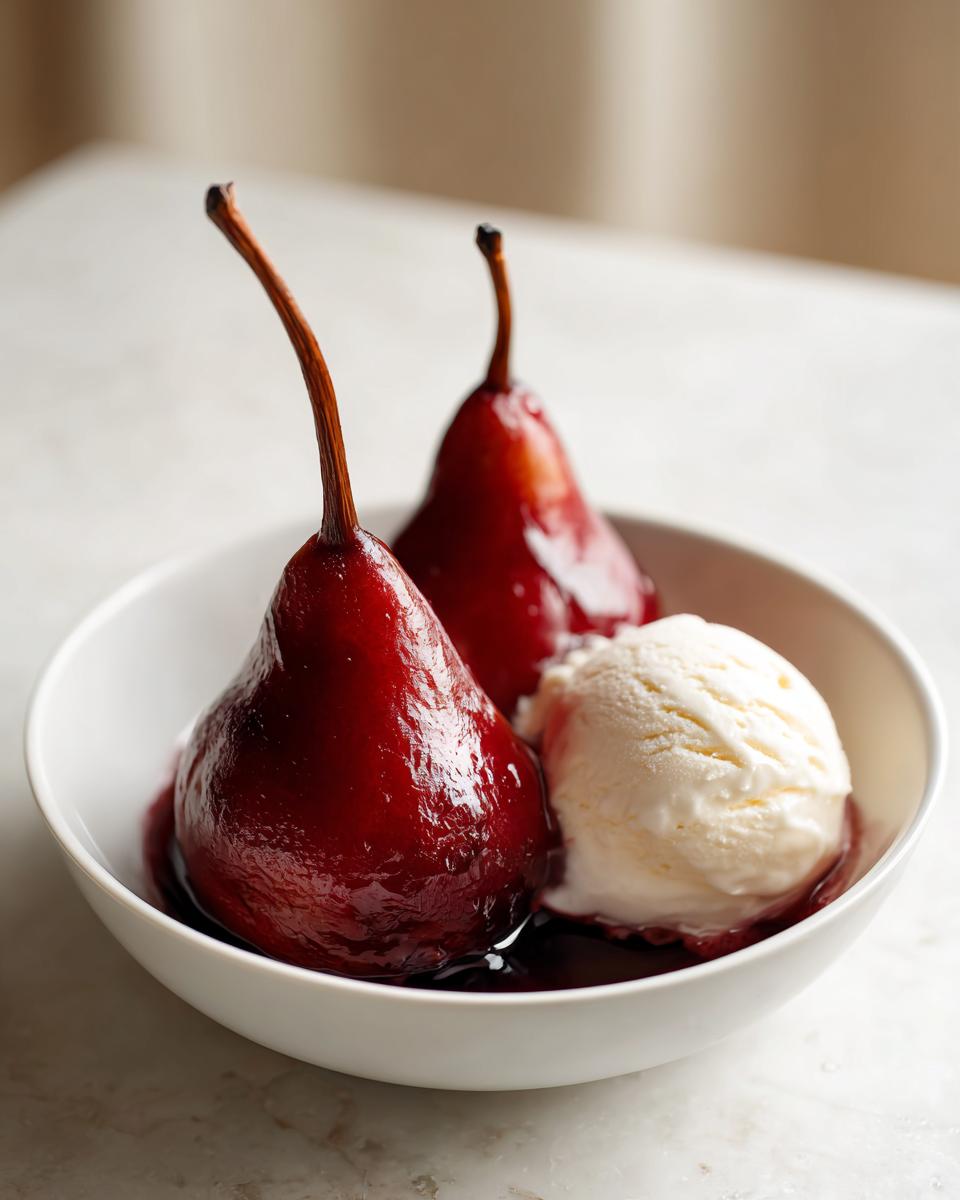
- To serve, place one or two warm pears in a bowl. Spoon the reduced red wine syrup generously over the top. Serve immediately with a scoop of vanilla ice cream or a drizzle of caramel sauce.
Notes
- For an even more impressive presentation, serve these as a Christmas fruit dessert or Thanksgiving dessert.
- If you prefer a lighter syrup, use Moscato or white grape juice instead of red wine.
- You can make these ahead of time; store the cooled pears submerged in the strained syrup in an airtight container in the refrigerator for up to one week. Reheat gently before serving.
Nutrition
- Serving Size: 1 pear with syrup
- Calories: 350
- Sugar: 65
- Sodium: 10
- Fat: 0.5
- Saturated Fat: 0.1
- Unsaturated Fat: 0.4
- Trans Fat: 0
- Carbohydrates: 90
- Fiber: 8
- Protein: 1
- Cholesterol: 0