
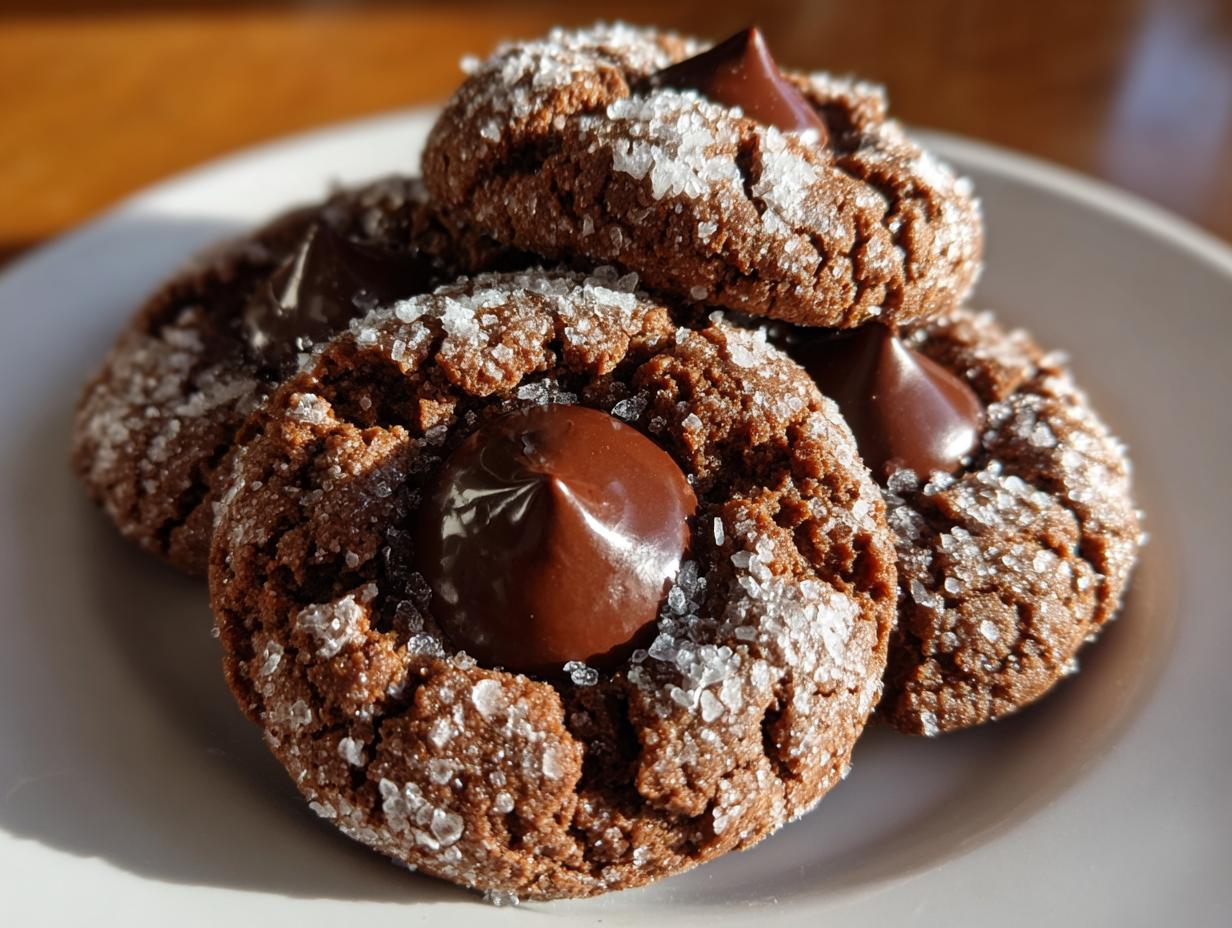
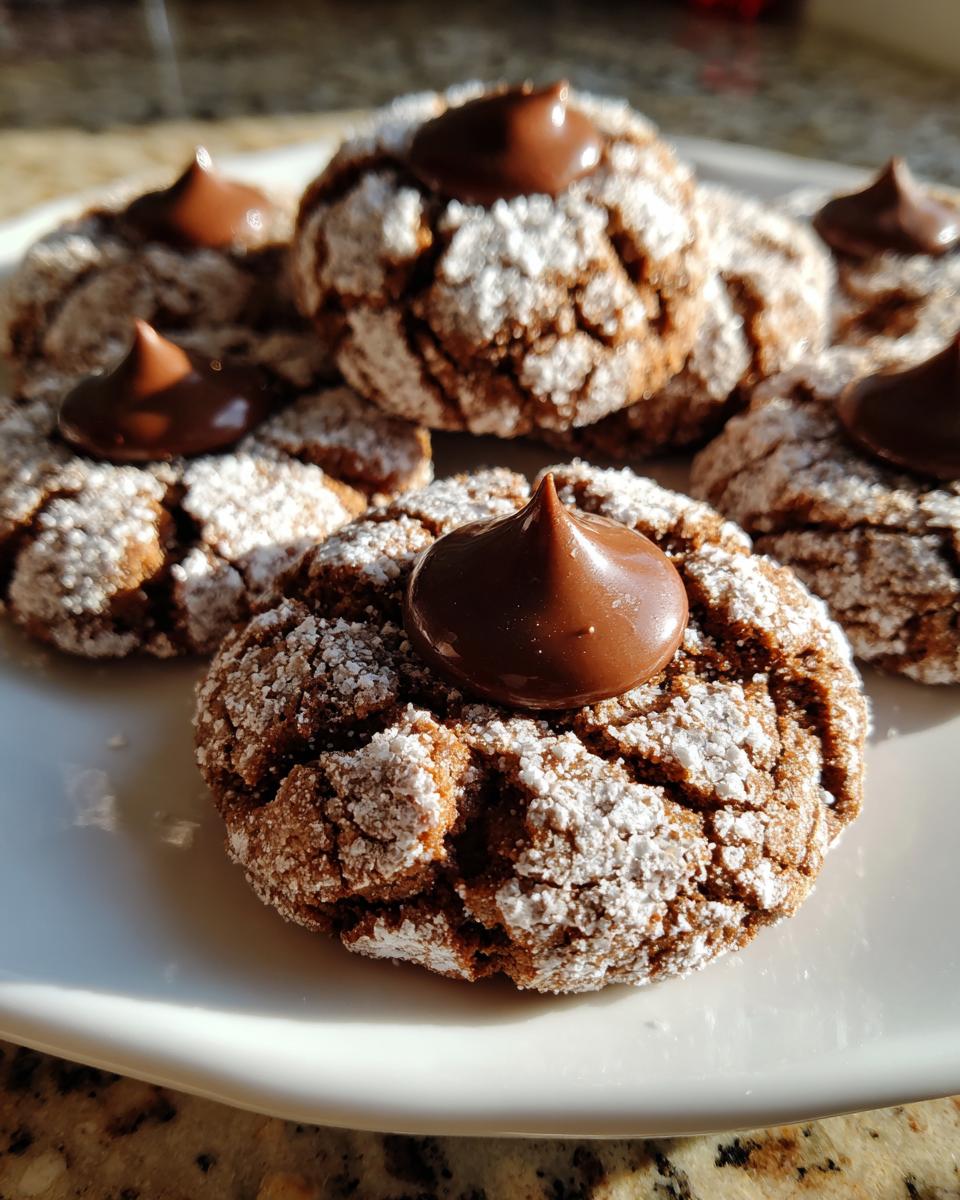
Oh my goodness, is it that time of year again? When you smell that mix of sugar, peanut butter, and chocolate, you know the holidays are truly here! I swear, nothing screams Christmas cookie tray like a batch of perfectly cracked **peanut butter blossoms**. You see them everywhere, but let me tell you, trying to find that ideal balance between a soft, chewy cookie base and that melty little chocolate center is harder than it looks.
Forget those dry, crumbly things you sometimes get! My recipe for these classic peanut butter blossom cookies is honestly the most tried-and-true one I own. It’s so straightforward, even if you’ve never baked before, you’ll get those signature cracks on top and that Hershey’s Kiss nestled perfectly inside. Trust me, once you make these, they become a non-negotiable part of your holiday baking tradition.
- Why This is the Best Classic Peanut Butter Blossoms Recipe (E-E-A-T Focus)
- Gathering Ingredients for Perfect Peanut Butter Blossoms
- Simple Steps to Make Classic Peanut Butter Blossoms Recipe
- Tips for Perfect Peanut Butter Blossoms Every Time
- Making Peanut Butter Blossoms for Holiday Dessert Ideas
- Answering Common Questions About Peanut Butter Blossom Cookies
- Estimated Nutritional Data for Simple Peanut Butter Treats
- Share Your Family Favorite Holiday Recipe Experience
Why This is the Best Classic Peanut Butter Blossoms Recipe (E-E-A-T Focus)
I’ve tested about a hundred different cookie recipes over the years, and I can confidently say this one stands above the rest—that’s why it’s dubbed the Best Peanut Butter Blossoms recipe out there. It nails the texture that everyone is looking for: soft, slightly dense, and totally chewy. It all comes down to two things: making sure your butter is properly softened, and sticking strictly to the types of sugar we use. We aren’t messing around with substitutes here because we want that nostalgic taste to shine through, using classic Hershey’s Kisses for that perfect finish.
Achieving Soft Peanut Butter Cookies Texture
The main reason people end up with hard cookies is usually down to not creaming the fats and sugars long enough. You have to really beat that softened butter and the peanut butter together with both the white and brown sugar until it looks light and fluffy. That process whips air into the dough! That air is the backbone of a soft peanut butter cookie; it gives you that perfect, yielding bite every single time, keeping them from turning into little hockey pucks.
The Secret to the Perfect Chocolate Kiss Center in Your Peanut Butter Blossoms
Here’s the non-negotiable timing step for your **peanut butter blossoms**! You have to press that chocolate kiss in right when the cookies come out of the oven, no waiting! If you wait even two minutes, the cookie base cools off too much, and when you push the kiss down, the cookie cracks right in half. That immediate gentle press uses the oven’s residual heat to soften the chocolate just enough so it melts wonderfully, giving you those amazing Melt In Your Mouth Cookies without destroying the cookie structure.
Gathering Ingredients for Perfect Peanut Butter Blossoms
Okay, let’s talk about what you need for these show-stopping Simple Peanut Butter Treats. Getting the right stuff makes this recipe foolproof, which is why it’s so good for beginners! We are sticking to the classic lineup, and creamy peanut butter is absolutely the star here for these classic **peanut butter blossoms**. If we use crunchy, the cookie dough doesn’t hold together quite right when we roll it, and we need that smooth base for the sugar coating to stick well.
Ingredient Notes and Simple Peanut Butter Treats Substitutions
Precision matters, especially with baking powder and eggs, but pay attention to the fats! Your butter has to be truly softened—room temperature soft, not melted soft. That means you should be able to press your finger into it easily. Also, make sure that brown sugar is *packed* tightly into the measuring cup; that molasses content is crucial for chewiness.
I’ve had friends ask if they can swap things out. You can technically swap half the butter for vegetable shortening if you want a cookie that stays soft for days longer, but honestly, butter tastes a million times better. And if you only have crunchy peanut butter, go ahead and use it, but just know your cookie texture will be more textured, less smooth when wrapped in sugar.
Simple Steps to Make Classic Peanut Butter Blossoms Recipe
When it comes to making this Classic Peanut Butter Blossoms Recipe, the process moves really fast! That’s the beauty of it—no long chill times needed. Seriously, you can have these **peanut butter blossoms** ready to bake in about 15 minutes. It’s such a satisfying process because you see them come together so quickly. Just follow my steps exactly, and you’ll be amazed at how simple making these holiday legends actually is.
Mixing the Dough and Rolling for the Signature Look of Peanut Butter Blossoms
We start by beating all that good stuff—the butter, the peanut butter, and both sugars—until it’s light and creamy. Then we mix in the eggs and vanilla. In a separate bowl, whisk your dry ingredients. The most important step here is adding the dry mixture to the wet mixture *gradually* and paying close attention to the instructions: only mix until it’s just combined. Seriously, stop mixing when you still see a tiny streak of flour!
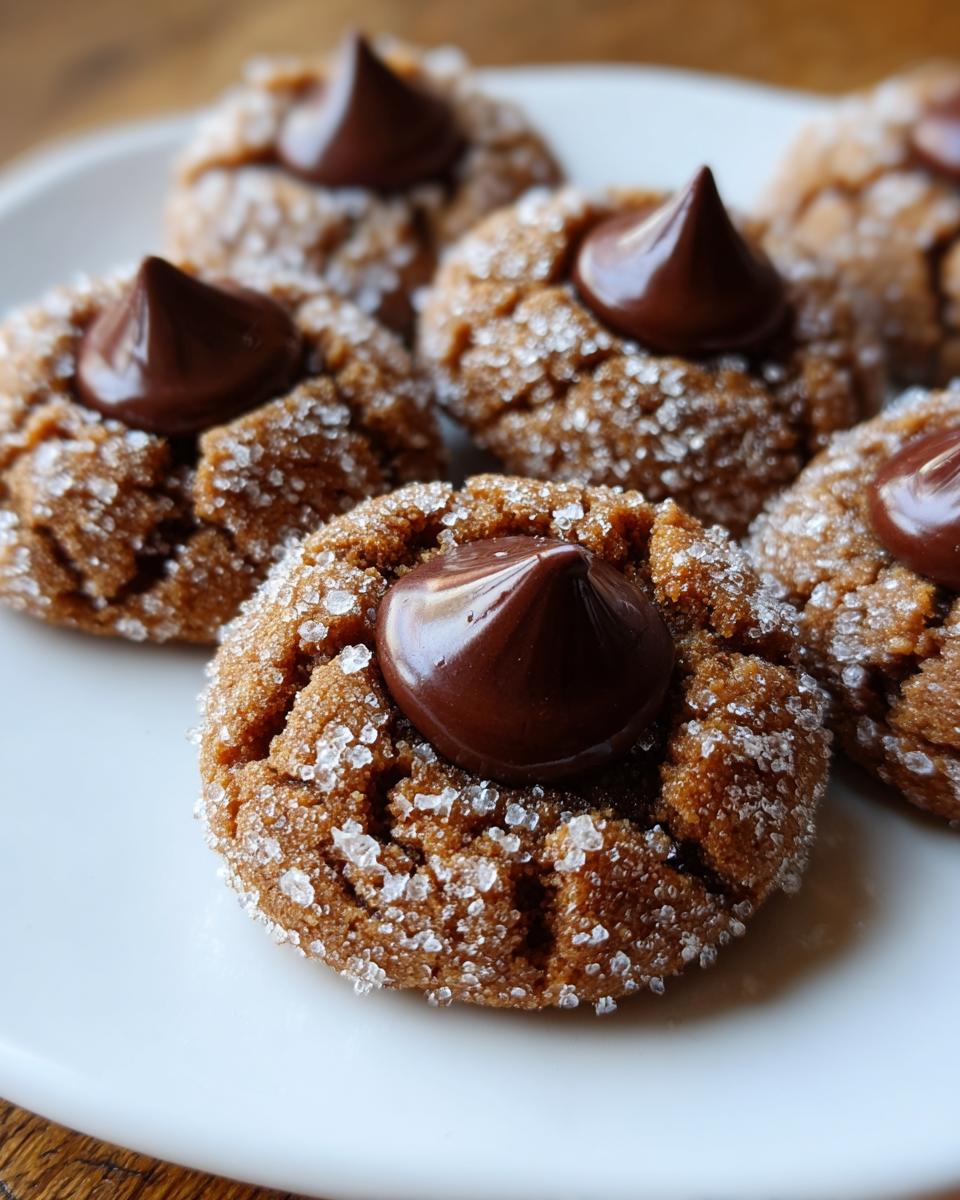
Overmixing develops the gluten, and that’s how you end up with tough cookies, not the soft ones we want. Once it’s mixed, put that extra 1/4 cup of sugar into a shallow dish. Roll your balls to about an inch, coat them thoroughly in that sugar, and place them on the sheet. That sugar coating is what gives us that beautiful, classic crackled top!
Baking and Finishing Your Chewy Chocolate Kiss Cookies
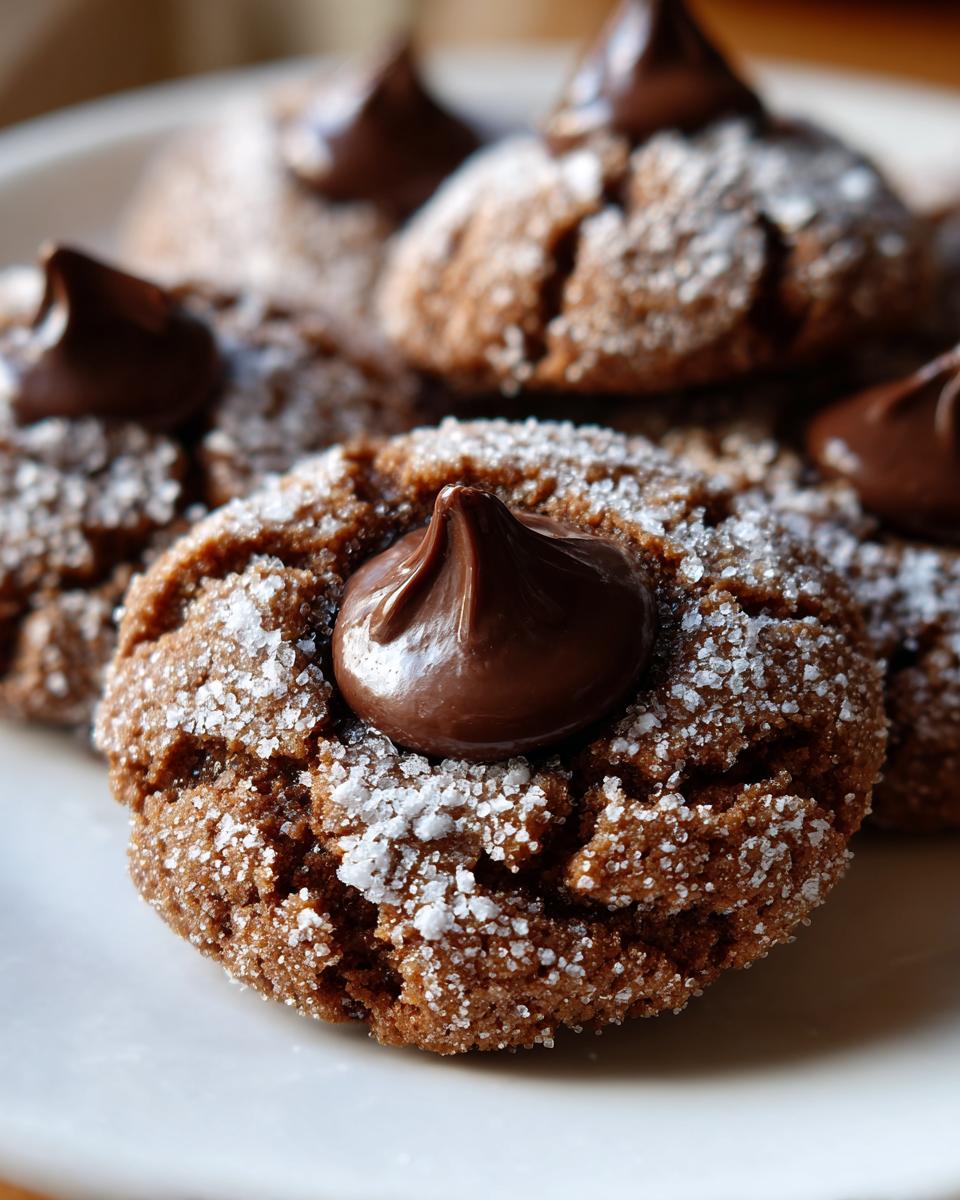
This is where timing is everything for your Chewy Chocolate Kiss Cookies. I bake mine for exactly 8 to 10 minutes. You are looking for the edges to look set—like they won’t spread anymore—but the centers still look quite soft, maybe even a tiny bit underbaked. They are *not* supposed to be golden brown!
As soon as they come out, get right to work! Gently take an unwrapped Hershey’s Kiss and press it right down into the middle of each cookie, aiming for the center spot where the dough has puffed up a bit. The heat on that warm cookie melts the chocolate just enough so it sits there perfectly. If you wait even a moment too long, they’ll crack when you press, so move fast and be gentle!
Tips for Perfect Peanut Butter Blossoms Every Time
I know how frustrating it is when a batch of beautiful cookies cracks right in half, especially when you’re rushing to get them ready for a party. These little pointers are what I pulled straight from years of trial and error, and they are what keep my **peanut butter blossoms** looking and tasting exactly right.
The biggest secret—which I mentioned before but it bears repeating—is timing the chocolate kiss! If you see those cracks forming while you’re getting ready to press the Kiss in, that means you waited about 30 seconds too long and the edges got too firm. You want them just removed from the oven so the residual heat does the melting work for you.
Another thing to remember for maximum softness is not to substitute that brown sugar. That molasses is what keeps the cookie tender for days. If you try to bake these like standard sugar cookies, you won’t get that satisfyingly soft bite we are aiming for—they just won’t be the same kind of homemade peanut butter kisses!
Making Peanut Butter Blossoms for Holiday Dessert Ideas
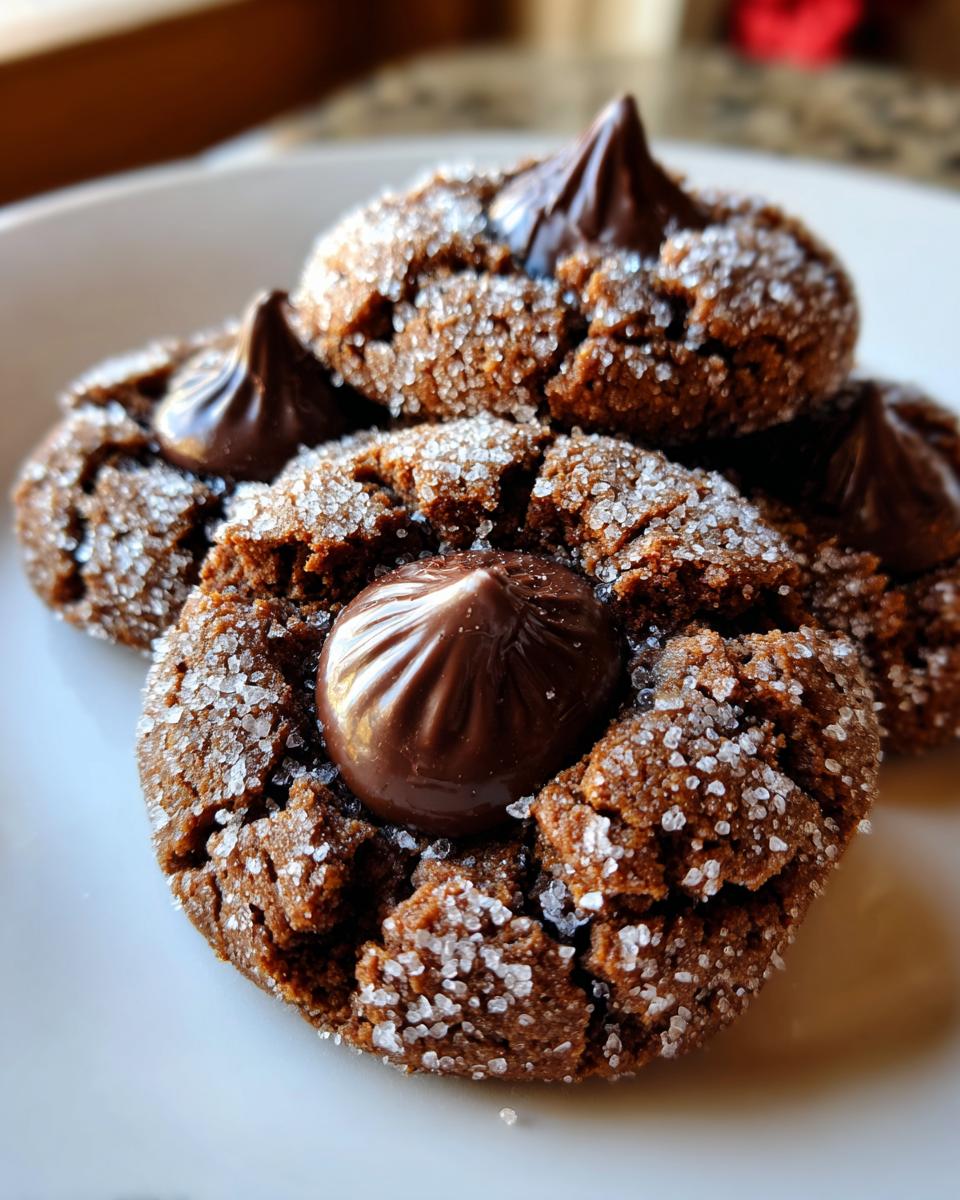
When the holidays roll around, these **peanut butter blossoms** are non-negotiable for my baking schedule! They look so festive right next to gingerbread men or frosted sugar cookies. Because they are so easy and don’t require any messy dipping or complicated stacking, they are the perfect cookie for big holiday baking days or large cookie exchanges. Everyone expects them, and honestly, they just disappear from any tray you put them on—they’re a real crowd-pleaser!
If you’re putting together nice tins of Holiday Dessert Ideas to give out this year, make sure these are one of the stars! You can find more great ideas on how other bakers put together their perfect holiday trays over at Beyond the Butter, though I think mine will always win out because of that soft texture we worked so hard to achieve.
Storage and Keeping Your Peanut Butter Blossoms Fresh
The best part about this recipe is how long they stay soft! You don’t want to just leave them sitting out on the counter uncovered, though. To maintain that perfect soft and chewy texture, make sure you store your finished **peanut butter blossoms** in a good airtight container. I like to put a single piece of wax paper between the layers so the chocolate doesn’t get sticky and smudge onto the cookie below.
They are usually at their absolute peak texture within the first three days, but if you seal them up tight, they are wonderful for almost a week. If you manage to have any leftovers after Christmas, freeze them! They freeze beautifully and defrost quickly, keeping that lovely, melt-in-your-mouth quality intact.
Answering Common Questions About Peanut Butter Blossom Cookies
I know we covered all the best tips, but I get so many messages asking little specific things about these cookies after people try them for the first time! It’s totally normal when you’re baking something this classic. Don’t hesitate to reach out through the contact page if you have one, but I’ll tackle the most common ones I see right here.
Can I make Gluten Free Peanut Butter Blossoms Alternative?
That’s a great question, especially since so many of us are baking for friends or family with sensitivities! For a Gluten Free Peanut Butter Blossoms Alternative, you absolutely can use a good quality 1-to-1 gluten-free flour blend instead of the all-purpose flour. I’d suggest trying it out before the big holiday rush, though.
Because gluten-free flours absorb liquid differently, sometimes the dough can feel a little softer than usual. If that happens, just chill the balls for about 15 minutes before you roll them in the sugar—it helps them hold that perfect 1-inch shape better.
Why did my chocolate kiss sink completely into my peanut butter blossom cookie?
Oh, believe me, I’ve had the disaster batch where the chocolate just disappeared! That usually happens for one of two reasons, and it’s not the recipe’s fault, I promise. First, if you leave the cookies in the oven even one minute too long, the cookie spreads out flat before you press the kiss in, and it sinks deep. Second, if you wait too long after taking them out, the cookie sets up too hard around the edges, causing them to crack when you try to push the chocolate down.
Remember what I said about moving fast? You need that warm, slightly soft center to cradle that Hershey’s Kiss gently right when it comes out of the oven so you get that perfect indentation!
Estimated Nutritional Data for Simple Peanut Butter Treats
Now, I know we aren’t making these cookies for health reasons—we are making them for pure joy and nostalgia, right? But for those of you who like to keep track, here is the estimated rundown for one of these beauties. Remember, this is based on standard ingredient amounts, so if you add extra chocolate or use a different brand of peanut butter, those numbers might wiggle a bit!
These **peanut butter blossoms** clock in around 160 calories per cookie. That seems pretty reasonable for a rich, chewy treat, especially if you’re setting out a platter for everyone to enjoy during the holidays!
- Serving Size: 1 cookie
- Calories: 160
- Fat: 9g (and 4g of that is saturated, just so you know!)
- Carbohydrates: 18g
- Protein: 4g
It’s amazing how much goodness is packed into one little sugar-rolled cookie, isn’t it? Enjoy them!
Share Your Family Favorite Holiday Recipe Experience
Whew! We made it through the baking marathon, and now you have a plate full of the best, softest **peanut butter blossoms** you’ve ever tried. Seriously, this recipe is a true family favorite, and I hope it brings that same nostalgic warmth to your kitchen that it brings to mine.
Now I need to know what you think! Did you get that perfect crackle on top? Did the chocolate melt just the way you hoped? Head down to the comments section below—it really makes my day when I hear how your baking turned out. I love seeing photos pop up when you share your creations on social media, so tag me if you do!
Baking is always better when it’s shared, and seeing you all enjoy these simple, classic holiday cookies means the world to me. If you loved this recipe, I hope you’ll take a peek at our terms on use before you go, and keep checking back for those delicious, accessible recipes that make your real life taste better!
PrintClassic Soft and Chewy Peanut Butter Blossoms

Make soft and chewy peanut butter blossom cookies with a crackled top and a melted chocolate kiss center. This is an easy, tried and true holiday baking recipe.
- Prep Time: 15 min
- Cook Time: 10 min
- Total Time: 25 min
- Yield: About 3 dozen cookies 1x
- Category: Dessert
- Method: Baking
- Cuisine: American
- Diet: Vegetarian
Ingredients
- 1 cup unsalted butter, softened
- 3/4 cup creamy peanut butter
- 3/4 cup granulated sugar
- 3/4 cup packed brown sugar
- 2 large eggs
- 1 teaspoon vanilla extract
- 2 1/4 cups all-purpose flour
- 1 teaspoon baking soda
- 1/2 teaspoon salt
- 1/4 cup granulated sugar (for rolling)
- 1 bag (about 12 ounces) Hershey’s Kisses, unwrapped
Instructions
- Preheat your oven to 375 degrees F. Line baking sheets with parchment paper.
- In a large bowl, beat the softened butter, peanut butter, 3/4 cup granulated sugar, and brown sugar until the mixture is creamy.
- Beat in the eggs one at a time, then stir in the vanilla extract.
- In a separate medium bowl, whisk together the flour, baking soda, and salt. Gradually add the dry ingredients to the wet ingredients, mixing until just combined. Do not overmix.
- Place the remaining 1/4 cup of granulated sugar in a shallow dish.
- Roll the dough into 1-inch balls. Roll each ball in the sugar until coated.
- Place the sugared balls about 2 inches apart on the prepared baking sheets.
- Bake for 8 to 10 minutes. The edges should look slightly set, but the centers should still look soft.
- Immediately upon removing the cookies from the oven, gently press one unwrapped chocolate kiss into the center of each warm cookie. The residual heat will soften the chocolate.
- Let the cookies cool on the baking sheet for 5 minutes before moving them to a wire rack to cool completely.
Notes
- For the best crackled top and soft texture, remove the cookies from the oven when they still look slightly underdone in the middle.
- If your chocolate kisses are difficult to press in, wait one minute longer, but press gently to avoid cracking the cookie base.
- You can substitute creamy peanut butter with crunchy peanut butter if you prefer texture in the dough.
Nutrition
- Serving Size: 1 cookie
- Calories: 160
- Sugar: 14g
- Sodium: 85mg
- Fat: 9g
- Saturated Fat: 4g
- Unsaturated Fat: 5g
- Trans Fat: 0g
- Carbohydrates: 18g
- Fiber: 1g
- Protein: 4g
- Cholesterol: 20mg