
Oh, the holidays! There’s just nothing like that moment when you pull out the first tray of homemade Christmas candy and the kitchen suddenly smells like magic and sugar. If you’re feeling overwhelmed trying to nail some complicated bake, please, press pause. That’s why I’m here! I truly believe that the best flavors don’t need fussy techniques—they just need passion and real ingredients, just like my friend Jaxson always says about his food philosophy. Seriously, forget spending hours in the kitchen; we are making the **easiest 3-ingredient no-bake peppermint bark** ever. This is the simple, festive chocolate bark that breaks apart perfectly every time and is absolutely ideal for gifting this season.
- Why This 3-Ingredient Peppermint Bark is the Ultimate Holiday Sweet
- Gathering Ingredients for Your Simple Peppermint Bark
- Expert Tips for Making Flawless White Chocolate Peppermint Bark
- Step-by-Step Instructions for Homemade Peppermint Bark
- Variations on the Classic Peppermint Bark
- Storage and Keeping Your Holiday Peppermint Treats Fresh
- Frequently Asked Questions About Peppermint Bark
- Understanding the Nutrition of This Festive Chocolate Bark
- Share Your Best Christmas Bark Recipe Creations
Why This 3-Ingredient Peppermint Bark is the Ultimate Holiday Sweet
Listen, when the holiday rush hits, the last thing you need is a recipe that demands twenty steps and leaves you covered in flour. That’s why this peppermint bark is my secret holiday weapon. It delivers that iconic, festive crunch and cool mint flavor without any stress. Remember, YumDrizzle is all about making great food accessible, and this recipe proves you don’t need complicated ingredients to taste amazing.
It succeeds because it’s a straightforward no bake christmas candy that just works. If you’ve been looking for the hands-down easy peppermint bark recipe, this is it, trust me!
Quick Assembly for Peppermint Bark
The active time here is ridiculously short. Seriously, between melting the chocolate and spreading it out, you are barely breaking a sweat. While the total time is about 45 minutes because of the chilling, the actual hands-on time? Maybe 15 minutes total active prep! That means you can whip up a huge batch of peppermint bark while the oven is busy with your actual cookies. It’s the best kind of quick christmas candy you can ask for.
Perfect for Peppermint Bark for Gifting
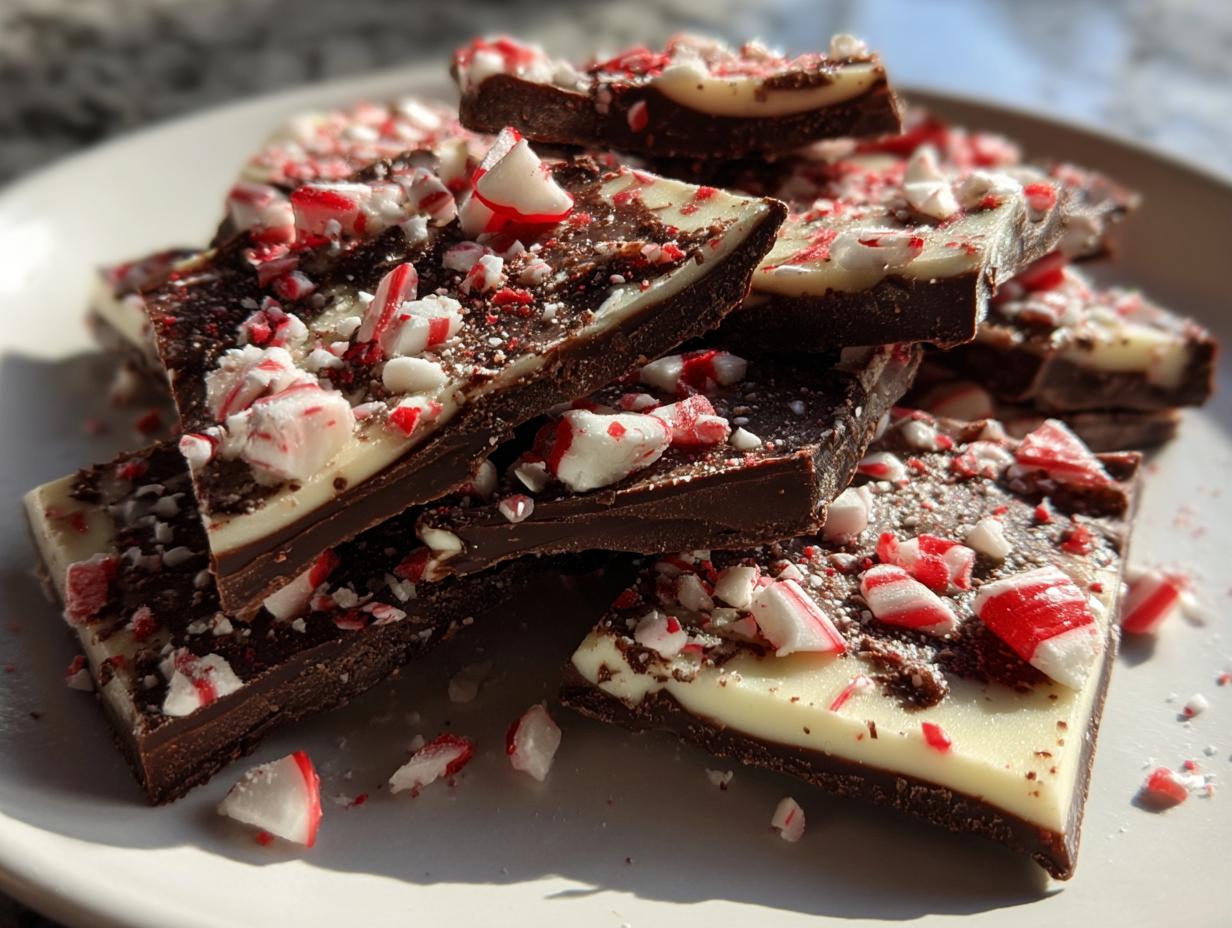
This bark just looks fancy, which is great when you’re trying to impress at cookie exchanges or need a thoughtful gift for your neighbors. Because it breaks into those jagged, beautiful shards, every piece is unique, wrapped elegantly in cellophane bags with a little ribbon. The flavor of rich dark chocolate paired with sweet **white chocolate peppermint bark** is just the classic combination everyone remembers and loves during the holidays. It’s homemade, but foolproof—my favorite combo!
Gathering Ingredients for Your Simple Peppermint Bark
Okay, you know I love a challenge, but for the holidays, I love simplicity even more! That’s why this version of peppermint bark is so fantastic; you only need three core things to make it. No secret flavor boosters, no hard-to-find extracts—just the basics that deliver maximum festive impact. When you look at this list, you’ll see why this is my go-to for last-minute needs. It’s pure magic made from minimal components.
Ingredient Breakdown and Clarity
To make sure your layers set up perfectly and you get that amazing texture, we have to be exact about what kind of chocolate we are using. Don’t overthink it, but follow these directions closely. We are using chip form for the easiest melt!
- 12 ounces semi-sweet chocolate chips (This is our dark layer foundation.)
- 12 ounces white chocolate chips (This makes that beautiful top layer.)
- 1 cup crushed candy canes (Make sure these are crushed but not powder! Varying sizes are best for crunch.)
If you are looking for a version that tastes even richer, like some of those fancy store versions, check out the way folks use real chocolate bars instead of chips over at this lovely recipe, but for ease, chips are my friend!
Expert Tips for Making Flawless White Chocolate Peppermint Bark
Look, melting chocolate is where most people get tripped up, and honestly, I learned the hard way! I remember my very first batch of homemade peppermint bark—I tried to crank the microwave speed way up, walked away for just a second, and came back to the most awful grainy mess you can imagine. The chocolate seized up! It was completely unusable. That experience taught me that when making white chocolate peppermint bark, especially, gentleness is key. That’s why we’re sticking to those short 30-second bursts and constant stirring.
My philosophy here, following along with the idea that good food should be accessible, is to ensure your melted chocolate is smooth as silk before you even think about layering. If you want more inspiration on keeping things flavorful, I love checking out how others approach adding a little something extra, like salt, to their recipes right here.
Achieving the Perfect Layer Chocolate Candy Look
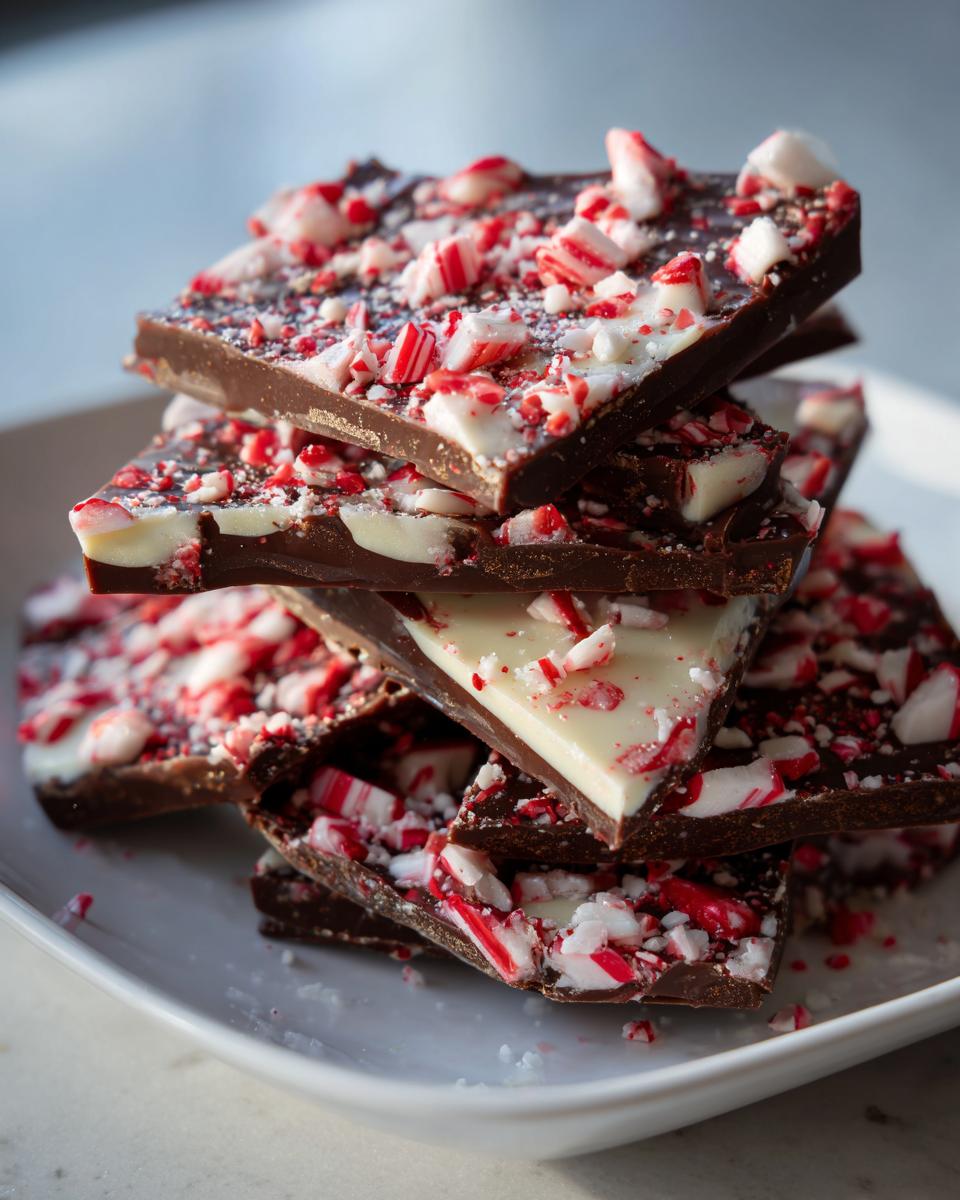
Once that base layer of semi-sweet chocolate is melted and spread, you absolutely must let it set fully. I mean it—it needs to be firm to the touch before the white layer goes on. If you try to pour the second layer when the first is even slightly warm, those beautiful layers blend right into each other, and you lose that stunning visual effect of a true layer chocolate candy.
When you pour that gorgeous white chocolate on top, use an offset spatula to gently guide it. We are aiming for that perfect 1/4-inch thickness across the whole sheet. If you notice one spot is getting too thin, just carefully push a little chocolate from a thicker area over to it. Patience here means you get that gorgeous, clean break later!
Crushing Candy Canes: Best Practices
The crunch is what makes peppermint bark so addictive, right? But if you crush your candy canes into a fine powder, they just disappear into the chocolate, and you lose the texture. So, here’s my trick when getting those peppermints ready: grab a sturdy Ziploc bag—the thick freezer kind works best. Put your dry candy canes in there, fold the top over, and then take a solid, heavy rolling pin (or the bottom of a small saucepan if you’re in a pinch!).
Gently tap and roll until you have lots of pieces ranging from tiny dustings up to the size of a small pea. You want glorious, varied crunch! And please, make sure your candy canes are completely dry before you crush them, or the moisture will mess with the chocolate topping later on.
Step-by-Step Instructions for Homemade Peppermint Bark
Alright, time to put those perfectly melted chocolates to work! Since this is a no bake christmas candy, we are relying almost completely on the freezer to do the heavy lifting. I’ve broken down the exact process below for your homemade peppermint bark, ensuring you get those distinct, clean layers we talked about.
First things first: line up your baking sheet with parchment paper. Don’t skip that step! It makes cleanup a dream and ensures you can lift the whole sheet of peppermint bark off later without any fuss. Keep that parchment nice and flat.
Now, let’s get that first layer down. Melt your semi-sweet chocolate chips slowly, using 30-second bursts in the microwave and stirring really well in between each one until it’s totally smooth. Pour that melted goodness right onto your prepared sheet. Work fast, but spread it evenly so it’s about a quarter-inch thick all over. Pop that sheet in the freezer for a quick 10 minutes—it just needs to be firm, not rock solid yet.
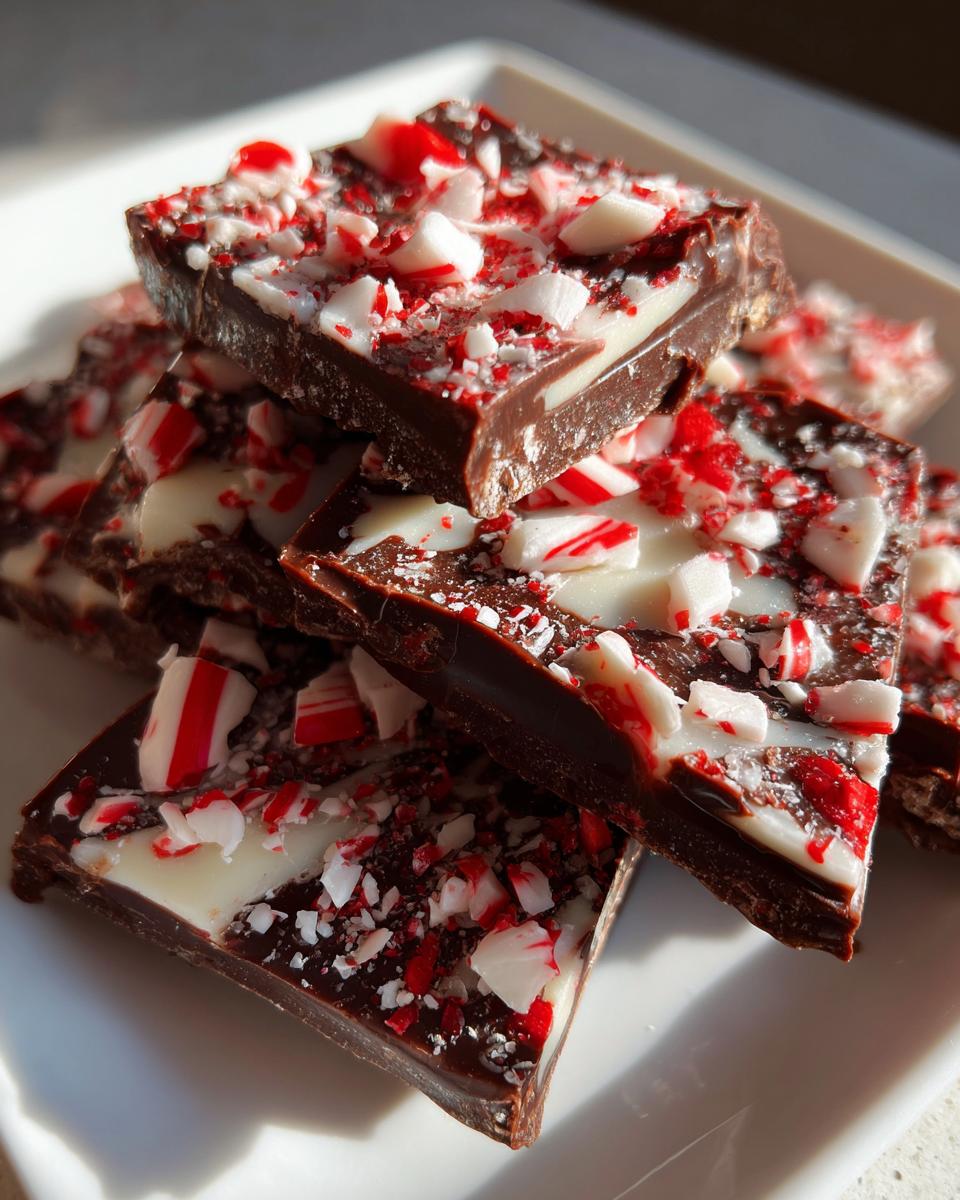
While that chills, melt your white chocolate using the exact same gentle 30-second method. Pouring that creamy white layer over the now-set dark chocolate is so satisfying! Spread it out quickly to cover the entire surface. And here’s the magic moment: immediately take those crushed candy canes we talked about and sprinkle them all over the top. Gently push just a little bit to make sure they stick.
Back into the freezer she goes! This time, we wait until it’s completely firm, which usually takes about 30 minutes, but honestly, you can leave it longer! Once it’s solid, take it out and literally just break the whole slab into irregular, rustic pieces of peppermint bark. If you want to see someone else’s amazing results and tips for presentation, you should definitely check out the guide here. Enjoy breaking apart your beautiful, easy festive chocolate bark!

Variations on the Classic Peppermint Bark
Now that you’ve mastered the basic **3 ingredient peppermint bark**, which is honestly unbeatable for speed, maybe you feel like getting a little creative? That’s what I love doing once I’ve made one slab the traditional way. This base is so forgiving, and experimenting with it is what makes holiday baking fun. You can totally switch up the chocolate base, or if you want to kick that mint flavor up a notch, you can easily turn this into a **4 ingredient peppermint bark** by adding just a drop of extract.
We aren’t straying from the ‘easy’ path here, mind you! These are just simple tweaks that let you personalize your **holiday peppermint treats** when you’re ready for a second batch. I always keep an eye on what other bakers are doing to elevate the classics, and you can see some great inspiration for different twists on **homemade peppermint bark** over at this site.
Making a Copycat Costco Peppermint Bark Style
Everyone asks about that famous bark you can grab around the holidays—that perfectly layered, high-quality chocolate slab. If you’re trying to capture that legendary flavor at home, you need to think about the chocolate quality, even though we used chips for pure simplicity before. To get closer to that **copycat Costco peppermint bark** vibe, you want to use real chocolate bars instead of chips for your layers.
The major difference in that famous version is usually the chocolate ratio. They often lean a bit heavier on the dark chocolate on the bottom layer compared to the white, or sometimes they use a specific blend of cocoa. Don’t overcomplicate it! Just try using 14 ounces of semi-sweet and 10 ounces of white chocolate next time, keeping the peppermint the same. It gives you that slightly richer, almost bittersweet base that cuts through the sweetness of the candy canes perfectly. It’s a tiny adjustment that makes your **festive chocolate bark** taste instantly more sophisticated!
Storage and Keeping Your Holiday Peppermint Treats Fresh
Okay, you’ve made this perfect, easy peppermint bark, and now you’re wondering—how long can I stare at it before I need to put it away? Chocolate can be tricky, right? It can get that chalky white film called ‘bloom’ if it gets too warm or if it absorbs any weird smells from the fridge, and those little crushed candy canes can start getting sticky if the air is too humid.
Since this is mostly just chocolate and candy, we are in luck! This is one of the best parts of making homemade peppermint bark; it actually keeps really well, which is fantastic if you are making a massive batch a week early for **peppermint bark for gifting**.
The key to freshness is keeping the air out. You absolutely must use an airtight container. Seriously, hunt down your best Tupperware or a nice glass container with a tight seal. If you are stacking layers, put a small piece of parchment or wax paper between the layers so the peppermint topping doesn’t stick to the chocolate underneath. You want that clean break every time!
For best results—the crispest crunch and the best appearance—store your holiday peppermint treats at cool room temperature, away from direct sunlight or any heat source, like your lovely hot oven. If your kitchen runs really warm, or if it’s super humid where you live, you can put it in the fridge, but be cautious. Chocolate sometimes sweats when it moves from cold to room temperature. If you do chill it, take the container out about 20 minutes before you plan to serve it so it can warm up just slightly. For more great recipe finishing touches like this, I always check out inspiration from bakers like the folks over at Boston Girl Bakes!
Stored properly, this simple peppermint bark will stay delicious and festive for at least a couple of weeks!
Frequently Asked Questions About Peppermint Bark
I know you’re going to love making this **peppermint bark**, but sometimes little questions pop up when you’re working with chocolate! I always try to address the things I usually get asked when I bring this **festive chocolate bark** to parties. Don’t sweat the small stuff, especially during the holidays. If you’re worried about your **homemade peppermint bark** turning out perfectly, check these quick answers below! It’s all part of making sure your food is accessible and fun, just like we believe here at YumDrizzle. You can read more about how we approach simple cooking over at our About Page.
Can I substitute the chocolate chips in this easy peppermint bark recipe?
You absolutely can swap them out, but you need to know what you’re giving up! Chocolate chips have stabilizers in them specifically so they hold their shape when baked. When melting them down for this easy peppermint bark recipe, they melt beautifully and make for the fastest, most reliable no bake christmas candy base. If you use solid baking bars (like the ones recommended for that William Sonoma inspired look), they will melt smoother and might give you a slightly less structured layer, but the flavor will be richer. Stick to the chips if you want that fast, satisfying quality every time!
How long does **homemade peppermint bark** last?
This is the best news ever for **peppermint bark for gifting**! Because it’s pure chocolate and hard candy, it lasts forever, temperature allowing. If you store it in that airtight container we talked about, away from heat, it will stay perfect at cool room temperature for a good two weeks. If your kitchen runs really warm, or if it’s super humid where you live, you can put it in the fridge, but try not to leave it in there for more than a week if you can help it, just because fridge odors can sometimes sneak in.
What is the best way to get the candy canes to stick to the **candy cane bark recipe**?
This seems small, but it’s crucial for that satisfying look and bite! You need to get those crushed candy canes on the *instant* that warm white chocolate layer is spread out on your sheet. You cannot wait even a minute! The chocolate needs to be tacky and wet enough to grab onto the candy pieces. Once they are sprinkled across the top, take a moment and use the flat bottom of a glass or a spatula to just gently press them down into the chocolate. This makes sure they bond completely before it chills hard. That’s the secret to making sure your **candy cane bark recipe** has crunch in every single piece!
Understanding the Nutrition of This Festive Chocolate Bark
I always get asked about what exactly goes into this glorious **festive chocolate bark**, because let’s be honest, it tastes way too good not to question it! Since we are keeping this recipe incredibly simple—just chocolate chips and candy canes—the numbers stay pretty straightforward. Remember, these are just estimates based on the three core ingredients we used and are calculated for a one-ounce serving size. It helps to know what you’re sneaking into your holiday cookie box!
- Serving Size: 1 ounce
- Calories: 160
- Sugar: 16 grams (Yep, it’s a treat!)
- Fat: 10 grams
- Protein: 2 grams
- Carbohydrates: 17 grams
It’s rich, it’s sweet, and it’s worth every single bite, especially since it’s so easy to make your own high-quality **peppermint bark** at home!
Share Your Best Christmas Bark Recipe Creations
Wow, we made it through the **easiest 3-ingredient peppermint bark** ever! Doesn’t that feel amazing? You have conquered holiday baking without even needing to turn on your oven. I seriously hope this **simple peppermint bark** becomes your go-to, quick Christmas candy for years to come, whether you’re wrapping it up for someone special or just keeping it near the couch for movie nights.
Now, I want to see it! I’m putting so much faith in you guys to follow those melting steps, so I need to know how your homemade peppermint bark turned out. Did you break yours into perfect, jagged pieces, or did you manage to cut neat little squares for platters?
If you made a batch of this **best christmas bark recipe**, please take a moment and leave a rating right here on the recipe card! Five stars mean you loved the simplicity and the flavor, and one star means I need to rethink my microwave technique—I’m kidding (mostly!). If you have a picture of your beautiful **festive chocolate bark**, please share it with me! You can always tag me on social media or just send me a direct message through the contact page. I absolutely adore seeing how this recipe comes to life in your kitchens. Happy holidays, everyone!
Print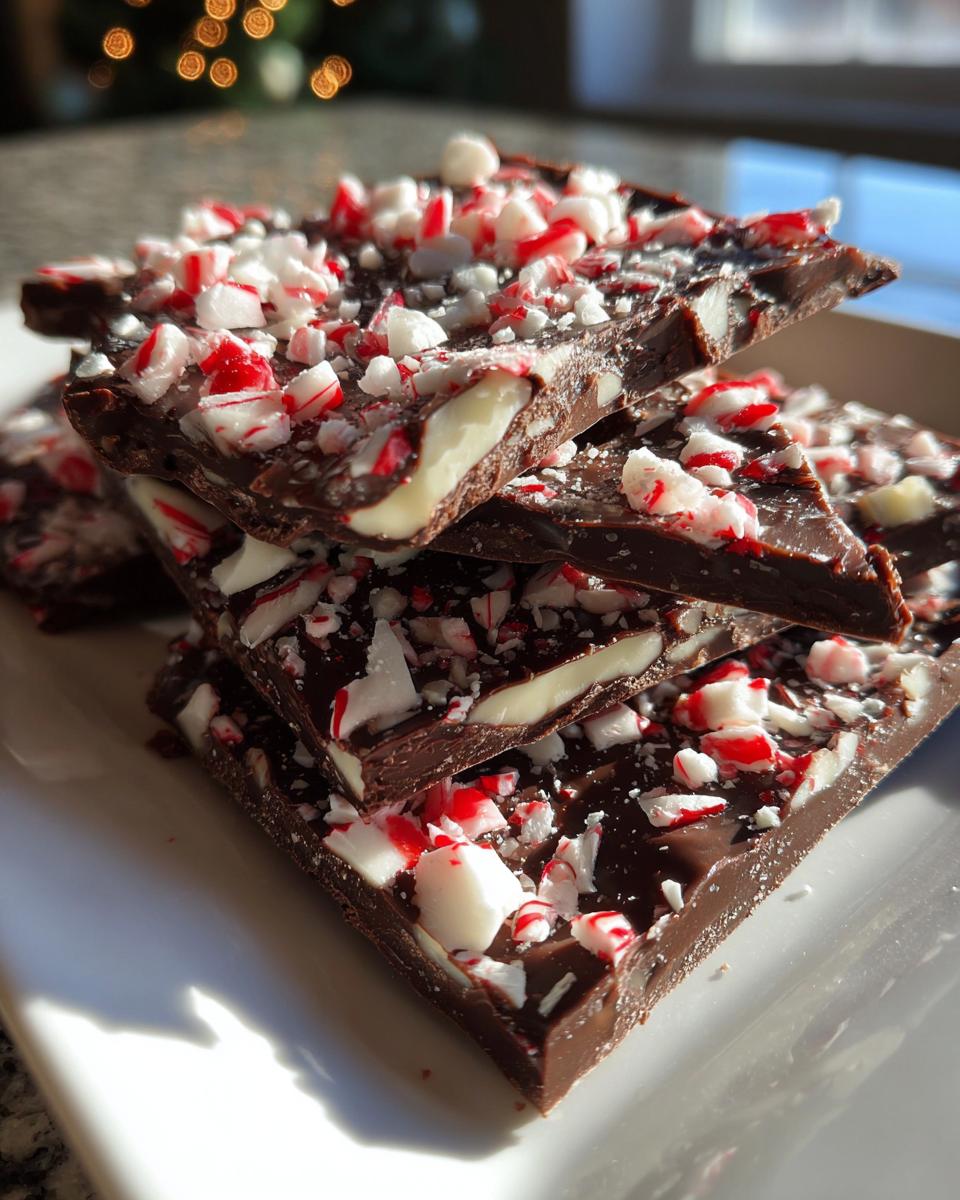
The Easiest 3-Ingredient No-Bake Peppermint Bark (Copycat Style)
Make this simple, festive peppermint bark with only three ingredients. This no-bake Christmas candy delivers classic flavor perfect for holiday gifting.
- Prep Time: 10 min
- Cook Time: 5 min
- Total Time: 45 min
- Yield: About 1 pound 1x
- Category: Dessert
- Method: No-Bake
- Cuisine: American
- Diet: Vegetarian
Ingredients
- 12 ounces semi-sweet chocolate chips
- 12 ounces white chocolate chips
- 1 cup crushed candy canes
Instructions
- Line a baking sheet with parchment paper. Set aside.
- Melt the semi-sweet chocolate chips in a microwave-safe bowl in 30-second intervals, stirring well after each interval, until completely smooth.
- Pour the melted semi-sweet chocolate onto the prepared baking sheet. Spread it into an even layer, about 1/4 inch thick.
- Place the sheet in the freezer for 10 minutes, or until the chocolate is firm to the touch.
- Melt the white chocolate chips using the same method as the semi-sweet chocolate, stirring until smooth.
- Pour the melted white chocolate over the set dark chocolate layer. Spread it evenly.
- Immediately sprinkle the crushed candy canes evenly over the white chocolate layer. Gently press them into the chocolate so they stick.
- Return the sheet to the freezer for at least 30 minutes, or until the bark is completely firm.
- Once firm, break the peppermint bark into irregular pieces. Store in an airtight container.
Notes
- For a William Sonoma inspired look, use high-quality dark and white chocolate bars instead of chips.
- If you want a stronger mint flavor, add 1/4 teaspoon of pure peppermint extract to the melted white chocolate before spreading.
- If you are making this for gifting, you can cut the bark into uniform squares instead of breaking it randomly.
Nutrition
- Serving Size: 1 ounce
- Calories: 160
- Sugar: 16
- Sodium: 15
- Fat: 10
- Saturated Fat: 6
- Unsaturated Fat: 4
- Trans Fat: 0
- Carbohydrates: 17
- Fiber: 1
- Protein: 2
- Cholesterol: 5