
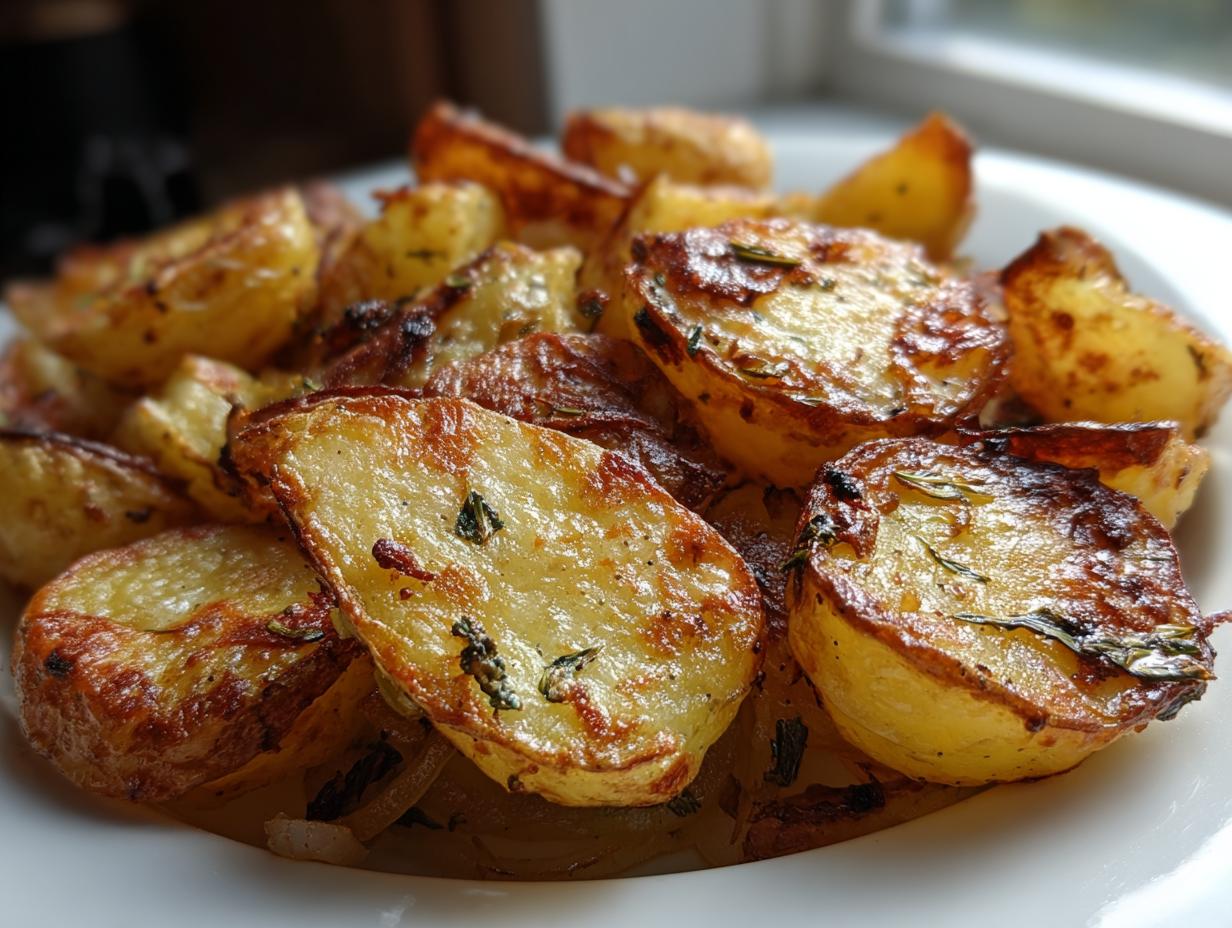
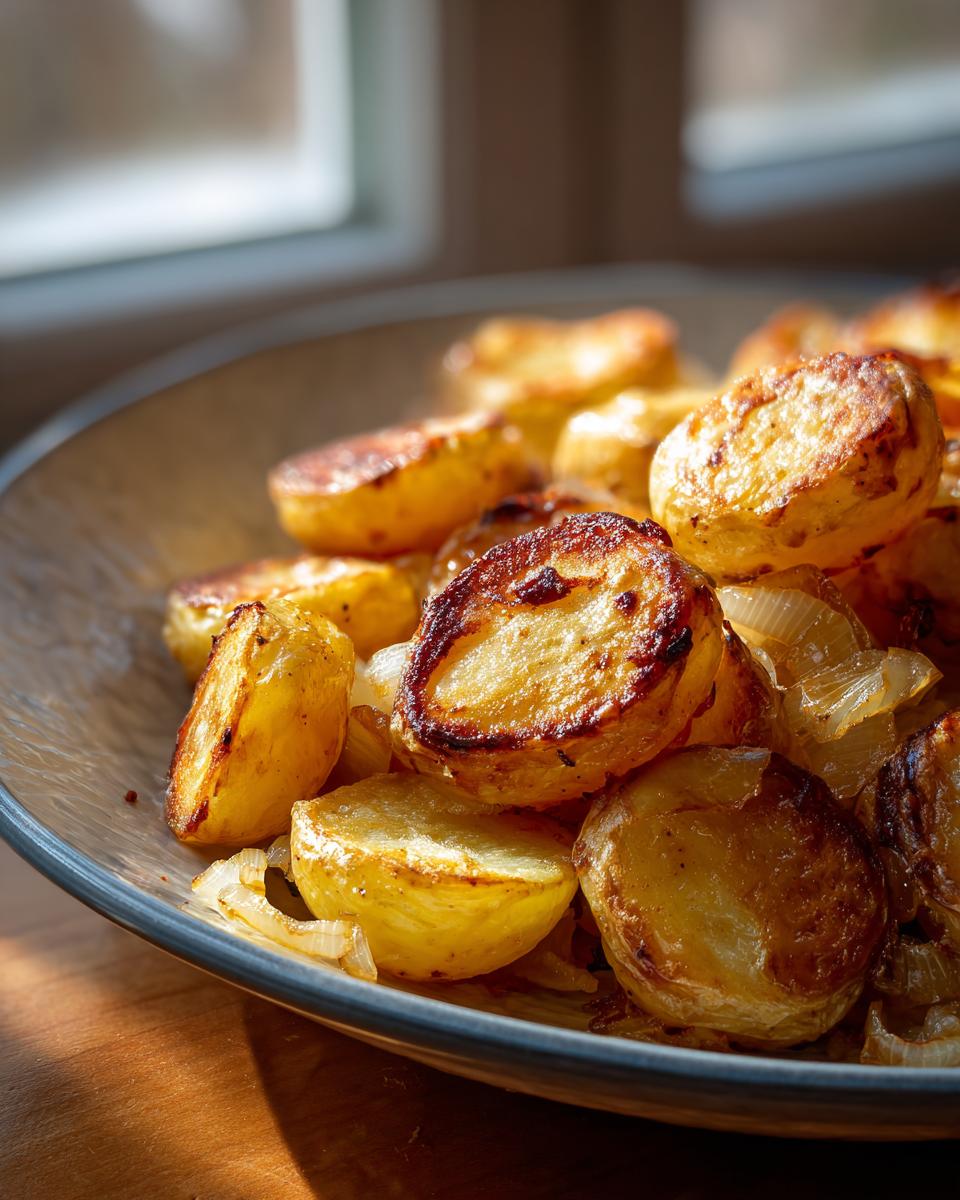
You know that moment when the waiter slides a plate of potatoes across the counter? They’re golden, they sizzle a little, and you just *know* that first bite is going to be shatteringly crisp? That’s the feeling I chased across the country when I was riding the tour bus. Forget fancy sauces—the real soul of American cooking is in the simple, perfect **fried potatoes**. Trust me when I say this Crispy Diner-Style recipe is the absolute best fried potatoes you will ever make. We’re talking that perfect contrast: unbelievably crispy on the outside and totally fluffy inside. It’s pure comfort, and I figured out the secrets from all those roadside diners so you don’t have to.
We’ll use simple ingredients but focus hard on technique here. If you end up loving these, make sure you check out how I put together a whole arsenal of great sides for those busy mornings with my guide to easy breakfast recipes!
- Why This Is the Best Fried Potatoes Recipe You Will Make (Experience & Trust)
- Ingredients for Crispy Fried Potatoes with Onions
- Step-by-Step Instructions for Perfect Skillet Potatoes Recipe
- Expert Tips for Truly Crispy Potatoes Every Time
- Making Southern Fried Potatoes with Onions and Garlic
- Serving Your Easy Potato Side Dish
- Storing and Reheating Leftover Fried Potatoes
- Frequently Asked Questions About Making Fried Potatoes
- Share Your Perfect Pan Fried Potatoes
Why This Is the Best Fried Potatoes Recipe You Will Make (Experience & Trust)
Look, I’ve messed this recipe up a hundred times on the road, usually because I was hungry and tried to rush it. But that experience taught me the few non-negotiable steps that separate good potatoes from the Best Fried Potato Recipe out there. The magic isn’t in gourmet sauces; it’s in starch management.
To get those Fluffy Inside Crispy Outside Potatoes, you absolutely have to soak your slices in cold water first. That pulls out the surface starch so the slices can actually brown instead of just steaming in the pan. Then, they must be bone-dry before hitting the fat. If you skip that drying step, you get sad, soggy potatoes, which is the opposite of what we want! The high heat and high-quality rendered fat are what seal the deal and give you that authentic texture. Get the prep right, and the rest is easy. Learn more about the science behind keeping things crispy in my guide on how to get potatoes crispy.
Ingredients for Crispy Fried Potatoes with Onions
When you’re cooking something this straightforward, the ingredients have to be top-notch, or they’ll just taste… plain. For these **fried potatoes**, you don’t need a giant shopping list. Actually, the quality of your fat matters way more than anything else here!
I tried using oil for years, and they were okay, but they never had that deep, savory flavor I remembered from the road. That’s why I insist on bacon grease or at least a good mix with real butter. That little bit of rendered pork fat just coats the potatoes perfectly and helps them achieve that signature crust. Check out my thoughts on using lots of butter in my buttery fried potatoes guide, but for this recipe, make sure the fat you choose can handle a good sear.
Here’s what you need to gather up:
- 3 tablespoons bacon grease or butter (Seriously, don’t skimp on flavor here!)
- 2 pounds Russet potatoes, peeled and cut into 1/4-inch thick slices (Don’t use waxy potatoes for this style!)
- 1 large yellow onion, thinly sliced
- 2 cloves garlic, minced (About 1 teaspoon if you’re using jarred stuff, but fresh is better)
- 1 teaspoon kosher salt
- 1/2 teaspoon black pepper
- 1/2 teaspoon paprika (Just regular sweet paprika, nothing fancy needed!)
Step-by-Step Instructions for Perfect Skillet Potatoes Recipe
Okay, we have our beautiful ingredients ready to go. Now we have to treat these taters right so they turn that gorgeous golden color we’re aiming for. This isn’t the time to rush, but honestly, the whole cooking process isn’t that long once you master the prep. If you’re looking for more great skillet methods, check out my general guide on making amazing skillet potatoes recipe!
The Crucial Prep: Soaking and Drying Your Potatoes
This first part is what separates the pros from the amateurs when making **fried potatoes**. Seriously, don’t skip this! Take those pretty slices and dump them into a big bowl. Cover them completely with cold water so they can just hang out for at least 30 minutes. That cold bath wicks away the excess starch clinging to the outside. That starch is the enemy of crispiness; it just turns into gummy glue when it hits the hot pan.
Once that soaking time is up, you drain them—and I mean *really* drain them. Then, you grab about a million paper towels and pat every single slice until it feels dry. I mean bone dry! This mimics the professional diner prep I saw on the road. If there’s water in the pan with the hot fat, you’re just making steam, and steam means soggy potatoes. Nobody wants soggy potatoes!
Achieving the Golden Sear on Your Fried Potatoes
Turn your heat up to medium-high. You want that bacon grease or butter shimmering—not smoking wildly, but definitely hot and ready for action. Now, this next part requires patience. Lay those slices into the pan in a single layer. If you have to work in two batches, do it! Overcrowding the pan instantly drops the temperature, and we’re back to soggy town.
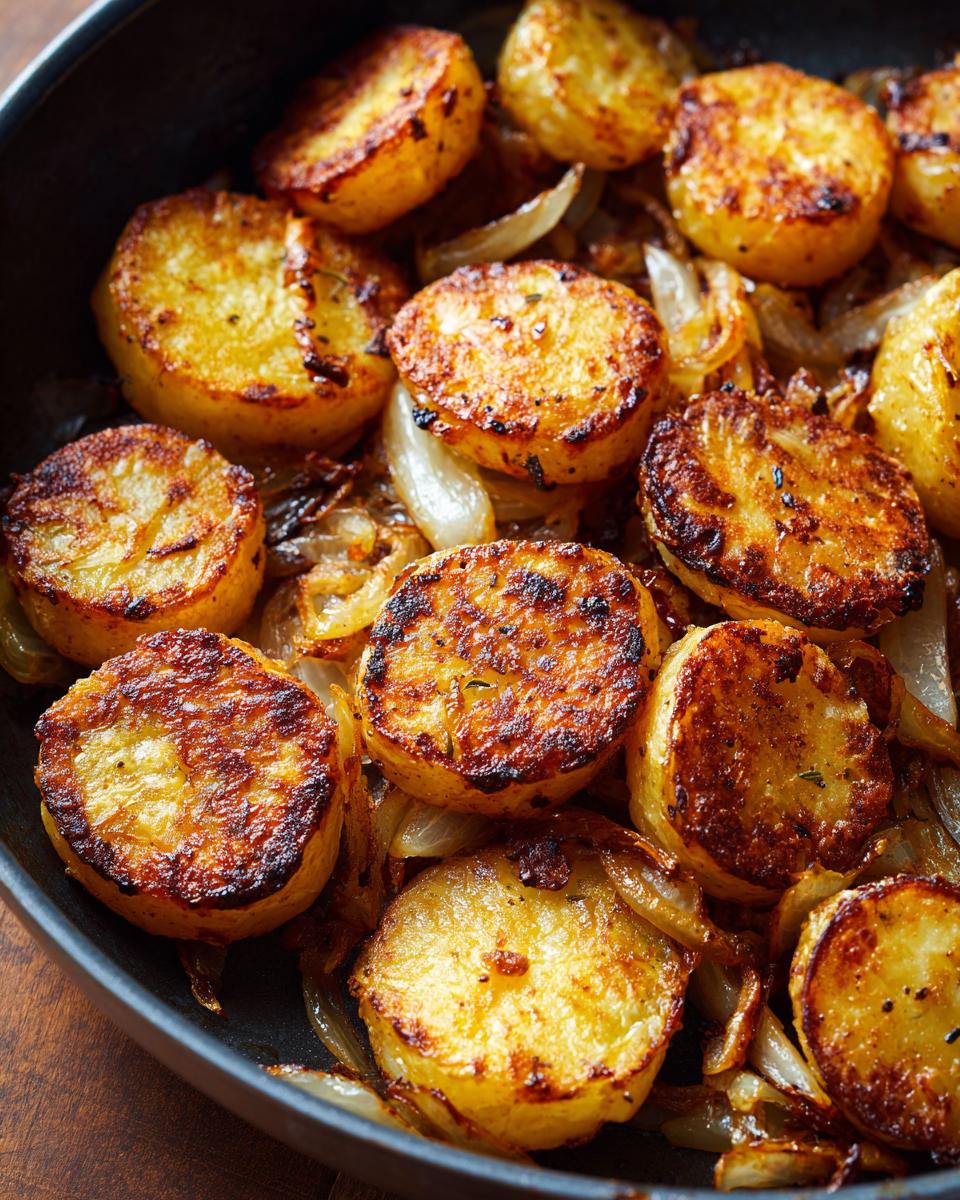
Crucially, *walk away* for 8 to 10 minutes. Don’t stir them! Let them stay put so that beautiful crust can form. Once you see the bottoms are deeply golden brown—that’s your cue. Flip them over and cook for another 5 to 7 minutes until the second side matches. That color is the key to those amazing **Diner Style Potatoes**.
After the initial sear, reduce the heat to medium. This is when we toss in those onions to soften them up. Once they start to look happy and translucent (about five minutes), then you bring in the garlic and spices for just one quick minute until you can smell that great garlic-herb fragrance. And just like that, your potatoes are done!
Expert Tips for Truly Crispy Potatoes Every Time
You’ve done the soaking and the drying, which already puts you ahead of 90% of people attempting this at home. But if you really want to nail that ‘shatteringly crisp’ texture, we need to talk details. I spent a lot of time figuring out how to get potatoes crispy without resorting to deep frying, and it all comes down to selecting the right starting line-up.
If you’re looking for creative ways to use up potato scraps later, check out my recipe for mashed potato cakes, but for these skillet beauties, precision matters!
Choosing the Right Potato and Fat for Your Fried Potatoes
Potato varieties make a huge difference here, I learned that the hard way when I tried making these in Idaho with beautiful, waxy reds—total disaster! For this recipe, you absolutely need a starchy potato like a Russet or an Idaho. They break down just enough on the surface during cooking to create that gorgeous, craggy, crispy crust we love, while the center stays soft and almost fluffy. Yukon Golds work okay, but they tend to stay a bit too creamy overall.
Now let’s talk fat again, because this is where the flavor payoff is huge. While you can certainly use vegetable shortening or just butter, if you have rendered bacon grease sitting around—use it! It has a higher smoke point than straight butter, which means it can get hotter without burning, giving you that deep sear faster. If you are using butter only, you might want to reduce the heat just a hair faster after the initial browning to keep that milk solid from scorching.
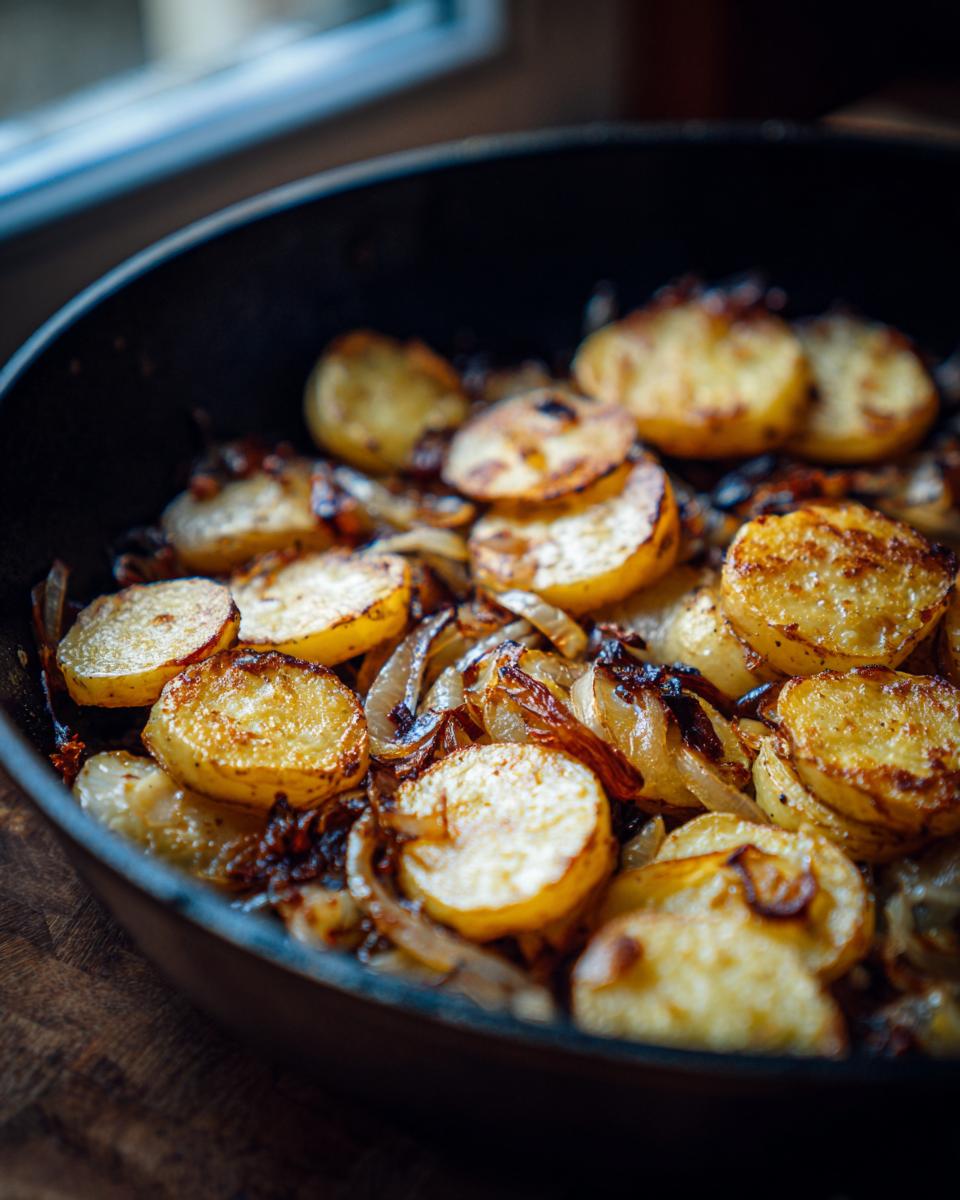
Making Southern Fried Potatoes with Onions and Garlic
When I started trying to recreate those legendary roadside dishes, the Southern versions were always the ones that stuck with me the most. They have that deep, comforting flavor profile that just screams ‘home cooking,’ even if you aren’t from below the Mason-Dixon line. That flavor combo is really driven by how we marry the starch of the potato with the aromatics.
If you look at the ingredient list, you see we use onions and garlic—these two are the heart and soul of flavorful **fried potatoes with onions**. However, the timing here is everything. You can’t just throw the garlic in at the beginning like you might with roasted veggies. Trust me on this: garlic burns fast, and burned garlic tastes bitter, which ruins the whole vibe of this beautiful **comfort food side dish**.
We let the potatoes cook almost completely first. They need that deep, rich, golden-brown exterior—that crust—before anything else soft goes in. Once the potato slices have fully browned on both sides from the initial high-heat blast, *then* we step down the heat slightly. This is crucial for getting perfectly cooked **Potatoes with Onions Fried**.
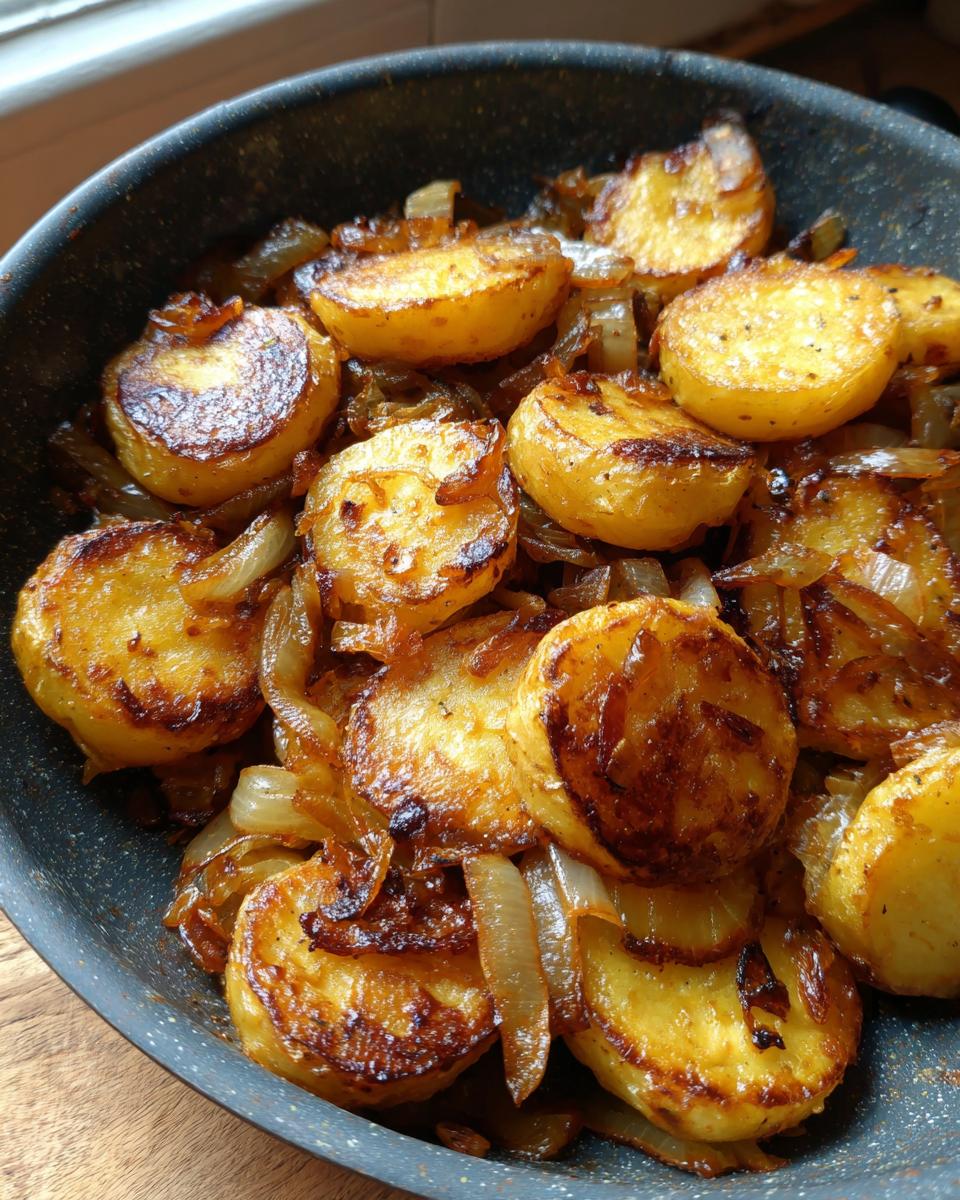
By reducing the heat and adding the onions, we give them time to soften and start developing those sweet, savory caramelized edges without scorching. We cook them until they start getting translucent and sweet—about five minutes usually does it. Only in the absolute final minute do we introduce the minced garlic. Just enough time for the heat to wake up its fragrance, but not long enough for it to turn brown and bitter. That gentle integration of savory onion and sharp garlic, hugging that crispy potato slice? That’s pure gold.
If you enjoy this kind of deep Southern flavor, you have to see the recipe I developed for the most incredible, creamy, and decadent cheese grits. It’s the perfect partner for these potatoes!
For even more incredible inspiration on this style, you should absolutely check out the original recipe from Southern Bite—they know how to do true Southern cooking right: Southern Fried Potatoes.
Serving Your Easy Potato Side Dish
So you’ve got this glorious skillet full of crispy, buttery goodness. Now what? The beauty of these sliced, pan-fried potatoes is that they aren’t chained to one meal. They work just as well at 8 AM as they do at 7 PM!
If you’re keeping it classic, these are absolutely the best **Breakfast Potatoes** you can serve. Pile them next to scrambled eggs, maybe add a runny fried egg right on top—that yolk mixing with the rendered fat and onions? Perfection. They’re also a fantastic, hearty addition to corned beef hash if you’re feeling ambitious.
But don’t save them just for the morning! These make phenomenal **Potato Recipes for Dinner**. I love pairing them with something simple, like a grilled pork chop or a good, juicy burger. They feel way more special than a regular baked potato but take almost no longer than boiling them. If you need more quick ideas for pairing sides with dinner, swing by my list of easy breakfast recipes.
Honestly, I think they are best served immediately, right off the heat. They tend to lose that shatteringly crisp edge if they sit for too long, so serve them right away and watch them disappear!
Storing and Reheating Leftover Fried Potatoes
I know, I know. When these come out of the skillet, they are so good they barely last long enough to make it to the table! But sometimes you make too many, or maybe you just want to prep ahead for some amazing easy meals the next day. Reheating these properly is key because you want to bring back that crispy exterior we worked so hard for.
For storage, you need to let them cool down almost completely first. If you put hot potatoes into a container, you’re just trapping steam, and that steam turns your crispy edges soft fast! Once they are cooled, put them in an actual airtight container. They’ll be fine in the fridge for about three days, tops. Any longer than that, and they start losing their flavor quality, in my opinion.
Now, the reheating part. Do yourself a favor and forget the microwave. The microwave is the absolute enemy of crispy things; it just heats the water molecules inside and makes everything steamy and mushy. You have to use dry heat to rescue them.
I always go back to the skillet—my trusted cast iron—for the best results, even if I’m using them as part of my weeknight dinner recipes.
- Heat a clean skillet over medium-high heat. Add just a tiny slick of fresh butter or oil—you don’t need a lot since they already cooked in plenty of fat.
- Spread the cold potatoes out in a single layer. Again, don’t overcrowd the pan! If you have a huge pile, you need to do a few small batches.
- Let them sit completely undisturbed for about 4 to 5 minutes until you hear that sizzle getting strong again. That means the residual moisture is cooking off and the crust is reforming.
- Flip them gently and cook for another 2 to 3 minutes until they are heated all the way through and look shiny and browned again.
If you are in a huge rush and truly can’t use a skillet, the oven or an air fryer on about 375°F (190°C) works okay if you spread them in a single layer on a sheet pan. Just watch them closely so they don’t dry out completely while they reheat!
Frequently Asked Questions About Making Fried Potatoes
I get so many questions about how to tweak this method, which is awesome! It shows you’re ready to get creative in the kitchen. Since I know everyone has slightly different goals—maybe you need an **Easy Potato Side Dish**, or maybe you’re trying to manage fat intake—I wanted to tackle a few of the biggest questions right here.
If you need even more quick cooking inspiration after you’ve mastered these, take a look at my ideas for other quick potato sides!
Can I make these Oven Fried Potatoes Healthy instead?
Oh, absolutely you can! I get it. Sometimes you want that flavor without standing over a hot skillet, or maybe you’re watching the amount of rendered fat you use. While I will always preach that pan-frying gives you that true diner texture, you can definitely pivot this to **Oven Fried Potatoes Healthy** style. The trick is adapting the method slightly. Instead of tossing the dried slices in three tablespoons of bacon grease, try tossing them with just one or two tablespoons of high-quality olive oil—make sure it coats everything, but not so much that it’s dripping. Lay them out on a good, sturdy sheet pan in a single layer—don’t overlap them! Pop them into a hot oven, maybe around 425°F (220°C), and flip them halfway through. They won’t get *quite* the same dark sear, but you get fantastic flavor and a great crust with less oil.
What is the difference between Home Fries and these Fried Potatoes?
That’s a great question that trips a lot of people up! They are close cousins, both being fantastic **Comfort Food Side Dishes**, but the difference usually comes down to the cut and the initial cook. My recipe here creates classic sliced **fried potatoes**, often called “Diner Style.” They are sliced thin and browned directly in the fat.
**Home Fries** are usually diced or cubed rather than sliced, and most classic recipes call for par-boiling those cubes first before they ever hit the skillet. The par-boiling softens the interior before you crisp the outside. Because we’re slicing thin here, we skip the boil and rely on the lengthy initial pan-fry to soften the centers. So, for mine, it’s about the slice and the *no-stir* initial sear. For traditional **Home Fries Recipe**, it’s often about the cube and the pre-boil!
Share Your Perfect Pan Fried Potatoes
I poured everything I learned on that long road into this recipe for **fried potatoes**, and honestly, it feels like I’m sharing a little piece of the best memories I’ve made outside a standard kitchen. I truly believe this pan-fried method gives you that magic balance of crisp exterior and fluffy center every single time, provided you respect the soaking and drying!
Now it’s your turn! Did you try the bacon grease? Did you leave them undisturbed long enough to get that amazing sear? I need to know what you think. Drop a star rating down below—one star means disaster, five stars means you tasted the best onion-and-garlic infused potatoes of your life!
If you made any tweaks—maybe you added smoked paprika or used potatoes and onions diced instead of sliced—please share your genius in the comments. We’re all building flavor memories here, and I love hearing how you transform these simple recipes into your own family favorites.
PrintCrispy Diner-Style Pan Fried Potatoes with Onions
You can achieve shatteringly crisp edges and a tender interior with this simple recipe for pan fried potatoes. We cook these skillet potatoes with onions and garlic for classic diner flavor.
- Prep Time: 35 min
- Cook Time: 25 min
- Total Time: 60 min
- Yield: 4 servings 1x
- Category: Side Dish
- Method: Pan Frying
- Cuisine: American
- Diet: Vegetarian
Ingredients
- 3 tablespoons bacon grease or butter
- 2 pounds Russet potatoes, peeled and cut into 1/4-inch thick slices
- 1 large yellow onion, thinly sliced
- 2 cloves garlic, minced
- 1 teaspoon kosher salt
- 1/2 teaspoon black pepper
- 1/2 teaspoon paprika
Instructions
- Place the sliced potatoes in a large bowl and cover them completely with cold water. Let them soak for at least 30 minutes. This step removes excess starch and helps them crisp up later. Drain the potatoes well and pat them completely dry using paper towels. This is key for crispiness.
- Heat the bacon grease or butter in a large, heavy-bottomed skillet (cast iron works best) over medium-high heat until shimmering.
- Add the dried potato slices to the hot skillet in a single layer. Do not overcrowd the pan; work in batches if necessary. Let the potatoes cook undisturbed for 8 to 10 minutes until the bottoms are deeply golden brown and crisp.
- Flip the potatoes and cook for another 5 to 7 minutes until the second side is browned.
- Reduce the heat to medium. Add the sliced onions to the skillet and cook, stirring occasionally, until they soften and begin to caramelize, about 5 minutes.
- Stir in the minced garlic, salt, pepper, and paprika. Cook for 1 minute more until the garlic is fragrant.
- Remove the skillet from the heat. Serve your crispy fried potatoes immediately as a breakfast side dish or dinner accompaniment.
Notes
- For extra flavor, substitute half of the bacon grease with bacon grease rendered from cooking bacon.
- If you prefer a softer texture, cover the skillet for the last 5 minutes of cooking to steam the potatoes slightly after they have browned.
- To get the best results for truly crispy potatoes, avoid stirring them too often during the initial browning phase.
Nutrition
- Serving Size: 1 serving
- Calories: 310
- Sugar: 3
- Sodium: 450
- Fat: 15
- Saturated Fat: 6
- Unsaturated Fat: 9
- Trans Fat: 0
- Carbohydrates: 40
- Fiber: 4
- Protein: 5
- Cholesterol: 15