
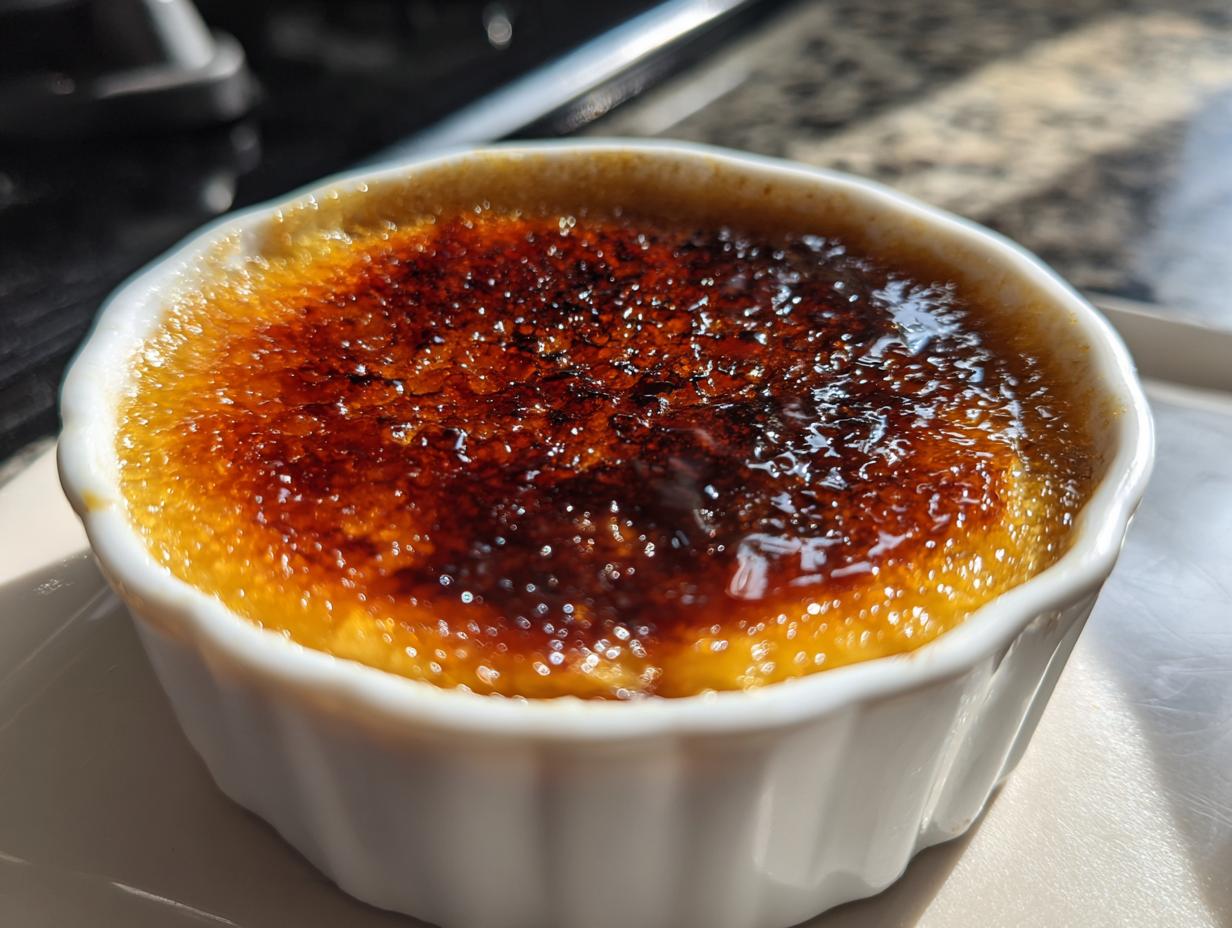
Forget feeling intimidated by fancy French desserts! I promise you can make restaurant-quality treats right in your own kitchen. That magic moment—hearing the tiny *crack* of that glassy sugar top—is totally achievable when you master this crème brûlée recipe. My journey started years ago, bouncing around America seeing what real folks cooked up, and I brought that accessible passion right here. Believe me, turning simple cream and yolks into this elegant French dessert is way simpler than you think if you just follow the steps!
We’re going to skip the fussy stuff and focus only on what gets you that amazing result. Check out our philosophy over at YumDrizzle; we think amazing flavor should be fun! This custard is proof of that.
- Why This Classic Creme Brulee Recipe Delivers Restaurant Quality
- Ingredients for Your Elegant French Dessert Creme Brulee
- Step-by-Step Instructions for Perfect Creme Brulee
- Mastering the Caramelized Sugar Topping on Your Creme Brulee
- Tips for Success When Making Creme Brulee
- Storage and Making Ahead for Your Creme Brulee
- Frequently Asked Questions About This Classic Creme Brulee
- Serving Suggestions for Your Elegant French Dessert
- Nutritional Estimates for Creme Brulee
- Share Your Creme Brulee Success
Why This Classic Creme Brulee Recipe Delivers Restaurant Quality
Okay, friends, this classic crème brûlée isn’t fancy because of tricky ingredients; it’s fancy because of technique! We are sticking to two non-negotiable steps that guarantee you don’t end up with sweet scrambled eggs. This is where the magic—and the trust—comes from in this recipe.
The Perfect Vanilla Custard Dessert Texture
You absolutely need that water bath, or *bain-marie*. Listen, that warm, gentle heat rising from the water is the secret to keeping your vanilla custard dessert silky smooth. It cooks the eggs slowly and evenly. Also, grab your best vanilla extract—the good quality stuff makes such a difference here. We aren’t messing around when it comes to that luxurious mouthfeel!
Achieving the Shattering Caramelized Sugar Topping
This is the part everyone waits for! Torching the sugar on top is the absolute grand finale. It creates that satisfying *crack* sound we all want. Don’t panic about burning it; I’ll walk you through keeping your torch moving so you get a gorgeous, thin, amber crust instead of charcoal. It’s all about quick, even heat on a fully chilled custard.
Ingredients for Your Elegant French Dessert Creme Brulee
Okay, this is the easy part, honestly! Crème Brûlée proves that you don’t need a million things to make something taste like it cost a fortune. We are using just five main components, but quality really matters here. Don’t even think about trying to skimp!
- 5 large egg yolks
- 2 cups heavy cream
- 1/2 cup granulated sugar plus extra for topping
- 1 teaspoon vanilla extract
- Pinch of salt
Ingredient Notes and Substitutions
Since there are so few things in here, every ingredient has to pull its weight. Trust me when I say you must use heavy cream. Half-and-half or milk simply won’t give you that unbelievably rich, velvety texture we’re aiming for in this vanilla custard dessert. If you switch, you’ll end up with watery custard, and that’s just sad!
Also, we need those yolks rich and ready to work. Make sure you are using fresh, large egg yolks—not whites! The yolks are what thicken the cream into that amazing dessert structure. And while we’re talking flavor, spring for the real vanilla extract. It makes the whole vanilla custard dessert sing!
Step-by-Step Instructions for Perfect Creme Brulee
Alright, take a deep breath! This is where we turn ingredients into actual, edible magic. Making crème brûlée is rhythmic, like a little dance between heat sources. We need to be gentle when adding heat to the eggs, smart about the oven, and patient while chilling. Don’t rush this part, and you’ll have the most elegant French dessert on the block.
Preparing the Custard Base and Tempering Eggs
First things first, get your oven humming at 300°F (150°C) and set your little ramekins inside that deep baking dish. Now, gently warm your heavy cream and vanilla until tiny bubbles show up around the edges—don’t let it boil, or the flavor gets weird! In a separate bowl, whisk those yolks and sugar until they look pale yellow and smooth. This is crucial.
Here comes the tricky bit: tempering! You have to slowly pour about one cup of that warm cream into your eggs *while whisking constantly*. If you dump it all in, you’re making scrambled eggs, trust me! We do this slowly to gently lift the temperature of the yolks. Once that’s combined, pour everything back into the saucepan with the rest of the cream. Give it one last gentle whisk, then strain that whole beautiful mixture through a fine sieve. Straining gets rid of any tiny cooked bits and guarantees that super smooth finish for your vanilla custard dessert.
Baking the Creme Brulee in a Water Bath
Carefully pour the strained custard into your waiting ramekins. Now, the water bath step: pour hot water into the baking pan until it goes halfway up the sides of the dishes. This water moderates the oven heat, ensuring a gentle bake. Pop that whole setup into the oven for 30 to 40 minutes. You want the edges set, but the very center should still have a slight, nervous jiggle when you gently nudge the pan. Don’t look for a solid center—it will firm up as it cools down!
Once they look right, carefully fish those ramekins out of the hot water and let them cool down on a rack. Then, they need a long nap! You must chill them in the fridge for at least four hours, though overnight makes them even better. The colder they are, the better the final sugary crack will be!
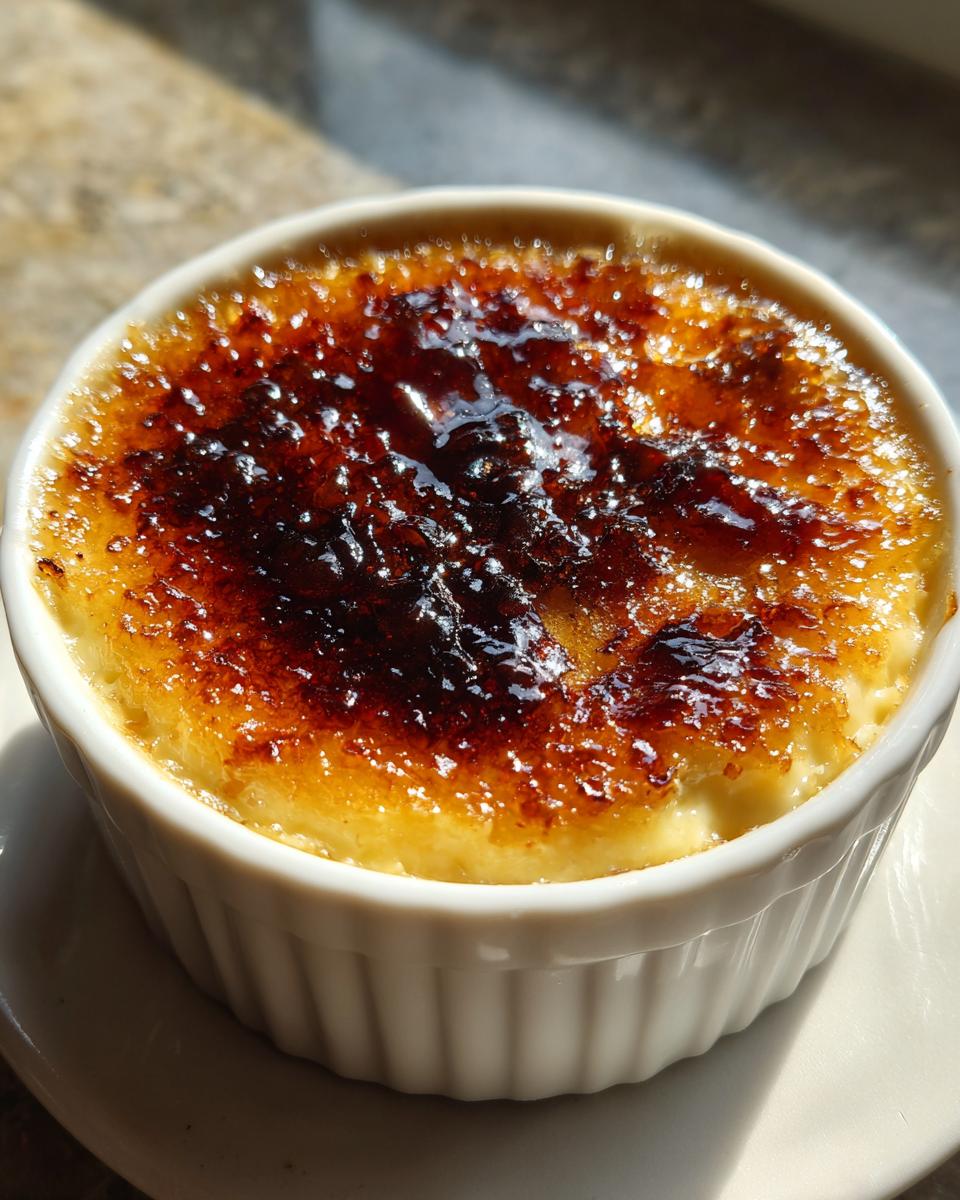
Mastering the Caramelized Sugar Topping on Your Creme Brulee
We have reached the grand finale! After all that quiet patience letting your custard chill, it’s time for the drama. Creating that glass-like, shattering crust on top of your crème brûlée is seriously satisfying. It’s the moment that makes this dessert feel like pure luxury.
First, make sure those custards are ice cold from the fridge. If they are warm, the sugar heats up too fast and just melts into the custard instead of cracking into a brittle shell. Don’t skip the chilling step—it’s vital for that temperature contrast!
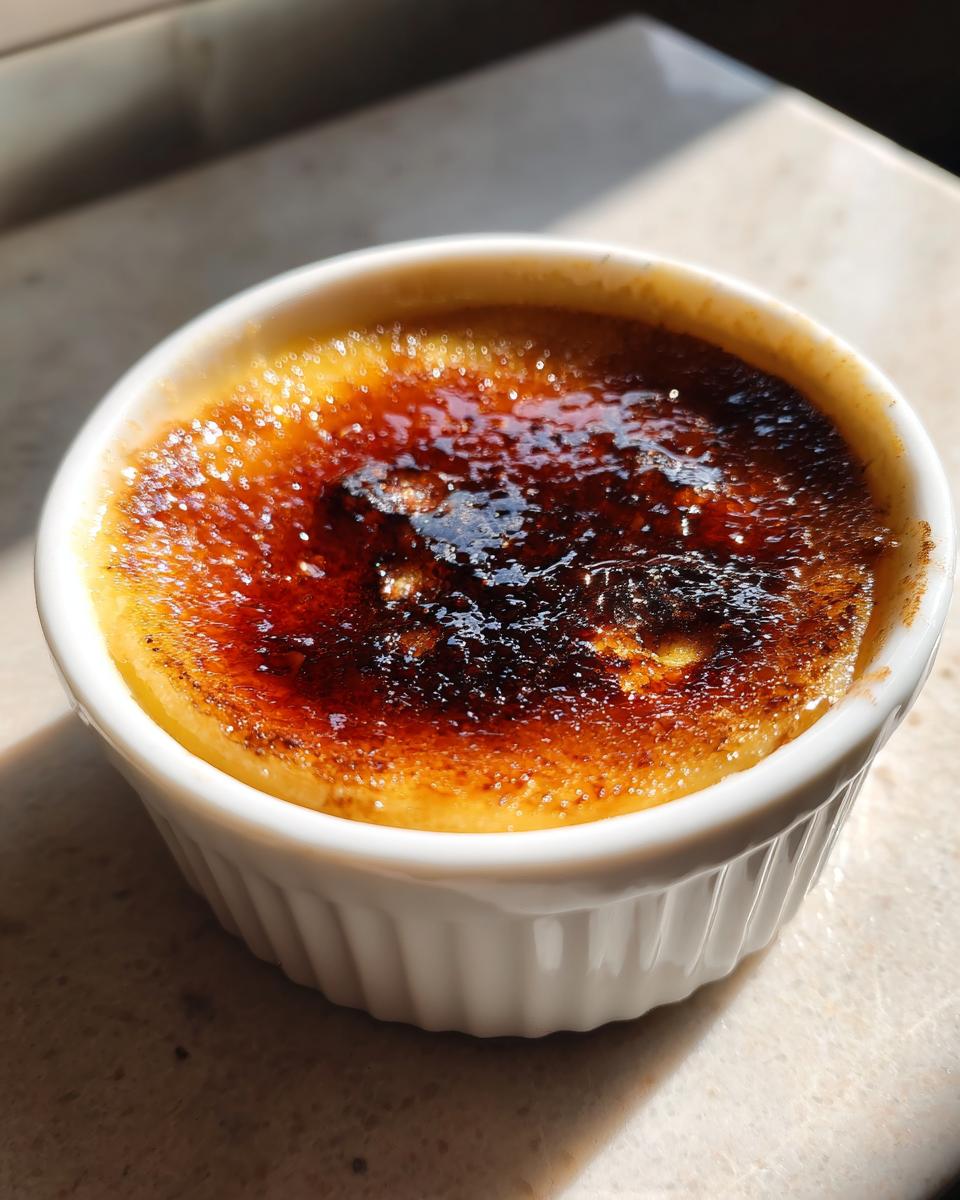
Take your chilled ramekins and sprinkle an even, perfectly thin layer of sugar—just granulated sugar—across the top. You want a uniform coating, so be careful not to pile it up too thick in the middle. If you have pools of sugar, you’ll end up burning those spots!
Now, grab your kitchen torch. If you don’t have one, don’t worry; I’ll give you a backup plan in a minute! Hold the flame about three inches above the sugar and move it constantly in small circles over the entire surface. Watch it closely! The sugar will begin to bubble, then turn gold, and finally darken to a rich amber color. Stop as soon as it looks like thick, dark honey. Seriously, it goes from perfect to black in three seconds flat, so keep that torch moving!
Once you’ve hit that gorgeous amber color, immediately set the ramekins aside. Let that newly made caramelized sugar topping cool for just a few minutes until it hardens up completely. That’s the magic moment—test it with the back of a spoon for that beautiful *crack*.
If you absolutely, positively cannot find a torch, you can use your broiler. Preheat that broiler on high heat. Place the sugar-topped custards on a baking sheet and slide them under the broiler, but you have to stand right there and watch them like a hawk. I mean it—don’t even glance away! It might take only 60 to 90 seconds to caramelize, and it can burn instantly. Torching gives smoother results, but the broiler works in a pinch to finish your elegant French dessert!
Tips for Success When Making Creme Brulee
Listen, I’ve made enough batches of crème brûlée to know exactly where things can go sideways. Don’t worry if your first attempt isn’t perfect; that’s how we learn, right? I want to save you the trouble of wasted heavy cream, so here are a few insider secrets I’ve picked up over the years that really make planning easier.
First, let’s talk about the pan size. I used 6-ounce ramekins for this recipe, but if you use bigger ones, your baking time is going to change completely. Bigger ramekins mean the heat takes longer to reach the center, so you might need an extra 10 or 15 minutes in that water bath. If you use smaller ones, keep checking early!
A huge pitfall is timing the chill time. Remember when I said chill for at least four hours? Don’t cheat that process! If the custard isn’t fully chilled—meaning your entire ramekin is cold all the way through—that sugar topping won’t set properly when torched. It’ll melt down into a boring syrup instead of giving you that satisfying *thwack* when tapped. Cold custard is friendly custard.
Also, when you’re heating the cream, don’t just guess when it’s “hot enough.” You are looking for those tiny bubbles forming right around the edge of the pan, that’s it. If you boil it vigorously, you risk evaporating too much liquid, throwing off the ratio for your vanilla custard dessert. A low, slow warmth is key when introducing it to the yolks.
Finally, while the recipe calls for straining, I always double-strain my custard if I’m feeling paranoid. Pouring it through the sieve, then maybe rinsing the bowl out with the last bit of warm cream, and then straining it *again* into the measuring cup ensures zero lumps. That extra pass is my tiny act of pure dedication to a flawless crème brûlée.
Storage and Making Ahead for Your Creme Brulee
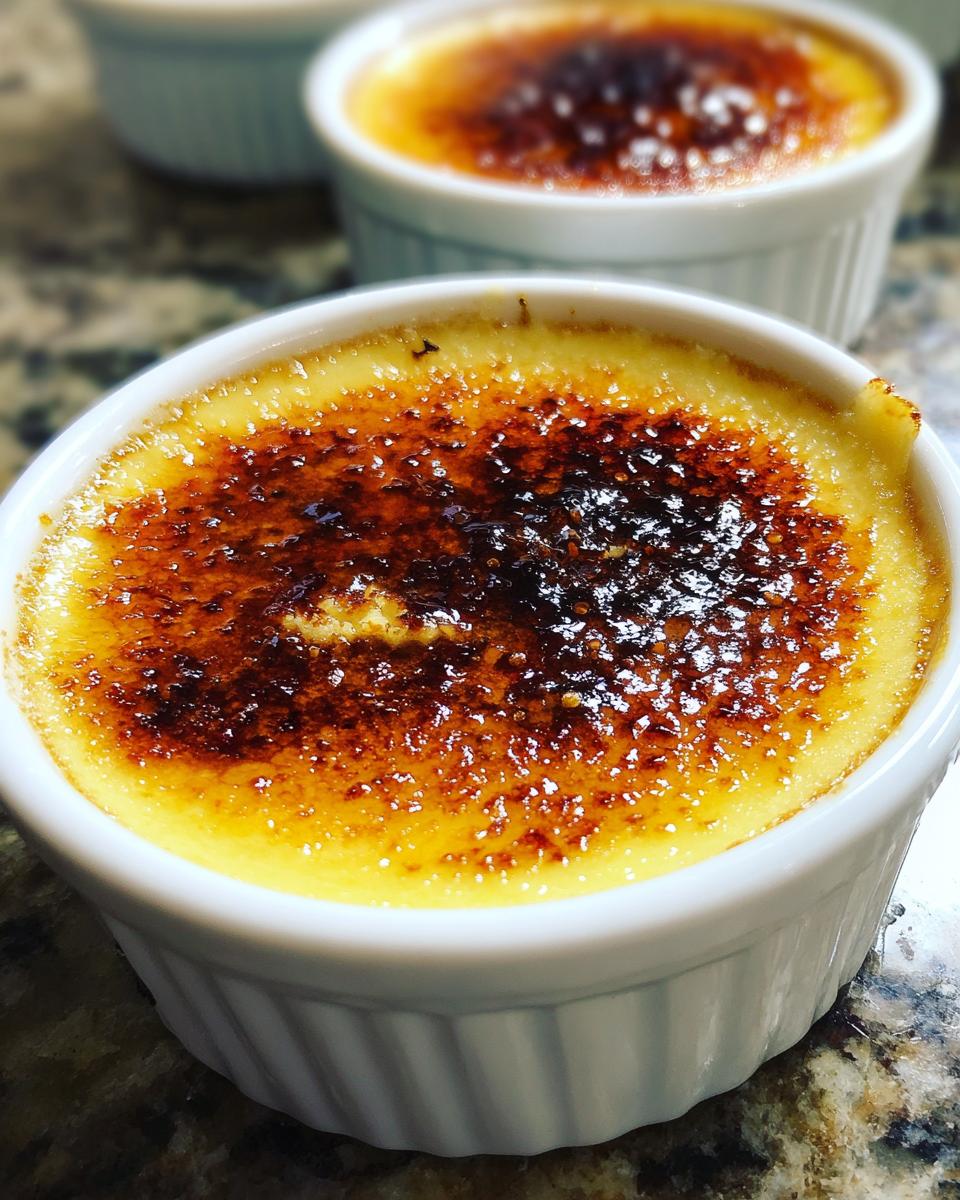
One of the best things about making this crème brûlée is that you can totally do most of the work ahead of time! This is why it’s such a famous elegant dessert for parties—you tackle the tricky part days before you even have guests.
The key thing to remember is that you absolutely must finish the torching right before serving. You can’t torch it and then put it back in the fridge; if you do that, the beautiful caramelized crust will start to get soggy and weep moisture back into that perfect vanilla custard dessert. We want the contrast, remember?
So, here is the process: make the custard, bake it, let it cool down on the counter completely, and then cover those ramekins tightly with plastic wrap. You can keep the *un-torched* custard in the refrigerator for up to three days. Yes, three whole days! They stay beautiful and firm.
When you’re ready to serve, just pull them out. Wipe off any condensation clinging to the top of the plastic wrap with a paper towel—this is important because moisture is the enemy of a good sugar crust. Then, sprinkle that layer of sugar on top and get torching!
If your custard is already nice and chilled, the sugar will caramelize beautifully and harden quickly, leaving you with that spectacular crack. Honestly, making these a day ahead removes all the stress from dessert timing. It’s my favorite little trick!
Frequently Asked Questions About This Classic Creme Brulee
I get so many questions about this dessert because it seems so intimidating, but trust me, once you know the little secrets, it’s a total breeze. Here are some of the things people always ask me when they try making their first classic creme brulee!
Can I make this vanilla custard dessert without a kitchen torch?
Oh, I totally get it—not everyone has a torch lying around! Yes, you absolutely can use your oven’s broiler. I mentioned it briefly before, but I want to stress this: you must use the highest heat setting and keep the rack as close to the element as possible, but not *too* close.
Place the chilled, sugar-topped custards on a baking sheet and slide them under the broiler. You need to watch like a hawk! It might only take a minute, maybe less! You’re looking for that sugar to melt and turn amber. The drawback is that the broiler warms up the whole cold custard a tiny bit, so you miss that perfect icy-cold-bottom/hot-top contrast you get with a torch. But hey, it still gives you that amazing caramelized sugar topping, which is better than not making it at all!
My custard curdled slightly. What went wrong?
Ugh, curdling custard is the saddest thing in the kitchen, isn’t it? Usually, this happens because the eggs got too much direct heat, too fast. It means you likely didn’t temper slowly enough. Remember when we slowly poured the warm cream into the yolks while whisking nonstop? That step is your best defense against scrambling!
If you dump the hot cream in all at once, those yolks seize up instantly, and boom—tiny flecks of cooked egg appear. The other factor? Overbaking. If you left the custard in the oven too long after the edges set, the residual heat keeps cooking it, and it starts to firm up past that “slight jiggle” stage. That’s why the water bath is non-negotiable for this elegant French dessert!
What is the deal with the chilling time? Can I cut it short?
I know, I know, waiting is hard, especially when your kitchen smells like pure vanilla heaven! But seriously, please don’t cut the chilling time short if you can help it. If the custard isn’t completely cold—I mean bone-chilling cold—when you sprinkle the sugar on top, the heat from the torch will just melt the sugar right into the surface instead of creating that hard, brittle layer.
I recommend at least four hours, but honestly, chilling them overnight is my favorite way to handle this vanilla custard dessert. It lets the flavors deepen, and you get a much better texture when you go to crack that top!
Serving Suggestions for Your Elegant French Dessert
You’ve tackled the roasting, the tempering, and the torching—you deserve a round of applause! Now that you have this spectacular, perfectly snapping crème brûlée, how do you present it? The beauty of this rich, vanilla custard dessert is that it really stands on its own, but a few little additions can take it from great to show-stopping, especially when you are serving an elegant French dessert.
The key here is contrast. Since the custard is cold and rich and the top is warm and sweet, you want something that offers a little brightness or texture on the side. Don’t go overboard trying to pair it with complicated sauces; that usually just muddies the fantastic work you did with that caramelized sugar topping!
My favorite thing to serve alongside homemade crème brûlée is a small pile of very fresh berries. Raspberries or sliced strawberries are phenomenal because their tartness cuts right through the richness of the cream and egg yolks. They add a gorgeous pop of color against the white custard, too.
If you’re looking for something crunchy rather than fruity, stick to something simple and buttery. A couple of crisp shortbread cookies or even some almond biscotti work wonderfully for dipping, if you’re feeling daring! Just a gentle dip—you don’t want to knock that perfect sugar crust off!
And finally, for grown-up gatherings, sometimes a tiny drizzle of something flavored enhances the experience. A very subtle coffee liqueur poured lightly over the berries, or even just a little freshly grated orange zest sprinkled right over the top after the caramel sets, adds a layer of refinement that feels totally professional. Enjoy seeing the delight on your guests’ faces when they hear that first *crack*!
Nutritional Estimates for Creme Brulee
I always get asked about the nutrition facts for this rich dessert, and I totally get it! When you’re making something this decadent, it helps to know what you’re working with. But, listen up—these numbers are just ballpark estimates based on the standard heavy cream and sugar quantities we used.
Keep in mind that the final count can shift wildly depending on whether you use organic eggs or if the brand of heavy cream you buy is slightly higher in fat. These are great guidelines, but they aren’t a strict medical chart. We’re aiming for indulgence, after all!
For one single serving (that’s one of our lovely ramekins!), here’s what the math generally works out to:
- Serving Size: 1 ramekin
- Calories: 380
- Sugar: 25g
- Sodium: 50mg
- Fat: 30g
- Saturated Fat: 18g
- Unsaturated Fat: 10g
- Trans Fat: 1g
- Carbohydrates: 26g
- Fiber: 0g
- Protein: 8g
- Cholesterol: 250mg
As you can see, this is definitely a treat! We’re using high-fat dairy and egg yolks for that signature texture, which means the fat content is up there. That’s where the richness comes from! Just enjoy it, really savor that perfect, shattering caramelized sugar topping, and know you made something truly special!
Share Your Creme Brulee Success
Wow, we made it! You went from novice to mastering one of the most impressive-sounding desserts out there. I really hope you loved making this crème brûlée. Seeing that perfectly smooth custard and hearing that first satisfying *crack* of the caramelized sugar topping is just the best feeling, isn’t it?
Now that you’ve created your own batch of this ridiculously delicious, elegant French dessert, I’d absolutely love for you to come back here and shout about it!
Did you nail the torching on the first try? Did your vanilla custard dessert jiggle just right when you pulled it out of the water bath? Don’t keep your victories—or even your little rookie oopses—to yourself!
Head down to the comments right below this section. Seriously, I want to know everything! Please rate the recipe if you loved it, and if you have photos of your perfect sugar crusts, share them on social media and tag me! Seeing you make these recipes in your own kitchen is why I do all this work.
Your feedback helps other home cooks feel brave enough to try making their own classic crème brûlée next time. Happy baking, and I can’t wait to see those beautiful crack photos!
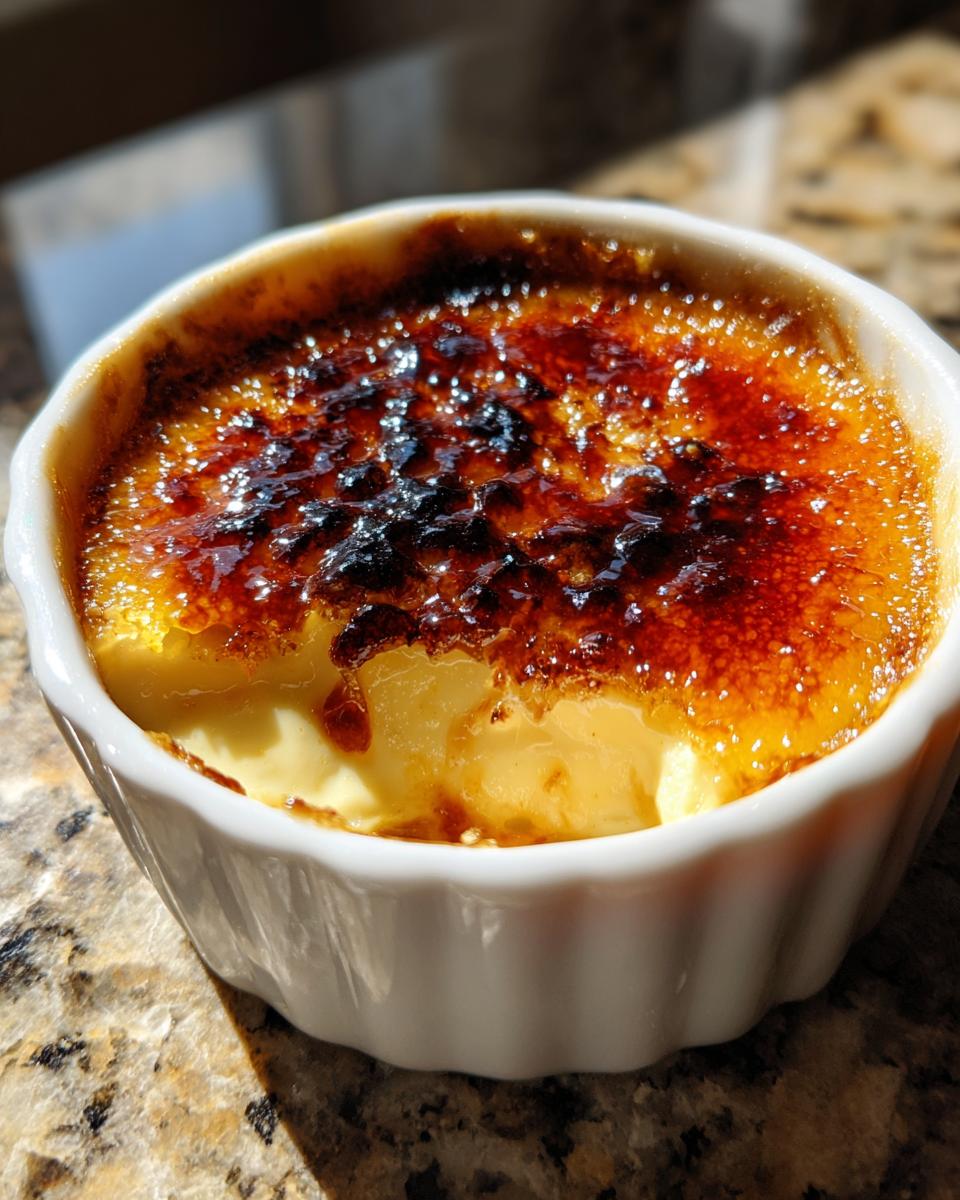
PrintClassic Crème Brûlée

Make a restaurant-quality vanilla custard dessert with a shattering caramelized sugar topping using simple ingredients.
- Prep Time: 15 min
- Cook Time: 40 min
- Total Time: 4 hours 55 min
- Yield: 4 servings 1x
- Category: Dessert
- Method: Baking and Torching
- Cuisine: French
- Diet: Vegetarian
Ingredients
- 5 large egg yolks
- 2 cups heavy cream
- 1/2 cup granulated sugar plus extra for topping
- 1 teaspoon vanilla extract
- Pinch of salt
Instructions
- Preheat your oven to 300°F (150°C). Place four 6-ounce ramekins in a deep baking pan.
- In a medium saucepan, gently heat the heavy cream and vanilla extract over medium-low heat until small bubbles form around the edge. Do not boil. Remove from heat.
- In a separate bowl, whisk the egg yolks and 1/2 cup of sugar together until the mixture is pale yellow and smooth. Add the pinch of salt.
- Temper the egg yolks: Slowly pour about one cup of the warm cream mixture into the egg yolk mixture while whisking constantly. This prevents the eggs from scrambling.
- Pour the tempered egg mixture back into the saucepan with the remaining cream. Whisk until fully combined.
- Strain the custard mixture through a fine-mesh sieve into a large measuring cup or bowl to remove any lumps.
- Divide the custard evenly among the four ramekins.
- Carefully pour hot water into the baking pan until the water reaches halfway up the sides of the ramekins. This creates a water bath.
- Bake for 30 to 40 minutes, or until the edges are set but the center still has a slight jiggle when gently shaken.
- Carefully remove the ramekins from the water bath and let them cool completely on a wire rack. Then, chill them in the refrigerator for at least 4 hours, or preferably overnight.
- Before serving, sprinkle an even, thin layer of granulated sugar over the top of each chilled custard.
- Use a kitchen torch to melt and caramelize the sugar until it forms a dark amber, glass-like crust. Watch closely to avoid burning.
- Let the caramelized sugar cool and harden for a few minutes before serving.
Notes
- For the best texture, do not overbake the custard; the center should remain slightly soft.
- If you do not have a kitchen torch, you can place the sugar-topped custards under a preheated broiler for 1-2 minutes, watching constantly to prevent burning.
- Use high-quality vanilla extract for the best flavor in this vanilla custard dessert.
Nutrition
- Serving Size: 1 ramekin
- Calories: 380
- Sugar: 25
- Sodium: 50
- Fat: 30
- Saturated Fat: 18
- Unsaturated Fat: 10
- Trans Fat: 1
- Carbohydrates: 26
- Fiber: 0
- Protein: 8
- Cholesterol: 250