
Is your weeknight dinner routine leaving you totally burnt out? I totally get it. When I was living on the road finding the best hidden eats across the country, I learned that the most satisfying food is always the one that’s fast, full of flavor, and hits that perfect texture spot. That’s why these chicken tacos are my go-to fix for any hectic Tuesday!
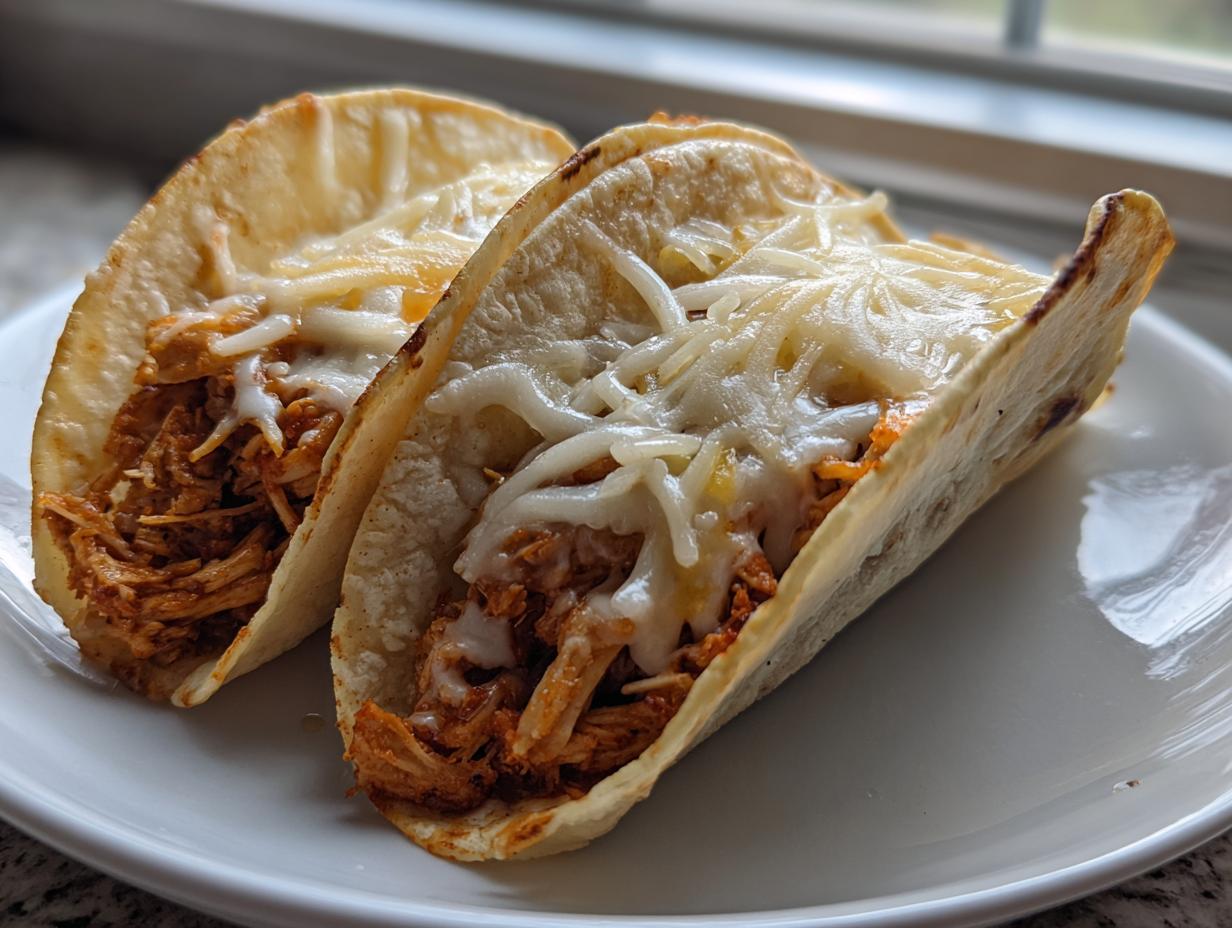
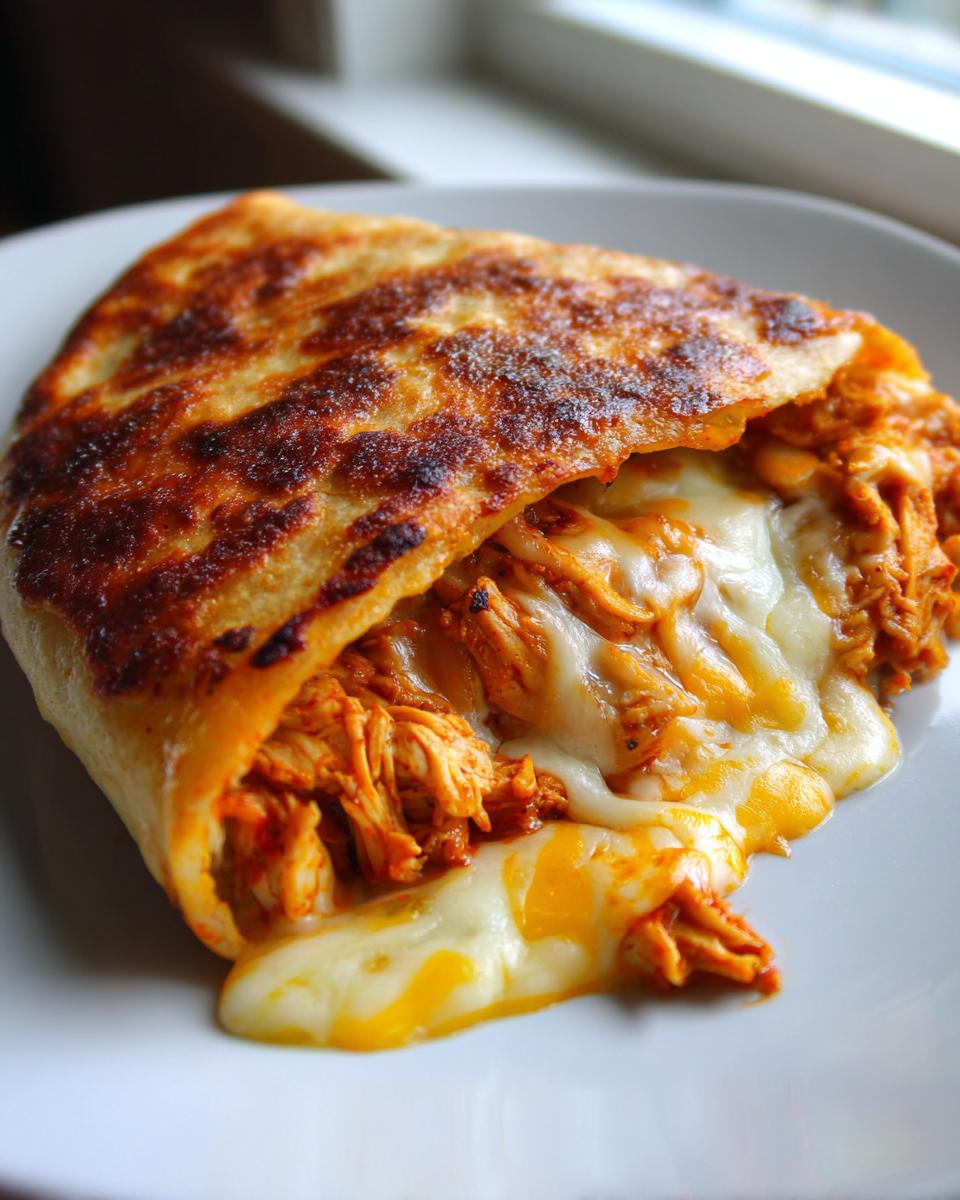
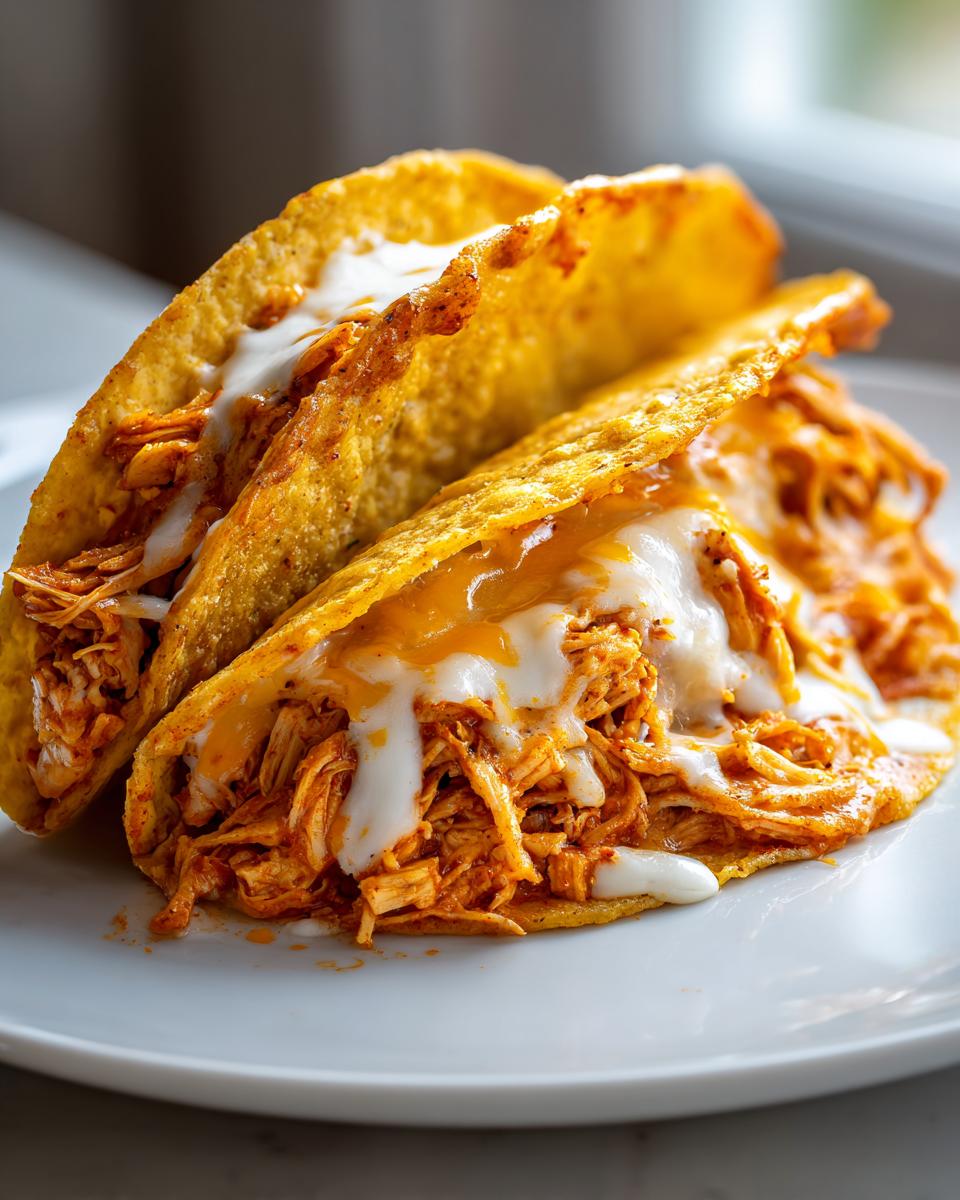
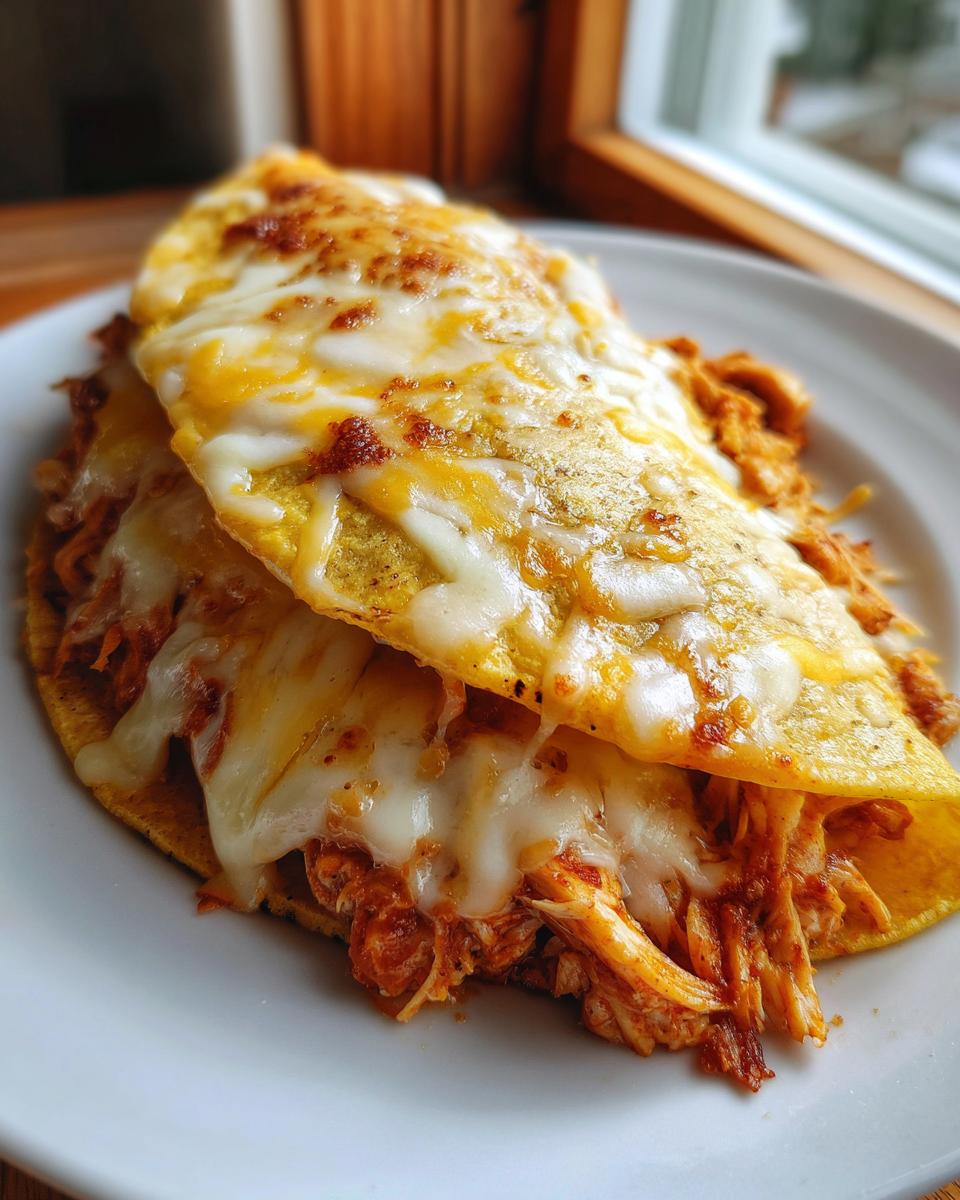
We aren’t talking soggy, sad shells here. We’re aiming for pure, crunchy perfection that comes together in practically no time. These oven-baked babies are fast, loaded with savory shredded chicken and gooey Monterey Jack, and are absolutely perfect for satisfying the whole crew at family taco night. Understanding what makes great food accessible—that’s the core idea behind YumDrizzle, as you can read about in our story here. Trust me, this recipe proves you can have incredible, flavorful meals without spending all evening over the stove.
- Why You Will Make These Crispy Chicken Tacos Again and Again
- Essential Ingredients for Perfect Baked Chicken Tacos
- Step-by-Step Instructions for Your Crispy Chicken Tacos
- Expert Tips for Next-Level Crispy Chicken Tacos
- Making These Chicken Tacos Part of Your Family Taco Night
- Ingredient Notes and Substitutions for Monterey Jack Tacos
- Storage and Reheating Instructions for Leftover Chicken Tacos
- Frequently Asked Questions About Quick Chicken Tacos
- Estimated Nutritional Information for These Easy Weeknight Tacos
Why You Will Make These Crispy Chicken Tacos Again and Again
Seriously, once you try these, they’re going straight into your regular rotation. I worked on this method because I needed something fast after long days—something that delivered maximum crunch with minimal fuss. These aren’t just tacos; they’re a weeknight game-changer!
- The Baking Trick: Forget messy pan-frying! A quick spray and 12 minutes in the oven gives you perfectly hot, crunchy shells every time. It’s hands-off cooking which I adore.
- Incredible Speed: With pre-cooked chicken, we are talking less than 20 minutes total time. This makes them great for those nights when you walk in the door starving.
- Maximum Crunch Factor: We use a couple of little tricks, like spraying the outside of the shell before baking, to ensure you get that satisfying *snap* when you bite in.
- Perfect for Families: It’s simple assembly, which means kids can even help fill them—a huge win for easy weeknight tacos.
- Flavors That Pop: The filing is basic but packs a punch with really good chili powder and warm cumin. It tastes way more complex than the effort suggests.
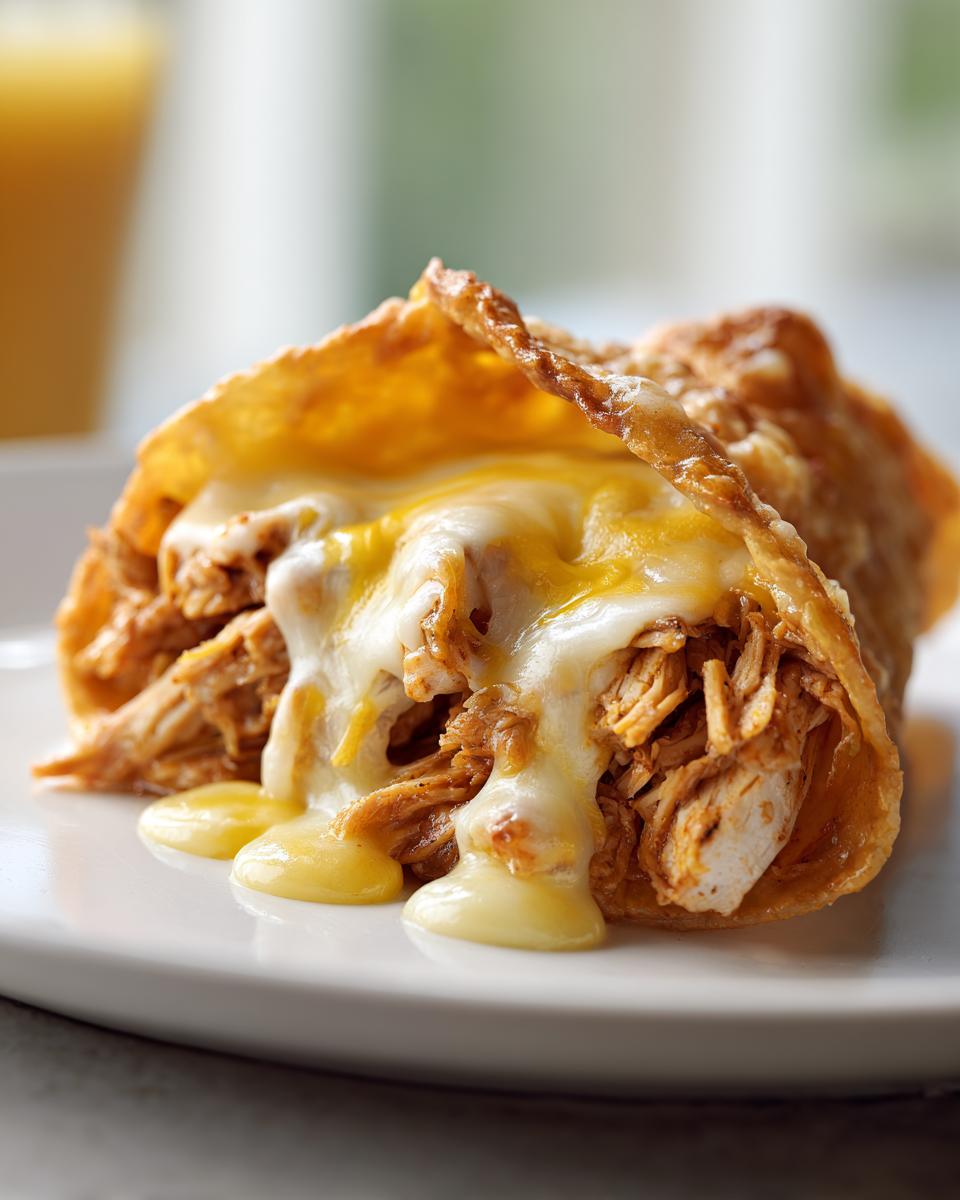
- Cheesy Gooey Center: Monterey Jack melts like a dream. It holds all that delicious shredded chicken filling right in place until you’re ready to load it up with cool toppings.
Essential Ingredients for Perfect Baked Chicken Tacos
Okay, let’s talk about what goes into these amazing chicken tacos. The beauty of this recipe is you don’t need anything fancy, just the basics treated right. Because we are moving fast, using good quality cooked chicken is the first step to success. Don’t try to substitute these core players, they are chosen for texture and flavor!
- Two cups of cooked, shredded chicken. If you’re using a rotisserie bird, shred it the moment it’s cool enough to handle!
- One cup of salsa, and this is key—make sure it’s thoroughly drained. Soggy salsa ruins the crunch, trust me.
- Your spices: chili powder, cumin, and just a touch of garlic powder for depth.
- One cup of shredded Monterey Jack cheese. This cheese is famous for that beautiful, gooey melt—it’s non-negotiable here!
- Twelve hard taco shells ready to be filled and crisped up.
- A quick spritz of cooking spray when they hit the pan. That’s the secret weapon!
Step-by-Step Instructions for Your Crispy Chicken Tacos
This is where the magic happens, and I mean *fast*. If you can stir things in a bowl, you can nail these oven baked tacos. We are keeping the steps super simple so you can focus on getting those perfect toppings ready. Follow this order and you’ll have dinner on the table in under 25 minutes!
Preparing the Shredded Chicken Tacos Filling
First things first, crank that oven up to 400°F (200°C) and get a proper baking sheet ready—give it a light spray of cooking spray so nothing sticks later. Now, grab a mixing bowl. Toss in your shredded chicken, the drained salsa, chili powder, cumin, and garlic powder. You need to stir this combination really well. Seriously, keep mixing until every single piece of chicken looks glossy and evenly coated in those lovely orange spices. That perfect distribution of flavor is what makes these shredded chicken tacos sing!
Assembling and Baking Your Chicken Tacos
Once the filling is seasoned just right, it’s time to load up the shells. Spoon the mixture evenly into your twelve hard shells. Please, don’t overstuff them; we need a little room for the cheese to melt nicely. Next, top each one generously with your shredded Monterey Jack. Place the filled shells onto your sprayed baking sheet, and here’s the important crunch step: give the tops of the shells one final, light spritz of cooking spray. Bake them for about 10 to 12 minutes. You’re looking for that cheese to be bubbly and melted and the shells to be piping hot and super crispy. Pull ’em out and serve right away—they are best hot!
Expert Tips for Next-Level Crispy Chicken Tacos
If you want to move these tacos up from “great weeknight dinner” to “wow, I should open a stand,” you just need a couple of little chef secrets. These tips are the ones I picked up while trying to feed a hungry band on zero notice! They make all the difference when dealing with shredded chicken tacos.
First off, I almost always use rotisserie chicken now. It saves you about 45 minutes, and honestly, they already season it nicely. Just shred it right away while it’s still warm, and it’s ready for action. But here’s the pro-move for prep:
You can totally mix up that chicken filling—the chicken, the spices, all of it—up to three days ahead of time. Keep it sealed tight in the fridge. The magic is you *don’t* add the cheese. Save the Monterey Jack until you are ready to assemble and bake. That keeps everything fresh!
One last thing about the salsa: if you feel like your filling looks a little wet, you need to drain that salsa even better. I usually dump it in a fine-mesh sieve for 10 minutes before mixing it in. Too much liquid is the number one enemy of a crispy shell, and we want crunch here!
Making These Chicken Tacos Part of Your Family Taco Night
Look, a great taco isn’t just about the shell and the meat—it’s about the whole experience, right? Setting up a topping station makes family taco night so much more fun because everyone gets exactly what they want on top. It turns dinner into an activity, not just a meal.
Once these hot, cheesy baked shells come out of the oven, run them straight to the table. You’ll need big serving bowls for all the fresh, cool stuff that balances that spicy chicken perfectly. I always make sure I have shredded crisp lettuce, cold dollops of sour cream, maybe some finely chopped cilantro if the kids are feeling adventurous, and definitely some chopped fresh tomato.
If you’re hosting a big group or just feeling ambitious, turn this into a full-blown party taco bar! Add guacamole, different kinds of hot sauce, and maybe even some pickled jalapeños. The beauty is that the main part is already done; you’re just letting everyone customize their own crunchy masterpiece. It’s fast, interactive, and always a crowd-pleaser.
Ingredient Notes and Substitutions for Monterey Jack Tacos
I know sometimes you open the fridge and realize you’re missing one thing, or maybe you just don’t love a certain flavor. That’s okay! Good cooking should be flexible. While this recipe is built around the creamy, mild flavor of Monterey Jack, which melts beautifully thanks to its great moisture content—making it perfect for holding our Monterey Jack tacos together—you have options.
If you don’t have Monterey Jack on hand, don’t panic. A sharp cheddar or a Mexican blend works great too, but keep in mind that sharper cheeses might overpower the subtle spice blend we mixed into the chicken. If you use a blend, make sure it’s pre-shredded or grate it finely so it melts evenly during that quick bake time.
Now let’s talk about the heat level. The base is pretty mild, which is perfect for keeping the peace at family taco night. If you want to crank up the spice, you have a few easy roads you can go down:
- For immediate heat in the mix, swap out some of the standard chili powder for ancho chili powder, which has a richer, deeper flavor, or add a pinch of cayenne pepper to the filling mixture.
- If you prefer to add heat after they come out of the oven, that’s your best bet! A drizzle of your favorite chipotle hot sauce right before eating lets everyone customize their own burn level.
- Another great addition is throwing in some diced green chiles (canned is fine!) along with the salsa for a little vegetal kick without adding too much liquid.
Remember, flexibility is part of making these recipes work for *your* real life. Taste that filling before you put it in the shells; if it needs more salt or more cumin, now is the time to adjust!
Storage and Reheating Instructions for Leftover Chicken Tacos
Nobody wants stale crunchy taco shells, right? That’s the biggest issue we face when we have leftover taco filling, which, honestly, rarely happens at my house because these things are too good! But if you were smart and made a double batch of the filling for a grab-and-go lunch later, here’s how you keep the magic alive.
The absolute rule here is separation! Shells and filling must live apart until serving time. Store your leftover seasoned chicken mixture in a tightly sealed container—I like glass containers because they don’t absorb smells—and keep that in the fridge for up to four days. The hard taco shells need attention too; keep them sealed in their original box or bag, ideally somewhere cool and dry, to stop them from absorbing any kitchen humidity.
When you are ready for round two? Think oven, always. The microwave is a crispy shell’s worst enemy; it turns them instantly sad and floppy. Preheat your oven to that same 400°F (200°C). You can reheat the filling right in a small oven-safe dish, just until it’s hot throughout. For the shells, place them right on the baking sheet, maybe give them a quick little spray of oil again if they look dry, and heat them for just 3 to 5 minutes. You just want them warmed through so they feel freshly fried. Assemble immediately with the hot filling and cold cheese, and you’re back in business! It honestly feels like you just made them fresh.
Frequently Asked Questions About Quick Chicken Tacos
I always get flooded with questions when I post these because they are so ridiculously easy! Here are a few of the things you all ask most about getting the best crispy chicken tacos for your family taco night.
Can I use soft tortillas instead of the hard shells?
You totally can! These work brilliantly as soft tortillas, but then we shift gears from oven baked tacos to a quick pan-sear or just warming them on a skillet. If you use soft tortillas, leave out the cheese until after you fill them, and then wrap them in foil and heat them in the oven for about 10 minutes to warm through. They won’t be crunchy, but they’ll still be delicious!
How can I make these chicken tacos spicier?
Oh, I love a little heat! To kick up the spice level, I suggest adding about half a teaspoon of cayenne pepper right into your seasoning mix with the chili powder and cumin. You could also swap out regular salsa for a much spicier variety, like a fire-roasted salsa. That’s the best way to customize the heat in your shredded chicken tacos.
Is this recipe suitable if I want to use ground chicken instead of shredded?
Yes, absolutely! If you use ground chicken, you’ll need to brown it in a skillet first until it’s cooked through and then drain off any excess fat very well. After that, just mix in the spices, salsa, and cheese exactly as instructed. It cooks up really quickly that way!
What is the total prep and cook time for these chicken tacos?
If you’re starting with pre-cooked, rotisserie chicken tacos meat, the prep is only about 10 minutes—you’re just mixing ingredients! The baking time is a quick 10 to 12 minutes at 400°F. So, from zero to dinner on the table, you’re looking at just over 20 minutes total. That’s why I call them easy weeknight tacos!
Estimated Nutritional Information for These Easy Weeknight Tacos
Okay, let’s talk fuel! I always keep things simple here, but for those of you who track macros or just like knowing what you’re eating, these numbers are based on the recipe yield exactly as written. Since we’re using lean chicken and baked shells rather than fried, these easy weeknight tacos actually keep things pretty light!
Please remember, this information is just an estimate based on the ingredients listed, and it assumes you are eating three tacos, which is the standard serving size we calculated for. If you pile on extra cheese or use a heftier salsa because you forgot to drain yours, those numbers will shift a little bit. But for a solid, quick dinner, you can’t beat this profile:
- Serving Size: 3 tacos
- Calories: 380
- Fat: 15g (with 7g saturated fat—thanks, cheese!)
- Carbohydrates: 28g (A little fiber in there from the filling!)
- Protein: A whopping 35g! Perfect for keeping you full until tomorrow.
- Sugar: Just 3g, which is fantastic given the salsa provides the sweetness.
- Sodium: 550mg (This can fluctuate wildly depending on your salsa and whether you add extra salt, so keep an eye on that!)
See? Delicious, satisfying, packed with protein, and you still have room for that big pile of shredded lettuce and sour cream on top. Now go enjoy those crispy shells!
PrintQuick Crispy Baked Chicken Tacos

Make fast, crunchy chicken tacos using shredded chicken and Monterey Jack cheese. Bake them for a perfect weeknight family meal.
- Prep Time: 10 min
- Cook Time: 12 min
- Total Time: 22 min
- Yield: 4 servings 1x
- Category: Dinner
- Method: Baking
- Cuisine: Mexican Inspired
- Diet: Low Fat
Ingredients
- 2 cups cooked shredded chicken
- 1 cup salsa, drained
- 1 teaspoon chili powder
- 1/2 teaspoon cumin
- 1/4 teaspoon garlic powder
- 1 cup shredded Monterey Jack cheese
- 12 hard taco shells
- Cooking spray
Instructions
- Preheat your oven to 400°F (200°C). Lightly spray a baking sheet with cooking spray.
- In a medium bowl, combine the shredded chicken, salsa, chili powder, cumin, and garlic powder. Mix well until the chicken is evenly coated.
- Spoon the chicken mixture evenly into the hard taco shells. Do not overfill.
- Top each filled shell with shredded Monterey Jack cheese.
- Place the filled shells on the prepared baking sheet. Spray the tops of the shells lightly with cooking spray to help them crisp.
- Bake for 10 to 12 minutes, or until the cheese is melted and bubbly and the shells are heated through and slightly crispier.
- Serve immediately with your favorite fresh toppings.
Notes
- You can use rotisserie chicken for faster prep time.
- To make the filling ahead, mix the chicken and spices and store it in the refrigerator for up to 3 days. Add cheese just before baking.
- For extra crispiness, you can lightly brush the outside of the shells with oil before filling and baking.
Nutrition
- Serving Size: 3 tacos
- Calories: 380
- Sugar: 3
- Sodium: 550
- Fat: 15
- Saturated Fat: 7
- Unsaturated Fat: 8
- Trans Fat: 0
- Carbohydrates: 28
- Fiber: 3
- Protein: 35
- Cholesterol: 90