
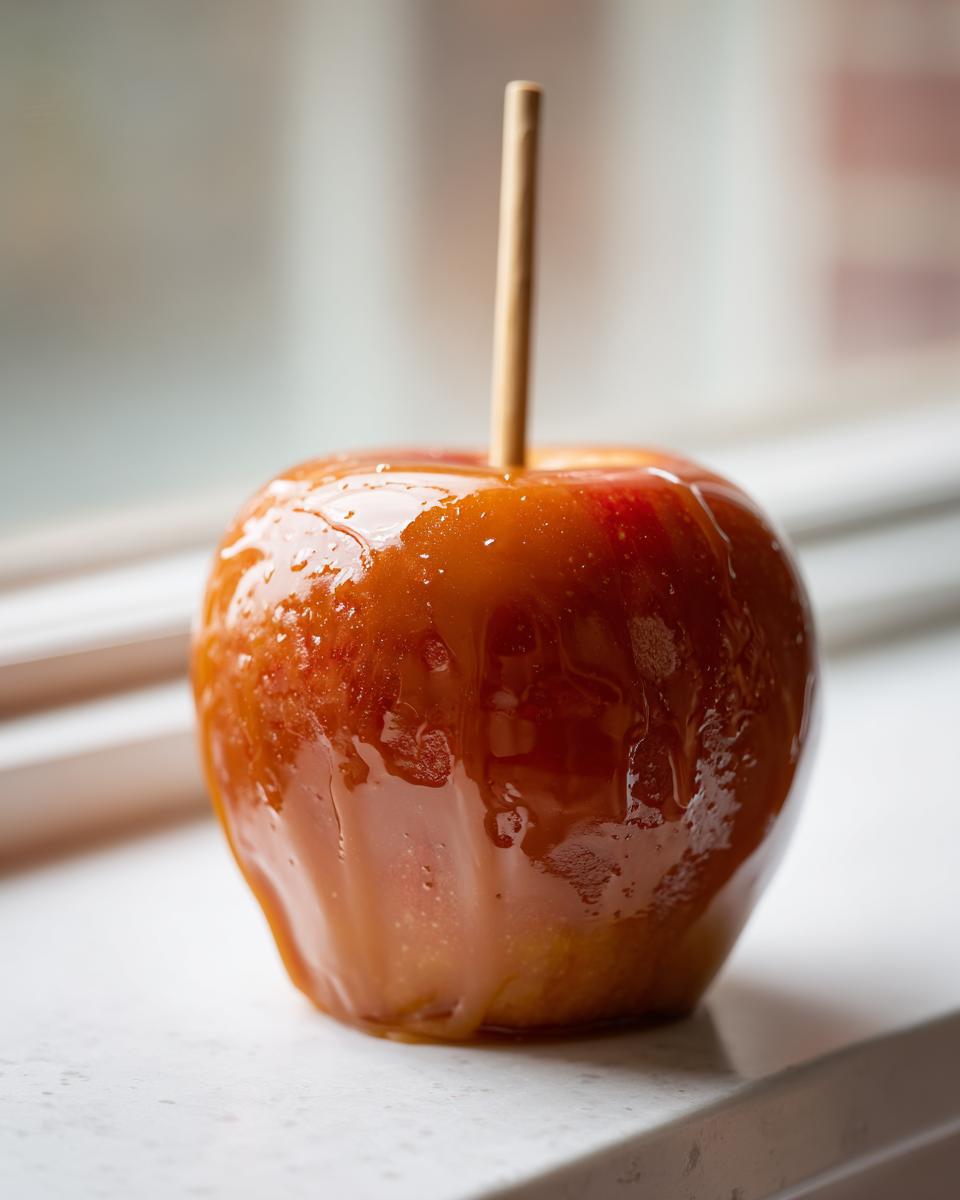
There’s just something about that first crisp bite of fall, right? The air gets cool, the leaves change, and suddenly all you want is that perfect, nostalgic treat. Forget those waxy, hard things you find at the fair because I’m here to share the absolute best, foolproof **caramel apple** recipe. I learned roadside that comfort food doesn’t need fancy tricks—it just needs to work consistently! This sauce is thick, chewy, and sticks like glue, making it the perfect easy autumn dessert that tastes absolutely gourmet. You can read more about the philosophy behind making reliable food like this over at the YumDrizzle story, which I really connect with. Seriously, you won’t miss the store-bought versions after trying this.
- Why This Homemade Caramel Apples Recipe Works Every Time
- Gathering Ingredients for Your Best Caramel Apple Dipping Sauce
- Easy Caramel Apple Tutorial: Step-by-Step Instructions
- Variations: Making Chocolate Caramel Apples
- Tips for Success with Your Autumn Sweet Treats
- Storing and Serving Your Homemade Caramel Apples Recipe
- Frequently Asked Questions About Making Caramel Apples
- Estimated Nutritional Data for This Caramel Apple Recipe
- Share Your Autumn Sweet Treats Creations
Why This Homemade Caramel Apples Recipe Works Every Time
When you make these at home, you want them to be perfect, right? Nobody wants to spend time making a beautiful sauce only to watch it slide right off the apple onto the parchment paper. That’s why I’m calling this the ultimate **No Fail Caramel Apples** approach. We focus on two things: making sure the caramel is exactly the right consistency and prepping the apples so the sauce has something reliable to grab onto.
These little steps are what take this from a good attempt to a truly gourmet treat that tastes like it came from a fancy candy shop.
The Secret to Making Caramel Apple Dipping Sauce Adhere
The biggest reason caramel slides off is wax, plain and simple! Those gorgeous apples from the store are often coated in food-grade wax to look pretty on the shelf. Before we do anything else, you have to get rid of it. After washing and drying them—and I mean *completely* dry—I dip the bottom inch of each apple quickly into a pot of boiling water for maybe five seconds.
It sounds crazy, but this opens the pores slightly. Then, dry them again until they feel totally naked! Alternatively, wiping them down with a little white vinegar before the final dry also works like a charm to strip that stubborn wax away.
Achieving the Perfect Chewy Caramel Apple Recipe Texture
If you’ve ever tried making candy, you know temperature is everything. We aren’t making hard, brittle candy here; we want that soft, gooey chew. That’s why we use two specific temperature checks. Hitting 245°F initially creates that great base, but when we add the milk, we need to bring it up to exactly 248°F before taking it off the heat.
That final number ensures the caramel sets up chewy and doesn’t get too runny or too hard once it cools down. It’s that small difference in temperature that guarantees that perfect, satisfying pull when you bite in!
Gathering Ingredients for Your Best Caramel Apple Dipping Sauce
Okay, now that we know the secret to making the sauce stick, let’s talk about what goes into that gorgeous dipping sauce itself. You only need a few pantry staples—no weird, hard-to-find extracts here! This list is totally non-negotiable for texture, but the fun comes in when we decide what to decorate them with later. I’ve listed exactly what you need below to nail that rich, buttery flavor that makes these utterly irresistible. When you gather these, you’re halfway done!
Essential Components for Gourmet Caramel Apples
First up, we need those apples! Don’t skimp here; the crunch is key for a great **caramel apple**. You’ll want 12 medium crisp apples. I swear by Granny Smith for that perfect sour counterpoint, but Honeycrisp works great if you like a little more sweetness. Then for the actual sauce, grab 1 cup of unsalted butter (two full sticks!), 2 cups of light brown sugar packed down nice and tight, 1 cup of light corn syrup (don’t skip this, it helps keep things chewy!), 1 (14 ounce) can of sweetened condensed milk, a teaspoon of pure vanilla extract, and half a teaspoon of salt.
Caramel Apple Toppings Ideas for Customization
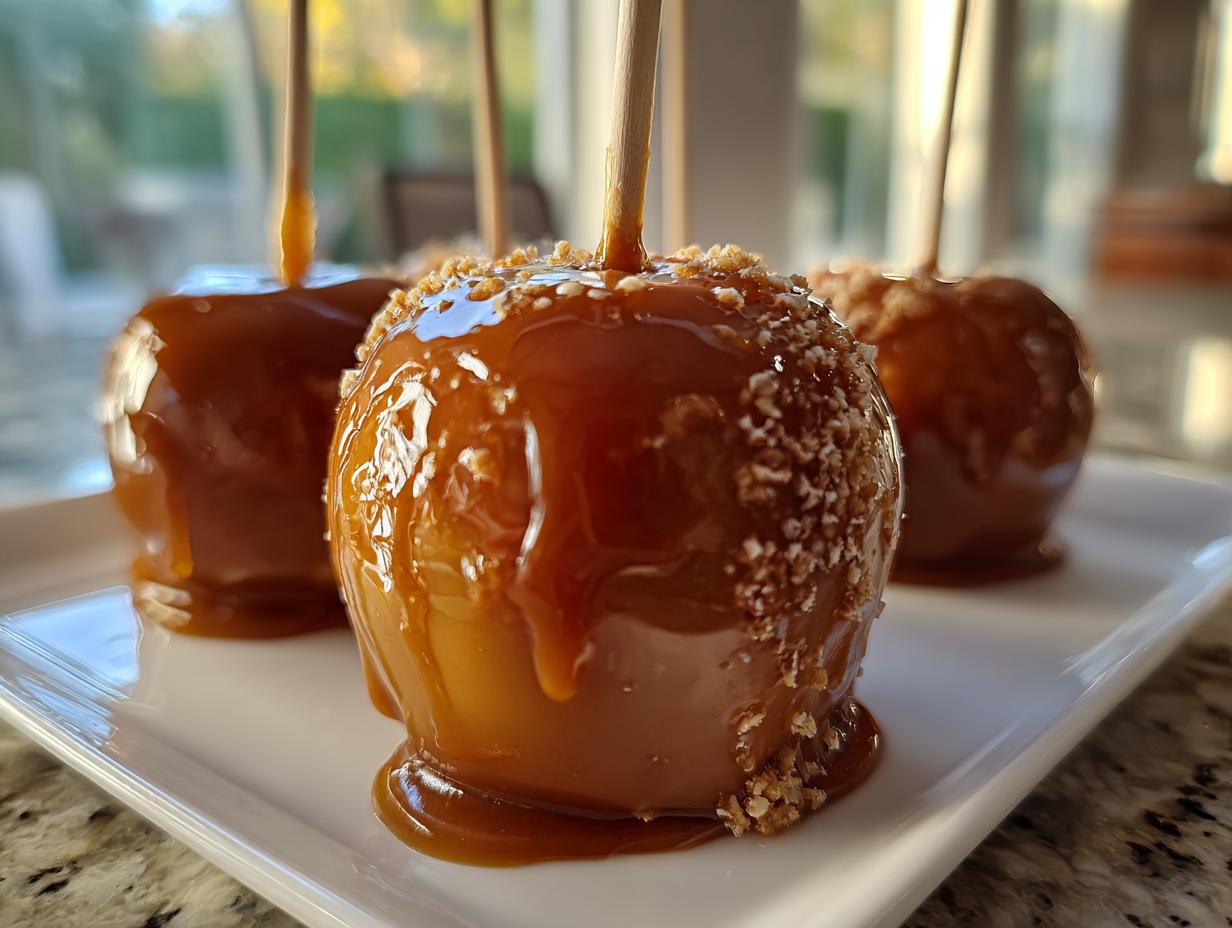
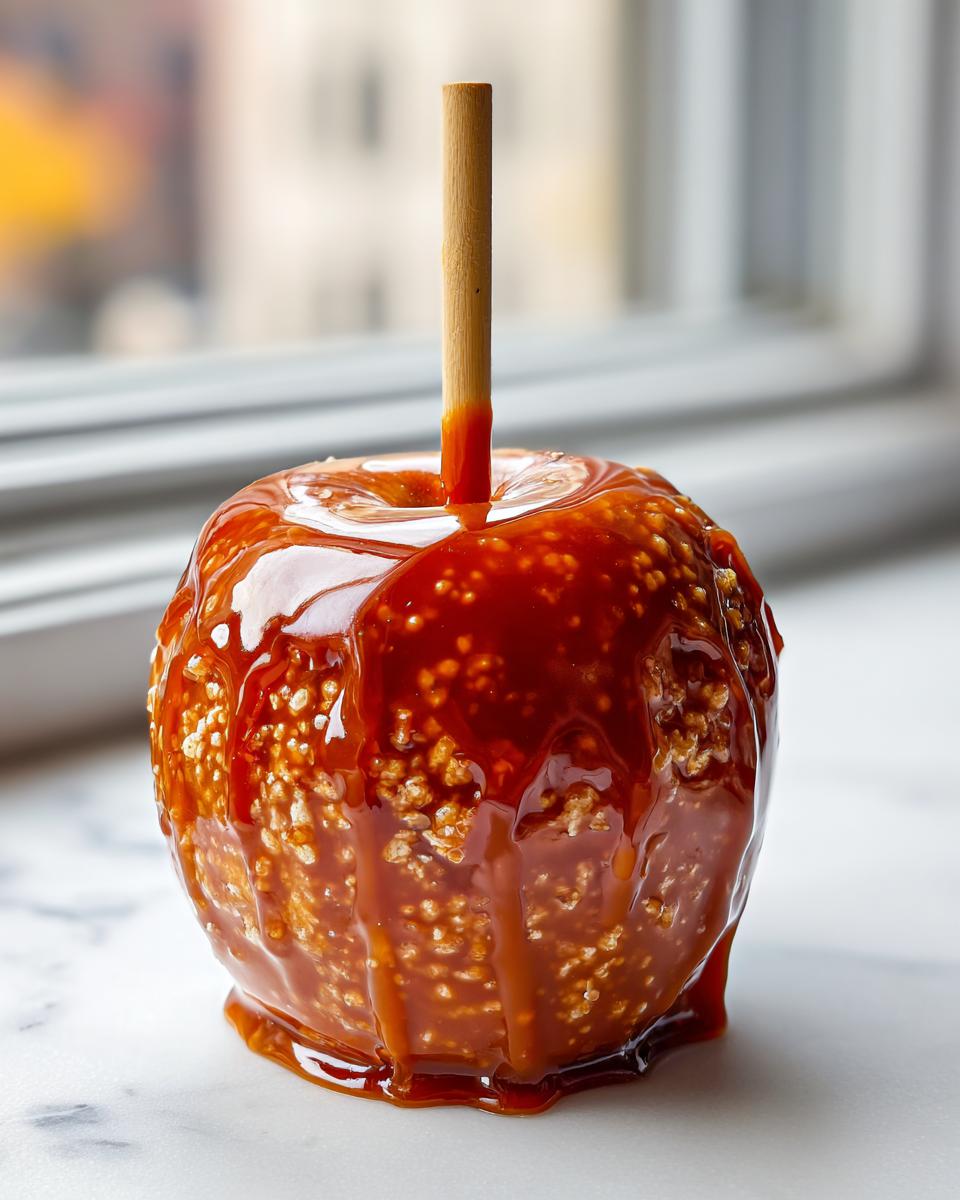
This is where you get to play! After the caramel has set just right, you can roll your apples in practically anything. My favorite are crunchy chopped nuts—pecans are classic. But honestly, sometimes you just want pure sugar, so sprinkles are always a winner, especially for the kids. For something a little salty-sweet, crushed pretzels are amazing.
- Chopped nuts (pecans or peanuts are great)
- Sprinkles (use festive colors!)
- Mini chocolate chips
- Crushed pretzels
Have fun with your **Caramel Apple Toppings Ideas**! Just make sure they are ready to go before the caramel starts cooling down!
Easy Caramel Apple Tutorial: Step-by-Step Instructions
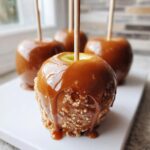
Alright, here is the moment of truth! Making these amazing **caramel apple** treats is actually pretty straightforward once you know the rhythm. This whole process isn’t super time-consuming, but you need to stay focused while the candy is cooking. We need to make sure we hit those exact temperature markers because that’s the secret to having the goo without the mess. If you’re ready to try this **Easy Caramel Apple Tutorial**, just follow my lead, and you’ll have 12 perfect, gorgeous apples ready for snacking or gifting!
Preparing Apples and Setting Up Your Caramel Apple Station
First things first, your apples need to be ready for their close-up! Remember what I said about the wax? Wash those apples really well. Then, insert your wooden or lollipop stick firmly right into the center where the stem was. Get them all stuck and set them aside on a sheet of parchment paper. Now for that genius trick: take the bottom of each apple and dip it into a pot of barely simmering water for just about five seconds.
Seriously, that’s it! You are just trying to give the caramel a slightly grippy surface. Dry them off completely now—I mean it, completely dry! After that, you can set up your dipping station. Have your toppings ready in shallow bowls right next to where you’ll be holding the saucepan. You don’t want to be digging through drawers once that caramel starts setting up!
Cooking the Best Caramel Apple Dipping Sauce
Time for the gooey magic! Get a heavy saucepan—you don’t want anything thin that will scorch the bottom—and mix your butter, brown sugar, and corn syrup. Heat that over medium heat, stirring until the sugar dissolves. Once it’s smooth, stop stirring and let it boil until your candy thermometer reads 245°F. Watch it closely; don’t walk away!
Once you hit that first temp, pull it off the heat immediately. Now, *carefully* whisk in that condensed milk, vanilla, and salt. It’s going to bubble up a bit, so be careful of the steam! Put it back on low heat and stir constantly until the thermometer says 248°F. This second temperature is your ticket to chewy heaven. When you hit 248°F, yank it off the stove right away. If you leave it on longer, it turns into hard candy, and we definitely don’t want that!
Dipping, Topping, and Setting Your Caramel Apples
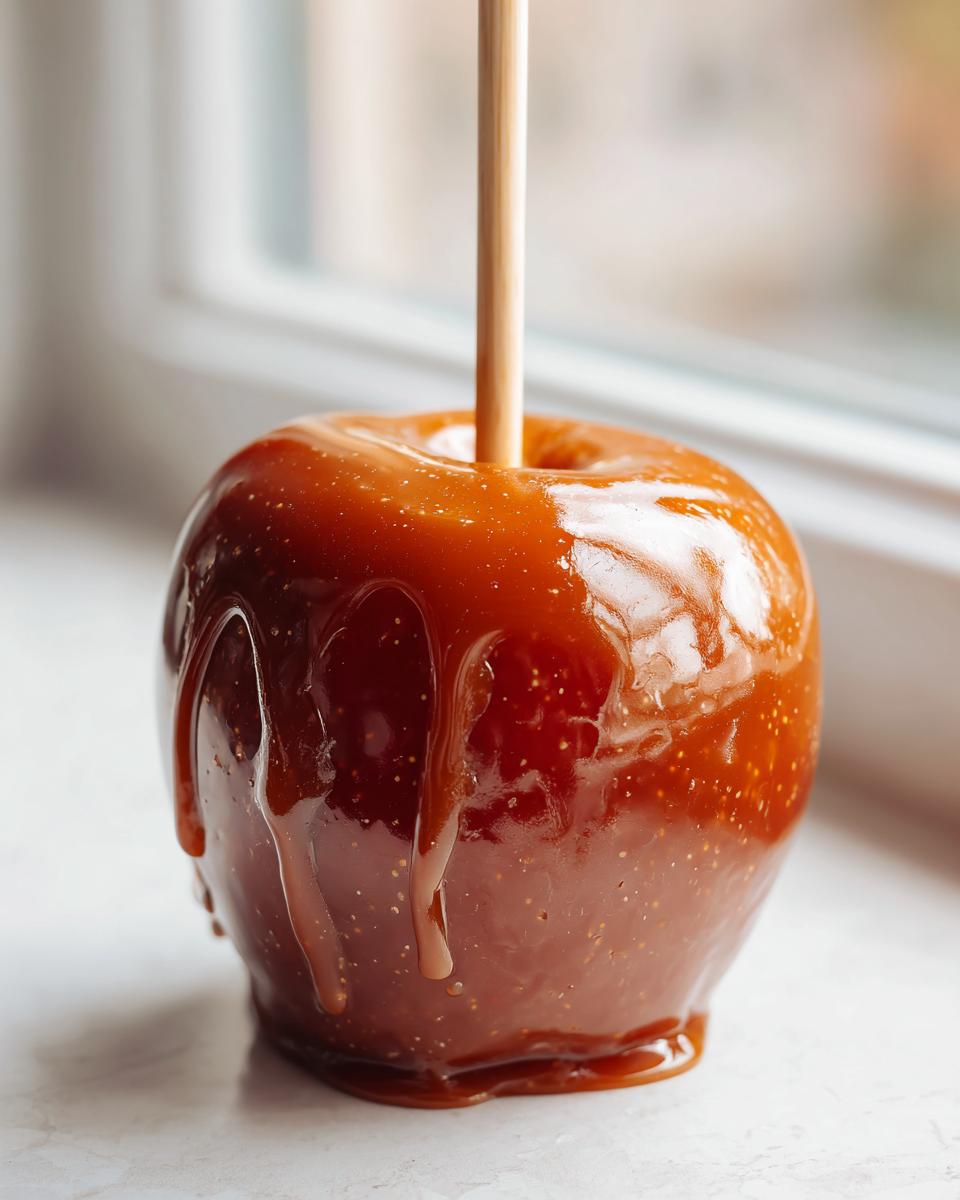
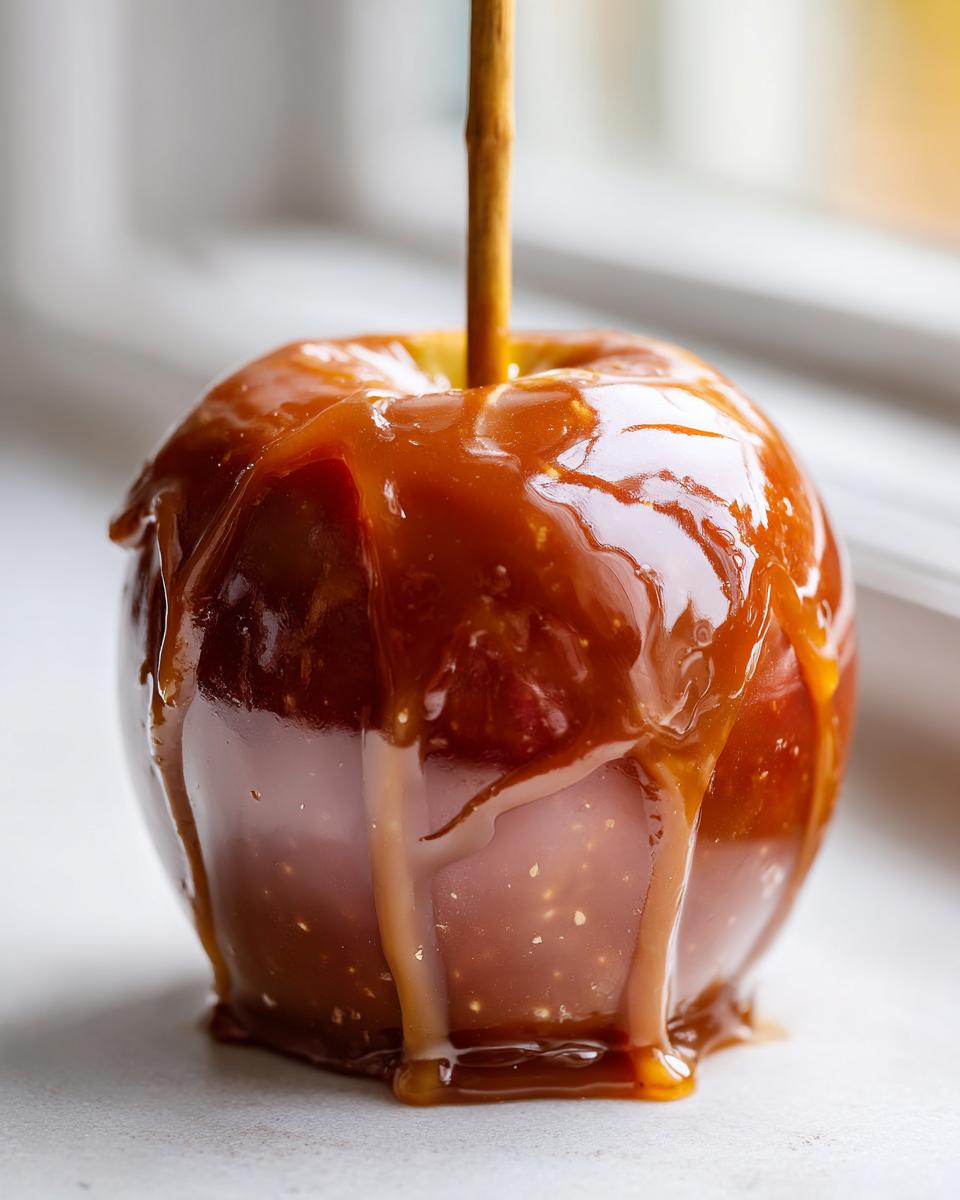
The caramel needs a little rest now so it’s not totally runny, which is why we let it cool for about 5 to 10 minutes. It should thicken up just enough. Tilt the pan slightly so you can submerge an apple easily. Dip one apple in and swirl it around until it’s totally coated. Lift it up and just let the extra drip back into the pot for a few seconds.
If you’re adding toppings, this is your window! Roll the sticky apple in your chopped nuts or sprinkles right away. Once it’s decorated, place it back on that prepared parchment-lined baking sheet. They need time to set firm, so leave them alone! I let mine sit out on the counter at room temperature for at least one full hour until the caramel is totally firm to the touch. Patience pays off here!
If you ever need quick help with anything in your kitchen while you cook, feel free to reach out by visiting our contact page!
Variations: Making Chocolate Caramel Apples
Once you’ve got your caramel apples cooled and set up perfectly, maybe you think, “You know what this needs? More decadence!” And you’d be right! If you want to take your treats to the absolute next level—hello, gourmet status—we need to add chocolate. This is super easy, but timing is everything since your caramel layer needs to be completely firm.
To make amazing **Chocolate Caramel Apples**, you just need a small bit of melted chocolate. Take about one cup of semi-sweet chocolate chips and melt them gently with just one teaspoon of coconut oil. That oil is my secret; it makes the chocolate silky so it dips nicely and sets with a beautiful shine!
Dip your fully set caramel apple halfway or fully into that luscious chocolate. You don’t want to warm up the caramel underneath, so work fast! Set them back on that parchment paper. If you want, you can sprinkle a few nuts on the chocolate while it’s still wet. Let them set again for about 30 minutes at room temperature, or pop them in the fridge briefly to speed things up!
Tips for Success with Your Autumn Sweet Treats
You’ve nailed the temperature, your apples are dry, but let’s just talk for a second about those few little hiccups that can happen when you’re dealing with candy. When you’re trying to make these truly unforgettable **Autumn Sweet Treats**, every little bit of knowledge helps! Remember that vinegar trick I mentioned? That’s not optional if your apples are looking super shiny off the shelf. It really helps cut through any residual wax that water just can’t tackle.
Also, don’t try to rush the setting time! I know when you’re excited about making **caramel apples**, you want to eat them *now*. But if you try to wrap them or stack them too early, you’ll end up with a sticky mess everywhere. Trust me, walking away for that full hour while they set up at room temperature is crucial for a clean, perfect finish that makes them look professionally made.
Storing and Serving Your Homemade Caramel Apples Recipe
So, you’ve made the best batch of **caramel apple** treats ever! Now you need to know how to keep them perfect. The best place for these beauties is actually not the fridge, unless it’s super hot where you live. I keep mine wrapped individually in plastic wrap at a cool room temperature. That keeps the caramel soft and chewy, just like we planned!
Make sure to eat them within about a week because, while they are amazing fresh, homemade caramel doesn’t last forever like the store-bought stuff. If you want to see how others are enjoying their fall goodies, check out some inspiration on the web, like what they are doing over at Tastes Better From Scratch!
Frequently Asked Questions About Making Caramel Apples
When you’re making something this delicious, you sometimes have little questions pop up halfway through. I totally get it! Whether you are nervous about the candy-making part or just trying to pick the perfect apple, I’ve bundled up the things people ask me most often about getting their **Homemade Caramel Apples Recipe** just right.
Can I make these Caramel Apples without a candy thermometer?
Oh, I wish I could say yes, but if you want this to be a truly **No Fail Caramel Apples** situation, you really should use a thermometer. Candy making is chemistry, and even a few degrees can mean the difference between chewy and rock hard! If you absolutely, positively cannot use one, you are looking for what used to be called the ‘firm ball stage’ after you add the milk. That means when you drop a tiny bit of caramel into a glass of ice water, it should form really soft little balls that you can still flatten easily between your fingers. But seriously, grab a cheap candy thermometer; it’s worth the couple of bucks for peace of mind!
What is the best apple to use for a caramel apple?
You need an apple that’s very, very crisp and holds up well against heat and sticky caramel. Soft apples, like Red Delicious, just turn mushy too fast underneath that thick coating. I am always grabbing Granny Smith because that sharp tartness cuts through the sweetness of the caramel beautifully. Honeycrisp is my second favorite—it’s super crisp! The key is structure, so pick something firm that snaps when you bite it.
How do I prevent the caramel from becoming too hard?
This is all about hitting that final temperature when you’re cooking the sauce! Remember I told you to watch for 248°F? That is the magic number for that perfect, yielding chewiness. If you let it go to 250°F or higher, you start crossing into the hard-crack stage, and that caramel will be tough to bite through. Also, don’t forget that corn syrup we added! It’s an invert sugar that helps stop crystallization, keeping the caramel smooth and soft even as it cools down.
Estimated Nutritional Data for This Caramel Apple Recipe
Okay, so we know these treats are absolutely heavenly, but I always feel a little better knowing the general breakdown of what we’re working with. Since these **Homemade Caramel Apples Recipe** gems are loaded with sugar and butter (it’s why they taste so darn good!), let’s look at the numbers. Remember, this is just an estimate based on the ingredients listed, assuming you make 12 apples exactly as directed—it’s not exactly health food, but it’s perfect for a special fall treat!
Here’s the general idea for what’s in one finished apple, coating and everything:
- Serving Size: 1 whole caramel apple
- Calories: About 450 per apple
- Total Fat: Around 20g (Watch out for that 12g of saturated fat—that’s the butter talking!)
- Carbohydrates: Roughly 70g
- Sugar: Yes, it’s high—around 65g, because it’s candy, sweetie!
- Protein: A small boost at about 3g
See? It’s a full commitment dessert! But honestly, when you’re making something this good—a truly gourmet take on a classic—you just embrace it. These are meant for special occasions, not daily snacking. Enjoy every single chewy, sticky bite!
Share Your Autumn Sweet Treats Creations
That’s it! You’ve made it through the sticky, glorious process, and now you have the best batch of **caramel apple** treats in your kitchen. Seriously, give yourself a huge pat on the back. Making real candy on the stovetop takes confidence, and you totally crushed it!
Now, the best part of cooking for me is sharing the results, and I really want to see what you created. Did you stick with classic chopped nuts, or did you go wild with sprinkles and pretzels? Did you try my little trick with the hot water, and did it actually work for you?
Please, please leave a rating right here on the post! If you can give it five stars, I’ll know I’ve sent you down the right path for making perfect, gooey sauce. And if you snapped any pictures of your gorgeous, glossy **Homemade Caramel Apples Recipe** creations, share them below in the comments or tag me on social media. I absolutely love seeing your versions of these **Autumn Sweet Treats**. Happy making, and enjoy every sticky bite!
PrintThe Best Foolproof Homemade Caramel Apples
Make classic, chewy homemade caramel apples with this easy recipe. The caramel sauce sticks well to crisp apples, creating a gourmet fall treat perfect for parties or gifting.
- Prep Time: 20 min
- Cook Time: 25 min
- Total Time: 45 min
- Yield: 12 servings 1x
- Category: Dessert
- Method: Stovetop Candy Making
- Cuisine: American
- Diet: Vegetarian
Ingredients
- 12 medium crisp apples (like Granny Smith or Honeycrisp)
- 12 wooden or parchment-lined lollipop sticks
- 1 cup (2 sticks) unsalted butter
- 2 cups packed light brown sugar
- 1 cup light corn syrup
- 1 (14 ounce) can sweetened condensed milk
- 1 teaspoon pure vanilla extract
- 1/2 teaspoon salt
- Optional Toppings: Chopped nuts, sprinkles, mini chocolate chips, crushed pretzels
Instructions
- Wash and thoroughly dry the apples. Remove the stems and insert a stick firmly into the core of each apple. Set aside on parchment paper.
- For best caramel adhesion, briefly dip the bottom of each apple in boiling water for 5 seconds, then dry completely.
- In a heavy-bottomed saucepan, combine the butter, brown sugar, and corn syrup. Heat over medium heat, stirring until the sugar dissolves.
- Bring the mixture to a boil without stirring. Cook until the mixture reaches 245 degrees Fahrenheit on a candy thermometer.
- Remove the pan from the heat. Carefully whisk in the sweetened condensed milk, vanilla extract, and salt until smooth. Return to low heat and stir constantly until the mixture reaches 248 degrees Fahrenheit.
- Remove from heat immediately. Let the caramel cool for 5 to 10 minutes to thicken slightly.
- Tilt the saucepan and dip each apple into the caramel, rotating to coat completely. Lift the apple and allow excess caramel to drip off.
- Immediately roll the coated apple in your chosen toppings, if using.
- Place the finished caramel apples on a parchment-lined baking sheet. Let them cool and set completely at room temperature for at least 1 hour, or chill briefly if needed.
Notes
- To stop the caramel from sliding off, ensure the apples are completely free of wax and moisture before dipping. Wiping them with a little white vinegar before drying helps remove any residual wax.
- If you prefer chocolate caramel apples, melt 1 cup of semi-sweet chocolate chips with 1 teaspoon of coconut oil. Dip the cooled caramel apples into the chocolate and let them set.
- Store finished caramel apples individually wrapped in plastic wrap at cool room temperature for up to one week.
Nutrition
- Serving Size: 1 apple
- Calories: 450
- Sugar: 65g
- Sodium: 150mg
- Fat: 20g
- Saturated Fat: 12g
- Unsaturated Fat: 8g
- Trans Fat: 0g
- Carbohydrates: 70g
- Fiber: 2g
- Protein: 3g
- Cholesterol: 60mg