
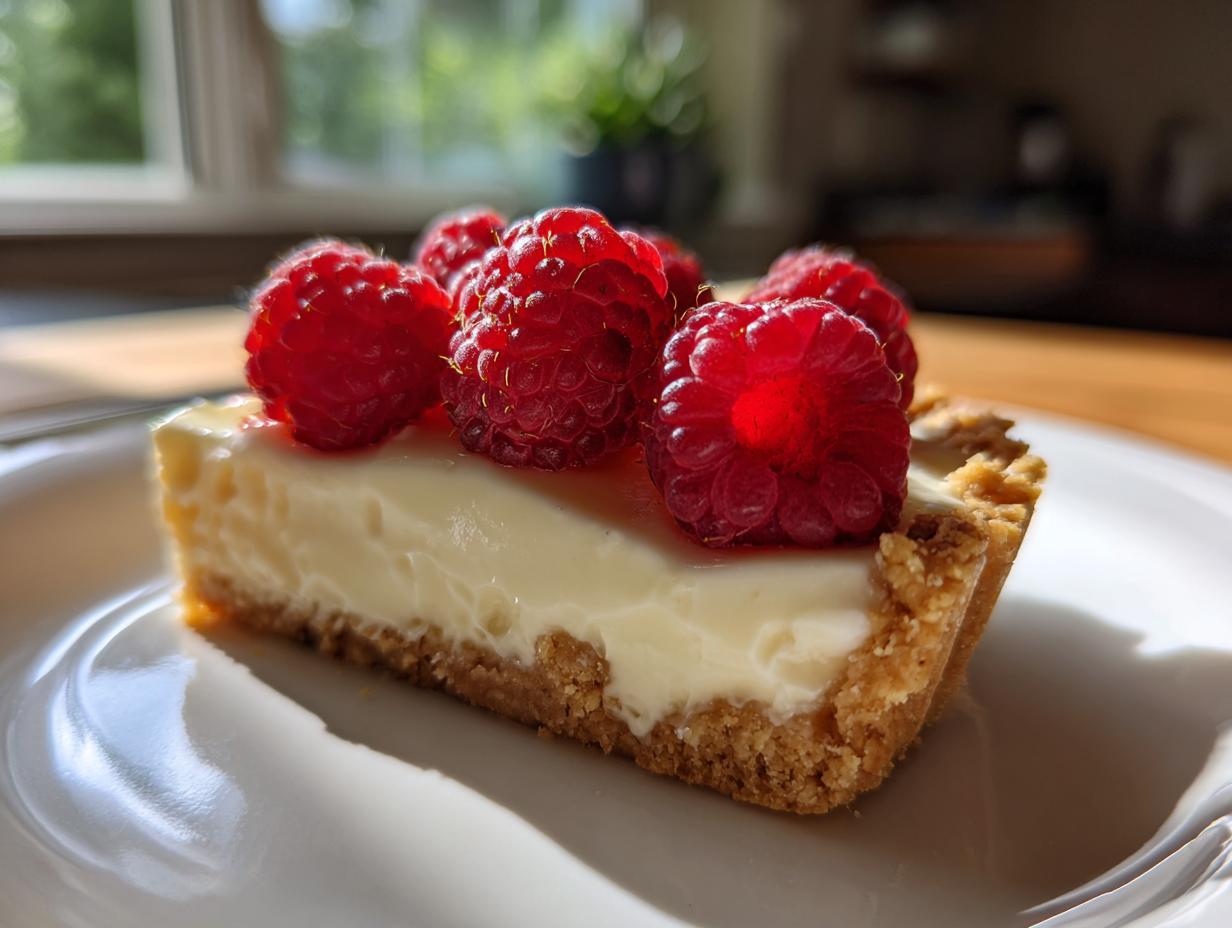
Okay, listen up! If you think making an utterly gorgeous, elegant dessert that looks like it belongs in a fancy Parisian bakery is going to take you all day and require a culinary degree, I have news for you. We, here at YumDrizzle, believe that truly impressive food should feel fun and accessible, not intimidating. That’s why this white chocolate mousse tart is about to be your new secret weapon. We’re talking about a shockingly simple recipe that delivers that high-end elegance your guests expect. You get that unbelievably creamy, silky mousse filling nestled perfectly inside a crisp, buttery tart shell. Trust me, this dessert practically makes itself, and it’s perfect for whenever you need a real showstopper. You can find more of my go-to sweet treats right here in my collection of dessert recipes!
- Why This White Chocolate Mousse Tart Recipe Works for You
- Gathering Ingredients for Your White Chocolate Mousse Tart
- Step-by-Step Instructions for the White Chocolate Mousse Tart Recipe
- Tips for the Ultimate White Chocolate Mousse Tart Success
- Garnishing Your Showstopper Dessert
- Serving and Storing Your White Chocolate Mousse Tart
- Variations: From Tartlets to French Tart Recipe Twists
- Frequently Asked Questions About Making a White Chocolate Mousse Tart
- Share Your Elegant Dessert Recipes Experience
Why This White Chocolate Mousse Tart Recipe Works for You
You want elegance but you don’t want stress, right? That’s exactly where this recipe shines. It gives you all the visual impact of a professional bakery item but is designed for someone juggling a busy life or new to making truly gourmet sweets. It’s a winner because we nail the texture contrast and the timing. If you’re looking for more recipes that fit this easy-entertaining style, check out my guide on make ahead party dessert ideas!
- It’s the ultimate showstopper—you chill it, forget it, and pull it out when the guests arrive.
- The texture is unbelievable—it’s creamy without being heavy.
- It looks incredibly sophisticated; seriously, no one will guess how easy this was!
- The filling technique is much simpler than trying to work with gelatin or a full French patisserie layering system.
Achieving That Velvety White Chocolate Dessert Texture
The secret to that melt-in-your-mouth feel comes from marrying two things: a gently cooked, rich custard base made with egg yolks, and then carefully folding in softly whipped cream. That combination lightens the whole thing up! But listen, you absolutely have to use high-quality white chocolate that actually contains cocoa butter. That’s what makes for a truly smooth, creamy white chocolate filling that sets perfectly.
The Perfect Buttery Tart Crust Foundation
A mousse that light needs something solid underneath it to really deliver that gourmet punch. Our shell is a simple press-in dough, which keeps things easy—no rolling required! It bakes up beautifully blind to ensure it stays perfectly crisp before the filling goes in. This contrast between the cool, luscious mousse and the warm, nutty flavor of the buttery tart crust is what makes every single bite feel like a celebration.
Gathering Ingredients for Your White Chocolate Mousse Tart
Okay, let’s get our stuff together! For a dessert this elegant, you do need a few key components. But don’t worry, everything here is stuff you can grab at your regular supermarket. The list is split logically: we need the stuff for the crust, and then the good stuff for that heavenly filling. Remember, the star of the show is the chocolate, so don’t skimp here! We want this white chocolate mousse tart to taste expensive, even if it wasn’t!
- For the Crust: 1 1/2 cups all-purpose flour, 1/2 cup cold unsalted butter (cut into cubes—this is super important!), 1/4 cup granulated sugar, 1/4 teaspoon salt, 1 large egg yolk, 2 tablespoons ice water (plus maybe a little more).
- For the Filling: 8 ounces high-quality white chocolate (finely chopped—please don’t use chips!), 1 cup heavy cream (we use this in two parts!), 4 large egg yolks, 1/4 cup granulated sugar, 1 teaspoon vanilla extract.
- For Garnish: Fresh raspberries or citrus zest, whatever makes you happy!
Ingredient Notes and Substitutions for Your White Chocolate Mousse Tart
A quick word on quality—this is where we build trust in the recipe! For the white chocolate, if it doesn’t list cocoa butter as an ingredient, skip it. Candy melts just won’t set right in this mousse. Also, for that buttery tart crust, if you happen to be avoiding gluten, you can totally substitute almond flour for the all-purpose flour. It gives the crust an extra nutty depth, which is amazing with white chocolate. Just a little pro move to make this happen for everyone!
Step-by-Step Instructions for the White Chocolate Mousse Tart Recipe
Alright, let’s stop talking about how fancy this is and start making it happen! You’ve got your ingredients lined up, and now we turn this into the stunning, layered masterpiece you planned. We’re moving through the crust prep, then building that incredible filling layer by layer. It sounds like a lot, but trust me, once the crust is cooling, the filling comes together surprisingly fast. I put together some easy tart recipes if you want more quick wins later on. If you want to see how another baker tackled this amazing dessert, check out the steps they used over here: Elegant White Chocolate Mousse Tart with Fresh Raspberries.
Forming and Baking the Buttery Tart Crust
First things first: the foundation. Use your food processor to pulse the flour, cold butter cubes, sugar, and salt until it looks like coarse crumbs. Don’t let that butter melt! You need those cold chunks. Then add the yolk and just enough ice water until the dough clumps up—stop mixing the second it does. Press that dough evenly into your 9-inch tart pan. Seriously, if you have a pan with a removable bottom, use it; it makes getting this out later so much less nerve-wracking! Poke the bottom all over with a fork, wrap it up, and make it chill for at least 30 minutes. Then? Blind bake! Line it with parchment and weights, bake it for 15 minutes, take the weights out, and give it another 5 to 7 minutes until it’s just barely golden. Let that crust cool completely before we move on, okay?
Creating the Silky White Chocolate Base and Custard
This part is where we ensure the mousse stays perfectly smooth. Put your chopped white chocolate in a bowl. Heat 1/4 cup of the heavy cream until it’s just simmering, then pour it right over that chocolate. Don’t stir yet! Just let it sit for two minutes to melt everything gently, then whisk until it’s glossy and smooth. Now for the custard part—this needs attention! Whisk your 4 egg yolks with the ¼ cup sugar until they look pale and thick. Heat the rest of your cream until it simmers, and then, here’s the key: slowly temper the hot cream into the yolks while whisking non-stop! If you dump it too fast, you’ll get scrambled eggs, and nobody wants that in their creamy white chocolate filling. Once it’s tempered, return the whole thing to the saucepan and cook low heat until it coats the back of your spatula—that’s your signal that it’s safe to move on. It should be like nice thick paint.
Folding the Velvety White Chocolate Filling
We’re almost there! Let that warm custard mixture cool down a bit before you mix it into the white chocolate base; we don’t want to shock the chocolate. Once they’re combined and smooth, it’s time to introduce air. In a clean bowl, whip the remaining heavy cream until you get medium-stiff peaks. That’s vital for volume! Now, gently fold that whipped cream into the slightly cooled white chocolate mixture. Do this in three separate additions. You have to be gentle—think ‘folding a blanket’ not ‘stirring soup.’ This careful process is what locks in the air and delivers that signature velvety white chocolate dessert texture we are aiming for. Pour that beautiful mousse into your completely cooled tart shell, smooth the top, and get it into the fridge!
Tips for the Ultimate White Chocolate Mousse Tart Success
Making this tart feels like artistry, but truly, success comes down to respecting the chill time and using the right building blocks. I learned the hard way that rushing these gourmet homemade desserts never pays off! This recipe is designed to handle advance prep, which is a lifesaver when you’re hosting. If you love making big bakes ahead of time, you should definitely look at my tips for easy mousse tart execution!
Making Your White Chocolate Mousse Tart Ahead of Time
This is probably the biggest gift this recipe gives you: it needs time to set up properly. You absolutely cannot rush the chill! You need a minimum of six hours hiding out in the refrigerator for that mousse to firm up enough so it doesn’t just collapse when you cut into it. My advice, especially if you’re planning a big party or holiday feast, is to build this thing the day before you serve it. Overnight setting guarantees a firmer, more professional slice. It solidifies the structure, ensures you get that perfect clean cut, and makes your day of entertaining so much less stressful. This is the definition of a perfect showstopper dessert!
Garnishing Your Showstopper Dessert
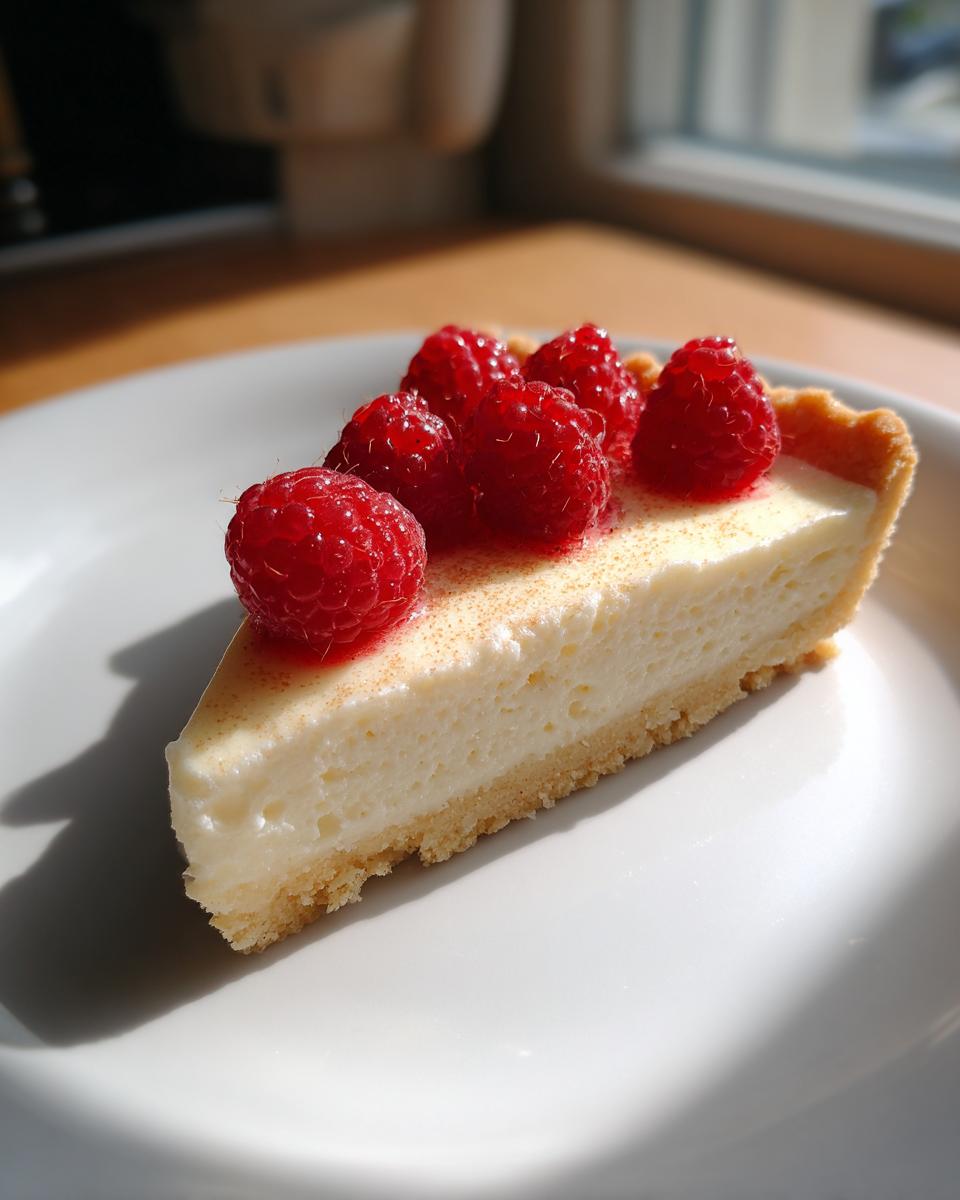
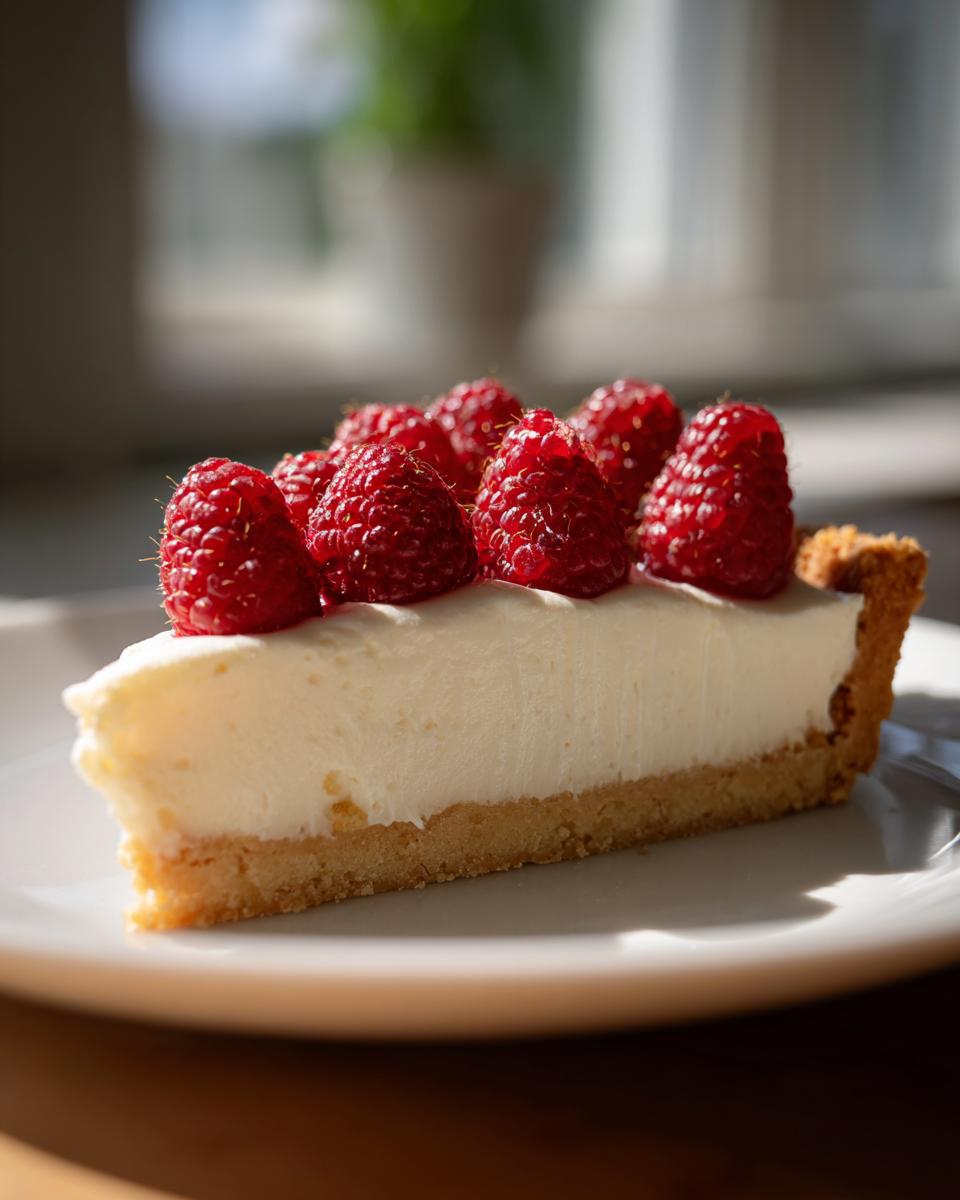
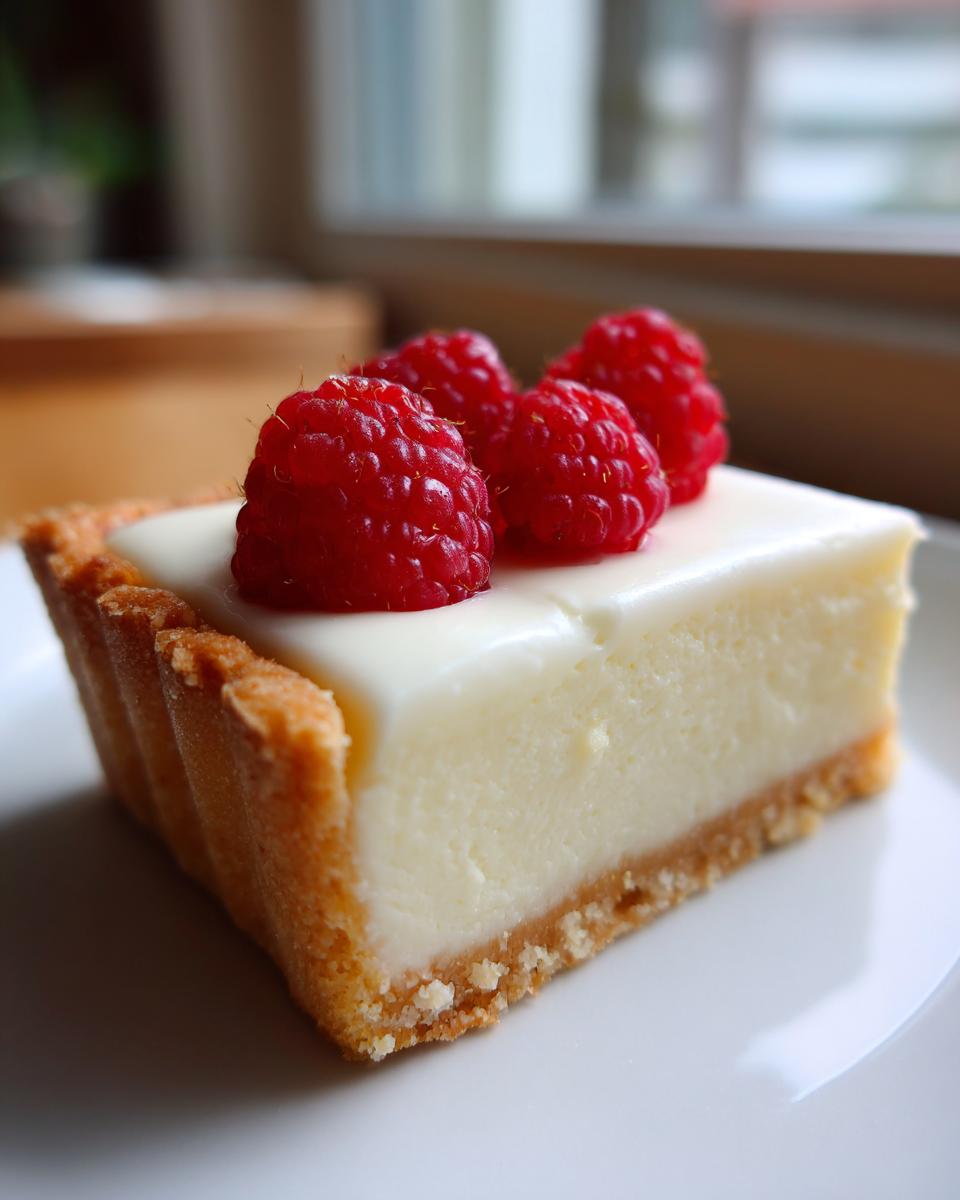
Once that tart has chilled nice and firm—seriously, wait for it—it’s time to make it look magazine-worthy! Taking that ring off is easier than you think; run a thin knife very gently around the edge first, then pop up the base. Your beautiful white chocolate mousse tart deserves a great finishing touch. I love piling fresh raspberries right in the center, or maybe some finely grated lemon zest for a little pop of color. For true elegance, grab whatever dark chocolate you have and use a vegetable peeler to make some delicate chocolate curls. It transforms this into a true centerpiece for any gathering, like what you’d see in fancier gourmet homemade desserts!
Serving and Storing Your White Chocolate Mousse Tart
So, you’ve made this incredible, elegant creation—now we have to keep it perfect! The good news is that this velvety white chocolate dessert is designed to be your friend in the fridge. Once it’s fully set, you want to keep it covered, but loosely, with plastic wrap. You don’t want the wrap touching the surface of the mousse because, well, it’ll stick and mess up your pretty presentation.
Keep it chilled until about 15 to 20 minutes before you plan to serve it. That little bit of warming time takes the chill off the mousse just enough so it melts beautifully on your tongue, but it stays firm enough to slice cleanly. Seriously, don’t even think about leaving this out on the counter for too long; warm mousse is sad mousse.
Can you reheat it? Nope! This isn’t a casserole; it’s a delicate mousse filling, so it needs to stay cool. If you have leftovers—and if your crowd has any restraint, you might!—pop them right back into an airtight container in the fridge. It holds up wonderfully for two or maybe three days max. If you want to see what else I make that holds up well for leftovers, check out my ideas for easy turkey soup recipe for leftover turkey, because sometimes you need savory after all that sweet!
Variations: From Tartlets to French Tart Recipe Twists
Just because this recipe is stellar in a 9-inch format doesn’t mean we can’t play with it! I love seeing how people adapt things in their own kitchens. If you’re having a party or just want perfectly portioned treats, making individual mousse tartlets is absolutely the way to go. You’ll need mini tart pans, probably about 3 or 4 inches across, and you’ll need to watch the baking time on that crust closely, since they cook faster than the big guy.
If you look at some of my favorite elegant dessert recipes, sometimes they have a little something extra in the base. You can easily elevate this into a true French tart recipe vibe by adding a tiny pinch of spice to the shortbread crust mixture before you press it in. I’m talking maybe a tiny dash of cayenne (just enough to wake up the white chocolate, not enough to make it spicy!) or just a little extra cinnamon near the holidays.
Another fun twist? Instead of just vanilla in the mousse, try dissolving a teaspoon of instant espresso powder into the hot cream before you pour it over the white chocolate. You get this gorgeous mocha hint that complements the sweetness perfectly. Or, if citrus is your thing, use orange zest in the chocolate base—it adds brightness! For the most beautiful individual servings, check out these inspiration photos for those mini versions: Elegant White Chocolate Mousse Tartlets – A Mini Dessert Dream! You’ve got the foundation down, now you get to decorate the fun parts!
Frequently Asked Questions About Making a White Chocolate Mousse Tart
Okay, I know you’ve got questions! When you’re making something this elegant, you want to make sure every step is perfect so that creamy white chocolate filling sets just right. I get asked these things all the time, so let’s clear up any confusion right now. We want your results to look flawless!
Can I skip baking the crust entirely for a true no bake white chocolate tart?
That’s a great question, especially if you’re trying to keep the oven off! While this is technically a no bake white chocolate tart in terms of the filling, you absolutely have to bake the crust first. If you just press raw dough into the pan and pour the mousse in, you end up with a soggy, raw, floury mess underneath all that gorgeous mousse. We blind bake it until it’s golden and crisp for that perfect texture contrast. So, baking the crust is non-negotiable, even if the filling itself sets up firm without any heat!
What is the best white chocolate to use for the creamy white chocolate filling?
I emphasize this everywhere, and I’ll say it again: quality counts for white chocolate more than almost anything else. You need white chocolate that lists actual cocoa butter in the ingredients. If you use standard baking chips, which often use vegetable oils as stabilizers, your filling will probably end up grainy or sometimes won’t set up quite right, no matter how well you manage the custard. Go for a good bar chopped finely. If you’re dealing with chocolate issues, you might want to check out some of my tips on easy garlic breadsticks recipe; honestly, sometimes dealing with dough is easier than dealing with temperamental chocolate!
How do I stop my white chocolate mousse tart from cracking when chilling?
This is usually caused by the surface drying out too fast in the cold air of the fridge. When the top skin dries, it shrinks as the mousse underneath settles, causing cracks. The fix is super simple! Once you pour the mousse into the cooled crust and smooth the top, cover the entire tart very loosely with plastic wrap. I mean loose! You don’t want the plastic touching that beautiful mousse surface. This traps enough humidity inside to keep the surface soft while it chills, guaranteeing a smooth top when you finally pull it out to serve this amazing gourmet homemade dessert.
Share Your Elegant Dessert Recipes Experience
So, you’ve successfully navigated the blind baking, tamed the custard, and achieved that pure, velvety white chocolate dessert texture we talked about. Now, I want to see what you did! I spend so much time trying to make these impressive recipes totally doable for real life, and hearing how it went in your kitchen means everything to me.
When you give this white chocolate mousse tart recipe a try, please hit that 5-star rating button right down below the recipe card. And don’t be shy—drop a comment! Tell me how your guests reacted, what garnish you chose (did you go with raspberries or zest?), or any little tweak you tried. If you snapped a picture of your finished showstopper, I absolutely want to see it!
Tag me on your socials or just let me know in the comments. Let’s build a community here at YumDrizzle where we can cheer each other on as we make incredible food feel simple. You can learn more about what we are all about over on my About page. Happy baking, everyone!
PrintElegant No-Bake White Chocolate Mousse Tart

You can create this stunning white chocolate mousse tart that looks like it came from a Parisian patisserie. It features a buttery, crisp tart shell filled with a silky, velvety white chocolate mousse. This make-ahead dessert is surprisingly easy and perfect for impressing guests at any special occasion.
- Prep Time: 45 min
- Cook Time: 22 min
- Total Time: 7 hours 7 min
- Yield: 8 servings 1x
- Category: Dessert
- Method: No-Bake Filling
- Cuisine: French-Inspired
- Diet: Vegetarian
Ingredients
- 1 1/2 cups all-purpose flour
- 1/2 cup cold unsalted butter, cubed
- 1/4 cup granulated sugar
- 1/4 teaspoon salt
- 1 large egg yolk
- 2 tablespoons ice water (plus more if needed)
- 8 ounces high-quality white chocolate, finely chopped
- 1 cup heavy cream, divided
- 4 large egg yolks
- 1/4 cup granulated sugar
- 1 teaspoon vanilla extract
- Fresh raspberries or citrus zest, for garnish
Instructions
- Prepare the Tart Shell: In a food processor, pulse the flour, cold butter, 1/4 cup sugar, and salt until the mixture resembles coarse crumbs. Add the egg yolk and pulse until just combined. Add ice water one tablespoon at a time until the dough just comes together. Do not overmix.
- Form the Crust: Press the dough evenly into a 9-inch tart pan with a removable bottom. Prick the bottom all over with a fork. Chill the crust for at least 30 minutes.
- Blind Bake the Crust: Preheat your oven to 375°F (190°C). Line the chilled crust with parchment paper and fill with pie weights or dried beans. Bake for 15 minutes. Remove the weights and paper and bake for another 5-7 minutes until lightly golden. Let the crust cool completely on a wire rack.
- Make the White Chocolate Base: Place the chopped white chocolate in a heatproof bowl. In a small saucepan, heat 1/4 cup of the heavy cream until it just simmers. Pour the hot cream over the white chocolate and let it sit for 2 minutes. Whisk until completely smooth. Set aside to cool slightly.
- Prepare the Custard Base: In a separate bowl, whisk the 4 egg yolks and 1/4 cup sugar until pale and thick. In the same small saucepan, heat the remaining 3/4 cup heavy cream until it simmers. Slowly temper the hot cream into the egg yolk mixture while whisking constantly. Return the mixture to the saucepan and cook over low heat, stirring constantly with a rubber spatula until the mixture thickens enough to coat the back of the spatula (do not boil).
- Combine: Pour the warm custard mixture over the slightly cooled white chocolate mixture. Stir in the vanilla extract until fully combined and smooth. Let this mixture cool to room temperature, stirring occasionally.
- Whip the Mousse: In a clean bowl, whip the remaining 1/2 cup heavy cream until medium-stiff peaks form. Gently fold the whipped cream into the cooled white chocolate mixture in three additions until the mousse is light and uniform.
- Assemble and Chill: Pour the velvety white chocolate mousse into the cooled tart shell. Smooth the top with an offset spatula. Cover the tart loosely with plastic wrap and refrigerate for at least 6 hours, or preferably overnight, until the mousse is firm.
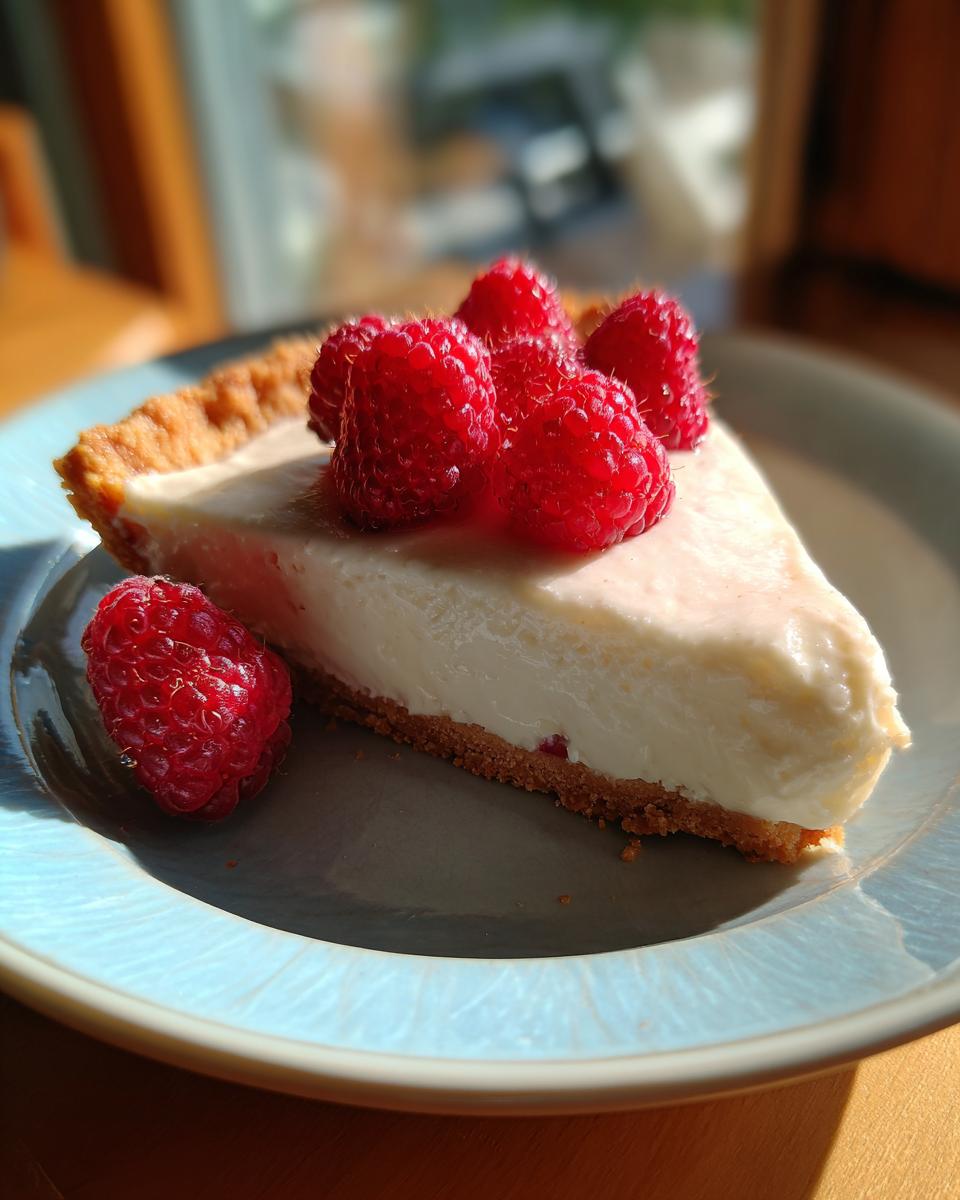
- Serve: Carefully remove the tart ring. Garnish the top with fresh raspberries, strawberries, or delicate chocolate curls before slicing and serving this showstopper dessert.
Notes
- For an extra buttery crust, use almond flour instead of regular flour for a gluten-free option.
- Make sure your white chocolate contains cocoa butter for the best melting and setting quality.
- This tart is best made one day ahead to allow the mousse to set fully, making entertaining simple.
Nutrition
- Serving Size: 1 slice
- Calories: 450
- Sugar: 30g
- Sodium: 150mg
- Fat: 32g
- Saturated Fat: 19g
- Unsaturated Fat: 13g
- Trans Fat: 0g
- Carbohydrates: 35g
- Fiber: 1g
- Protein: 6g
- Cholesterol: 120mg