
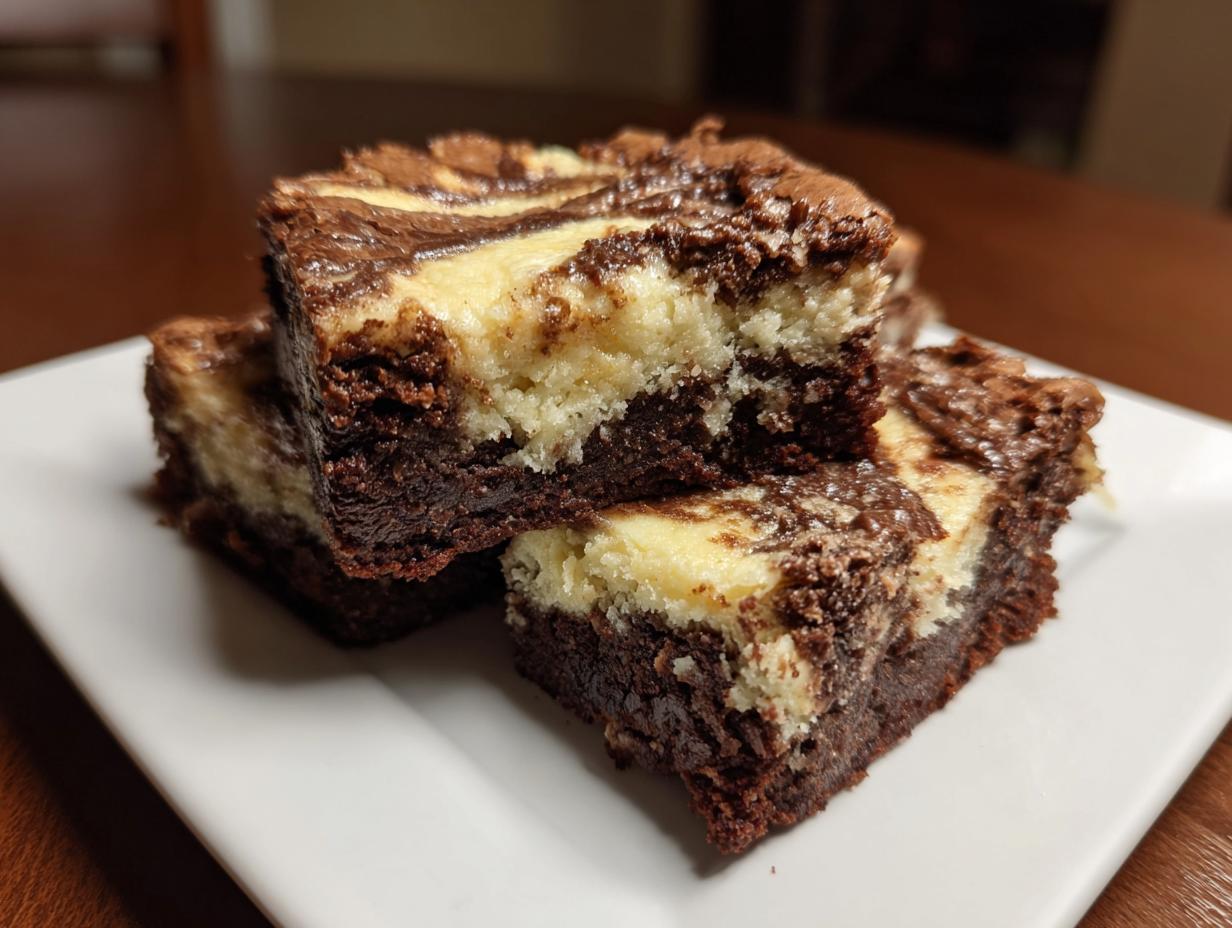
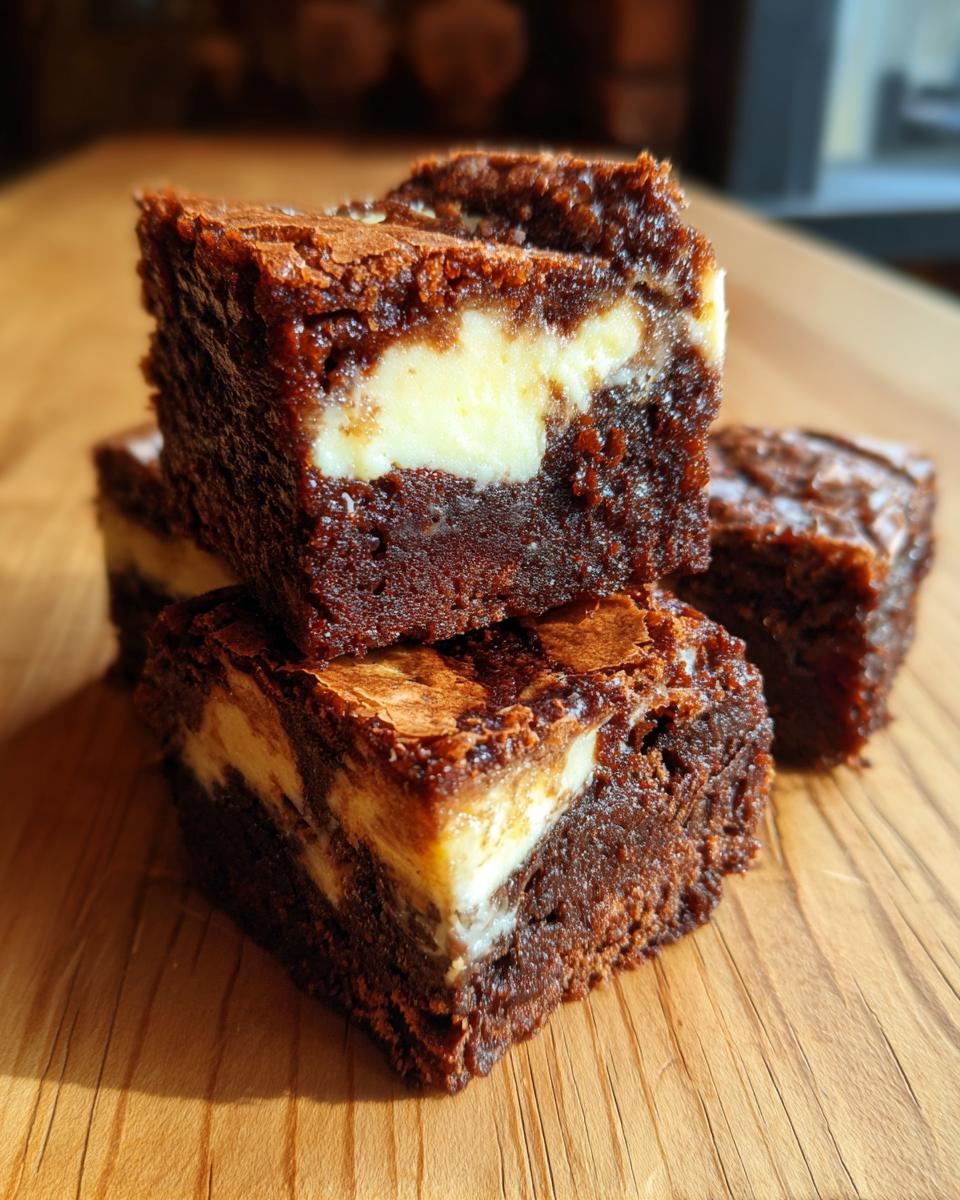
If you want to talk about a true dessert mashup, nothing beats the moment rich, fudgy chocolate meets the tangy bite of cheesecake, right? That’s exactly what happens when you make these cream cheese brownies. When I was living life on the road visiting every worthwhile food truck across the country, I realized flavor isn’t about complicated stuff; it’s about perfect pairings done simply. And this recipe is pure magic. We aren’t messing around with dry, cakey bars here; we are aiming for the ultimate fudgy center wrapped in a beautiful cream cheese swirl. Trust me, these rock the dessert table!
- Why These Are the Best Cream Cheese Brownies You Will Ever Make
- Gathering Ingredients for Rich Fudgy Cream Cheese Brownies
- How to Make Cream Cheese Brownies Step-by-Step
- Baking and Cooling Your Decadent Chocolate Dessert
- Tips for Success with Homemade Brownies with Cream Cheese
- Storage and Reheating Instructions for Cream Cheese Brownies
- Frequently Asked Questions About Cheesecake Brownie Recipe
- Serving Suggestions for Rich Fudgy Dessert Bars
- Share Your Ultimate Cream Cheese Brownies Creations
Why These Are the Best Cream Cheese Brownies You Will Ever Make
I’ve made a lot of dessert bars in my life, and these truly hit different. People ask me all the time what the secret is to balancing that intense chocolate flavor with the creamy cheesecake part. It comes down to texture, honestly. These aren’t your average, airy brownies; these are decadent, rich, and unapologetically fudgy.
- The swirl is consistently beautiful—no muddy brown patches here!
- They stay incredibly moist even a couple of days later.
- Seriously, they come together faster than grabbing decent takeout.
Achieving the Perfect Fudgy Texture in Your Cream Cheese Brownies
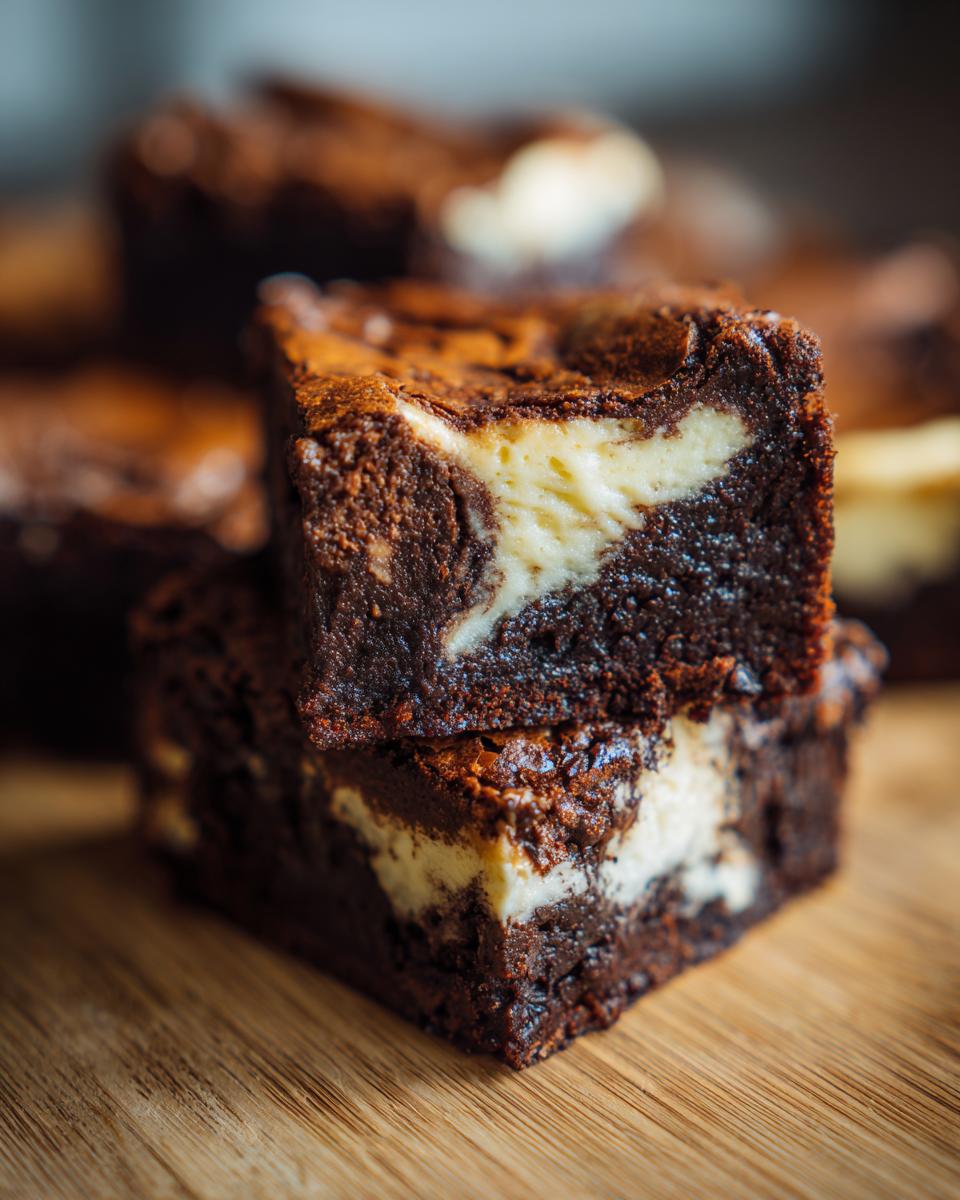
The key to ditching the cakey texture is watching the flour, but more importantly, it’s that melted butter. We skip creaming the butter with sugar, which incorporates air and makes cake. Melted butter equals dense, fudgy goodness. Because we want that intense chocolate flavor, we lean heavily on good cocoa powder and watch the bake time! Remember those notes about under-baking slightly? That’s how you guarantee these cream cheese brownies are perfect.
The Ideal Cream Cheese Swirl Brownies Marbling Technique
Visual appeal matters! When you see those gorgeous ribbons in the finished product, that’s the swirl doing its job. For the best definition in your cream cheese swirl brownies, make sure your cream cheese mixture is smooth but slightly cool—maybe chill it for 10 minutes while you finish the batter. When you gently drag that knife through the layers, you get those stunning patterns that make everyone think you spent hours fussing!
Gathering Ingredients for Rich Fudgy Cream Cheese Brownies
Okay, let’s talk ingredients. This is where we secure that rich, fudgy texture we’re after. Since we are going from scratch on these homemade brownies with cream cheese, precision matters, but don’t panic—everything is easy to find. I’ve broken down what goes into the chocolate base and what you need for that bright, tangy swirl. Having everything measured out before you start mixing is my number one rule for baking success!
- For the Brownie Batter:
- 1 cup (2 sticks) unsalted butter, melted
- 2 cups granulated sugar
- 4 large eggs
- 1 teaspoon vanilla extract
- 1 cup all-purpose flour
- ¾ cup unsweetened cocoa powder
- ½ teaspoon salt
- ¼ teaspoon baking powder
- For the Cream Cheese Layer:
- 8 ounces cream cheese, softened
- ¼ cup granulated sugar (less sweet for tang!)
- 1 large egg (for cream cheese layer)
- ½ teaspoon vanilla extract (for cream cheese layer)
Ingredient Notes and Substitutions for Cream Cheese Brownies
Listen, I know sometimes you run out of stuff. If you only have salted butter, ditch the extra ½ teaspoon of salt in the brownie mix. Easy fix! But don’t skimp on the cocoa powder; that’s where your rich chocolate flavor comes from, so use the best quality unsweetened stuff you can find. It really makes a difference in turning this into a truly decadent chocolate dessert. Also, the cream cheese absolutely has to be softened, or you’ll end up with little cream cheese lumps, and nobody wants that in their perfect swirl!
How to Make Cream Cheese Brownies Step-by-Step
This is where the magic happens! Even though there are two distinct components—the brownie and the cheesecake dollops—the whole process moves super fast. We’re using the melted butter method, so cleanup is way simpler than with traditional creaming methods. You’ll be done pouring batter into the pan before your oven even finishes preheating, which is why these are listed as one of my go-to easy cream cheese brownies!
Preparing the Pan and Brownie Batter for Cream Cheese Swirl Brownies
First things first: grab that 9×13 pan and get it ready. Seriously, do not skip the parchment paper here, and make sure you leave an overhang on the sides. That’s your handle later when you need to lift these beautiful bars out without breaking them. Once the oven is set to 350°F, you mix your wet ingredients for the brownie base—the melted butter and sugar first, then the eggs one by one. Remember what I always preach? Don’t overmix! Once you add the dry ingredients, just mix until you don’t see white streaks anymore. That’s the secret to keeping these cream cheese brownies fudgy!
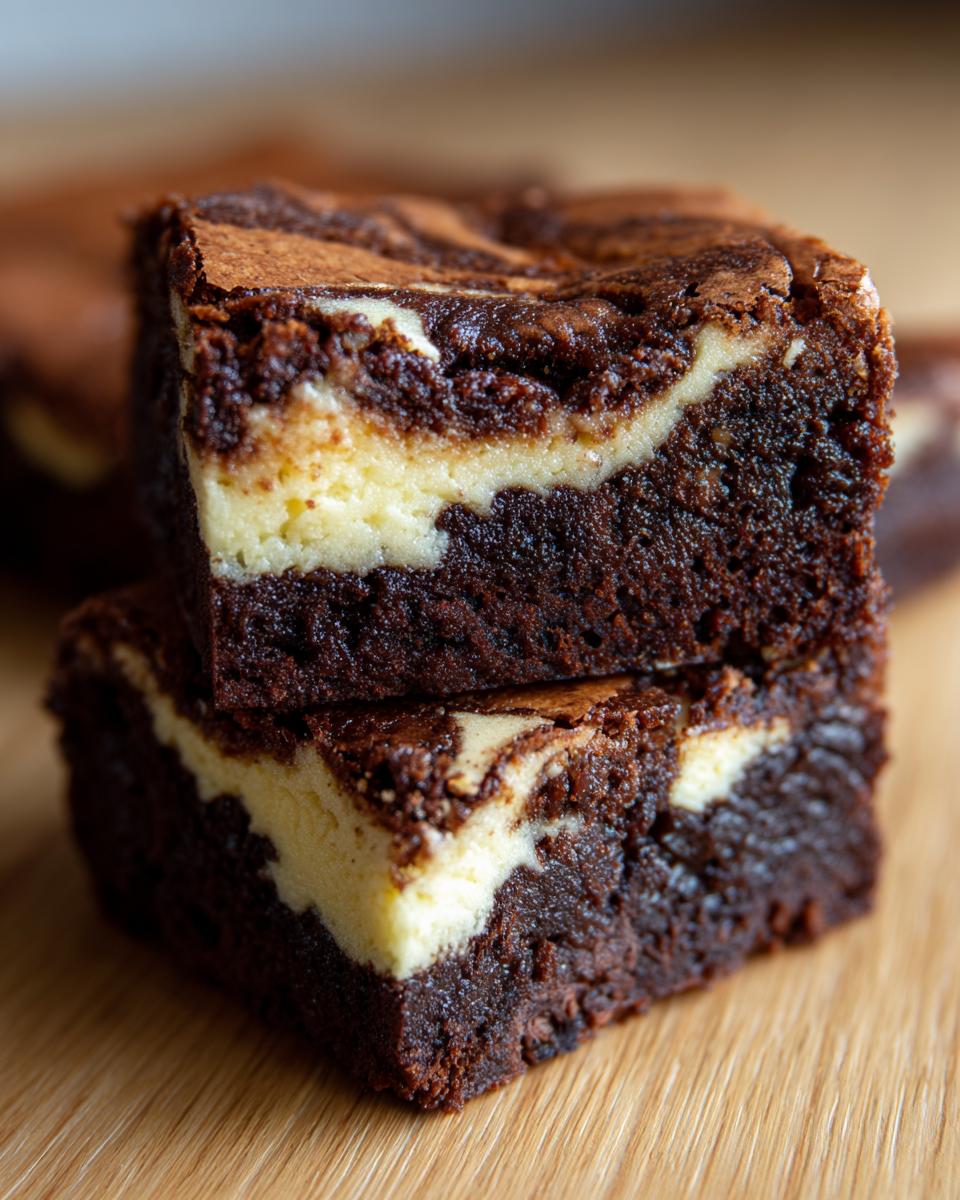
Creating the Tangy Layer and Achieving the Marble Brownies Recipe Swirl
Now for the best part! Pour about two-thirds of that rich brownie batter into your prepared pan. Next, grab your smooth cream cheese mixture. Just drop spoonfuls randomly over the batter—don’t try to spread it perfectly yet. Then, cover it up with the rest of your brownie batter. Now, grab a butter knife or a wooden skewer. You just gently drag it through the layers, making figure-eights or loose S-shapes to create that stunning marble effect. You want clear ribbons, so don’t churn it! This careful swirling is what makes it a perfect marble brownies recipe.
Baking and Cooling Your Decadent Chocolate Dessert
Alright, the marbled beauty is in the oven! These go into the 350°F heat for about 30 to 35 minutes. This is the moment of truth, right? Remember, we are chasing those incredible, chewy edges and that soft center. You are looking for the toothpick test—but take this seriously: you want moist crumbs clinging to the toothpick, not wet, shiny batter. If the toothpick comes out totally clean, you’ve gone too far, and you’ll end up with fudgy, but maybe a little stiff, bars.
For this recipe, the goal is definitely those perfect fudgy cheesecake brownies. If you see the edges shrinking away from the parchment paper just slightly, that’s a great sign that the brownie structure is setting up beautifully.
Now, here is the hardest part, but you have to listen to me on this: You MUST let these cool completely before you even think about slicing them. I know it’s agony when they smell this incredible straight from the oven, but trying to cut them warm guarantees a gooey mess that sticks to the knife. Use that parchment paper overhang from the initial setup to lift the entire block onto a wire rack. Let them chill out for at least two hours, or honestly, chilling them in the fridge for an hour speeds up the process before the final room-temp rest really helps those clean cuts. If you want bars that look as good as they taste, patience during the cooling stage is non-negotiable. Keep them cool and enjoy that perfect texture that only comes after a full chill. I often bake them the night before just so I can have flawless squares the next day!
When you’re ready to serve, you can pair these straight from the fridge, or let them sit out for about 20 minutes. If you want to reheat a square just slightly, pop it in the microwave for about 10 seconds—don’t forget they are amazing warmed up with a scoop of vanilla ice cream, too! These bars are designed to hold up, thanks to the structure from that cream cheese layer, which you can see remnants of in my banana bread brownies experiments too!
Tips for Success with Homemade Brownies with Cream Cheese
Even though these are wonderfully simple homemade brownies with cream cheese, a couple of tiny tricks pulled straight from my kitchen failures will save you headaches later on. People always ask me about getting that sharp swirl—you know, the contrast that makes the marbles really pop. It all comes down to temperature control, not just for the batter, but for the topping!
You absolutely must ensure your 8 ounces of cream cheese is truly soft. I mean, push-your-finger-in-it soft. If it’s cold when you try to mix it with the egg and sugar for the filling, you’ll always end up with lumps, and then you’ll be tempted to whip the filling too long to smooth it out, which just makes the final swirl less defined. Don’t do it!
If you are trying to get those super sharp, distinct ribbons like the ones on fudgy cream cheese brownies you see online, try this: after you make your cream cheese topping, pop the bowl into the fridge for about 10 minutes while you finish mixing the brownie batter. It firms up just enough so that when you dollop it onto the brownie base, it sits higher and resists mixing too deeply when you do your swirling action. It’s a little extra step, but boy, does it make a difference in the visual payoff of your final square!
One more quick tip for making the very best cream cheese brownies: Don’t overbake by even two minutes! Seriously check them right at 30 minutes. Because we want them fudgy, they look a little raw when they are actually perfect. If you wait until the toothpick is bone dry, you’ve baked the cheesecake layer into rubbery goodness instead of keeping it luscious.
Storage and Reheating Instructions for Cream Cheese Brownies
Oh gosh, once you’ve made these incredible cream cheese brownies, you definitely want to make sure you save them right! Unlike a straight-up chocolate brownie which can sit on the counter, we have that happy little cream cheese swirl in the middle, which means we gotta be a bit smarter about storage.
The absolute best way to keep these fudgy bars tasting like they just came out of the oven is in an airtight container. But here’s the thing—do they go on the counter or in the fridge? If you plan on eating them within a day or two, the counter is fine, especially if your kitchen isn’t miserably hot. They just taste so much better at room temperature; the chocolate stays softer and the cheesecake layer is creamier.
However, if you are anything like me and you bake a huge batch because, well, why not? You’ll want to move them to the refrigerator. Pop them in that airtight container, and they will easily last about five to seven days. Just remember, cold brownies get a little firm, which you might actually love if you prefer that super dense texture. If you chill them, make sure you let them sit on the counter for about 20 or 30 minutes before you plan to serve them. That little bit of warming up gives you back that perfect, decadent texture we worked so hard to create!
Reheating is silly easy if you want that moment-of-baking gooeyness back. Just take a single square—don’t try to heat the whole pan, trust me!—and pop it in the microwave for about 10 seconds. That just melts the chocolate chips you might have added and softens the cheesecake just enough. These cream cheese brownies are fantastic leftovers, I swear!
Frequently Asked Questions About Cheesecake Brownie Recipe
I know you might still have questions, because baking is all about testing things out until you nail that perfect bar! These aren’t complicated, but there are always a few tweaks people ask about so they can get the same perfect result I do when making these incredible cheesecake brownie recipe treats.
Can I use a box brownie mix for these easy cream cheese brownies?
Oh, absolutely! As much as I love going totally scratch, sometimes you just need a shortcut, and that’s totally fine for these easy cream cheese brownies. If you use a box mix, you don’t need to follow the box directions for the wet ingredients. Just use the box mix according to its instructions for the brownie batter part. Then, you ignore the box’s topping suggestion and make my cream cheese layer separately! Once you pour the box batter into the pan, you dollop and swirl my filling right on top, just like we did here. It works like a charm!
How do I ensure my brownies are fudgy instead of cakey?
This is the million-dollar question for any brownie lover! It all boils down to two things we talked about: fat content and mixing time. We use a lot of melted butter and fat from the eggs, which is the secret sauce for that dense, fudgy texture. Also, seriously stop mixing once you add the flour. You want to mix just enough so that you don’t see the dry flour streaks anymore. As soon as you see those streaks disappear—stop pulling that whisk or spoon! If you overmix, you develop the gluten, and suddenly, oops, you’ve made a cake! Remember, a few stray crumbs on the knife mean you’ve got perfectly gooey, moist swirl brownies!
Serving Suggestions for Rich Fudgy Dessert Bars
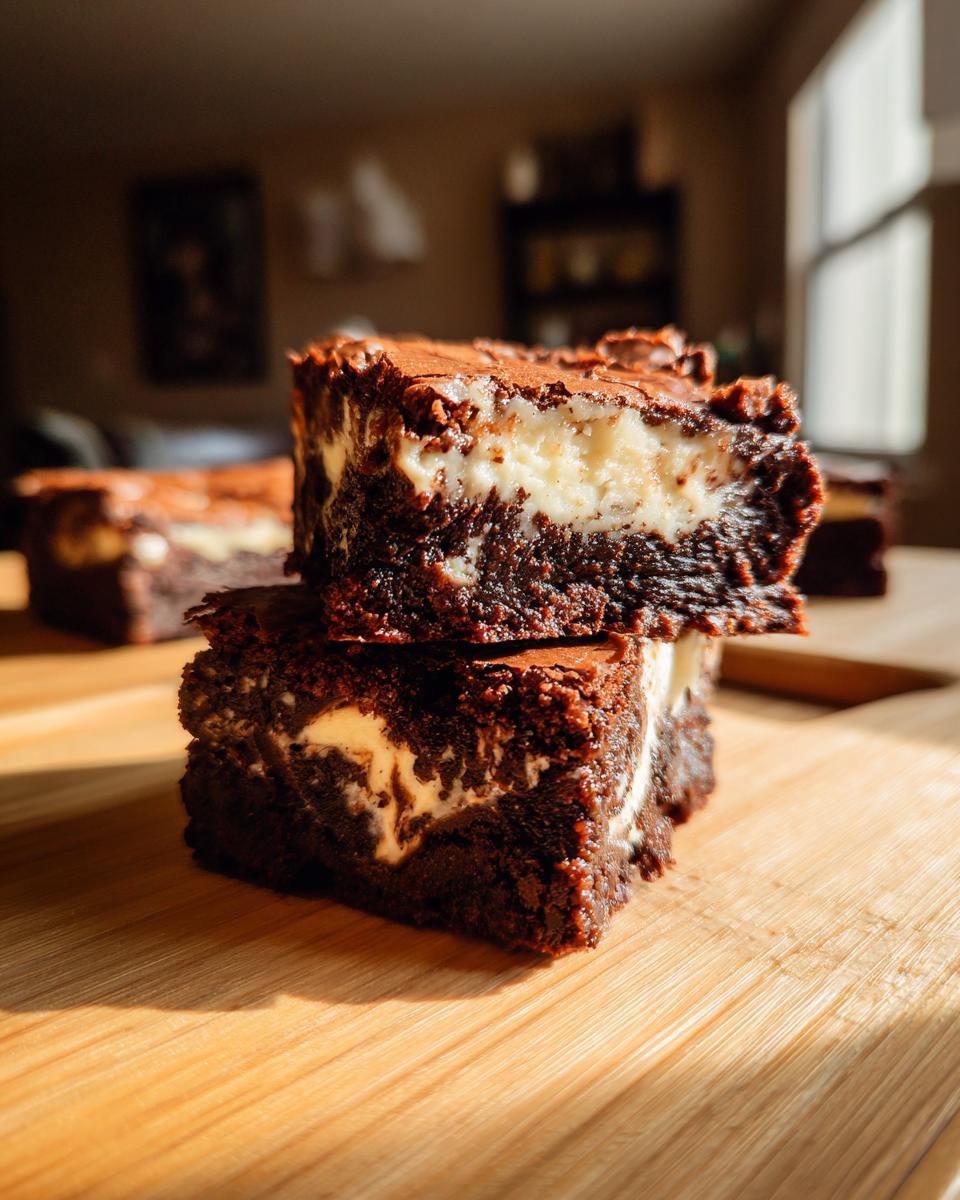
Okay, you’ve finally sliced those perfect squares—now how do you serve them? Honestly, these rich fudgy dessert bars are totally amazing all by themselves, maybe just dusted with a little powdered sugar. But if you want to go full-out decadent, you have to try a warm square with a scoop of vanilla bean ice cream. The contrast between the warm, gooey chocolate and the cold cream is next level!
Also, because that cream cheese swirl offers a little tang, they pair beautifully with a strong cup of coffee. Seriously, save a few for breakfast the next day—don’t judge! And if you want to get really fancy like the folks that post those beautiful cheesecake brownies online, drizzle just a tiny ribbon of melted dark chocolate over the top right before serving. You deserve it!
Share Your Ultimate Cream Cheese Brownies Creations
I really, truly want to know what you think! You took the time to melt the butter, you waited patiently for these cream cheese brownies to cool—you deserve praise for making such a decadent dessert!
When you try this recipe, please tell me! Leave a comment down below with your star rating. Did you swirl yours extra aggressively? Did you use good quality cocoa? Did you sneak a piece while they were still warm (I won’t tell anyone, promise)? Your feedback helps me know what’s working and what I should keep stressing about in the kitchen!
And if you snapped a picture of those gorgeous marbled squares, tag me on social media! I absolutely love seeing my recipes come to life in your kitchens. It reminds me why I love sharing these simple, flavorful things we pull together at home. Go enjoy those fudgy slices!
PrintUltimate Fudgy Cream Cheese Swirl Brownies
Make rich, fudgy cream cheese swirl brownies that combine deep chocolate flavor with a creamy, tangy cheesecake layer. This recipe creates a decadent, marbled dessert that is simple to prepare.
- Prep Time: 20 min
- Cook Time: 35 min
- Total Time: 55 min
- Yield: 16 bars 1x
- Category: Dessert
- Method: Baking
- Cuisine: American
- Diet: Vegetarian
Ingredients
- 1 cup (2 sticks) unsalted butter, melted
- 2 cups granulated sugar
- 4 large eggs
- 1 teaspoon vanilla extract
- 1 cup all-purpose flour
- ¾ cup unsweetened cocoa powder
- ½ teaspoon salt
- ¼ teaspoon baking powder
- 8 ounces cream cheese, softened
- ¼ cup granulated sugar (for cream cheese layer)
- 1 large egg (for cream cheese layer)
- ½ teaspoon vanilla extract (for cream cheese layer)
Instructions
- Preheat your oven to 350°F (175°C). Line a 9×13 inch baking pan with parchment paper, leaving an overhang on the sides for easy removal.
- In a large bowl, whisk together the melted butter and 2 cups of sugar until combined.
- Beat in the 4 large eggs one at a time, mixing well after each addition. Stir in 1 teaspoon of vanilla extract.
- In a separate bowl, whisk together the flour, cocoa powder, salt, and baking powder. Gradually add the dry ingredients to the wet ingredients, mixing until just combined. Do not overmix.
- Prepare the cream cheese layer: In a medium bowl, beat the softened cream cheese, ¼ cup sugar, 1 egg, and ½ teaspoon vanilla extract until the mixture is smooth and creamy.
- Spread about two-thirds of the brownie batter evenly into the prepared baking pan.
- Dollop spoonfuls of the cream cheese mixture over the brownie batter.
- Spread the remaining brownie batter over the cream cheese layer.
- Use a knife or a skewer to gently swirl the cream cheese mixture into the brownie batter to create a marbled effect.
- Bake for 30 to 35 minutes, or until a toothpick inserted near the center comes out with moist crumbs attached, not wet batter.
- Let the brownies cool completely in the pan on a wire rack before lifting them out using the parchment paper overhang.
- Cut into squares and serve.
Notes
- For extra fudgy brownies, reduce the baking time by 2-3 minutes.
- If you want a stronger cheesecake flavor, add 2 ounces of white chocolate chips to the cream cheese mixture.
- Chill the cream cheese layer mixture for 10 minutes before swirling for sharper marble definition.
Nutrition
- Serving Size: 1 bar
- Calories: 320
- Sugar: 30g
- Sodium: 150mg
- Fat: 18g
- Saturated Fat: 11g
- Unsaturated Fat: 7g
- Trans Fat: 0.5g
- Carbohydrates: 38g
- Fiber: 2g
- Protein: 4g
- Cholesterol: 75mg