
Ugh, I remember the days when I thought cookie decorating meant dipping, praying it dried right, and hoping it didn’t crack into a dozen sad pieces before the party. It was frustrating! If you’ve been there, trust me, you just needed the right formula. This royal icing recipe is absolutely foolproof because we use meringue powder—it gives you incredible stability and that smooth, gorgeous gloss you see on professional cookies. For me, learning this recipe was all about resourcefulness, the same way our founder Jax learned to pull flavor from roadside diners and hidden gems across America. This icing is reliable, ready in ten minutes, and sets up perfectly every single time. You truly won’t need another recipe once you try this one. If you want to learn more about our philosophy of making amazing food feel accessible (check out our story here!), you’ll understand why we built this recipe for real life.
- Why This Royal Icing Recipe Works for Every Decorator
- Gathering Ingredients for Your Royal Icing Recipe
- How to Make Royal Icing: Step-by-Step Instructions
- Adjusting Consistency for Your Royal Icing Recipe
- Tips for Success with Your Cookie Decorating Icing
- Serving Suggestions for This Royal Icing Recipe
- Storage and Reheating Instructions
- Frequently Asked Questions About This Easy Royal Icing Recipe
- Estimated Nutritional Data for This Royal Icing Recipe
- Share Your Royal Icing Creations
Why This Royal Icing Recipe Works for Every Decorator
Why mess with tradition when the modern update works flawlessly? This royal icing recipe takes the stress out of decorating. Seriously, I love that it whips up so fast—we’re talking 10 minutes max. We ditch the raw egg whites because, let’s be honest, who needs that extra worry when you’re trying to get a batch of cookies ready for a bake sale?
- It dries rock hard and shiny, making your sugar cookies look professional.
- You can easily change the thickness by adding water drop by drop.
- It uses stable, shelf-safe ingredients, which is just smart baking!
Benefits of Using Meringue Powder Royal Icing Recipe
The star here is the meringue powder. It’s just safer, especially when you’re making huge batches for holidays or gifts. Using a Meringue Powder Royal Icing means you get that fantastic, billowy whip every time without worrying about bacterial risks from fresh egg whites. It’s more reliable, too. It just whips up beautifully white and stiff; it never gives me that weirdly translucent look sometimes.
Gathering Ingredients for Your Royal Icing Recipe
Okay, getting ready to mix up this amazing icing for decorated cookies is super simple because most of this is pantry stuff. You just need four main things, plus that little optional helper! We combine 4 tablespoons of meringue powder with one full cup of confectioners’ sugar—and listen, you absolutely must sift that sugar, or you’ll have tiny lumps, and nobody wants bumpy icing.
Then you add about 1/4 cup of warm water gradually, and if you want that beautiful, rock-hard finish that lasts, toss in 1/4 teaspoon of cream of tartar. That little acidic pinch really helps stabilize everything. Don’t forget the vanilla extract! It’s what gives it that great baseline flavor.
Ingredient Notes and Substitutions for Perfect Royal Icing
When we talk quality, we mean it here. The powdered sugar has to be fine, so go ahead and give it a good sift—it saves so much trouble later! For the flavor, I usually go for clear vanilla extract. Why? Because regular vanilla has that lovely brownish tint, and if you want pristine white royal icing, clear extract keeps it bright. If you’re making a huge batch for a gingerbread house, maybe skip the vanilla altogether and use just a hint of clear almond instead. That’s a great flavor pairing, trust me!
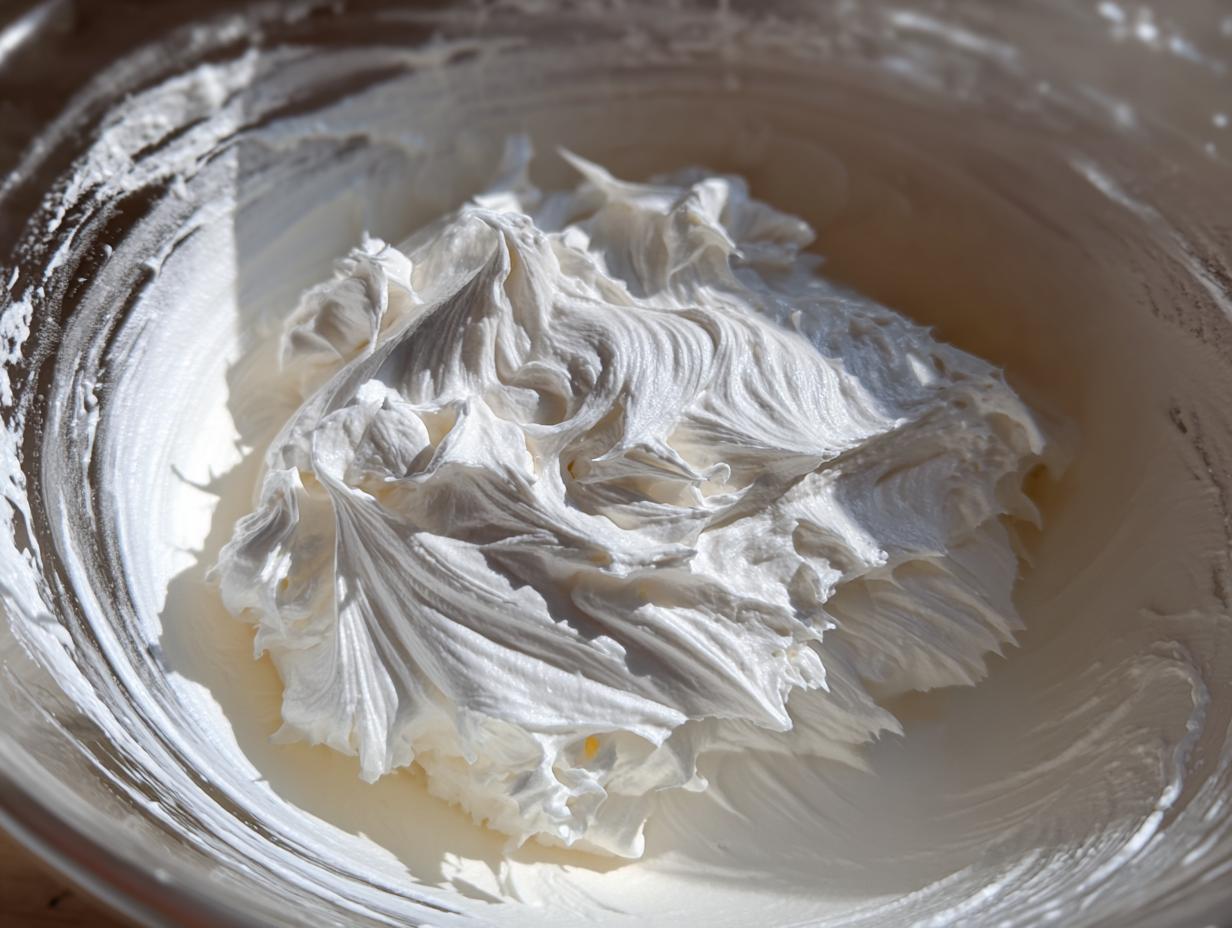
How to Make Royal Icing: Step-by-Step Instructions
This is where the magic happens, friend. Seriously, watch the clock because this entire royal icing recipe takes about 10 minutes total, which is why I love it on busy days. First things first, get those dry ingredients—the meringue powder and the (sifted!) sugar—into your bowl. Then pour in your warm water and that optional cream of tartar. Start your mixer on the absolute lowest speed. We don’t want a sugar cloud exploding across the kitchen, right? Just mix until everything is safely combined and looks like a thick paste.
After that initial mix, crank that mixer up to medium-high. This is non-negotiable! Whip it for a solid five to seven minutes. It needs that time to incorporate air and turn super bright white. This is the foundation for all decorations, so pay attention to the texture developing.
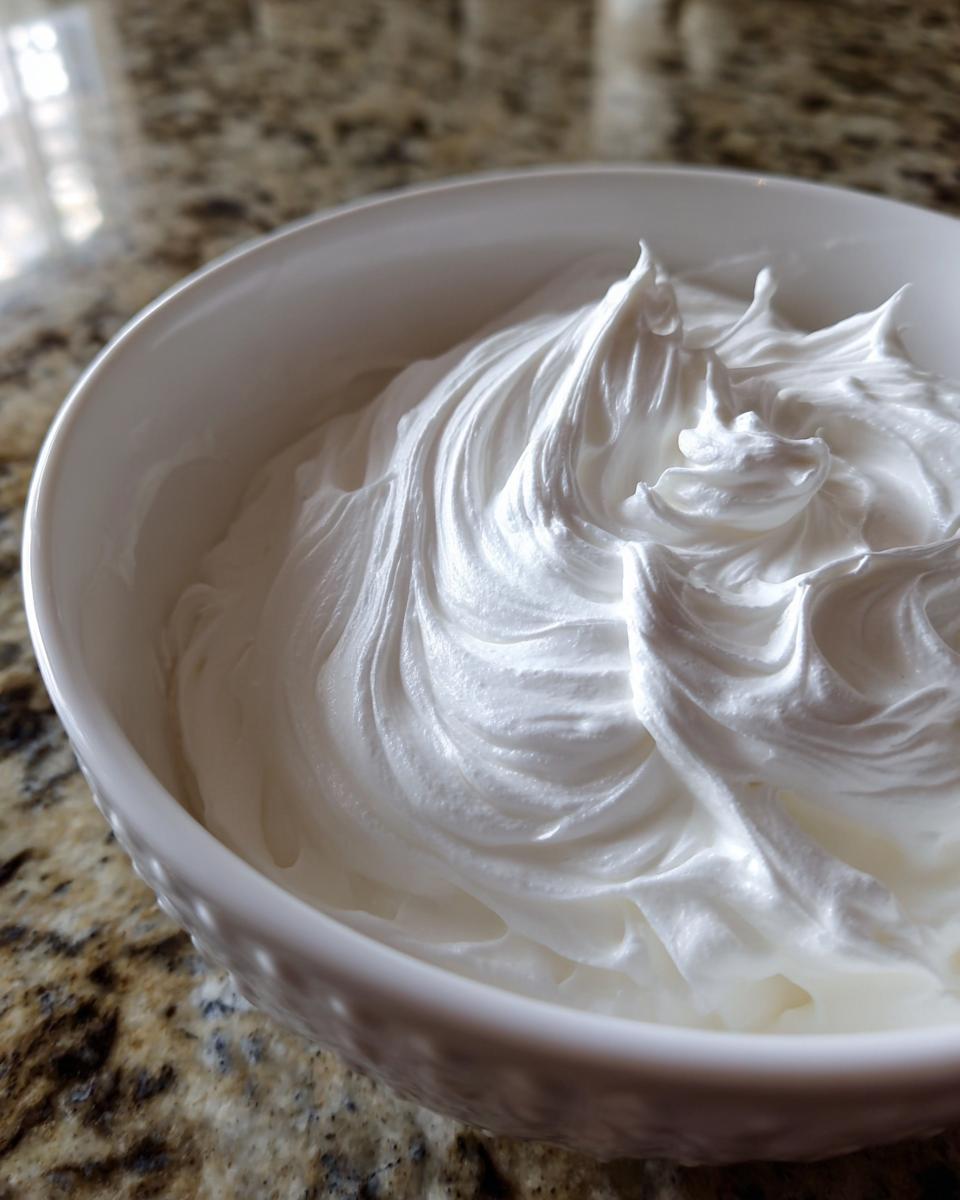
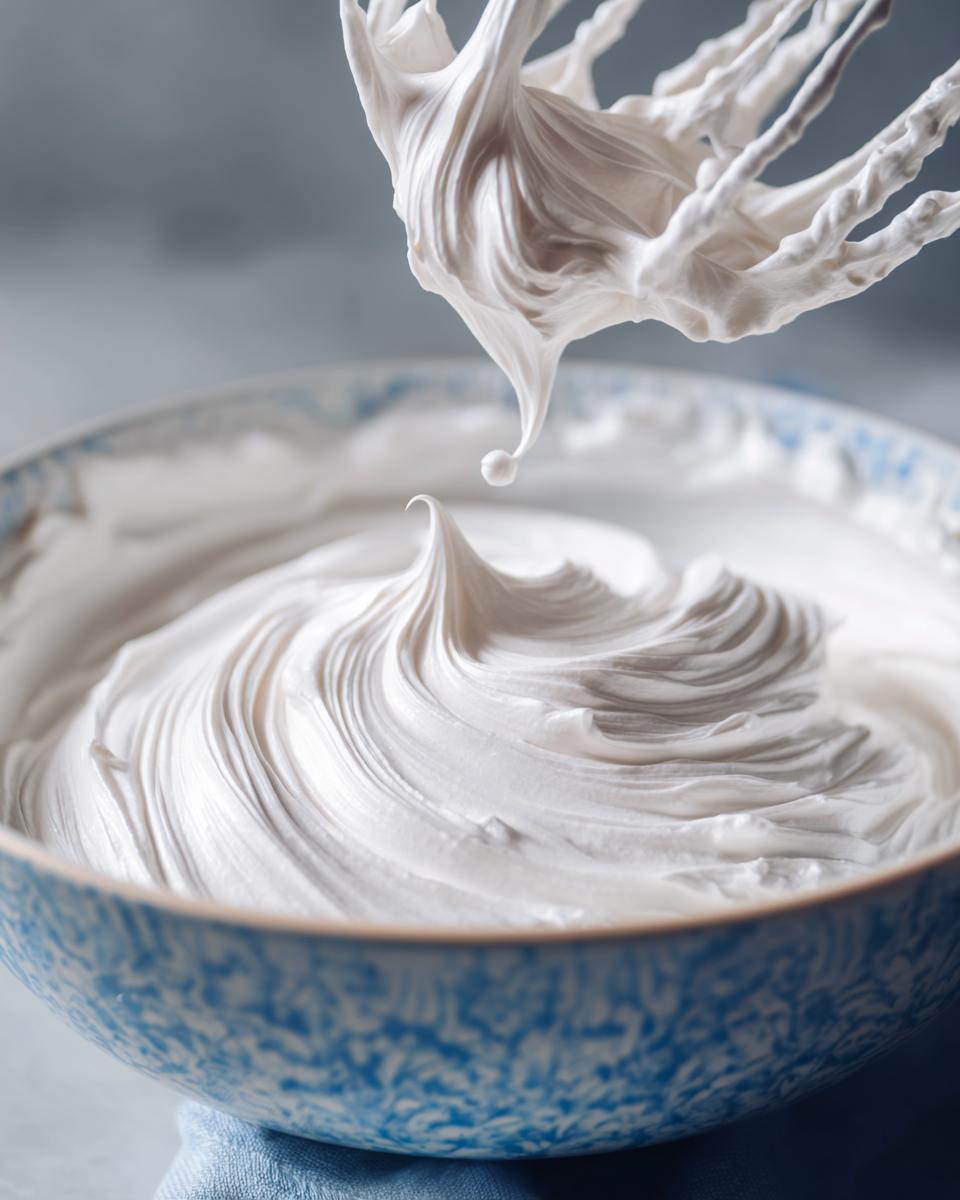
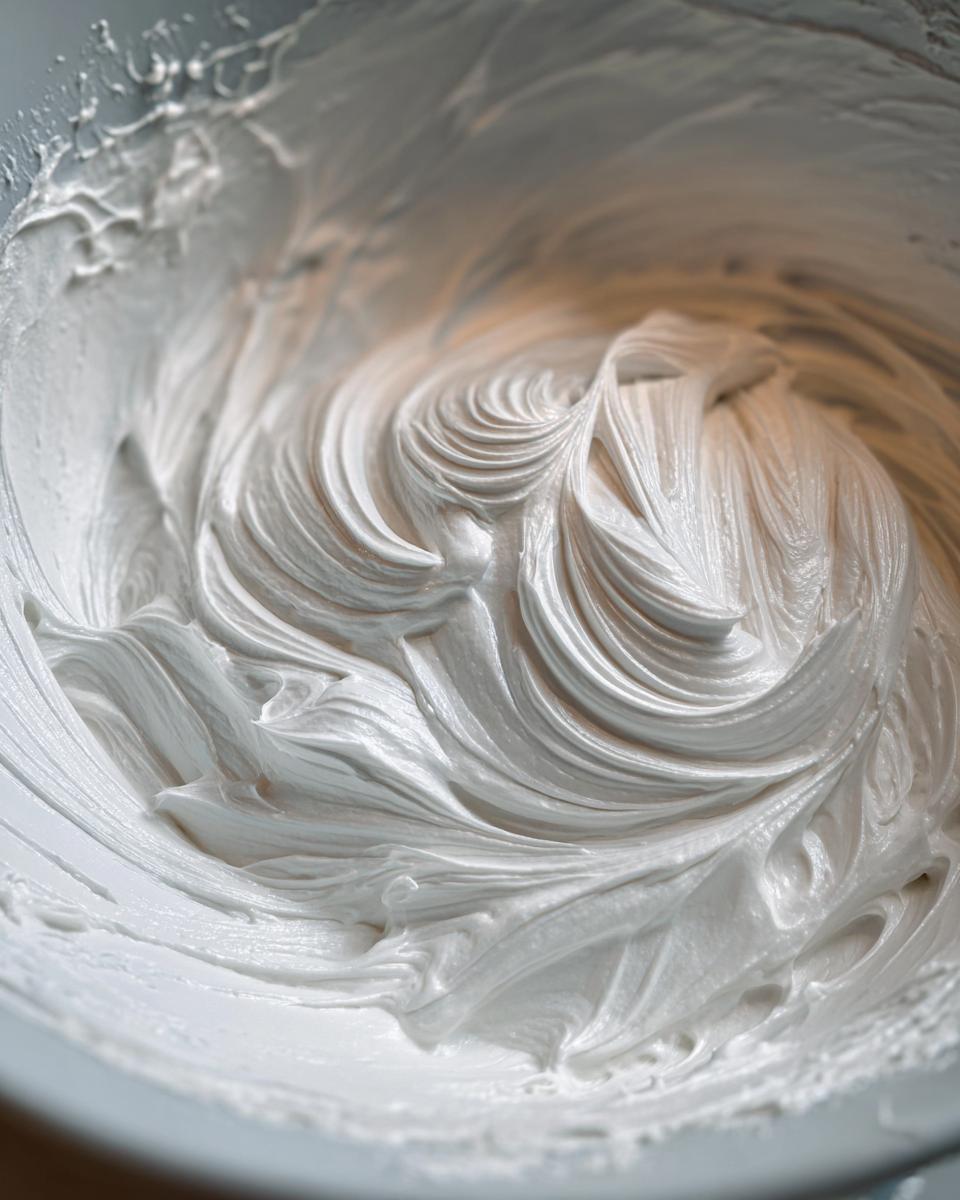
Achieving Stiff Peaks: The Key to Piping Icing Consistency
This high-speed whipping is exactly what defines your Piping Icing Consistency. You’re looking for stiff peaks. What does that mean in real terms? When you lift your whisk attachment out of the bowl, the icing should stand straight up—it shouldn’t droop or fold over at all. If it collapses, it needs more time whipping on high speed. This structure is what lets you outline cookies beautifully without the icing spreading everywhere. If you stop too soon, your lovely designs will just melt into puddles, so stick with the full beating time!
Once it’s stiff, add your vanilla or any coloring you might want for your first batch. If you’re planning on using this icing for flooding or detailed work later, you’ll adjust it *after* you’ve pulled out what you need for piping. Remember to double-check everything against our privacy information if you have any concerns about your kitchen safety!
Adjusting Consistency for Your Royal Icing Recipe
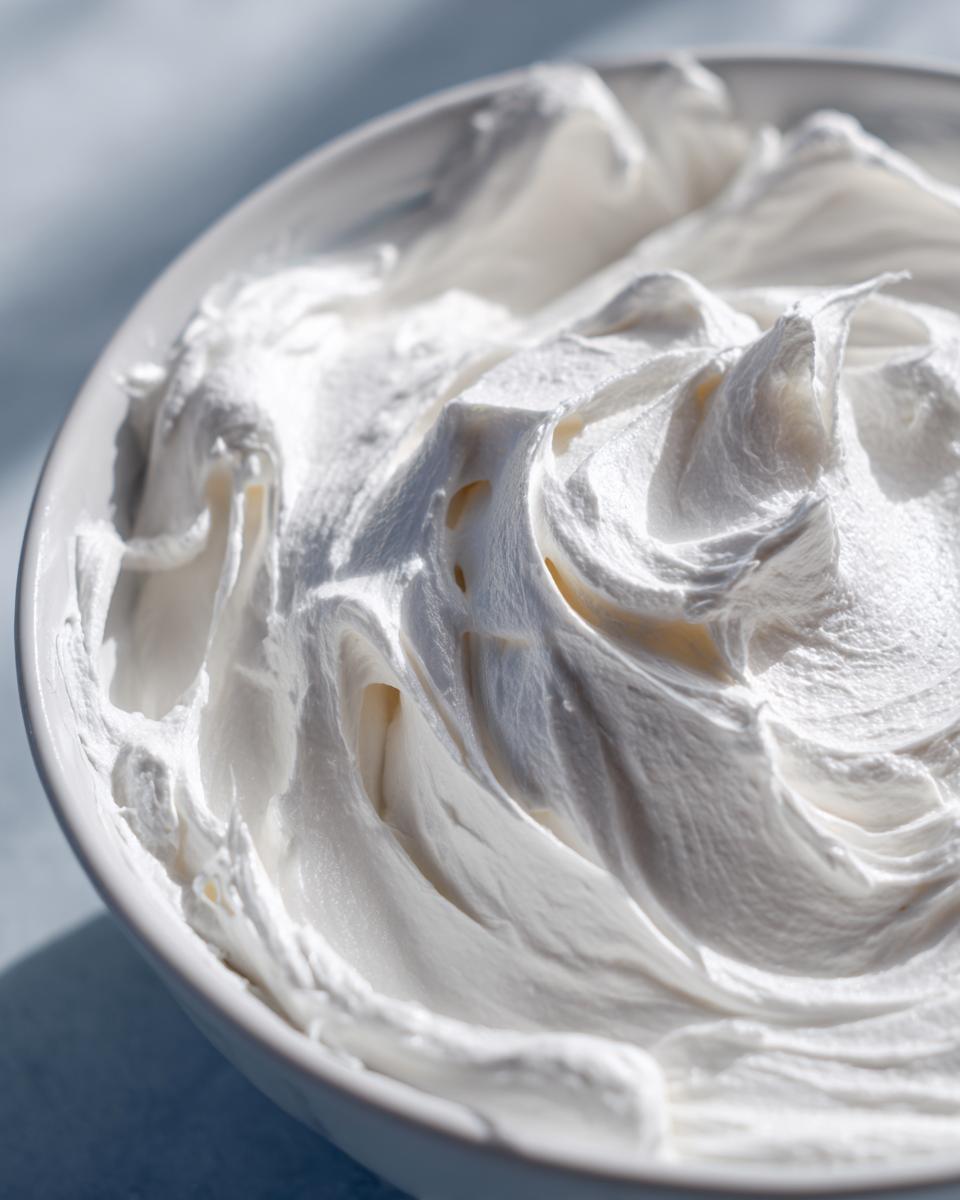
This is the part that always seems to trip people up, but honestly, once you get this down, you’re set for life! If you look at your piping consistency—what we just whipped up—it’s too stiff for most other jobs, right? The beauty of this royal icing recipe is how easily we can thin it down or thicken it up, depending on what the cookie demands. We really only work with three basic consistencies.
First, we have the piping consistency we just made—that’s for borders and writing. Next, for filling in those borders, you need Outlining consistency, sometimes called ’10-second icing.’ You test this by drawing a line right through the middle of the icing with a knife. If the line disappears in about ten seconds, you’re golden! If it vanishes instantly, it’s too thin. If it takes forever, it’s too thick for outlining.
Finally, for flooding (filling that whole outlined area), you need much thinner icing. This consistency should level itself out quickly, almost like runny pancake batter, so it settles smoothly inside your border. You achieve these differences by simply adding water—a tiny bit at a time—to loosen it up for flooding, or adding sifted sugar to tighten it back toward piping.
Troubleshooting Common Royal Icing Consistency Issues
Don’t panic if you accidentally splash in too much water when you’re trying to thin out your icing! It happens to the best of us. If you’ve gone too far and your icing is runny soup instead of a workable glaze, just grab a bit more of that sifted confectioners’ sugar and mix it in slowly, a tablespoon at a time. That’s your safety net for making a perfect Thick Consistency Icing again.
On the flip side, if your icing is just sitting there like a rock and won’t move when you tilt the bowl—maybe it got left uncovered for a minute too long—you just whip in water, one teaspoon at a time. Stop when it resists just slightly. Remember, we’re aiming for control here. For more great ideas on professional finishes, check out this guide from Chef Yoyo.
Tips for Success with Your Cookie Decorating Icing
Now that you have your perfect cookie decorating icing, we need to keep it working for us! The biggest enemy of royal icing is air—it dries out so fast it’s almost embarrassing. When you step away to answer the phone or grab more cookies to dip, you absolutely must cover that bowl. I mean it—plastic wrap pressed directly onto the surface of the icing. If you don’t, you’ll come back to a crusty mess, and you’ll spend five extra minutes chipping it off.
When it comes to color, please, please, please only use gel food coloring. If you use liquid dye, you’re adding extra water, and that wrecks the consistency you just worked so hard figuring out. Gel coloring gives you vibrant color without changing the texture at all. I learned this the hard way when I tried to make green Christmas trees using regular green food coloring. They looked lovely for about an hour, but then the flood consistency turned saggy and wouldn’t set! Stick to the gels!
How to Make Royal Icing Dry Firm and Glossy
The final test of a great Hardening Icing Recipe is how hard it fully dries. After you decorate, you cannot stack or cover those cookies until they are bone dry. I tried to cheat once on a big order and put them straight into a decorative box after just four hours—rookie mistake! The cookies stuck together in a big, sugary mess the next morning. You have to let them sit out on a drying rack, uncovered, at room temperature. This allows the moisture to evaporate completely. Humidity is your frenemy here; on a rainy day, it might take 12 hours to fully harden, but once it does, you get that high-gloss, professional finish we love!
Serving Suggestions for This Royal Icing Recipe
The best part about mastering this royal icing recipe is how versatile it is! Sure, we love it on classic sugar cookies, where it dries perfectly smooth for vibrant designs. But don’t stop there! This stiff consistency that we whipped up is also incredible for assembling and decorating gingerbread houses. It acts like edible grout, holding those sugary walls together beautifully.
If you want to get advanced, you can thin a small batch down even further to practice making royal icing flowers. They dry quickly and hold their shape thanks to that meringue powder base. Honestly, once you’ve got the basic formula down, use it everywhere! For more amazing decorating ideas that pair perfectly with this icing, take a look at what the experts are doing here.
Storage and Reheating Instructions
So, what happens when you finish decorating your first dozen cookies and you still have half a bowl of perfect icing left? Don’t toss it! This is where the meringue powder really saves the day because it stores better than egg white versions. You need to get that leftover icing into an airtight container immediately. Remember how I told you to cover the bowl? Do the same thing for storage—plastic wrap pressed directly onto the surface is the key to keeping the air out.
Store it in the fridge, or honestly, a cool pantry works fine if you plan on using it in the next couple of days. It’s good for up to a week, sometimes even longer, especially if you only used it for piping consistency.
Now, when you pull it back out to decorate again later, it’s probably going to be rock hard. That’s totally normal! Don’t panic and don’t just start whipping it again because you’ll incorporate too much air. Just take a tiny spoon and add water—literally a drop or two—and gently fold it in until the icing loosens up just a little bit. If you need to adjust the consistency for flooding again, slowly add just a tiny bit more water until it flows just right. This simple trick makes sure you don’t waste a single bit of your hard work!
Frequently Asked Questions About This Easy Royal Icing Recipe
Because decorating can feel tricky, I get so many questions about this royal icing recipe! I want to make sure everyone feels confident starting out, so let’s clear up a few common concerns right here. Don’t see your question answered? Feel free to reach out via our contact page!
Can I make this royal icing recipe without meringue powder?
You totally can, and back in the day, that’s how everyone did it! You would substitute the meringue powder with about 3 tablespoons of pasteurized egg whites mixed with a small amount of cream of tartar. Honestly, though, I strongly recommend sticking to the meringue powder for this tutorial. It is just so much more stable, which means you don’t have to worry about safely handling raw eggs, and it gives you that superior, glossy finish every single time, especially for beginners.
How long does it take for the icing to dry completely?
This is the most common question people ask when they are waiting to stack their cookies! If you’re doing a thin flood coat, it might feel dry to the touch in just 2 to 4 hours, especially if your house is dry. However, for that icing to dry *completely* hard—so you can package or stack them without smudging—you should plan on letting them sit uncovered overnight, or at least 8 to 10 hours. High humidity can really slow things down, so if it’s raining outside, give it extra time!
Estimated Nutritional Data for This Royal Icing Recipe
I know, I know, when your Royal Icing looks this incredible, who cares about numbers? But for those of you who track things or need to know what’s in your treats, I wanted to share the rough estimates for this batch. Remember, this is just a guide because things like exact heat and bowl sizes can change things slightly, but this baking is based on the ingredients listed here.
This recipe yields about 2 cups total, so these numbers reflect a serving size of about 1/4 cup of the finished, dried icing.
- Calories: About 170 per serving
- Carbohydrates: Around 43g
- Sugar: Yes, quite a bit—about 42g (It is, after all, pure confectioners’ sugar!)
- Protein: Roughly 2g
- Fat: Joyfully, 0g!
Don’t sweat the details too much, though. When you’re looking at this glossy, perfect crust holding your cookie design together, you’ll agree that the beauty and stability of this hard-setting icing are worth every single sprinkle of that sugar!
Share Your Royal Icing Creations
You’ve made it! You’ve mixed, you’ve piped, and now you have these gorgeous, glossy cookies or maybe a structurally sound gingerbread house. Honestly, that’s the best part of baking—sharing the sweet results!
I absolutely love seeing what everyone comes up with using this royal icing recipe. When you have a moment, please hop back here and leave us a rating. If this icing saved you from a decorating disaster like it saved me so many times, give it five stars—you know it deserves it!
More than just a rating, please share a photo! Tag us on social media or just drop a comment below telling me what you decorated. Did you stick to a basic white royal icing color, or did you go wild with electric blues and pinks? I want to see your best flooding techniques and your steady outlining skills. It’s so rewarding to know that this little guide helped you make something delicious and beautiful to share. Happy decorating, everyone!
PrintThe Best Foolproof Royal Icing Recipe Using Meringue Powder
Make smooth, glossy royal icing perfect for decorating sugar cookies, gingerbread houses, and other baked goods using stable meringue powder.
- Prep Time: 10 min
- Cook Time: 0 min
- Total Time: 10 min
- Yield: About 2 cups 1x
- Category: Baking Decoration
- Method: Mixing
- Cuisine: American
- Diet: Vegetarian
Ingredients
- 4 tablespoons meringue powder
- 1 cup confectioners’ sugar, sifted
- 1/4 cup warm water (approximate)
- 1/2 teaspoon vanilla extract or clear vanilla extract
- 1/4 teaspoon cream of tartar (optional, for stability)
Instructions
- In a large bowl, combine the meringue powder and sifted confectioners’ sugar.
- Add the warm water and cream of tartar (if using) to the dry ingredients.
- Beat the mixture with an electric mixer on low speed until the sugar is incorporated and the mixture is thick.
- Add the vanilla extract.
- Increase the mixer speed to medium-high and beat for 5 to 7 minutes until the icing is very stiff, bright white, and holds stiff peaks. This is your piping consistency.
- To adjust consistency, add water one teaspoon at a time while mixing on low speed until you reach your desired thickness.
- For outlining consistency, use 10-second icing (when a line drawn through the icing disappears in 10 seconds).
- For flooding consistency, add more water until the icing flows smoothly and levels out quickly.
- Cover the bowl with plastic wrap pressed directly onto the surface of the icing when not in use to prevent drying.
Notes
- For coloring, use gel food coloring, adding it slowly to the desired consistency.
- If the icing becomes too thin, add more sifted confectioners’ sugar, one tablespoon at a time.
- If the icing is too thick, add water, one teaspoon at a time.
- Allow decorated cookies to dry uncovered at room temperature until completely hard, which may take several hours depending on humidity.
Nutrition
- Serving Size: 1/4 cup
- Calories: 170
- Sugar: 42g
- Sodium: 15mg
- Fat: 0g
- Saturated Fat: 0g
- Unsaturated Fat: 0g
- Trans Fat: 0g
- Carbohydrates: 43g
- Fiber: 0g
- Protein: 2g
- Cholesterol: 0mg