
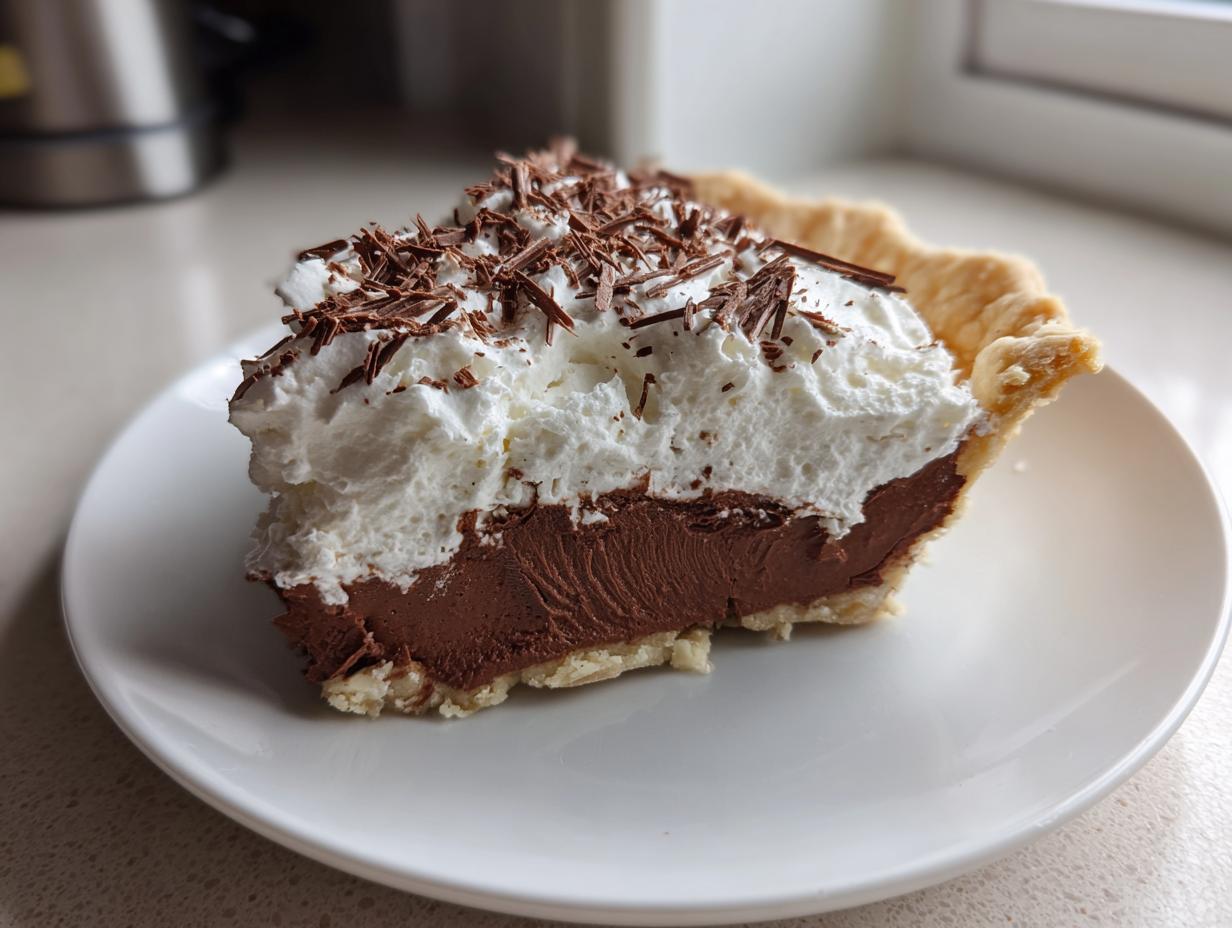
Listen, if you’re looking for a dessert that’s pure, unadulterated chocolate heaven—something so rich and creamy it practically dissolves on your tongue—then you’ve found the right place. This is my ultimate french silk pie recipe. I promise you, it hits every single note. When I was out on the road tasting all those amazing roadside dives and legendary dessert spots across America, I realized that the best food isn’t about being fancy; it’s about heart and figuring out how to capture genuine flavor. That’s how I cracked this code, finding a way to get that classic, velvety smooth texture everyone craves, and yes, we’re doing it without those scary raw eggs. That resourcefulness? That’s YumDrizzle in a nutshell, and this pie is proof that the most decadent things can be made right in your own kitchen.
- Why This is the Ultimate french silk pie Recipe (No Raw Eggs)
- Gathering Ingredients for Your french silk pie
- Building the Buttery Pie Crust Recipe for french silk pie
- Step-by-Step Instructions for the Ultimate french silk pie
- Expert Tips for a Perfect french silk pie Every Time
- Variations: Beyond the Classic french silk pie
- Serving Suggestions for Your Decadent Chocolate Dessert
- Storage and Make Ahead Dessert Planning for french silk pie
- Frequently Asked Questions About french silk pie
- Share Your Chocolate Indulgence
Why This is the Ultimate french silk pie Recipe (No Raw Eggs)
You’re here because you want the best, right? This chocolate mousse tart recipe is amazing, but our french silk pie is truly special because we nail that signature melt-in-your-mouth texture without relying on raw eggs. That’s a huge win for peace of mind, and I stand behind this method 100%. When I develop recipes for YumDrizzle, reliability is everything, and this texture is guaranteed if you follow one crucial step I learned from obsessively observing bakers on the road.
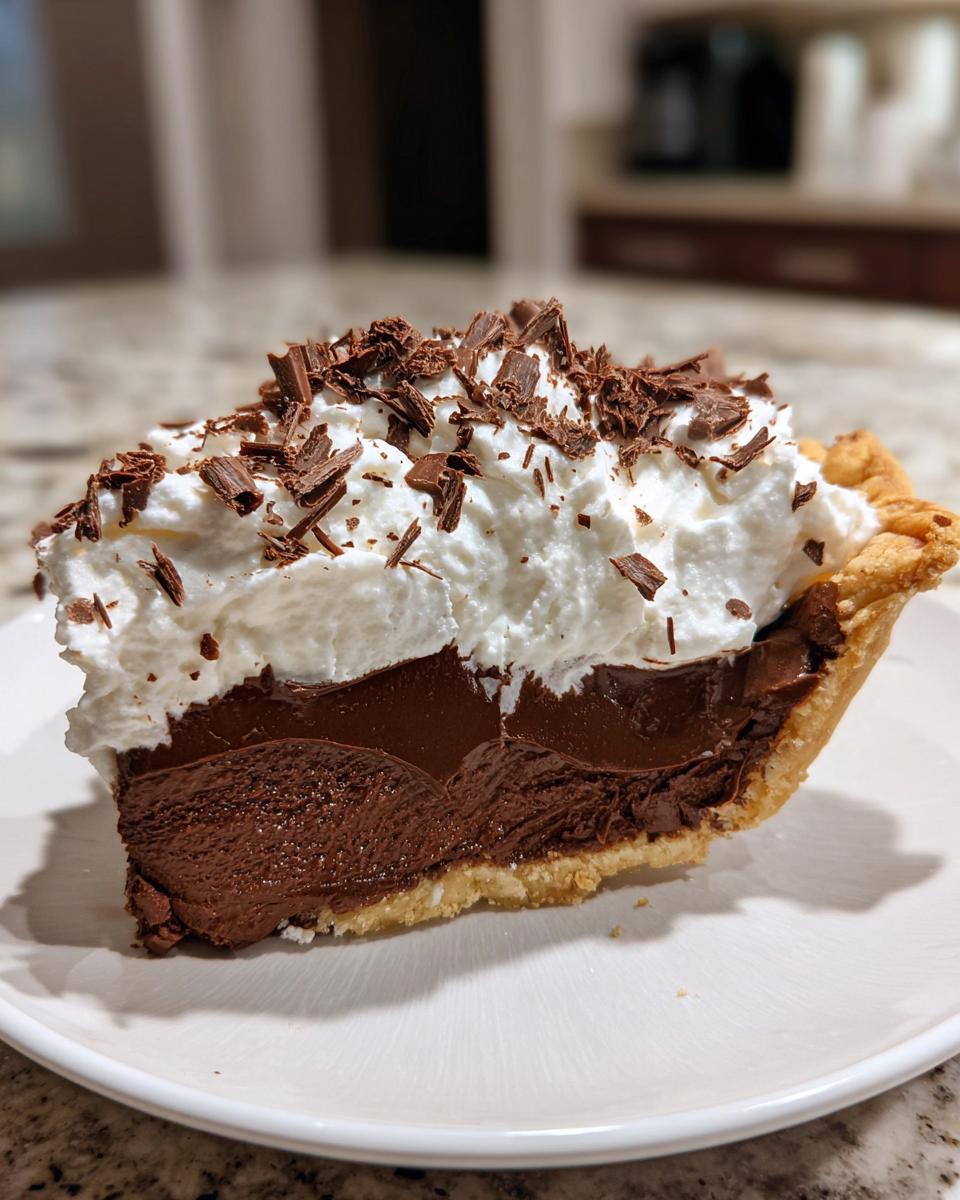
The magic secret? It’s whipping the heavy cream completely separately until stiff peaks form, and then folding it in gently. This traps all that air, giving you the lightest, most gorgeous, velvety smooth dessert that stands up perfectly against the buttery crust. Forget those dense, heavy chocolate nightmares; this is a truly rich chocolate dessert.
Key Benefits of Our Creamy Silk Pie Filling
- Complete safety: We skip the raw egg worry entirely by using pasteurized yolks or relying on the fat and sugar content for structure.
- Texture perfection: The separate folding creates an incredibly light and airy filling that is never heavy or grainy.
- Intense flavor: The pure chocolate base shines through because the filling isn’t weighed down by excess stabilizer.
- It’s the best creamy silk pie filling you’ll ever make, hands down.
Gathering Ingredients for Your french silk pie
Okay, let’s talk about what you need to gather before we start assembling this masterpiece. Because this pie is all about texture, the quality and preparation of these simple items make a huge difference. I learned this the hard way on the road—you can’t fake good chocolate! Trust me on the prep notes; these details are what separate a good pie from the best classic creamy egg salad recipe-level deliciousness.
Here’s the rundown of what you need for the filling. Remember, we’re aiming for that ultimate rich chocolate dessert experience.
- One 9-inch pie crust. You need this unbaked, ready to be partially baked, or honestly, just thawed out if you’re running short on time. I always suggest a nice, buttery crust to stand up to this filling.
- Eight ounces of chocolate. Please, please use bittersweet or semisweet chocolate that you are going to chop up yourself! Those little chips don’t melt as smoothly.
- One-half cup of unsalted butter. This needs to be truly softened—leave it on the counter for a couple of hours. It should give easily when poked, but shouldn’t look greasy or melted.
- One-half cup of granulated sugar, and that quarter-cup of light brown sugar? Make sure it’s packed down firmly into the cup when you measure it. That molasses is key!
- Vanilla extract and salt, just standard amounts—don’t skimp on the vanilla, though!
- Four large egg yolks. If you’re iffy about using raw yolks, go find pasteurized ones at your grocery store. It’s an easy swap to give yourself total peace of mind.
- One full cup of heavy whipping cream. And here’s a non-negotiable: it must be cold, straight from the fridge. If it’s lukewarm, it won’t whip right!
- Finally, have some chocolate shavings ready for the prettiest topping you’ve ever seen, plus extra whipped cream for serving.
Building the Buttery Pie Crust Recipe for french silk pie
Okay, let’s talk foundation. The filling of this buttermilk pie recipe is so rich, it deserves a crust that can truly hold its own. For the ultimate experience, I highly recommend a classic, flaky, buttery pie crust recipe that you’ve partially baked first. That slight crispness is the perfect contrast to the smooth, nearly liquid center of the pie. When I’m traveling and need something fast, I won’t hesitate to grab a high-quality, frozen one, but if you have the time, making your own butter crust is the way to go for that perfect melt-in-your-mouth texture.
Now, I know sometimes you just want an easy chocolate dessert that comes together lightning-fast. If you need to skip the oven entirely, we can pivot to an easy silk pie recipe setup using a cookie crust. This is a total game-changer when you’re short on time but still want that decadent result.
Crust Substitution: Easy No Bake french silk pie Option
If you skip baking the crust altogether, make yourself the best no-bake base ever! You’ll need about 20 standard chocolate sandwich cookies—you know the ones. Pulse those until they are fine crumbs. Then, mix about 6 tablespoons of melted butter into those crumbs until everything is evenly damp. Press that mixture firmly into your pie plate; use the bottom of a measuring cup to really pack it down tight along the bottom and up the sides.
Pop that cookie crumb base into the freezer while you make the chocolate filling. It only needs about 15 minutes to firm up, and then you can move right on to filling it. It sounds simple, but for a no bake french silk pie, the secret is making sure that base is rock solid before you pour in that creamy filling!
Step-by-Step Instructions for the Ultimate french silk pie
Alright, get your mixer ready because this is where the magic happens. We are putting together all those beautiful ingredients we gathered into something truly divine. Remember what I said about reliability? Every single step here matters for getting that gorgeous, melt in your mouth pie texture. Take your time, especially when we start folding; rushing that part is how you lose all that luxurious air we just whipped in!
Preparing the Chocolate Base and Butter Mixture for french silk pie
First things first, let’s get that chocolate ready. Melt your chopped chocolate slowly in a bowl set over simmering water—we don’t want it scorching! Once it’s totally smooth, take it off the heat and let it cool down for just a few minutes. It should still be liquid, but not scorching hot.
Now for the base! Grab your softened butter, granulated sugar, and that dark brown sugar. Beat these together hard—and I mean *hard*—for a full three minutes until the mixture looks light and fluffy. That fluffiness is pure E-E-A-T from my road days; those air pockets are what make this work! Once it’s ready, mix in your vanilla and salt. Then, beat in those egg yolks one at a time. Finally, drizzle in that slightly cooled melted chocolate until everything is perfectly mixed and uniform.
Achieving the Velvety Smooth Dessert Filling
Time to introduce the air! In a totally clean bowl, whip your cold heavy cream until you get stiff peaks. Don’t stop early! Once the cream is perfect, we lighten the chocolate layer. Take about one-third of that whipped cream and gently fold it into your chocolate base. This brings the density down so the rest mixes in easier.
Once that’s incorporated, gently fold in the remaining two-thirds of the whipped cream. I mean *gently*. You are trying to keep all that air in there to guarantee that perfectly light, velvety smooth dessert filling. Stop folding the moment you don’t see white streaks anymore. If you overmix here, you’re back to a dense pudding—we don’t want that!
Chilling and Finishing Your french silk pie
Take all that incredible filling and spoon it right into your cooled, partially baked crust. Use a spatula to smooth the top nicely. This is the hardest part: waiting! You need to chill this pie for at least six hours, but honestly, overnight is my preference. That long chilling period is what sets up the texture perfectly so you can get those clean slices.
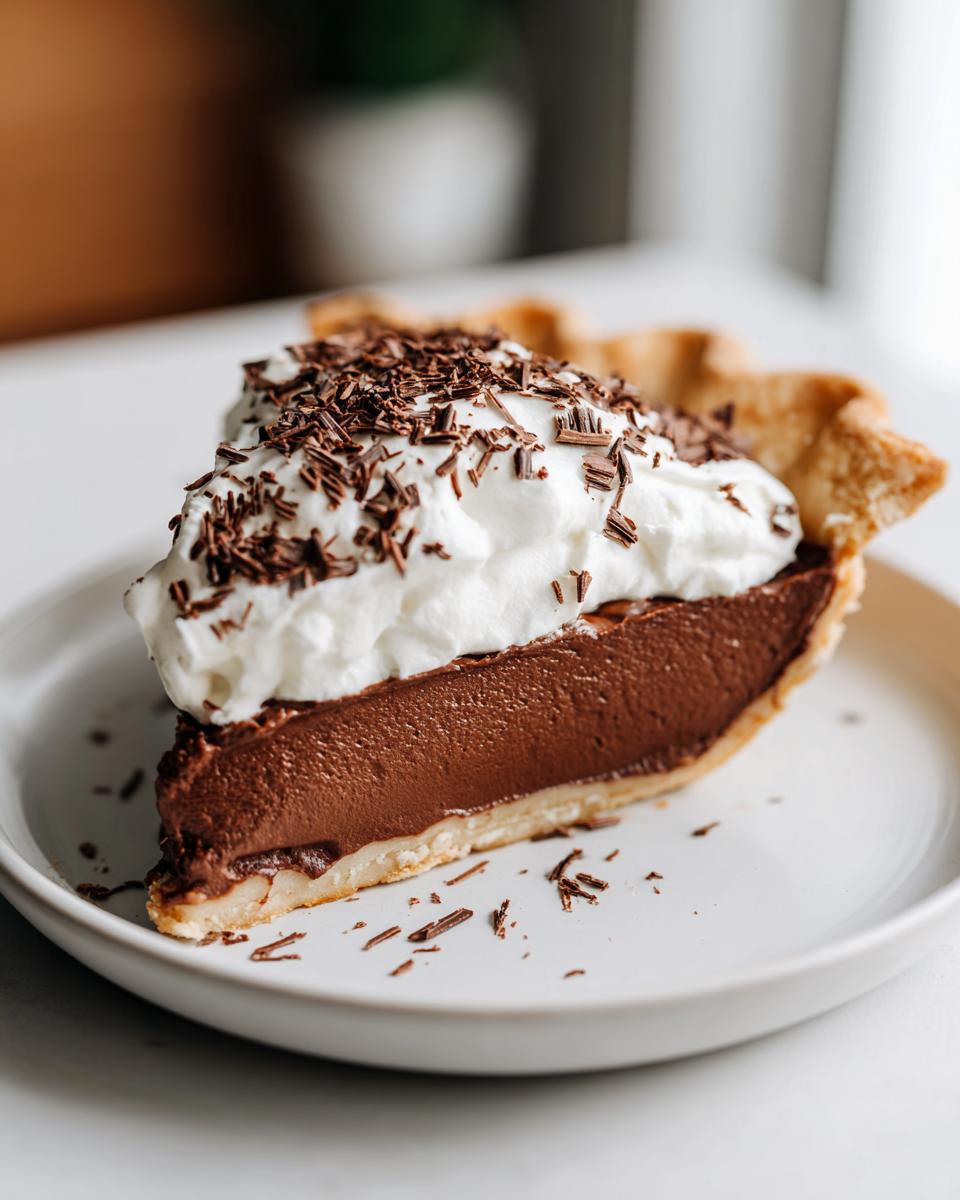
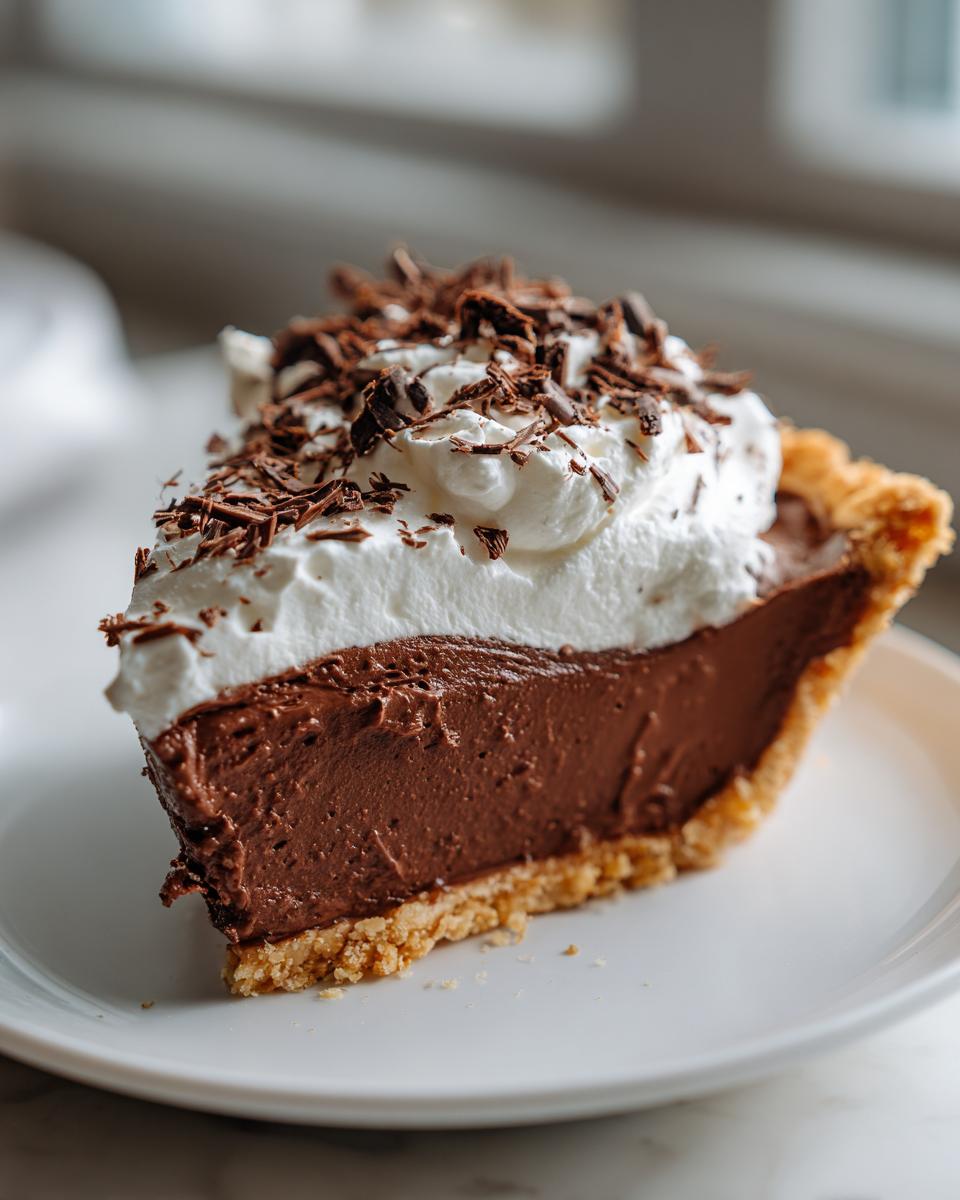
When it’s time to serve this make ahead dessert, top it generously with mounds of your homemade whipped cream topping. A blizzard of chocolate shavings on top makes it look utterly professional. It’s ready to impress!
Expert Tips for a Perfect french silk pie Every Time
You’ve got the recipe, but since I’ve made this rich chocolate dessert countless times—often right before a gig where I needed guaranteed success—I want to share the couple of little things that made my version truly special. These aren’t complicated steps; they are just details that elevate this from a good pie to that unbelievable, melt in your mouth pie experience everyone wants.
Take the butter, for instance. It’s listed as ‘softened,’ but I want you to pay attention to what that really means. If your butter is melted, even slightly warm, it mixes too quickly with the sugar and you lose those vital, tiny air pockets. You’re looking for butter that is pliable and cool to the touch—like room temperature, but not stressed out. It needs that structure to hold the air when you beat it with the sugar. That effort pays off big time in the final texture!
And then there’s the folding of the whipped cream. Seriously, this is the most important part for that authentic silkiness. I learned in cramped backstage kitchens that treating light things gently is key. Remember, you just worked hard whipping air into that cream. When you fold, use a wide spatula and cut down through the center, then scoop up from the bottom and fold over. Don’t stir! You’re just trying to kiss the two textures together, not smash them. Stop when the streaks disappear. Do that, and you guarantee the light, airy quality that keeps this pie from feeling like heavy fudge; it keeps it light enough to be truly luxurious.
One last thing before you chill it: make sure that chocolate base has cooled just enough. If you pour scorching hot chocolate into your butter/yolk mixture, you’ll scramble those yolks, and suddenly, you don’t have a creamy flavor recipe anymore; you have warm chocolate butter! Give it a patient two minutes off the heat, and everything blends like a dream.
Variations: Beyond the Classic french silk pie
Now, I know everyone has their own version that they absolutely swear by. I’ve heard folks rave about the Joanna Gaines dessert recipe, and while those are lovely, I always find people are looking for that same decadent flavor but maybe without the standard dairy or those egg worries. That’s where we get creative, because adapting a great recipe is just part of the fun, right?
If you need a dairy free chocolate pie, don’t panic! This doesn’t mean sacrificing texture. You can swap out the butter for a good quality vegan butter substitute, or here’s a pro tip I learned from a bakery in Seattle: use firm coconut cream instead of heavy cream for whipping. You’ll need to chill the can of coconut cream overnight and just scoop out the thick cream on top. It whips up beautifully, giving you that satisfying loft for the filling. It makes a fantastic dairy free chocolate pie!
We can also adapt the crust. Sure, the buttery one is my favorite for that classic feel, but if you’re looking for something different—maybe you want to try a twist on a German chocolate pie recipe but keep the filling silk—you can use a peanut butter cookie crust or even a crisp graham cracker base. The key to this pie is keeping that chocolate layer airy, no matter what it sits on. This recipe is just so versatile, making it a perfect centerpiece for any celebration, holiday, or just because you deserve a seriously rich chocolate experience.
Serving Suggestions for Your Decadent Chocolate Dessert
You’ve put in the work, you’ve mastered the chill time, and now you have the world’s best easy chocolate dessert sitting in the fridge! But you can’t just pull it out and cut it—presentation matters, especially when this is the star of your table. This amazing whipped hot chocolate recipe makes me think about how the right topping can turn any pie into a true dessert for special occasions.
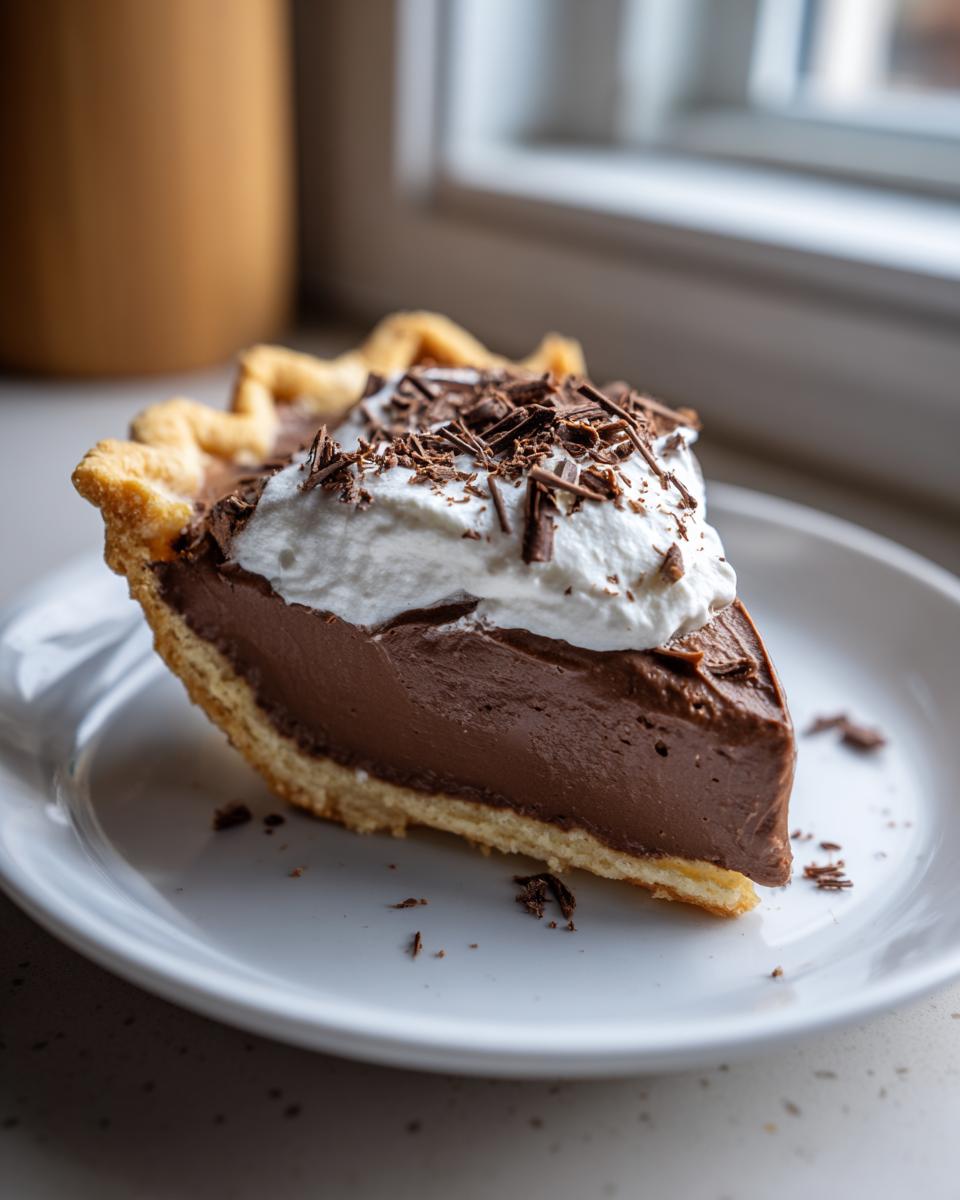
The recipe calls for chocolate shavings, and they are beautiful, but I want you to think bigger! Because this pie filling is so intensely smooth, you need toppings that give a little bit of textural contrast or a little zing of flavor. Sure, a simple dusting of cocoa powder works if you’re feeling lazy, but let’s treat ourselves, okay?
For a truly spectacular slice of this rich chocolate dessert, try these additions:
- Raspberry Drizzle: A spoonful of slightly warmed, strained raspberry jam drizzled across the top of each slice adds a needed tartness that cuts right through the richness of the dark chocolate. It makes it feel fancy!
- Toasted Nuts: If you’re not worried about allergies, finely chopped, toasted pecans or hazelnuts sprinkled over the whipped cream adds a wonderful crunch.
- Big Chocolate Curls: Instead of just shavings, take a vegetable peeler to a room-temperature chocolate bar and run it quickly over the edge to make those big, dramatic curls. They catch the light beautifully and scream decadence.
Creating the Perfect Homemade Whipped Cream Topping
Honestly, the tiny stuff you buy in a can just won’t do for this masterpiece. You need the real deal—that beautiful, cloud-like homemade whipped cream topping. It’s ridiculously easy and tastes a thousand times better. Remember how we made sure the heavy cream for the filling was cold? Same rule applies here!
Take one cup of very cold heavy whipping cream and pour it into a clean, cold bowl. Beat it with your mixer on medium speed until it starts to get bubbly and thickens up. Then, sprinkle in a tablespoon of powdered sugar and about a half teaspoon of vanilla extract. Keep mixing! You need to beat it until you get stiff peaks. That means when you lift the whisk out, the peak stands straight up and doesn’t flop over at all. That stiffness is what gives it the body to contrast the softness of the pie filling underneath. This is non-negotiable for a perfect presentation!
Storage and Make Ahead Dessert Planning for french silk pie
One of the best parts about this easy make ahead baked oatmeal recipe philosophy is that the make ahead dessert aspect of this french silk pie is fantastic. Because it needs time to set anyway, you can—and really should—make this the day before you plan to serve it. That 6 to 8 hours of chilling time isn’t just suggested; it’s necessary for getting that perfectly dense, yet silky structure that won’t weep all over your serving plate.
If you wrap the chilled pie tightly using plastic wrap, making sure the wrap doesn’t actually touch the whipped cream topping (you don’t want marks or sticking!), it stays absolutely gorgeous and fresh in the refrigerator for about three to four days. I’ve had leftovers on day four, and they were still heavenly. Just make sure it stays cold!
Now, here’s where I have to be honest with you based on my dedication to reliability: Do not try to freeze this pie. Seriously, don’t do it. The high butter and cream content that gives us that perfect melt-in-your-mouth texture just doesn’t handle the deep freeze well. When you thaw it, the filling can separate, and you’ll end up with a watery, sad puddle instead of your incredible decadent chocolate dessert. If you made the Oreo crust version, that might handle freezing slightly better, but the classic buttery crust is a no-go for the freezer.
Since this is a chilled dessert, there’s no reheating advice needed! You just pull it out about 15 minutes before you plan to slice it to let the crust soften just slightly. That ensures that when you cut into it, you get that clean slice every single time, making your serving presentation flawless for any party or gathering.
Frequently Asked Questions About french silk pie
I get so many great questions once people start baking this pie, and that’s fantastic! It just shows how much love is going into making this ultimate chocolate indulgence. When I started YumDrizzle, it was because the recipes people were finding online weren’t always clear on the tricky parts. So, let’s tackle the big ones head-on, building on that trust so you know you’re going to get that perfect slice.
Can I make this french silk pie without any eggs at all?
That’s a super valid question, and I totally get wanting to skip eggs entirely! In my recipe, I suggest using pasteurized yolks—which are safe—because those yolks, combined with the butter, give you that incredible, rich structure once they chill. But if you want a truly egg-free version? Yes, you can! You’ll need to replace the volume of the yolks with something else for structure. Most folks in the dairy-free circuit use a thick, high-quality melted chocolate and coconut cream ganache base, or some even use perfectly puréed silken tofu for bulk, though that changes the flavor profile a bit. If you still want that deep, luscious flavor but need zero eggs, I recommend leaning into a super strong, thick chocolate ganache base and heavily relying on that folded-in whipped cream for lightness. It won’t be exactly the same as the classic, but it will still be a magnificent easy chocolate dessert!
How long does the french silk pie filling need to set?
Patience, my friend, patience! This is crucial for achieving that legendary texture. You need a minimum of six hours for the filling to properly set up. No cheating! If you cut it early, you’ll end up with a sloppy mess where the filling oozes out, and you won’t get that perfect vertical slice that makes this pie so show-stopping. I always urge people to make this the day before serving. Letting it chill overnight ensures that the filling is firm enough to handle the knife cleanly, giving you beautiful slices of your ultimate chocolate silk pie. It lets those fats and sugars solidify just right!
I get asked about this all the time because everyone wants to show off their work. Don’t worry, though; the flavor just gets deeper and richer overnight. It’s honestly better the next day! Just make sure it’s covered tightly so it doesn’t absorb any weird fridge smells.
Share Your Chocolate Indulgence
Whew! Now that you’ve created this absolute showstopper, I need to hear about it! This dessert recipes journey is so much better when we share the wins. If you made this french silk pie, I genuinely want to know how it turned out! Did you go for the buttery crust or the quick Oreo base? How was your homemade whipped cream topping?
Don’t keep that gorgeous slice of chocolate indulgence all to yourself! Head down to the comments section below and leave a rating. Seriously, that star rating helps other people who might be nervously hovering over their ovens know that this recipe is safe, easy, and delivers that promised decadent flavor.
And if you’re sharing photos on social media—tag me! I love seeing my YumDrizzle community creating magic in their kitchens. Remember, food is a language, and this rich chocolate dessert speaks volumes. Go share that amazing creation!
PrintUltimate French Silk Pie: Rich, Creamy, and Made Without Raw Eggs

You can make a truly decadent, velvety smooth French Silk Pie with this recipe. We use a simple method to achieve that signature melt-in-your-mouth texture, all while skipping the raw eggs. This rich chocolate dessert sits in a buttery crust and is perfect for any special occasion.
- Prep Time: 30 min
- Cook Time: 15 min
- Total Time: 6 hours 45 min
- Yield: 8 servings 1x
- Category: Dessert
- Method: Chilling
- Cuisine: American
- Diet: Vegetarian
Ingredients
- 1 (9-inch) unbaked, partially baked pie crust (buttery crust recommended)
- 8 ounces bittersweet or semisweet chocolate, chopped
- 1/2 cup unsalted butter, softened
- 1/2 cup granulated sugar
- 1/4 cup packed light brown sugar
- 1 teaspoon vanilla extract
- 1/4 teaspoon salt
- 4 large egg yolks (pasteurized if concerned about raw eggs)
- 1 cup heavy whipping cream, chilled
- Chocolate shavings, for topping
- Extra whipped cream, for serving
Instructions
- Prepare your pie crust according to your preferred recipe for a partially baked crust. Let it cool completely.
- Melt the chopped chocolate in a heatproof bowl set over a saucepan of simmering water, stirring until smooth. Remove from heat and let cool slightly.
- In a large bowl, beat the softened butter, granulated sugar, and brown sugar together with an electric mixer until the mixture is light and fluffy. This takes about 3 minutes.
- Beat in the vanilla extract and salt.
- Beat in the egg yolks one at a time, mixing well after each addition until fully incorporated.
- Slowly mix the slightly cooled melted chocolate into the butter mixture until you have a smooth, uniform chocolate base.
- In a separate, clean bowl, whip the heavy cream until stiff peaks form.
- Gently fold about one-third of the whipped cream into the chocolate mixture to lighten it. Then, fold in the remaining whipped cream until just combined. Do not overmix; you want to keep the air in the filling.
- Spoon the creamy silk pie filling evenly into the cooled, partially baked crust. Smooth the top with a spatula.
- Chill the pie in the refrigerator for at least 6 hours, or preferably overnight, until the filling is firm.
- Before serving, top the pie generously with homemade whipped cream and sprinkle with chocolate shavings. Slice and serve this melt in your mouth pie.
Notes
- For the creamiest texture, ensure your butter is truly softened, not melted.
- If you want a no-bake option, substitute the partially baked crust with a crushed Oreo cookie crust.
- Whipping the cream separately and folding it in is the key step that creates that light, airy, mousse-like texture.
- If you are concerned about using raw egg yolks, seek out pasteurized eggs, or use a cooked custard base variation.
Nutrition
- Serving Size: 1 slice
- Calories: 450
- Sugar: 35g
- Sodium: 180mg
- Fat: 32g
- Saturated Fat: 18g
- Unsaturated Fat: 14g
- Trans Fat: 0.5g
- Carbohydrates: 38g
- Fiber: 3g
- Protein: 6g
- Cholesterol: 150mg