
There’s something about that first spoonful of creamy, sweet warmth that just whisks you right back to being curled up on the couch. That’s the magic I chase here at YumDrizzle. We aren’t about fancy chef tricks; we’re about accessible, memory-driven food that tastes like home, just like Jaxson Riley believes. If you’ve been searching for the true taste of nostalgia, you’ve found it with this recipe. Today, we’re tackling the **Ultimate Creamy Old Fashioned Stovetop Rice Pudding**—the kind that feels like a hug in a bowl and uses ingredients you already have waiting in your pantry. For more on the philosophy that guides recipes like this, you can always check out our story here.
- Why This Old Fashioned Rice Pudding is Your New Favorite Comfort Food
- Gathering Supplies for Your Creamy Rice Pudding
- How to Make Stovetop Rice Pudding Step-by-Step
- Finishing Touches for Your Classic Comfort Food Rice Pudding
- Tips for the Best Rice Pudding Every Time
- Serving Suggestions for This Nostalgic Treat
- Storage and Make Ahead Dessert Options for Rice Pudding
- Frequently Asked Questions About Homemade Pudding
- Share Your Ultimate Creamy Dessert Experience
Why This Old Fashioned Rice Pudding is Your New Favorite Comfort Food
I promise you, this isn’t just another lukewarm dessert recipe. This **rice pudding** hits different because it delivers maximum comfort with minimum fuss. That’s the goal, right? Making unbeatable food accessible for your busy life.
Unbeatable Creamy Rice Pudding Texture
The secret sauce here is the stovetop method combined with slow cooking. It naturally releases the starch from the short-grain rice, giving you that velvety, luscious mouthfeel. Trust me, this is the **best rice pudding** experience you’ll have without resorting to a complicated baked version.
Simple Ingredients Dessert Success
You do not need specialty shops for this! We’re talking milk, rice, sugar, and vanilla—things you probably have right now. This simplicity keeps the flavor pure, making it such an easy win when you need a quick, satisfying bowl of classic comfort.
Gathering Supplies for Your Creamy Rice Pudding
Okay, let’s talk ingredients. Because while this is an easy pudding recipe, the quality of what you put in matters, especially for that signature creamy rice pudding texture we’re aiming for. We are sticking to the classics here: you need whole milk for richness, the right kind of rice for starch release, and that touch of pure vanilla extract.
Ingredient Notes and Substitutions for Perfect Rice Pudding
A quick heads-up from experience: if you want to level up the creaminess even more—like, *really* decadent—swap out a half-cup of that whole milk for evaporated or condensed milk. It adds density beautifully! Also, if you’re a raisin person, this is the time to plan ahead and toss them in when you add the sugar later on. It keeps them plump and happy.
How to Make Stovetop Rice Pudding Step-by-Step
Alright, now for the actual fun part! This is where we turn simple grains and milk into magic. Because we’re doing this on the stovetop, technique is everything when making this wonderful rice pudding. If you follow these simple timing checks, you won’t scorch your dairy, I promise! Seriously, for tips on how to get that perfect, slow-cooked texture, check out my thoughts on my creamy stovetop cheesy rice recipe—the principles are the same when managing constant stirring!
The Initial Simmer: Building the Base of Your Rice Pudding
First things first, grab that heavy-bottomed saucepan—this is non-negotiable! Seriously, if you use thin metal, you *will* get scorched milk bits stuck to the bottom. In that trusty pot, toss in your rice, the whole milk, and the water. Get this whole glorious mess going over medium heat. You’re looking for a gentle simmer—not a rolling boil. Stir it often at this stage, just to make sure everything gets acquainted on the bottom without sticking.
Achieving Tender Rice and Thickening the Old Fashioned Dessert
Once you hit that simmer, drop the heat way down to low. Now comes the patience part which makes this an old fashioned dessert classic: cook it for 45 to 60 minutes. You have to stir frequently—think every three to five minutes. We want that rice tender! When most of that liquid is gone and the rice is soft, stir in your sugar and salt. Keep stirring constantly for another 5 to 10 minutes until it looks like pudding. Don’t panic if it still looks a little thin from the stove; this glorious creamy dessert recipe thickens up significantly once it cools down!
Finishing Touches for Your Classic Comfort Food Rice Pudding
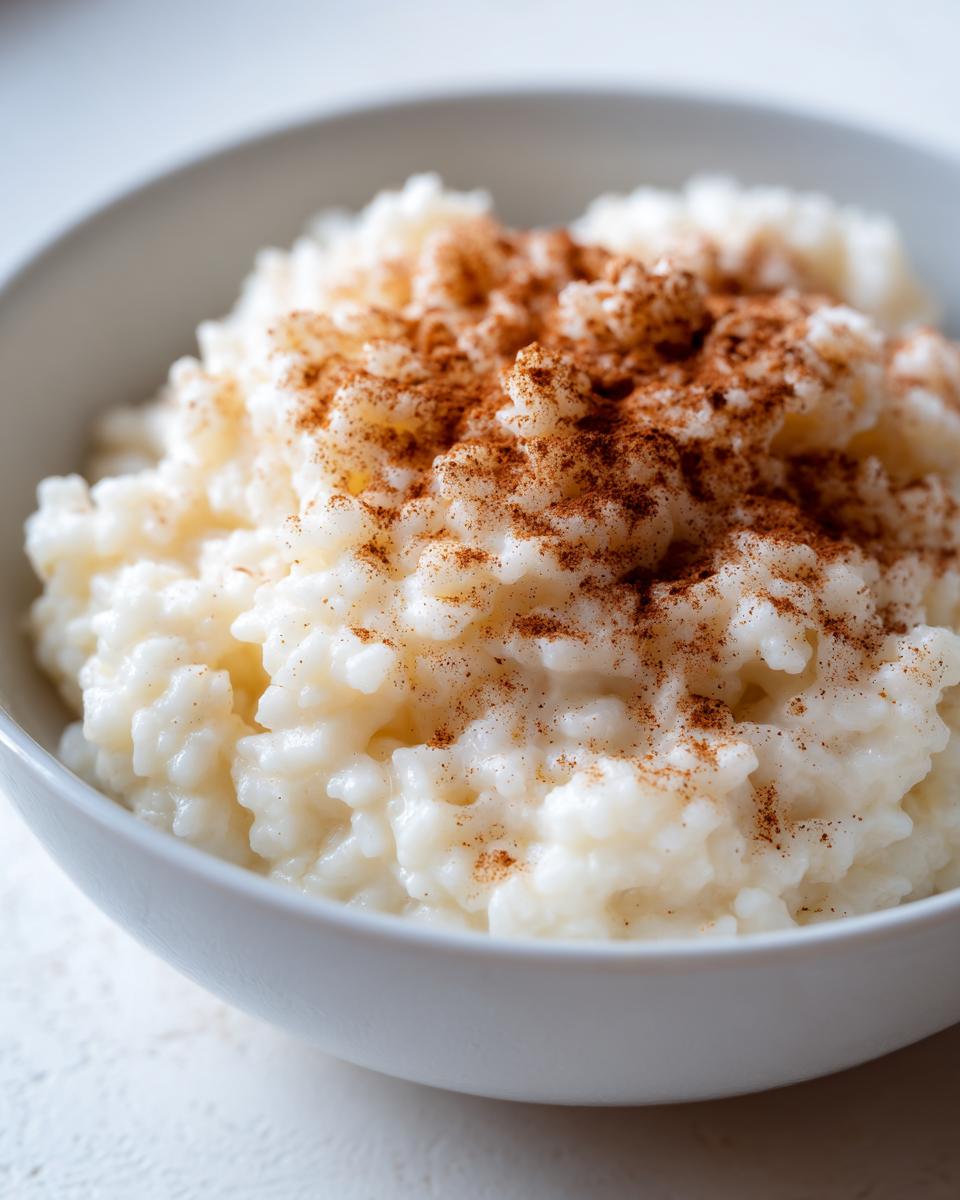
We are so close, friends! The hard work of simmering is done, and now it’s time for those final flavor boosts that make this rice pudding smell like pure happiness. Take that beautiful, thick pot off the heat—don’t linger over the stove anymore! This is where we stir in the vanilla extract and that essential quarter-teaspoon of ground cinnamon. That warmth just pops against the creamy base, creating that perfect bite. It smells amazing, right?
Now you have a choice, just like how I often choose between my favorite sandwich recipes like creamy egg salad or a sharp cheddar melt. Do you eat it warm, or do you chill it down? If you want that cozy, warm dessert idea, go ahead and serve it right now. If you’re aiming for a firm, scoopable consistency, you need to cool it off.
Here’s the pro-tip for the chilled route: pour your pudding into your serving dish immediately. Then, place a piece of plastic wrap directly onto the surface of the pudding—I mean touching it! This prevents that annoying skin from forming while it cools in the fridge. If you’re looking for inspiration on other classic desserts that pair well with a cinnamon finish, I love how this turns out when served alongside recipes like those found at Smart Cook Recipes.
Tips for the Best Rice Pudding Every Time
Look, I know the recipe above works perfectly, but when you’re talking about achieving that ultimate creamy dessert consistency, sometimes you need the extra reassurance. These aren’t just steps; these are the real-world lessons I learned from making dozens of batches until I got it just right. This is where we solidify why this is the best rice pudding on the block.
Choosing the Right Rice for Creamy Rice Pudding
This is huge, friends! Don’t just grab the bag of long-grain white rice lurking in the back of your pantry. That rice is designed to fluff up and stay separate, which is great for dinner, but terrible for pudding. We need starch—and lots of it—to make this decadent. You absolutely want to use short-grain rice. Arborio, the same kind you use for risotto, is a lifesaver here. When you cook it low and slow, Arborio releases those creamy starches into the milk. That’s the texture difference between dishwater rice and a true, velvety creamy rice pudding.
Managing Heat for Stovetop Rice Pudding Success
I mentioned the heavy-bottomed pot earlier, but let’s talk about the fire underneath it. Once that initial simmer happens, you must turn the heat down to the absolute lowest setting that still keeps things moving. If you try to rush this cooking process, those milk solids will stick to the bottom and burn faster than you can grab a wooden spoon. Constant vigilance is key here; you don’t have to stir every single second, but you need to check it every few minutes to scrape the bottom gently. That slow heat ensures everything melts together beautifully instead of separating into scorched lumps. It’s the secret to a flawless stovetop rice pudding.
Serving Suggestions for This Nostalgic Treat
Now that you have this perfectly smooth, homemade rice pudding, the fun part begins: deciding how to serve it! While I love it straight out of the bowl, sometimes you want to dress it up a little bit, especially if you’re serving it as a formal warm dessert idea after dinner.
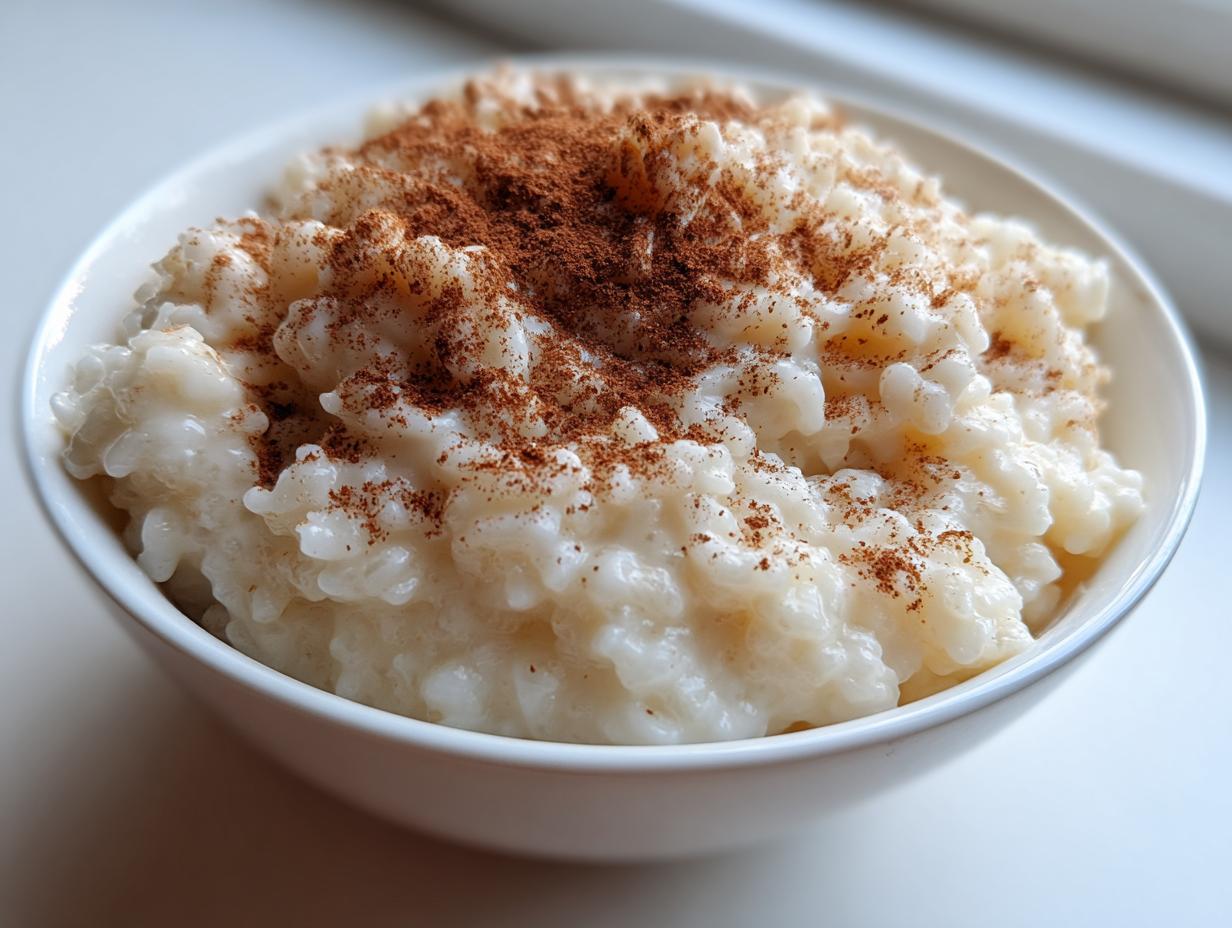
The gentle cinnamon and vanilla already sing beautifully on their own, but I’ve got a few ways I love to elevate this classic comfort food. If you’re a fan of cinnamon, you absolutely have to try sprinkling a light dusting of fresh cinnamon right on top before serving. Even better? A little pat of cinnamon butter melts right into the warm pudding—it’s seriously incredible! I love making large batches of whipped cinnamon butter just for desserts like this.
For something a bit richer, a drizzle of maple syrup or even a spoonful of homemade fruit compote—like slow-cooked spiced apples or tart cherries—cuts through the richness perfectly. If you like a crunch, toast up a few slivered almonds or pecans. If you’re looking for more inspiration on how to pair spices in desserts, check out the amazing ideas floating around on sites like Recipe Council. Whatever you choose, enjoy digging into that bowl!
Storage and Make Ahead Dessert Options for Rice Pudding
One of the best things about ditching the fussy, complicated options and making this amazing rice pudding is how incredibly practical it is afterward. This recipe isn’t just for tonight; it’s designed to be a perfect make ahead dessert for busy weeks. That rich, creamy goodness doesn’t disappear after day one—it actually holds up beautifully!
The notes say it stores well for up to four days, and that’s honestly when it hits a different kind of peak flavor for me. Think about it: you make it once, and you have dessert ready for movie night, lunch tomorrow, or whenever a craving strikes. It’s like having a little piece of comfort baked right into your fridge schedule.
If you ever need other items that are fantastic for batch cooking and prepping ahead, you should definitely poke around my go-to recipes for things like easy make ahead baked oatmeal recipe; the concept of prepping sweet breakfasts works just as well for desserts!
When it comes time to eat it later, stir it up well. If you find it got a little too thick overnight—which happens as the rice keeps absorbing liquid—just stir in a splash of milk or cream until you get that perfect loose, pourable consistency again. It reheats beautifully on the stovetop over very low heat, or you can even microwave it in short bursts. It tastes just as comforting, whether it’s warm or straight from the cold!
Frequently Asked Questions About Homemade Pudding
I get so many questions about this recipe—which is honestly a compliment! It means you guys are excited to make this creamy dessert recipe, and I want to make sure you ace it. Here are the most common things people ask me when trying to master this homemade pudding.
Can I bake this rice pudding instead of using the stovetop?
Oh, you totally can bake it, but you’ll get a different experience! The stovetop method we used today is all about direct, controlled heat which really encourages the starch release for that signature velvety, silky texture we are obsessed with. Baked rice pudding usually sets up firmer and sometimes develops a slightly drier top layer—which some people love, don’t get me wrong! But if you want the ultimate creamy mouthfeel, stick to the slow simmer on the stove. If you want to check out a great baked version, I sometimes look at inspiration like the one from Mom On Timeout, but remember, that texture is different!
How do I prevent a skin from forming on my rice pudding?
This is the classic pudding mystery! It happens because the proteins and starches rise to the top and dry out in the cool air. You only need one simple trick, and you’ve already seen it! Right after you stir in your vanilla and cinnamon (Step 5), pour the pudding into your serving bowls or container. Then, take a sheet of plastic wrap and press it directly onto the surface of the pudding so there is zero air gap. It’s like giving the top layer a little, protective blanket! As long as it’s touching the surface, no skin can form.
What about when you’re serving? That’s when you get to sprinkle on that extra cinnamon or nutmeg for aroma. If you’re looking for other simple dessert ideas that are foolproof, check out my guide on an easy pudding recipe that tackles a few other styles!
Share Your Ultimate Creamy Dessert Experience
Well, that’s it! You’ve officially made the **ultimate creamy old fashioned stovetop rice pudding**. No complicated steps, just pure, slow-cooked comfort that tastes just like it came out of your grandma’s kitchen.
Now that you’ve got a bowl of that velvety magic in front of you, I would absolutely love to hear about it! Did you stick to the classic cinnamon finish, or did you go wild with a dash of nutmeg? Do you eat it piping hot immediately, or do you let it chill overnight until it’s totally firm? Don’t keep those delicious results to yourself!
Head over to the comments section or shoot me a message through the contact page and let me know how your homemade pudding turned out. Drop a rating on the recipe card—it truly helps other home cooks find their new favorite nostalgic treat. Happy scooping!
PrintThe Ultimate Creamy Old Fashioned Stovetop Rice Pudding

You get the comforting taste of nostalgia with this creamy, sweet, and delicately spiced classic dessert. This easy stovetop rice pudding recipe delivers rich, velvety texture using simple ingredients.
- Prep Time: 5 min
- Cook Time: 65 min
- Total Time: 70 min
- Yield: 4 servings 1x
- Category: Dessert
- Method: Stovetop
- Cuisine: American
- Diet: Vegetarian
Ingredients
- 1 cup short-grain white rice (Arborio works well)
- 4 cups whole milk
- 1 cup water
- 1/2 cup granulated sugar
- 1/4 teaspoon salt
- 1 teaspoon vanilla extract
- 1/4 teaspoon ground cinnamon (plus extra for topping)
Instructions
- Combine the rice, whole milk, and water in a heavy-bottomed saucepan.
- Bring the mixture to a gentle simmer over medium heat, stirring often to prevent scorching on the bottom.
- Once simmering, reduce the heat to low. Continue to cook, stirring frequently (every 3 to 5 minutes), for 45 to 60 minutes. The rice should absorb most of the liquid and become tender.
- Stir in the granulated sugar and salt. Continue cooking for another 5 to 10 minutes, stirring constantly until the pudding thickens to your desired consistency. Remember it will thicken more as it cools.
- Remove the saucepan from the heat. Stir in the vanilla extract and ground cinnamon.
- Serve the rice pudding warm, or transfer it to a bowl, cover the surface directly with plastic wrap to prevent a skin from forming, and chill completely for a cold dessert.
Notes
- For an extra creamy texture, substitute 1/2 cup of the whole milk with 1/2 cup of evaporated or sweetened condensed milk.
- If you prefer raisins, add 1/2 cup of golden raisins when you add the sugar in step 4.
- This recipe is perfect for making ahead; it stores well in the refrigerator for up to four days.
Nutrition
- Serving Size: 1 serving
- Calories: 350
- Sugar: 25g
- Sodium: 150mg
- Fat: 8g
- Saturated Fat: 4g
- Unsaturated Fat: 4g
- Trans Fat: 0g
- Carbohydrates: 60g
- Fiber: 1g
- Protein: 10g
- Cholesterol: 25mg