
Listen, holiday baking should be fun, not a stress test for your patience! We’ve all been there: you spend hours mixing, baking, and assembling that beautiful gingerbread house, only for the roof to sag or the walls to slowly lean over because your ‘glue’ just couldn’t handle the pressure. That’s why I’m sharing the absolute best gingerbread house icing—it’s liquid gold for your winter projects. It does double duty: it’s the rock-solid edible glue you need to build sturdy walls, and it pipes like a dream for all those snowy flourishes. This recipe proves that fantastic results don’t require impossible techniques; they just take a reliable formula, which is what YumDrizzle is all about. If you’re making the cookies too, check out my guide for the best chewy and crispy gingersnap cookies right here! Don’t let weak frosting ruin your centerpiece this year!
- Why This is the Best Gingerbread House Icing for Building and Decorating
- Gathering Ingredients for Your Gingerbread House Icing
- How to Make Royal Icing for Gingerbread: Step-by-Step Instructions
- Tips for Success with Your Gingerbread Decorating Icing
- Storage and Make-Ahead Tips for Gingerbread House Icing
- Serving Suggestions for Your Completed Gingerbread Structures
- Frequently Asked Questions About Gingerbread House Icing
- Estimated Nutritional Data for Gingerbread House Icing
- Share Your Holiday Creations
Why This is the Best Gingerbread House Icing for Building and Decorating
When I was on the road, I learned that reliability beats flair every single time, and that’s exactly what this gingerbread house icing offers. This isn’t just some fluffy holiday frosting; this is engineered for success! You get two amazing consistencies from one simple batch, meaning less fuss and more flawless holiday results. We nail that structural strength first, which is the hardest part of any gingerbread project. If you want to see other foundational recipes we use, check out my ultimate Royal Icing Recipe guide!
Achieving Sturdy Gingerbread House Assembly
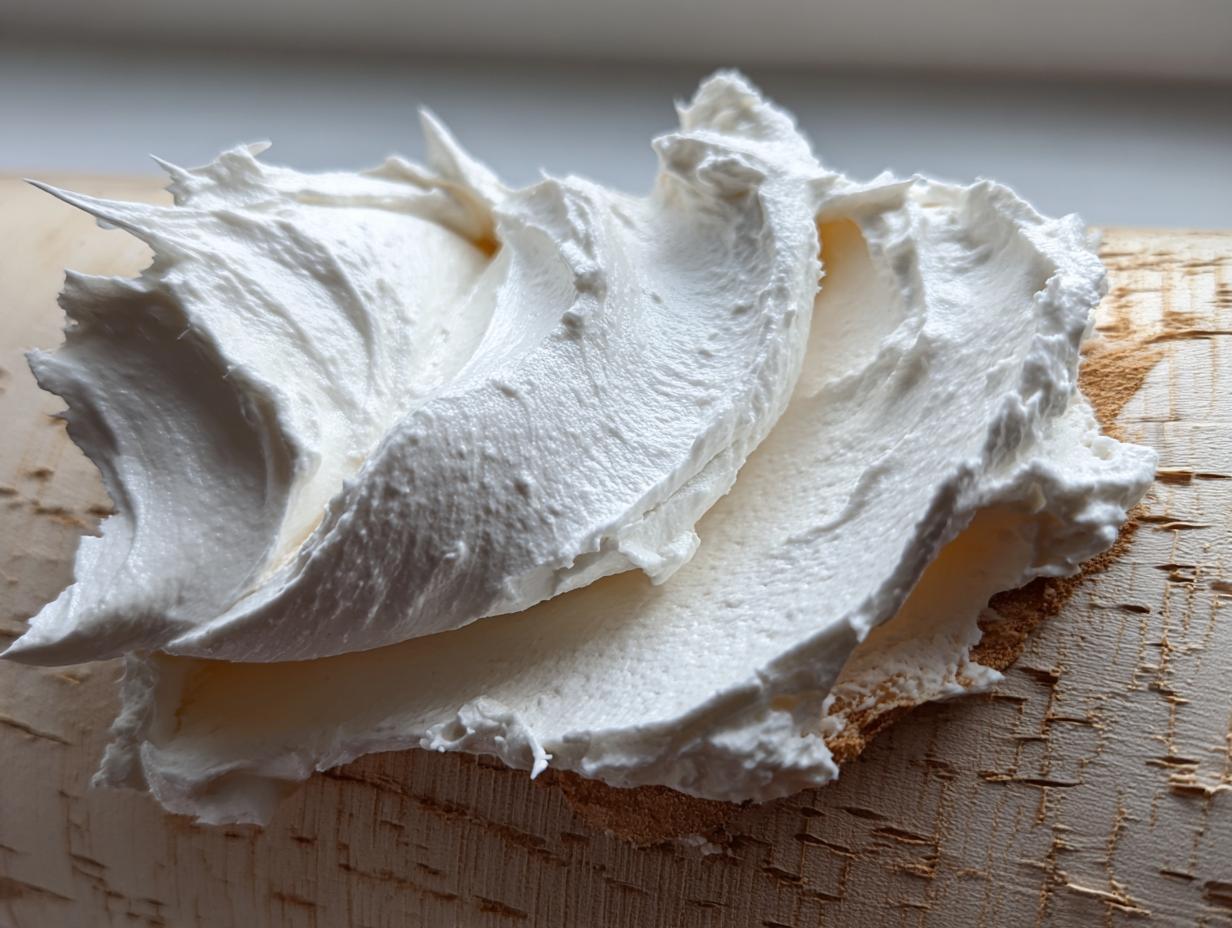
Right out of the mixer, this icing is what I call ‘edible concrete.’ Seriously, it acts as the Best Gingerbread House Glue you could ever ask for. We want that ultra-stiff consistency here, which is crucial for holding up those heavy roof panels and keeping your walls square until they cure. Don’t even think about using anything less sturdy; this Strong Cookie Icing won’t let you down when you need it most.

Perfecting Your Pipeable Holiday Frosting
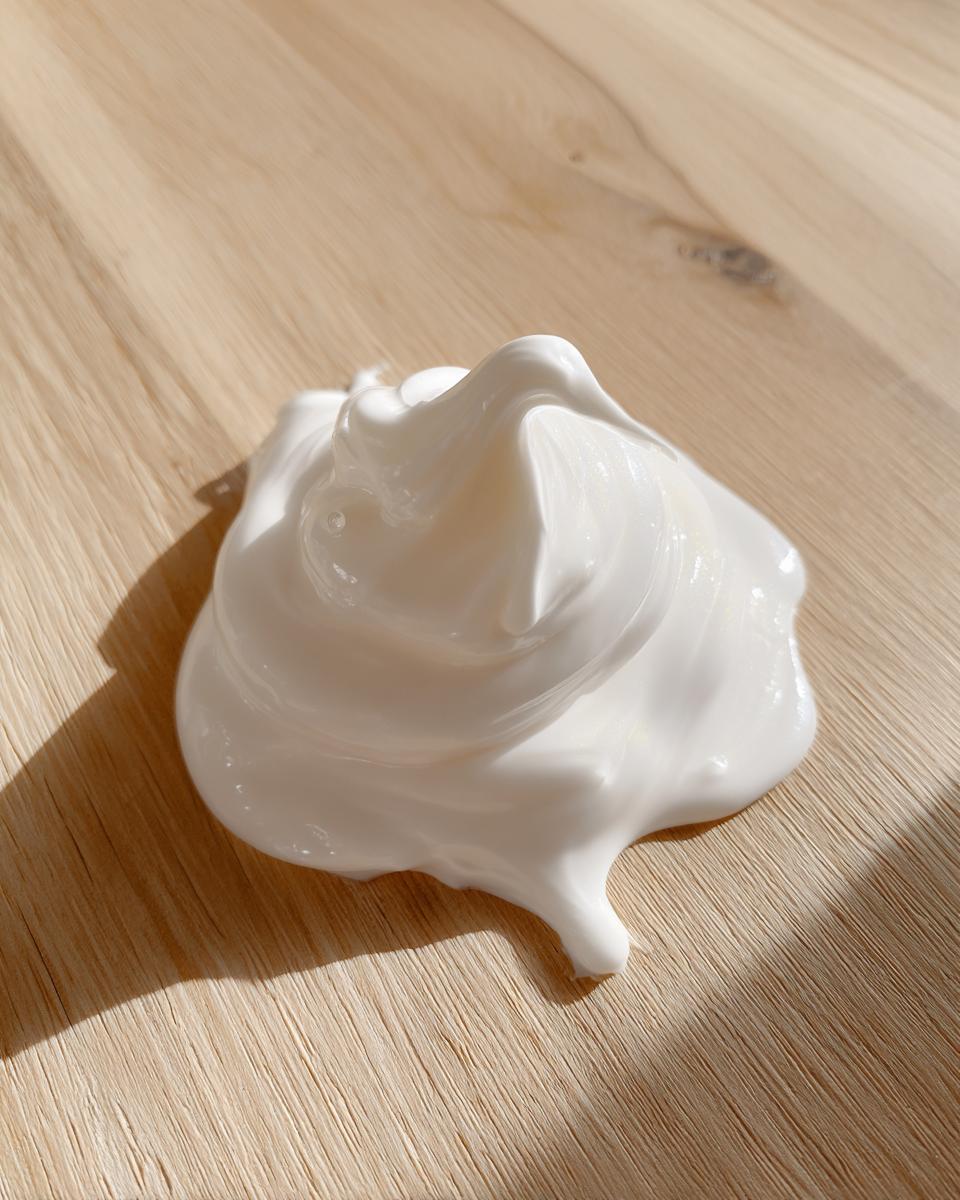
But here’s the magic trick that makes this recipe so genius: that super thick batch is easily turned into a gorgeous, flowing decoration layer. Just a teaspoon or two of water, and voilà! You have a fantastically Pipeable Holiday Frosting ready for piping windows or snow drifts. It dries beautifully smooth and shiny, which is exactly what you want for the finishing touches on your magnificent gingerbread house icing masterpiece.
Gathering Ingredients for Your Gingerbread House Icing
Okay, let’s get this powerhouse mortar ready! You only need four core items, and the success of this gingerbread house icing hinges on using good quality powdered sugar—make sure it’s sifted, trust me on that. Keep in mind you’re facing the classic Royal Icing dilemma: fresh egg whites or the convenience of powder. If you grab that template guide I love, make sure you have enough icing mixed up first—I saw a great reference over at Gingerbread House Icing that reminds you to plan ahead!
Ingredient Clarity: Meringue Powder vs. Egg Whites
If you’re making treats for a crowd, especially lots of kids, I usually steer folks toward the meringue powder. It gives you incredible reliability and peace of mind regarding food safety, plus it makes a wonderfully consistent Meringue Powder Icing every single time. If you go the egg white route, just make sure they’re pasteurized first. Either way, you need that little hit of acid—the lemon juice you see in the recipe makes the whole thing stable and bright!
How to Make Royal Icing for Gingerbread: Step-by-Step Instructions
Okay, get your stand mixer ready! This is where the magic happens, turning simple sugar and powder into incredible structural support for your holiday village. Remember, rushing this part means a crumbly house later, so pay attention to the timing. We’re going for serious stiffness since this gingerbread house icing needs to act fast as an edible adhesive. For general mixing tips, I always refer back to my comprehensive Royal Icing Recipe guide, but for houses, we go stronger!
Mixing for Building Consistency: The Strongest Gingerbread House Glue
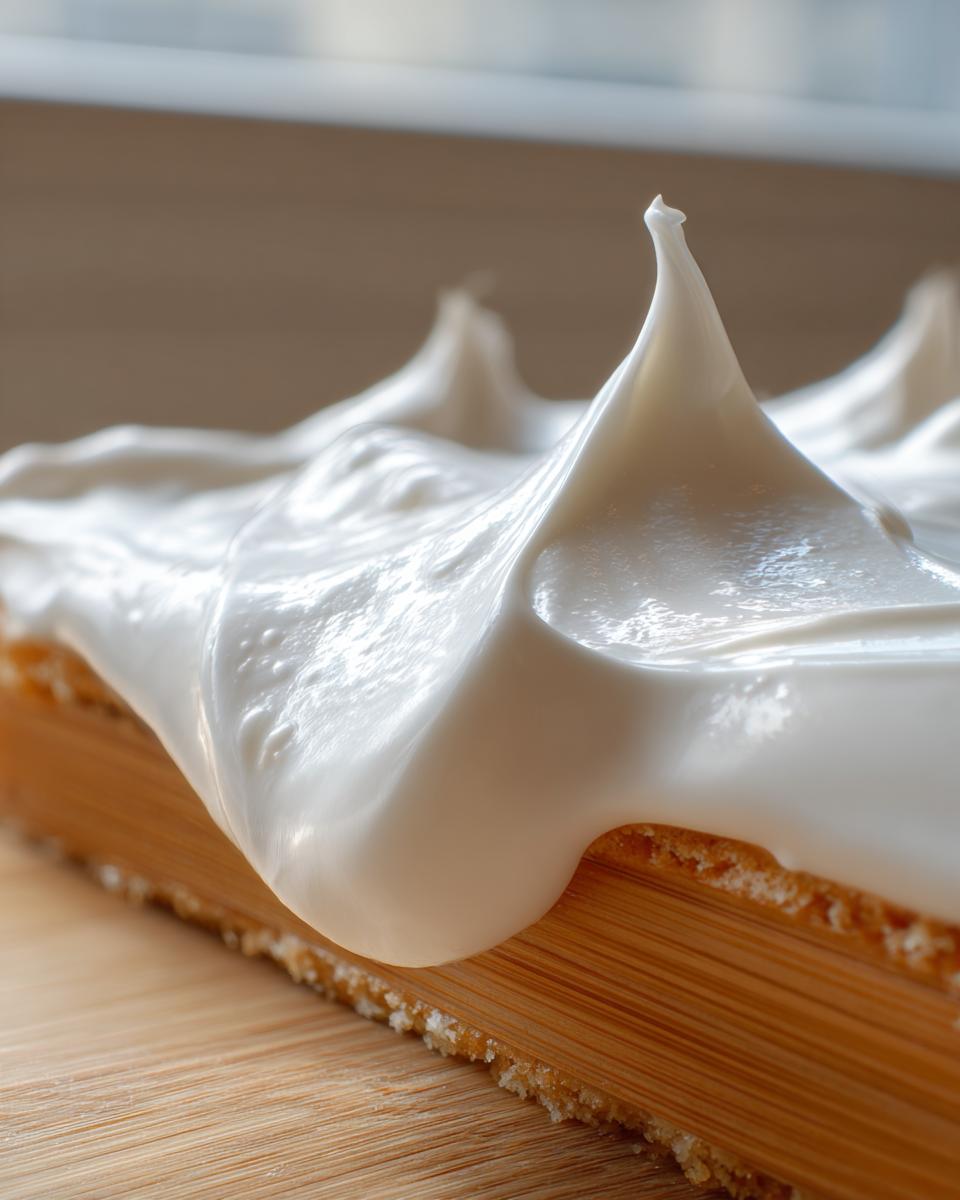
First things first: get your liquid ingredients—the vanilla, lemon juice, and whatever you’re using for volume (egg whites or the dissolved powder)—foaming up nicely on medium speed. Once it’s foamy, slowly start introducing the sifted sugar, about a cup at a time. Keep the machine running low until it’s all incorporated. Then, crank it up! You need to beat this mixture high for a solid five to seven minutes. When it stands straight up in stiff peaks, you know you’ve achieved that phenomenal strength, making it the Best Frosting to Hold Gingerbread Together. Stop mixing, and immediately clap plastic wrap right down onto the surface of the icing so it doesn’t crust over!
Adjusting the Gingerbread House Icing for Decorating Details
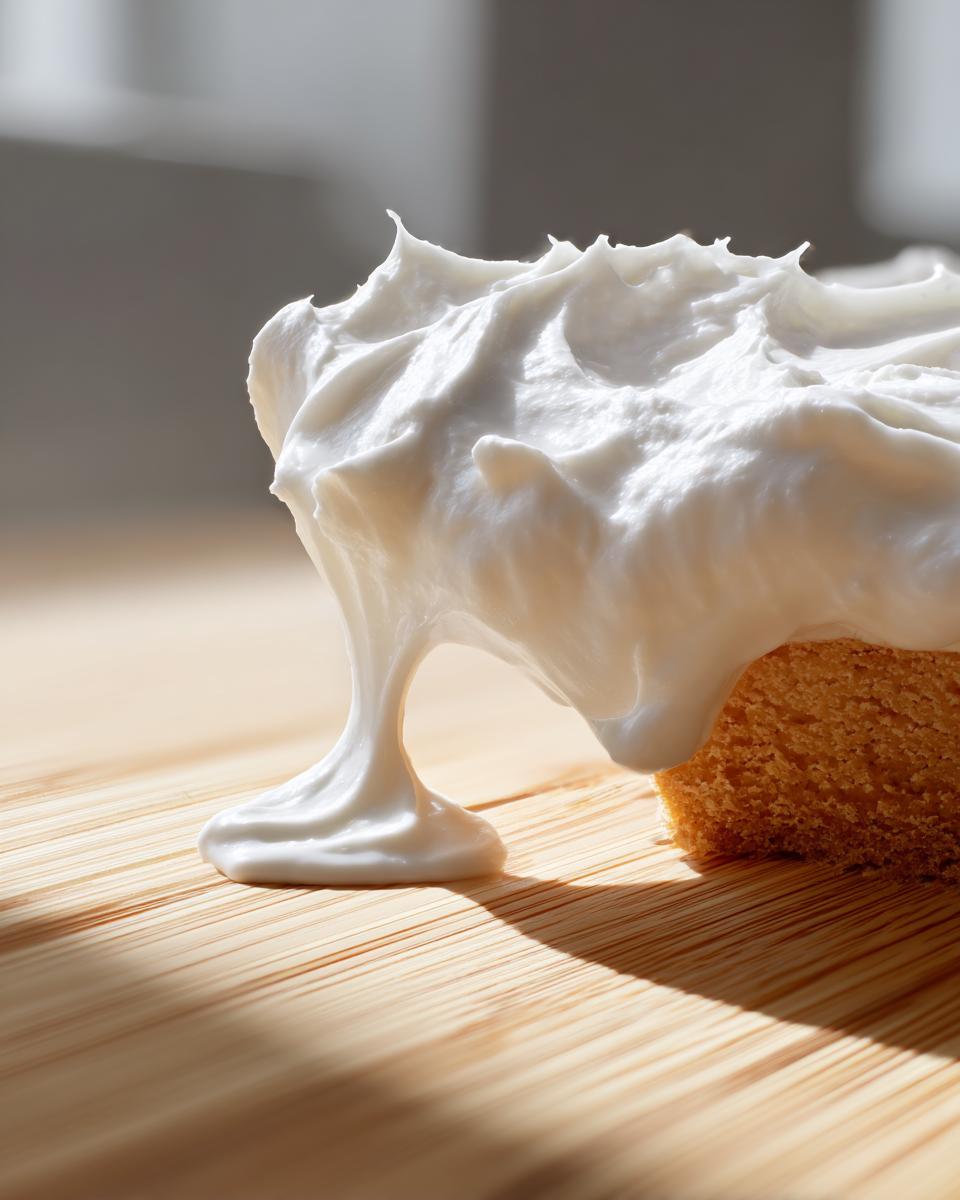
If you’re done building and now want to pivot to making snowy window frames, you just need to loosen things up slightly. Take a small amount of that stiff icing into a separate bowl—that’s going to be your beautiful White Piping Icing Recipe base. Begin adding water, but I mean *tiny* amounts, like one teaspoon at a time, mixing gently until it flows off your spoon but still holds a soft trail when you lift it. This transformation is why I love this gingerbread house icing recipe so much; you don’t have to stop and make a second batch! You can find some inspiring views on piping techniques over at Gingerbread House Icing.
Tips for Success with Your Gingerbread Decorating Icing
Building these gingerbread structures is deeply satisfying, but only if the icing plays nice! I’ve learned a few tricks over the years running around with those touring bands—you never knew what city’s humidity you’d wake up in, and the icing always had to adapt. The key to a great final product using our gingerbread house icing is paying attention to how it behaves as it dries. If you’re looking for more festive decorating ideas, check out how I handle cookies over at my favorite ways to use sprinkles!
Troubleshooting Common Gingerbread House Icing Issues
The biggest headache is usually stiffness or softness, right? If you’ve mixed your initial batch and realize it’s slightly too runny for holding a wall up—perhaps it’s weeping a bit—don’t panic and don’t dump it! Just beat in a tablespoon of sifted powdered sugar at a time until it firms right up into that rock-solid structure. Conversely, if your decorating tip is clogging constantly because the gingerbread house icing is too stiff, gently beat in water, one teaspoon, really watching it soften. Air bubbles are common too; if you see big ones after mixing, give it a gentle fold or two by hand to release them before loading your piping bag!
If you had a hard time getting started, take a peek at this guide for inspiration on Gingerbread House Icing for those tricky first steps.
Storage and Make-Ahead Tips for Gingerbread House Icing
I always make a huge batch of this gingerbread house icing because you simply cannot have too much, especially if you’re building a village instead of just one house! Now, this recipe yields enough for one pretty sizable gingerbread structure, but if you have leftovers, you absolutely must cover it properly. Royal icing is notorious for drying out almost instantly when exposed to air. This is why I always press a piece of plastic wrap directly onto the surface if I’m done working for the night.
If you’re chilling any extra icing—yes, you can refrigerate it in an airtight container for about a week—it will look stiff and maybe a little weird when you pull it out. Don’t worry! Just let it come toward room temperature and then give it a quick whip with the paddle attachment for a minute or two. It’ll smooth right out, ready for use again.
Serving Suggestions for Your Completed Gingerbread Structures
Once that beautiful gingerbread house icing has fully cured and your walls are standing straight—thanks to that super-strong glue consistency we mixed up—the real fun begins: staging and presentation! I remember one year we built a small candy-covered town square instead of just a single house. It was massive, and the whole setup became the centerpiece of our living room for the entire season.
Displaying your hard work is almost as important as the Building Gingerbread Structures themselves. You don’t just want it sitting on the counter! For a fantastic look, set the entire house on a large, round wooden platter dusted lightly with powdered sugar to look like fresh snow just after a storm. You can tuck little edible candies around the base for landscaping, maybe using leftover icing to anchor gumdrops as bushes.
To make the whole scene come alive, think about pairing it with your holiday drinks menu! If you want something warm and festive to serve while admiring your gingerbread creation, you absolutely have to try my recipe for a crowd-pleasing Thanksgiving punch—it makes an amazing Christmas Eve drink, too. And if you need a last-minute refresher on that powerful glue, check out the tutorial on Royal Icing Recipe for Gingerbread House Glue. Enjoy showing off your edible architecture!
Frequently Asked Questions About Gingerbread House Icing
I always get so many great questions once the holiday baking spirit kicks in, especially about this gingerbread house icing! People are often wondering about the timing and the best ways to make sure their structures don’t fall apart before Christmas morning. Don’t worry if you need a little extra guidance; that’s why I’m here! We want your whole process, from mixing to final decorating, to feel like an Easy Gingerbread Icing Tutorial wrapped up in one perfect recipe.
How long does this gingerbread house icing take to dry?
That’s a fantastic question, because speed is key when you’re juggling walls and support beams! Unlike a simple buttercream, this royal icing dries much faster because of the sugar and egg whites/meringue powder. For the thick assembly glue—the actual Holiday Edible Glue Recipe—I suggest holding your pieces together firmly for about 30 to 60 seconds. For the walls to be stable enough to handle the roof, give the joints at least 15 minutes of undisturbed time to set up hard.
Can I use food coloring in this royal icing recipe?
Oh, absolutely! Food coloring makes the decorating part so much fun. The key here is knowing which part of the icing you are coloring. If you are pulling icing aside to use as the structural glue, I’d try to use it either clear or a very pale color, as loading up homemade batches with too much liquid coloring can sometimes slightly soften the strength. Save the bright blues and reds for the decorative icing you thinned down—that’s your pretty, detailed Pipeable Holiday Frosting centerpiece!
What is the best method for *Gingerbread House Assembly*?
The best way to assemble is to treat that thick consistency icing like mortar. Get a good, generous dollop on the bottom edge of a wall piece and press it firmly against the base or the next wall. Hold it steady for a minute—don’t let go too soon! This is where the superior strength of this gingerbread house icing really shows off. If you’re connecting a tricky corner, try bracing it with a small jar or a can wrapped in a paper towel until that initial bond truly sets up.
Estimated Nutritional Data for Gingerbread House Icing
Now, I know what you’re thinking: this stuff is basically sugar cement, so what’s the damage? When you’re whipping up this fantastic gingerbread house icing, keep in mind that you are mostly working with confectioners’ sugar, which packs a sweet punch! Remember that this nutritional information is just an estimate, because every brand of powdered sugar and meringue powder acts a little differently in the mixer.
We calculated this based on the recipe notes for a standard 1/4 cup serving size, which is generous, considering how potent this icing is for both decoration and structural needs. Since we aren’t baking this paste, there’s no cooking involved, so your fat and cholesterol numbers are going to stay wonderfully low—which is nice, even if we are talking about frosting building material!
Here is what you can generally expect from this Strong Cookie Icing recipe:
- Calories: Approximately 450 per serving size
- Sugar: Around 110 grams (Yeah, it’s sweet, but it needs to be!)
- Carbohydrates: About 112 grams
- Protein: Around 3 grams
- Fat/Cholesterol/Sodium: Almost negligible, which is a nice bonus for an edible glue!
So, go ahead and make your masterpiece! You’ve got the structure nailed down with the best Royal Icing Recipe for the job, and now you know the basics of what you’re working with. This is standard for any pure sugar-based icing, so don’t let it scare you away from creating that amazing Christmas centerpiece.
Share Your Holiday Creations
Seriously, once you nail this gingerbread house icing and have that little structure standing strong and proud, I want to see it! That’s the best part of sharing these recipes—seeing what incredible, festive things you all build in your own kitchens.
If this recipe gave you the confidence to build a mansion or even just a sturdy little cottage that didn’t collapse by Christmas Eve, please tell me about it! Drop a comment right down below and let me know how your assembly went. What color was your final piped frosting? Did you have any hilarious structural failures before you got it right?
And if you snapped a picture of your finished gingerbread village or your amazing candy decorations, tag us on social media! Seeing your creativity shine through is the reason YumDrizzle exists—to bring that accessible, real-life joy back into the kitchen. If you’re curious about the people behind all these fun recipes, you can read a bit more about our story over at the About Us page.
If this strong icing saved your holiday baking from disaster and you’re already dreaming up next year’s project, please hit that 5-star rating button! Happy decorating, everyone!
PrintThe Ultimate Gingerbread House Icing: Strong Glue for Building and Decorating

You need a reliable icing to build and decorate your gingerbread house. This Royal Icing recipe acts as a strong edible glue for assembly and pipes smoothly for detailed holiday decorating.
- Prep Time: 15 min
- Cook Time: 0 min
- Total Time: 15 min
- Yield: Enough for one large house 1x
- Category: Dessert Component
- Method: Mixing
- Cuisine: American
- Diet: Vegetarian
Ingredients
- 4 large egg whites (or 4 tablespoons meringue powder)
- 1 teaspoon clear vanilla extract
- 1/2 teaspoon lemon juice
- 8 cups confectioners’ sugar, sifted
Instructions
- If using meringue powder, combine the powder, egg whites (if using), vanilla extract, and lemon juice in the bowl of a stand mixer fitted with the whisk attachment. If using only meringue powder and water, mix powder with 6 tablespoons of water until dissolved, then add vanilla and lemon juice.
- Beat the mixture on medium speed until it becomes foamy, about 2 minutes.
- Gradually add the sifted confectioners’ sugar, one cup at a time, mixing on low speed until incorporated.
- Once all sugar is added, increase the speed to medium-high and beat for 5 to 7 minutes until the icing is very stiff, glossy, and holds stiff peaks. This is your building consistency.
- For assembly (glue), the icing should be very thick. If it seems too soft, add more sifted sugar, one tablespoon at a time, until it holds its shape firmly.
- For decorating, if you want a softer, more pipeable consistency, beat in 1 to 2 teaspoons of water until you reach the desired flow.
- Use immediately for assembly. Cover the bowl with a damp cloth while working, as royal icing dries quickly.
Notes
- For the strongest edible glue, use the icing immediately after mixing, before it has a chance to thin out.
- If you need to store leftover icing, press plastic wrap directly onto the surface of the icing in an airtight container and refrigerate for up to one week. You may need to re-whip it before use.
- If you prefer using egg whites over meringue powder, pasteurizing them first is recommended for safety, especially when making holiday treats for children.
Nutrition
- Serving Size: 1/4 cup
- Calories: 450
- Sugar: 110
- Sodium: 5
- Fat: 0
- Saturated Fat: 0
- Unsaturated Fat: 0
- Trans Fat: 0
- Carbohydrates: 112
- Fiber: 0
- Protein: 3
- Cholesterol: 0