
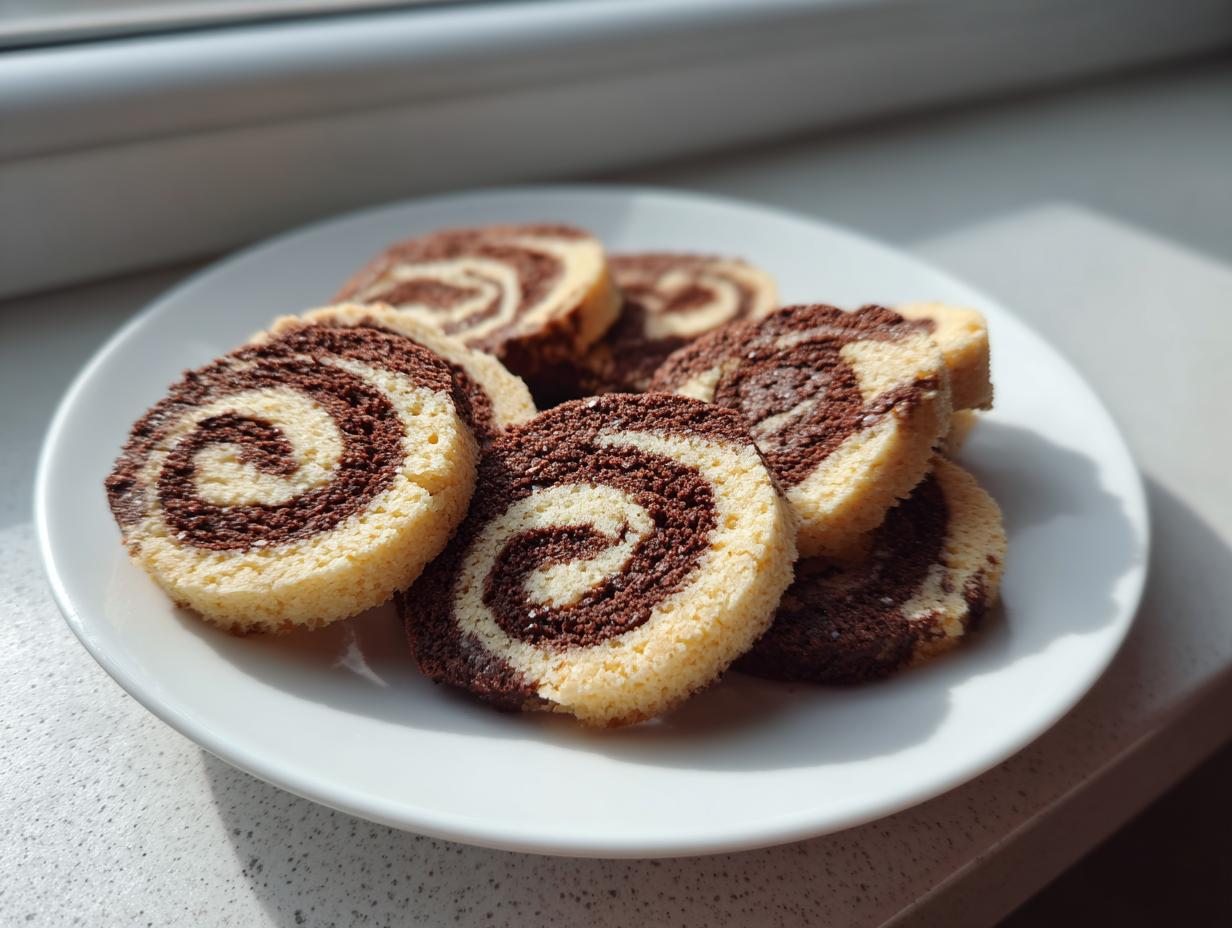
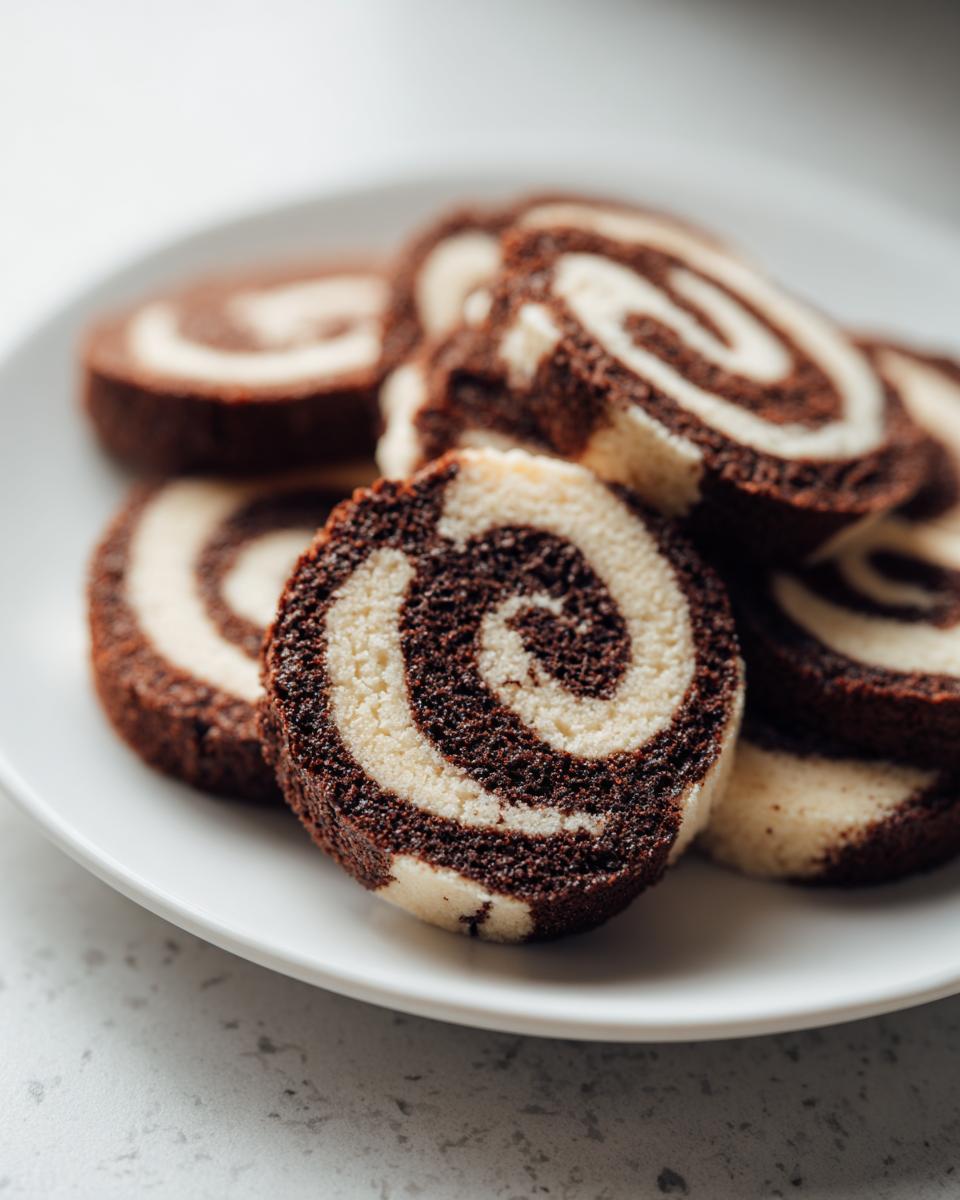
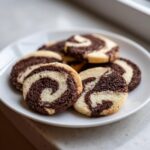
If you want a cookie that truly stops people in their tracks, you need something with drama! Forget plain drops; we are going for those beautiful, intricate designs. That’s why I absolutely adore making pinwheel cookies. They look like they took days of complex layering, but honestly, they are one of the best slice-and-bake cookies you’ll ever meet. When I was traveling out on the road learning flavors all across America, I realized how much people crave that beautiful visual payoff without the huge fuss. This recipe is simple, reliable, and uses everyday ingredients, turning out stunning swirl cookies recipe patterns every single time. It’s proof that real, memorable flavors often come from accessible methods, which is the whole spirit behind YumDrizzle. You can read more about how we find these great American recipes on our About Page. Trust me, you’ll want to make this base dough for everything now!
- Why This Classic Chocolate Vanilla Pinwheel Cookies Recipe Works (Best Pinwheel Cookie Recipe)
- Essential Ingredients for Buttery Pinwheel Dough
- How to Prepare Easy Pinwheel Cookies: Step-by-Step Instructions
- Baking Your Pinwheel Cookies to Perfection
- Tips for Success with Your Pinwheel Cookies
- Serving Suggestions for Visually Stunning Desserts
- Storage and Make Ahead Cookies Instructions
- Frequently Asked Questions About Pinwheel Cookies
- Sharing Your Pinwheel Cookies Creations
Why This Classic Chocolate Vanilla Pinwheel Cookies Recipe Works (Best Pinwheel Cookie Recipe)
What makes this the best pinwheel cookie recipe? It’s all about efficiency meeting elegance. We use a single, rich, buttery base dough, which cuts down on mess significantly, and then we split it for the classic chocolate and vanilla contrast. This combination is so foundational because it satisfies everyone—it’s familiar, comforting, yet incredibly photogenic. It’s the perfect starting point before you dive into more complicated fillings.
The Magic of Slice and Bake Cookies
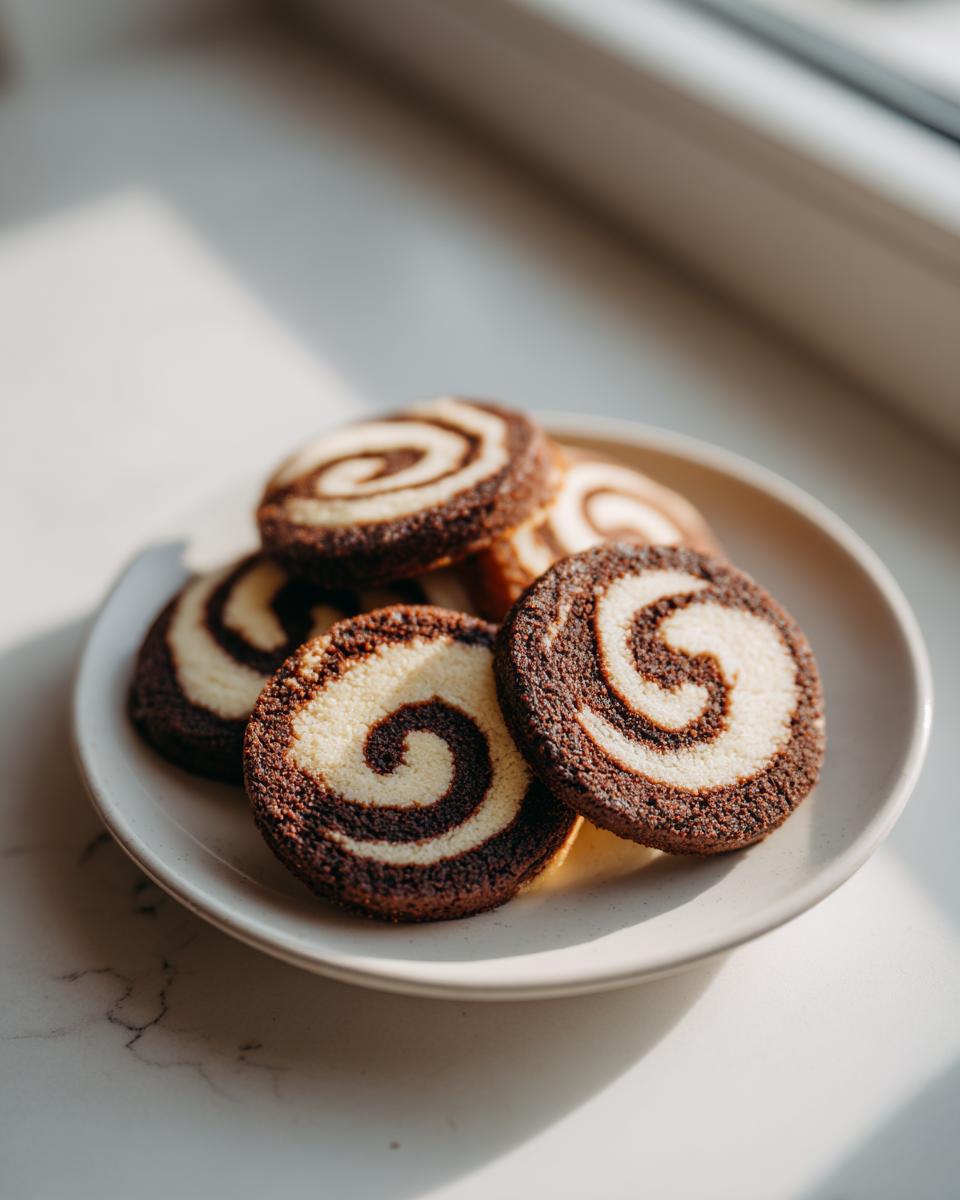
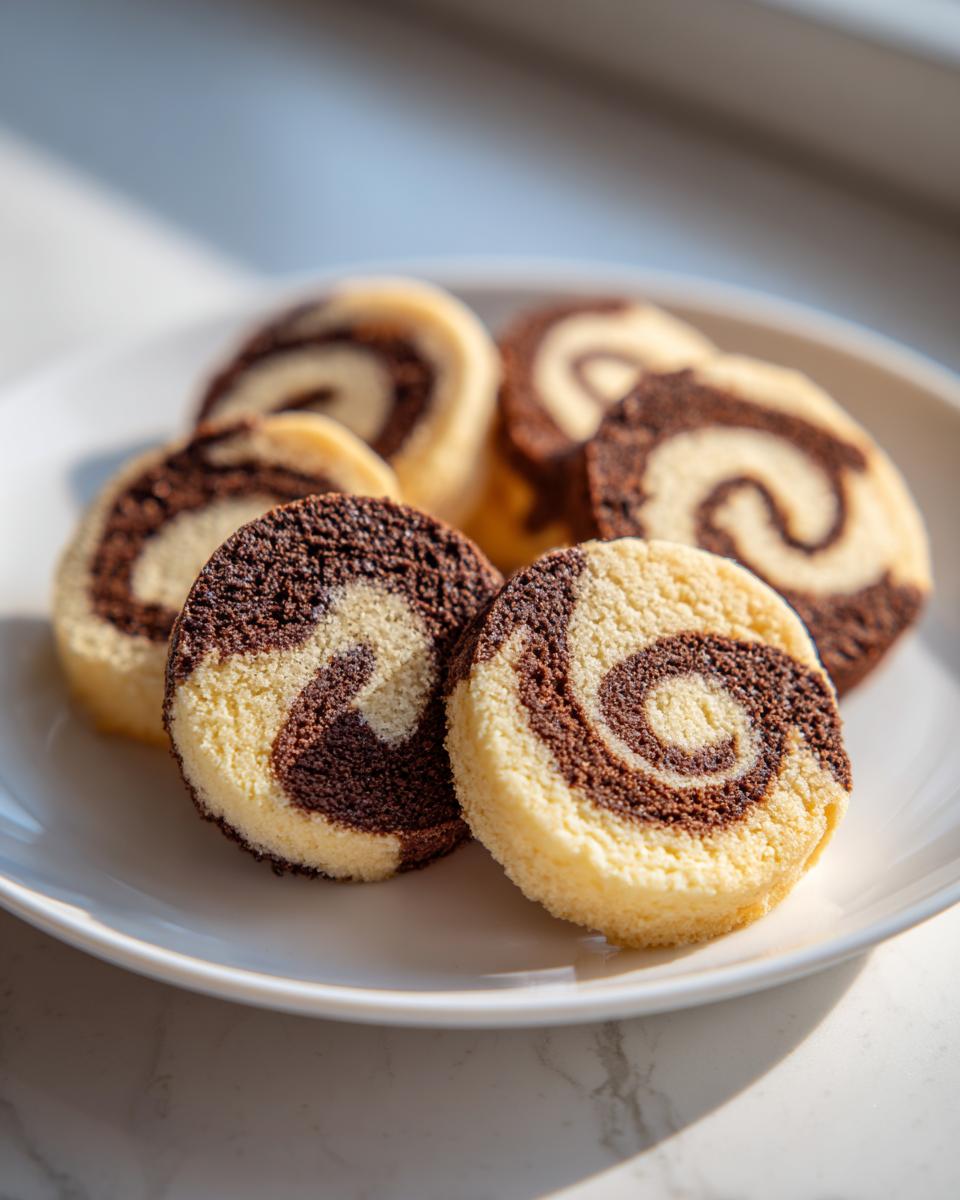
This is truly a slice-and-bake cookies champion! The secret to keeping this recipe easy is the chilling process. Once you roll those two doughs together tightly into a log, you have to let it rest. Chilling the dough until it’s rock solid ensures you get those beautiful, crisp, clean-cut spirals when you start sawing off the slices. No smearing, no mushiness—just perfect roll and slice cookies.
Building Colorful Cookie Designs for Cookie Exchange Favorites
The visual appeal is what puts these on every holiday tray! When you layer the chocolate and vanilla dough, you are creating instant impact. They look so sophisticated, which is why they are such huge hits at cookie exchange favorites gatherings. These spiral cookies are proof that you don’t need complicated food coloring; just the contrast of dark cocoa against sweet vanilla makes for amazing colorful cookie designs suitable for all your holiday cookie ideas.
Essential Ingredients for Buttery Pinwheel Dough
Okay, let’s get down to the heart of these cookies: the dough! Since these are slice and bake cookies, the dough quality is everything. You want that beautiful buttery snap, not something that spreads out into sad, flat puddles. We are sticking to the basics here because simplicity in ingredients delivers huge flavor payoff later. You’ll need a good amount of butter and sugar to start, which really gives these their melt-in-your-mouth quality. Don’t skimp on the vanilla, trust me!
Grab these items; you’re basically making one buttery pinwheel dough base that we split later:
- 1 cup (2 sticks) unsalted butter, softened
- 1 cup granulated sugar
- 2 large eggs
- 1 teaspoon vanilla extract
- 3 cups all-purpose flour
- 1 teaspoon baking powder
- 1/2 teaspoon salt
- 2 tablespoons unsweetened cocoa powder
- 1 teaspoon milk
Expert Tip for Temperature: The absolute key to getting that dough just right before we split it is temperature control. Make sure your butter really is softened—you should be able to press a finger into it easily without resistance, but it shouldn’t be oily or melting. Cold eggs right from the fridge can sometimes make the creamed mix seize up a little, so if you remember, pulling those out 20 minutes ahead doesn’t hurt!
Ingredient Notes and Substitutions for Pinwheel Cookies
Since this is such a basic dough, whatever quality you put in shines through. Always use unsalted butter; that way, you control the exact amount of salt in the recipe, which is critical for balancing sweetness. Make sure your eggs are room temperature; they blend much smoother that way!
For the chocolate side, using a decent quality unsweetened cocoa powder really matters. Cheap cocoa can taste dusty, but a good one gives you that deep, satisfying darker flavor in your chocolate vanilla swirl cookies. We keep this recipe simple, but these small touches make a difference in the final product!
How to Prepare Easy Pinwheel Cookies: Step-by-Step Instructions
If you follow the ingredient list correctly, preparing these easy pinwheel cookies is mostly about mixing, waiting, and rolling! Remember, this is a make ahead cookies dream, but the waiting part is non-negotiable for the best results. We need distinct layers, and that only happens when the dough is cold and firm. I’m going to walk you through the process so you get those gorgeous, sharp swirls!
Mixing the Base and Dividing the Dough
First things first: beat that butter and sugar until it’s light and fluffy—like pale whipped cream. Don’t rush it! Then, incorporate your eggs one at a time, followed by the vanilla. Now, add your flour, baking powder, and salt mixture very gradually. Stop mixing the second you don’t see huge clouds of flour anymore. Overmixing the flour is the kiss of death that makes the cookies tough. Once it’s just combined into a soft dough, grab two bowls and split the entire batch exactly in half.
Chilling and Rolling for Perfect Spiral Cookies Recipe
This is where the magic happens! In one half, mix in the cocoa powder and the tiny bit of milk until you have uniform chocolate dough. Wrap both the vanilla dough and the chocolate dough discs tightly in plastic wrap and send them to the fridge for at least an hour. Once chilled, roll each color out into a rectangle about a quarter-inch thick on a floured surface. Layer them right on top of each other. Then, starting from one long side, roll it up as tightly as you possibly can—think of rolling wrapping paper very snugly. That tight log ensures clear spiral cookies recipe! Wrap it again and chill it for a minimum of two hours until it’s stiff.
Baking Your Pinwheel Cookies to Perfection
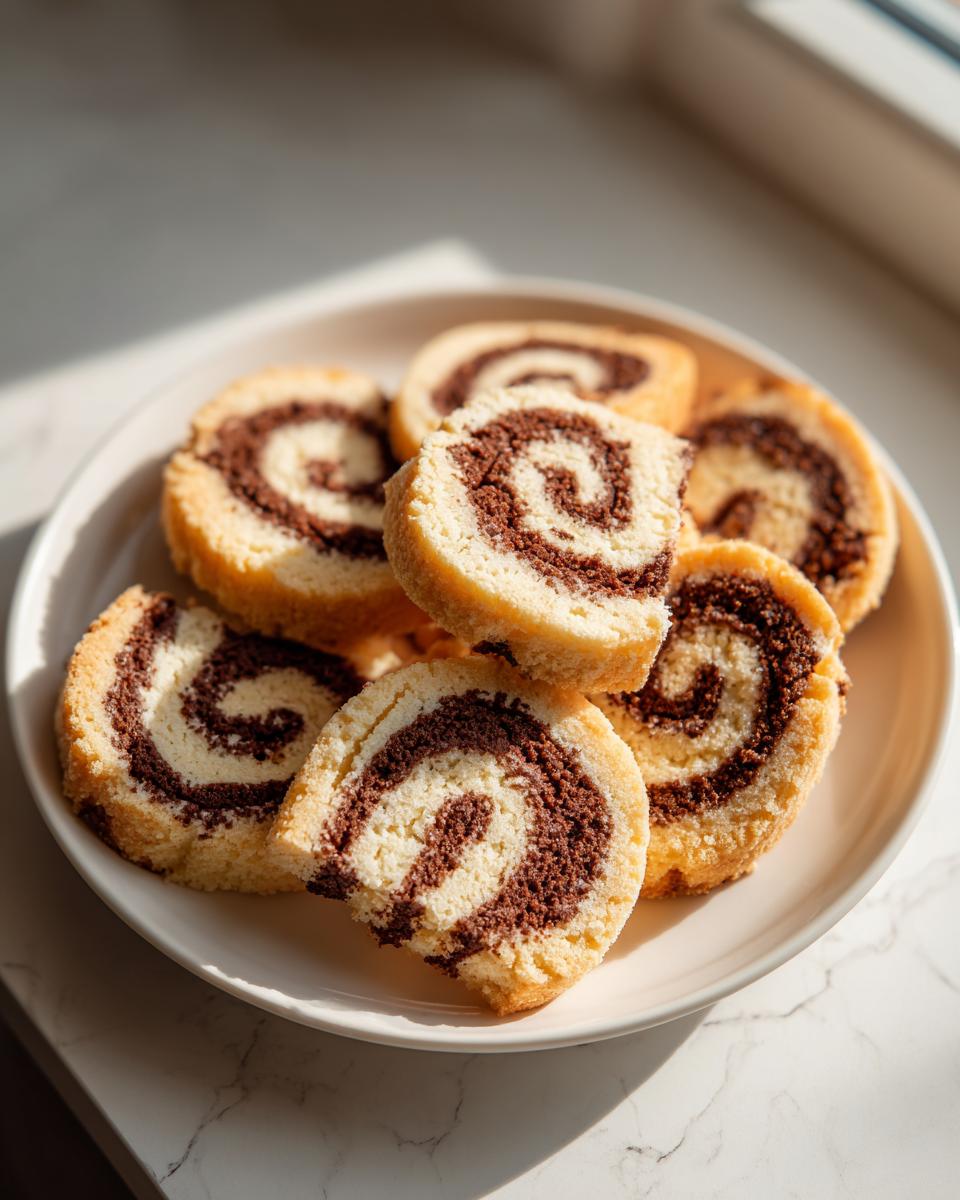
Alright, the dough log is chilled, firm, and ready for action. Preheat your oven to 375°F (190°C) right now. While it heats up, grab a baking sheet and line it with parchment paper. Seriously, don’t skip the parchment! It’s the insurance policy that makes clean-up easy, especially with these buttery bases. You want to slice your firm dough log about 1/4 inch thick and lay those gorgeous rounds on the sheet, making sure they have a couple of inches between them so they have room to breathe.
Bake them for about 8 to 10 minutes. You are looking for the edges to just kiss golden brown—seriously subtle. If you wait until the whole cookie is brown, the center will bake past tender. They should still look slightly soft when you pull them out. This tenderness is key! Leave them right there on that hot baking sheet for exactly 5 minutes; they finish setting up in that residual heat. If you touch them too soon, they might fall apart. After 5 minutes, carefully move them over to a wire rack to cool completely. That’s how you guarantee a perfect bite every time!
Tips for Success with Your Pinwheel Cookies
I’ve learned a few hard lessons making these over the years, so let me save you some grief! If you want those super sharp swirls—the ones that look totally professional—you cannot rush the chilling stage. I once tried to bake these in a hurry for a last-minute cookie tray, and I only chilled the log for about 45 minutes. What happened? Disaster! When I sliced them, the dough squished right out, and they baked into fuzzy, blended circles instead of distinct spirals. Total rookie mistake!
For the sharpest look, you need that dough to be absolutely rock hard. If you’re planning ahead, definitely wrap those shaped logs tightly and toss them in the freezer. They become amazing make ahead cookies this way! You can store them for ages and just slice off what you need whenever company pops over or you need easy dessert tray cookies last minute. Another great trick I saw online—and I totally plan to try next time—is rolling the log in colored sprinkles before slicing for an extra layer of shimmer, especially if you are hunting for those Christmas swirl cookies looks.
If you are curious about other popular ways people handle their dough wraps, you can check out some other top bakers’ advice on how they manage their spirals—I found some neat ideas over at Sally’s Baking Addiction.
Serving Suggestions for Visually Stunning Desserts
Now that you have these incredibly gorgeous pinwheel cookies cooling, you have to think about presentation! Honestly, these buttery, two-toned beauties are already visually stunning desserts all on their own. They look amazing piled high on a white platter because the swirls really pop against a neutral background.
Since they are classic chocolate and vanilla, they go with everything. Dusting just the vanilla side with a bit of powdered sugar before baking adds extra contrast, making them perfect for your dessert tray cookies setup. But my favorite way to enjoy them is simple: dunked into a tall glass of cold milk, or better yet, paired with a strong cup of hot coffee after dinner. They keep their structure so well, making them perfect dipping buddies!
Storage and Make Ahead Cookies Instructions
The biggest selling point for these phenomenal pinwheel cookies is definitely how easy they are to prep in advance! Once they are completely cool, pop them into any airtight container. They stay buttery and delicious for well over a week just sitting on your counter. They bake up so nicely that they really don’t dry out quickly, which is fantastic.
But for true ease, we lean into the make ahead cookies method we discussed earlier. Once you’ve rolled that chocolate and vanilla dough into your log, wrap it super tight in plastic wrap—and maybe even throw a layer of foil over that if you plan to freeze it for a while. Tidy, well-wrapped logs can go straight into the freezer! They last beautifully for up to three months. When you need fresh cookies, just slice and bake right from frozen; just add about 2 or 3 extra minutes to your baking time. You’re welcome!
Frequently Asked Questions About Pinwheel Cookies
I know you’re probably wondering about the nitty-gritty details, because when you put this much love into making swirl cookies, you want them to turn out perfect! This recipe is super forgiving, but there are a couple of things folks always ask me about when they are first trying out these spirals.
Can I make these pinwheel cookies without chilling the dough?
Oh, please don’t try it! You really need to chill that log. If you skip chilling, the dough spreads out way too fast in the oven. Instead of sharp, distinct Christmas swirl cookies, you end up with a blended mess. Chilling locks in the shape so you get those gorgeous, clean edges!
What are popular flavor variations for these swirl cookies?
The chocolate/vanilla base is classic, but the dough is so versatile. A lot of people use this exact base recipe to make incredible Old Fashioned Cookies by swapping the cocoa for a thick date filling inside. And of course, for the holidays, people dye the dough red and green for a fun Peppermint Swirl Recipe look!
The great thing about this base is how easily it adapts, though I always tell people to start with the chocolate and vanilla until you master the rolling technique. Once you know how tight to roll, you can try anything!
Sharing Your Pinwheel Cookies Creations
Now that your kitchen smells amazing and you have a huge stack of these incredibly pretty pinwheel cookies, I really want to see them!
Baking is so much more fun when you share the results. If you tried this recipe, please take a minute and leave me a rating below so other folks know these buttery, easy cookies are worth their time. It really helps me know what recipes hit the spot!
And hey, don’t forget to snap a picture! Tag me on social media so I can ooh and aah over your perfect spirals. I always love seeing how people adapt the visuals. Did you stick with the classic chocolate and vanilla, or did you go rogue with red and green, or maybe even purple?
Tell me in the comments: What was your favorite color combination that made your spiral cookies pop? I’m always looking for new inspiration for the next time the dough comes out to play. If you have any questions that weren’t answered above, feel free to reach out to us through our contact page!
PrintClassic Chocolate and Vanilla Pinwheel Cookies (Easy Slice-and-Bake)
Make visually stunning, buttery pinwheel cookies using a simple slice-and-bake method. This recipe combines chocolate and vanilla dough for a classic swirl design perfect for cookie trays.
- Prep Time: 30 min
- Cook Time: 10 min
- Total Time: 160 min
- Yield: 3 dozen cookies 1x
- Category: Dessert
- Method: Baking
- Cuisine: American
- Diet: Vegetarian
Ingredients
- 1 cup (2 sticks) unsalted butter, softened
- 1 cup granulated sugar
- 2 large eggs
- 1 teaspoon vanilla extract
- 3 cups all-purpose flour
- 1 teaspoon baking powder
- 1/2 teaspoon salt
- 2 tablespoons unsweetened cocoa powder
- 1 teaspoon milk
Instructions
- Beat the softened butter and sugar together in a large bowl until light and fluffy. Add the eggs one at a time, mixing well after each addition. Stir in the vanilla extract.
- In a separate bowl, whisk together the flour, baking powder, and salt. Gradually add the dry ingredients to the wet ingredients, mixing until just combined to form a soft dough.
- Divide the dough evenly into two separate bowls.
- In the first bowl, mix in the cocoa powder and 1 teaspoon of milk until the dough is uniformly chocolate-colored. This is your chocolate dough.
- Wrap both the vanilla dough and the chocolate dough tightly in plastic wrap and flatten them slightly into discs. Chill both doughs in the refrigerator for at least 1 hour, or until firm enough to roll.
- On a lightly floured surface, roll the vanilla dough into a rectangle approximately 1/4 inch thick. Repeat this process with the chocolate dough, aiming for the same size.
- Carefully place the chocolate dough rectangle directly on top of the vanilla dough rectangle. Gently press the edges together to seal them.
- Starting from one long edge, tightly roll the layered dough into a compact log. Wrap the log tightly in plastic wrap and chill for at least 2 hours, or until very firm. This step is key for clean slices.
- Preheat your oven to 375°F (190°C). Line baking sheets with parchment paper.
- Remove the chilled dough log from the refrigerator. Using a sharp knife, slice the log into rounds about 1/4 inch thick.
- Place the slices onto the prepared baking sheets, leaving about 2 inches between each cookie.
- Bake for 8 to 10 minutes, or until the edges are lightly golden brown. The centers should still look slightly soft.
- Let the cookies cool on the baking sheet for 5 minutes before transferring them to a wire rack to cool completely.
Notes
- For sharper swirls, chill the dough log for 3 hours or freeze for 30 minutes before slicing.
- You can roll the chilled dough logs in colored sprinkles before slicing for extra visual appeal, especially for holiday cookie exchanges.
- These slice-and-bake cookies freeze well. Wrap the dough logs tightly and freeze for up to 3 months. Slice and bake directly from frozen, adding 2-3 minutes to the baking time.
Nutrition
- Serving Size: 1 cookie
- Calories: 145
- Sugar: 10g
- Sodium: 85mg
- Fat: 7g
- Saturated Fat: 4g
- Unsaturated Fat: 3g
- Trans Fat: 0g
- Carbohydrates: 19g
- Fiber: 0g
- Protein: 2g
- Cholesterol: 35mg