
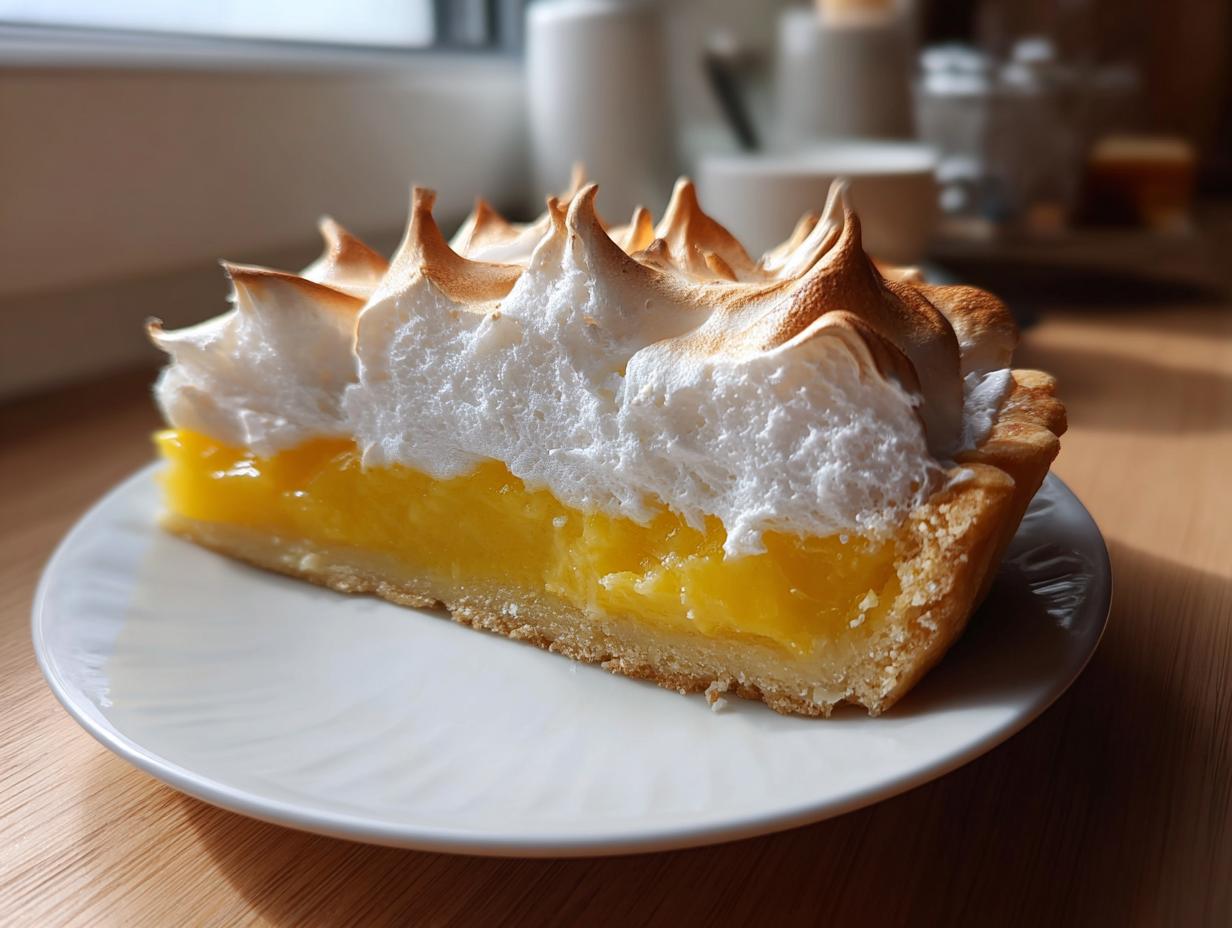
Oh my gosh, is there anything more satisfying than slicing into a pie where the meringue stands up tall, perfectly toasted, and the filling doesn’t run everywhere? That’s the goal, right? I’m telling you, making a truly classic, homemade lemon meringue pie from scratch is totally achievable. Forget those sad, weepy messes you’ve had before! This recipe is the one that actually works, delivering that perfect tart filling and stable topping.
This technique solidifies what I learned years ago traveling America, soaking up wisdom from tiny diners and legendary roadside stops. That experience taught me that the soul of great cooking is passion and simplicity. We keep the flavor bright and citrusy, and I promise, we are conquering that weeping meringue problem today. If you want to see the history behind why we focus on these foundational flavors, check out Jaxson’s story over at the YumDrizzle headquarters!
- Why This Classic Lemon Meringue Pie Recipe Works
- Gathering Ingredients for Your Lemon Meringue
- Step-by-Step Instructions for Classic Lemon Pie
- Expert Tips: No Weep Lemon Meringue Tips and Stability
- Serving Suggestions for This Summer Citrus Dessert
- Storage and Reheating Instructions
- Frequently Asked Questions About Making This Pie
- Estimated Nutritional Information
- Share Your Baking Success
Why This Classic Lemon Meringue Pie Recipe Works
Honestly, folks, I built this recipe on failure. I wanted that incredible, bright flavor without all the common pie drama. This isn’t some complicated creation; it’s designed to be a fun, from-scratch bake that actually delivers on its promise of a spectacular lemon meringue. You are going to love how reliable it is after trying it once!
- It’s unbelievably easy to follow, making it perfect if you’re nervous about custards or meringues.
- We rely on fresh ingredients, not powders or mixes, giving you that pure, vibrant taste.
- Every step is geared toward creating a stable finish, so you get that tall, gorgeous topping every single time.
Achieving a Tart and Sweet Pie Balance
This is where all the magic happens regarding flavor. We aren’t messing around with weak flavor here! The filling has to cut through the sweetness of the meringue and the crust. That sharp, zesty lemon dessert flavor comes directly from using both fresh lemon juice *and* that bright zest. Please don’t skip the zest—it’s where the real punch lives!
The Secret to a Fluffy Meringue Topping
So, you want that cloud-like, fluffy meringue topping that doesn’t shrink an inch? We use two things: sharp cream of tartar to stabilize the proteins in the egg whites, and a trick where we add the meringue to very hot filling. This thermal shock helps seal that bottom layer, which is the key to preventing weeping!
Made Completely From Scratch
I wholeheartedly believe that if you’re going to make this pie, you should go all in. There’s no comparison between the flavor of a true, homemade lemon pie from scratch and anything out of a box. We handle everything ourselves, from thickening the curd to whipping those egg whites, and that dedication truly pays off when you take that first bite of perfect lemon meringue.
Gathering Ingredients for Your Lemon Meringue
Okay, let’s get organized. When you’re making a showstopper dessert like this lemon meringue, having everything laid out makes the process so much smoother. Trust me—it cuts down on panic later! We need three distinct sets of ingredients here: the crust (which we’re going to assume you’ve already baked until golden), the filling, and that beautiful topping. Grab your measuring cups first, because precision matters, especially when we’re dealing with eggs!
For the Buttery Pie Crust
Since we want this recipe to be successful right out of the gate, we are starting with a pre-baked crust. That way, we can focus all our energy on getting the filling and meringue perfect. If you need a refresher on making up a truly amazing foundation, I highly recommend checking out my general buttery pie crust tutorial!
You will need:
- 1 pre-baked 9-inch pie crust
For the Zesty Lemon Filling
This is where that intense, zesty lemon dessert flavor comes through. Make sure those lemons are fresh; you can really smell the difference!
- 1 1/2 cups granulated sugar
- 1/4 cup cornstarch
- 1/4 teaspoon salt
- 1 1/2 cups cold water
- 4 large egg yolks, lightly beaten
- 1/2 cup fresh lemon juice
- 1 tablespoon lemon zest
- 2 tablespoons unsalted butter
For the Fluffy Meringue Topping
For the meringue, remember my earlier tip? The egg whites need to be at room temperature so they can whip up into those high, glossy peaks we want. Don’t forget the cream of tartar!
- 4 large egg whites, room temperature
- 1/4 teaspoon cream of tartar
- 1/2 cup granulated sugar (for meringue)
Step-by-Step Instructions for Classic Lemon Pie
Alright, this is the moment of truth! While this classic lemon pie is easy overall, the filling requires your full attention at the stove. We move fast here, so have your pre-baked crust ready an arm’s reach away before you start cooking. We need to keep things moving to get that perfect, thick consistency for our custard!
Making the Thick Lemon Filling
First things first, grab a medium saucepan. Whisk together your 1 1/2 cups of sugar, the cornstarch, and the salt until they are totally combined. Now, slowly whisk in that cold water until there are no dry clumps left. Put that on medium heat and stir, stir, stir! You need to keep it moving constantly until it thickens up nicely and starts boiling. Once it boils, let it roll for one full minute while you keep stirring—that activates the cornstarch properly.
Next, the crucial tempering step! In a separate bowl, slightly beat your four egg yolks. Take your hot sugar mixture off the heat, and very slowly—I mean a thin, steady stream—pour some of that hot mixture into the yolks while whisking the yolks like crazy. If you dump it, you just get scrambled eggs, oops! Once tempered, pour the yolk mixture straight back into the saucepan. Now, cook it again over medium heat until it reaches another full, rolling boil for one minute.
Take it off the heat one last time. Stir in your butter until it melts smooth, and then add your fresh lemon juice and zest. Stir everything one last time until it’s one uniform, beautiful yellow color. Pour that hot lemon filling right into your waiting pie shell! See? Already looks amazing.
Whipping Up the Perfect Meringue
Time for the topping! Remember I said our equipment needed to be spotless for that how to make perfect meringue? Get your four room-temperature egg whites and your cream of tartar into a large, totally clean bowl. Start beating it on medium speed until you see soft peaks form—they look a bit droopy, which is normal.
Now, start adding that remaining 1/2 cup of sugar, spoon by spoon. Don’t rush this part! Beat well after every addition until you reach stiff, glossy peaks. When you lift the whisk out, the peak should stand straight up without flopping over. That’s what we need!
Assembling and Baking Your Lemon Meringue
This step is vital for preventing that dreaded “weeping” we talked about. You need to spread all that fluffy meringue immediately over your hot lemon filling. Make absolutely sure the meringue touches the crust edge all the way around—think of it as sealing the pie shut against any moisture escaping! That seal keeps everything stable.
Pop the whole thing into a 350°F oven for about 12 to 15 minutes, just until those beautiful peaks turn golden brown. Don’t overbake it, though! Once it’s browned, pull it out. Now for the hardest part: you must let this lemon meringue pie cool completely on a wire rack for a minimum of four hours. Seriously, walk away! This cooling time is non-negotiable for that filling to set perfectly.
Expert Tips: No Weep Lemon Meringue Tips and Stability
Okay, let’s tackle the biggest fear everyone has about this tart and sweet pie: the weeping meringue! It’s awful when those ugly little sugar beads form on top, or when the topping shrinks away from the crust. But I’ve got the fixes that actually come from real kitchen know-how. Follow these two critical steps, and you’ll be bragging about your stable, beautiful tops!
Meringue Preparation Secrets
First, we always start with a clean slate. I mean it—your bowl and your whisk attachments must be spotless. Any hint of grease or leftover water will stop those egg whites from whipping up the way they should. Fat is the enemy of stiff peaks! Also, make sure those egg whites are at room temperature before you start. Cold whites just don’t incorporate air as easily as warm ones, and we need maximum air for that beautiful, fluffy meringue topping.
The Critical Assembly Temperature
This is the trick I learned from a baker in South Carolina! You MUST spread your meringue onto the filling while the lemon custard is still really hot. It doesn’t have to be boiling, but it needs to be steaming! When the hot filling meets the cool meringue, it creates a seal. This seals those moisture vapors inside the filling layer instead of letting them escape directly up to the meringue, which is what causes that dreaded syneresis—or, as we call it, weeping.
Serving Suggestions for This Summer Citrus Dessert
Once your gorgeous lemon meringue pie has finally set up—patience pays off, seriously—it’s time to think about how to present this incredible summer citrus dessert. It’s already stunning on its own, but a little extra touch can take it from “homemade” to “professional bakery quality” instantly. Plus, sometimes you just don’t want to turn the oven back on to brown those peaks!
Making It a Showstopper Dessert
If you followed the recipe and baked your meringue until it was just golden, fantastic! But if you want those truly dramatic, high peaks with dark tips, you might want to consider using a kitchen torch. It sounds fancy, but honestly, a small torch gives you such precise control. You can quickly toast those peaks to a deep amber color without overcooking the filling underneath. It gives the pie such depth of color and makes it an instant showstopper dessert on any table!
Pairing Suggestions
Because the filling is already so intensely tart and sweet, you don’t need much fuss alongside it, but if you want to add a little brightness, I love serving slices with a small handful of fresh, sweet berries. Think raspberries or blueberries—they look gorgeous next to the yellow and white! If you skipped adding the glaze in the earlier section, a very light dusting of powdered sugar right before serving can also look elegant.
Also, if you were thinking about making mini lemon meringue tarts instead of a full pie, serving them individually means they are already portioned out, which is super convenient for parties!
Storage and Reheating Instructions
Now for the tough love part: storing this beauty! Lemon meringue pie is absolutely delicate, so you can’t just throw it in the fridge wrapped in plastic like a leftover casserole. If you don’t handle it right, that beautiful meringue will weep and shrink overnight, and nobody wants that sad surprise the next morning.
The filling needs to stay cool to stay set, but the meringue hates cold, dry air. The best way to handle this balancing act is to cover it loosely. I usually cover the entire pie plate with a large bowl or drape plastic wrap over it, but make sure the plastic *doesn’t* touch the meringue. If it touches, it sticks, and when you pull it off, you pull off the top layer of your beautiful peaks!
Ideally, you want to eat this pie the day it’s made. It’s at its absolute peak texture within 12 hours of setting. If you must store it, keep it in the fridge for up to two days maximum. After that, the filling starts to get a little soft and the meringue just doesn’t look as impressive.
Can I store slices ahead of time?
If you know you won’t eat the whole thing right away, slice it first! Store the slices in an airtight container with a piece of waxed paper placed gently over the meringue topping to prevent sticking. If you store the whole pie, cutting it later often tears the meringue anyway, so pre-slicing helps manage portions.
Regarding Reheating or Serving Cold
Don’t even think about reheating this pie! The heat will instantly cause the filling to liquefy again, and the meringue will dissolve into a sugary soup. This pie is designed to be served chilled or at cool room temperature. If you’ve kept it in the fridge, pull it out about 30 minutes before you plan to serve it. That little bit of warming time takes the chill off the crust and makes the filling texture even silkier as you enjoy that perfect classic lemon pie flavor.
Frequently Asked Questions About Making This Pie
I know you might have a few lingering questions because this dessert seems intimidating, but remember, we are tackling this together! I’ve gathered the most common worries people have when they set out to make a truly fantastic lemon meringue pie. Ask away! I promise, once you get the hang of the technique, you will feel like a baking wizard.
Can I make the lemon filling ahead of time?
Yes, absolutely! This is actually a great tip for saving time if you’re hosting. You can complete the entire lemon filling—all the way through stirring in the butter and zest—and then pour it into your pre-baked crust. Cover that filling tightly with plastic wrap (make sure the wrap is touching the surface of the curd!) and pop it in the fridge. It keeps beautifully for a full day. But here’s the big caveat: you have to add the meringue right before you bake the pie. Don’t try to store a fully assembled pie; that’s when the shrinking and weeping really starts to happen!
What if I don’t have cream of tartar for the meringue?
Oh, that little ingredient seems so mysterious, doesn’t it? Cream of tartar is an acid that tightens up the egg white proteins, making them stiff and stable. If you look in your pantry and don’t see any, don’t panic! You can substitute it with about a half teaspoon of plain white vinegar or a few drops of extra fresh lemon juice. It serves the exact same purpose: providing that acidic backbone your egg whites need to stand tall. Honestly, I’ve done it both ways, and you really can’t tell the difference as long as you beat them until they are stiff!
Can I use this recipe for mini lemon meringue tarts?
Of course! Who doesn’t love individualized desserts? This recipe works perfectly for making mini lemon meringue tarts. You’d just need mini pastry shells instead of the full 9-inch one. Because the shells are so small and shallow, though, you have to be much more careful with the baking time. The filling will set much faster—sometimes in as little as 8 or 10 minutes. You’re really just baking it to brown the meringue. Keep a close eye on them, or they will burn!
Estimated Nutritional Information
I always feel a little nervous sharing the nutrition facts because, let’s be real, this is an indulgent, glorious dessert! But I know some of you like to keep track, so I’ve done my best to calculate averages based on standard ingredient amounts. Remember, this is for one generous slice of that tart and sweet pie!
Please keep in mind these are just estimations. If you use a different crust recipe or add extra zest, things change slightly. Cooking is real life, and recipes look different on every plate!
- Serving Size: 1 slice
- Calories: 350
- Sugar: 45g
- Fat: 15g
- Protein: 5g
- Carbohydrates: 55g
- Sodium: 180mg
We try to keep the bad stuff low, but that sugar count is high because we need it for that incredible meringue structure! Enjoy every bite of this beautiful lemon meringue creation!
Share Your Baking Success
Wow, you made it! Now that you’ve mastered this classic lemon meringue pie—and hopefully conquered that fussy meringue layer—I really want to hear about it! Baking is a community effort, right?
The absolute best part of sharing these recipes learned on the road is seeing what you all create back home. Did the filling set perfectly? Did your meringue stand tall against the odds? Even if you had a little wobble, tell me about it! Drop a rating down below using those stars—it helps other bakers know this recipe is reliable—and leave a comment detailing your experience. I read every single one!
Show Us Your Masterpiece
If you snapped a picture of that beautiful, golden-topped pie, please tag us on social media! Seeing your slices of sunshine makes my whole week. It’s proof that anyone, even if they just remembered Jaxson’s lessons about resourcefulness, can tackle a showstopping dessert like this.
If you run into any specific trouble that my tips didn’t cover, or if you just want to tell me how much joy this zesty lemon dessert brought to your family, you can always reach out directly through our contact page. Happy baking, friend!
PrintClassic Homemade Lemon Meringue Pie Recipe

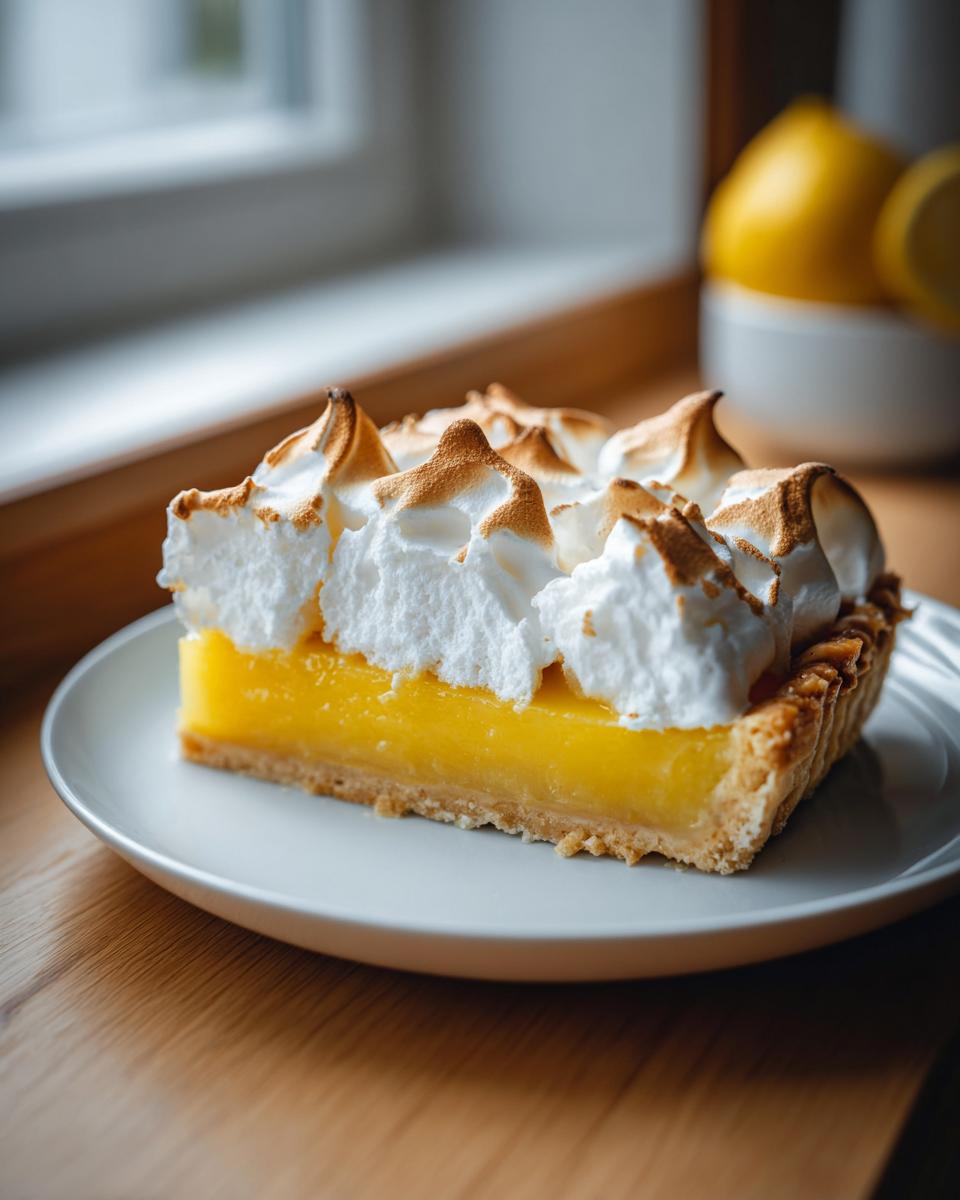
Make this classic Lemon Meringue Pie from scratch. It balances a tart lemon custard filling with a buttery crust and a fluffy, toasted meringue topping. This recipe focuses on techniques for a stable meringue.
- Prep Time: 30 min
- Cook Time: 25 min
- Total Time: 55 min
- Yield: 8 servings 1x
- Category: Dessert
- Method: Baking
- Cuisine: American
- Diet: Vegetarian
Ingredients
- 1 pre-baked 9-inch pie crust (buttery pie crust tutorial recommended)
- 1 1/2 cups granulated sugar
- 1/4 cup cornstarch
- 1/4 teaspoon salt
- 1 1/2 cups cold water
- 4 large egg yolks, lightly beaten
- 1/2 cup fresh lemon juice (zesty lemon dessert flavor)
- 1 tablespoon lemon zest
- 2 tablespoons unsalted butter
- 4 large egg whites, room temperature
- 1/4 teaspoon cream of tartar
- 1/2 cup granulated sugar (for meringue)
Instructions
- Prepare the lemon filling: In a medium saucepan, whisk together 1 1/2 cups sugar, cornstarch, and salt. Gradually whisk in the cold water until smooth.
- Cook the mixture over medium heat, stirring constantly until it thickens and boils. Boil for 1 minute, stirring constantly. Remove from heat.
- In a separate bowl, whisk the egg yolks. Slowly temper the hot sugar mixture into the yolks, pouring in a thin stream while whisking the yolks continuously.
- Return the entire mixture to the saucepan. Cook over medium heat, stirring constantly, until the mixture comes to a full boil. Boil for 1 minute. Remove from heat.
- Stir in the lemon juice, lemon zest, and butter until the butter melts completely. Pour the hot lemon filling into the pre-baked pie crust.
- Prepare the meringue: In a large, clean bowl, beat the egg whites and cream of tartar with an electric mixer on medium speed until soft peaks form.
- Gradually add the 1/2 cup of sugar, 1 tablespoon at a time, beating well after each addition. Continue beating until stiff, glossy peaks form (how to make perfect meringue).
- Spread the meringue over the hot lemon filling, making sure the meringue touches the edge of the crust all around to seal it. This helps prevent weeping.
- Bake at 350°F (175°C) for 12 to 15 minutes, or until the meringue is golden brown.
- Cool the pie completely on a wire rack for at least 4 hours before slicing to set the filling.
Notes
- To prevent weeping meringue, make sure your mixing bowl and whisk attachments are completely free of grease or water.
- Use hot filling when adding the meringue to help stabilize the base layer.
- For a showstopper dessert, use a kitchen torch to brown the meringue peaks if you prefer not to bake it longer.
Nutrition
- Serving Size: 1 slice
- Calories: 350
- Sugar: 45g
- Sodium: 180mg
- Fat: 15g
- Saturated Fat: 7g
- Unsaturated Fat: 8g
- Trans Fat: 0g
- Carbohydrates: 55g
- Fiber: 1g
- Protein: 5g
- Cholesterol: 100mg